PAINTED BATHROOM CABINETS || before + after
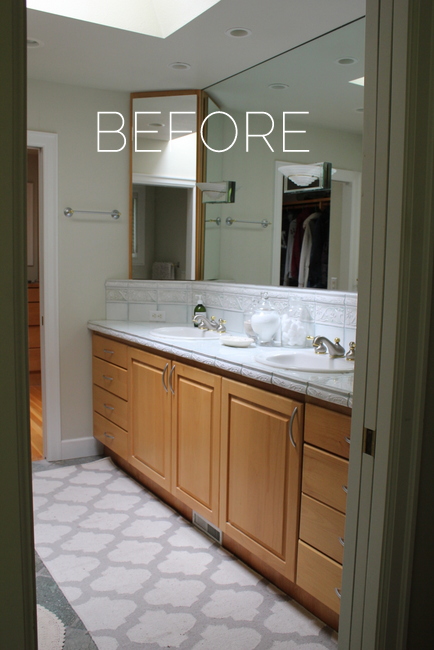
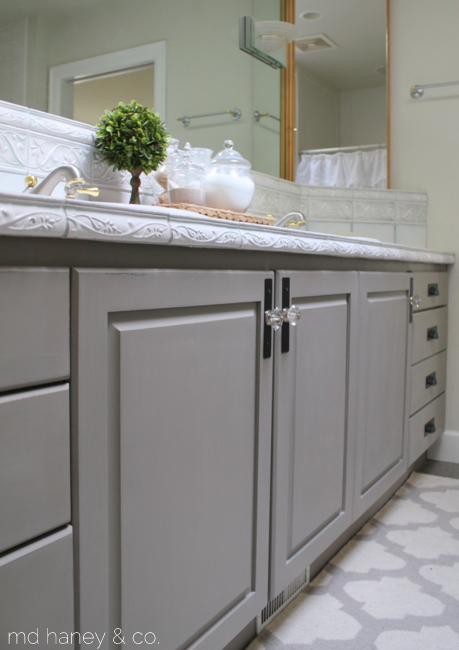
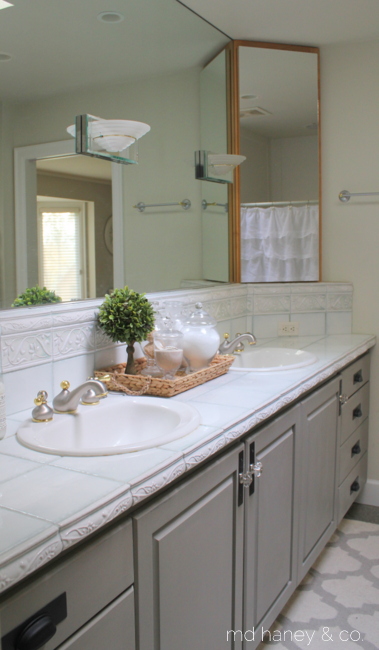
/A few months ago I decided to paint our master bathroom cabinets. Although we hope to remodel that space eventually, it falls very low on the priority list. It functions and it is clean, by clean I mean not falling apart ;-). There is no need to move that project to the top of the list, we have plenty more 'urgent' projects that need to be tackled! But, I still want to start making changes!
The original maple cabinets are in good shape and they were very easy to paint. I used a rough grit sand paper to scuff up the cabinets. I scrubbed them down well with TSP and warm soapy water. I wiped the damp cabinets with a dry cloth and waited for everything to be completely dry. Easy-peasy!
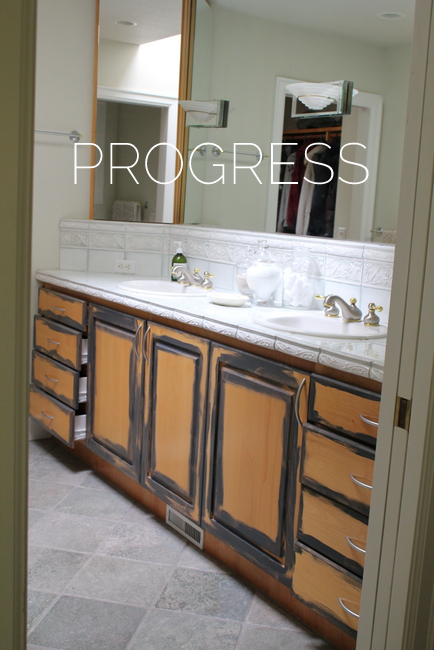
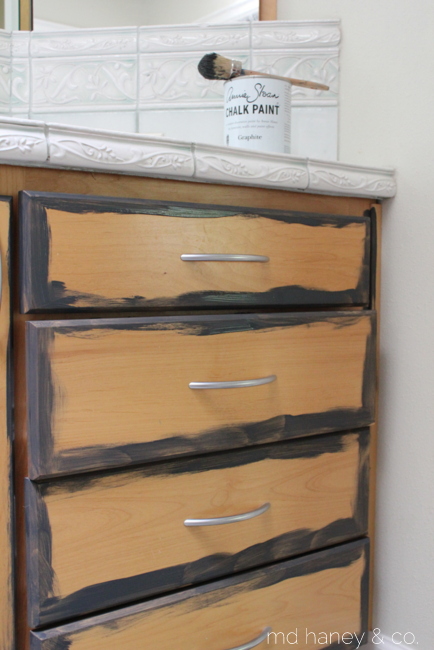
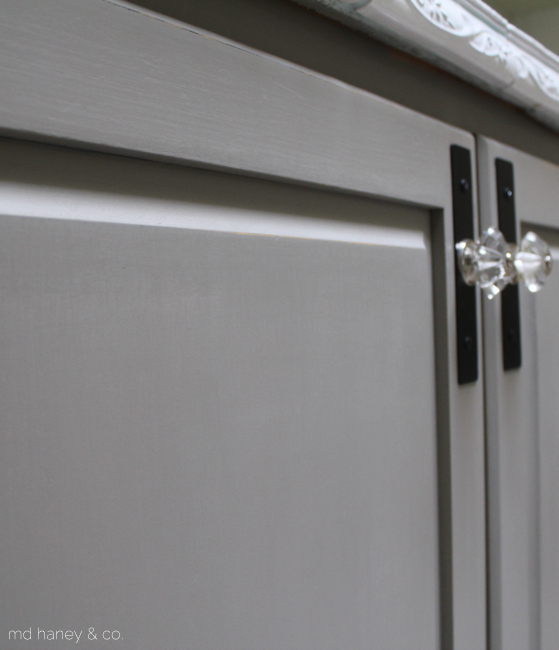
I knew that I wanted to slightly distress the cabinets. I wanted black to show through when I distressed. Instead of painting the entire cabinet black {GRAPHITE}, I painted one, thin coat along the edges, where I planned on distressing. I rubbed the edges with a hard beeswax so that when I sanded the second color, the black would show through, not the original maple.
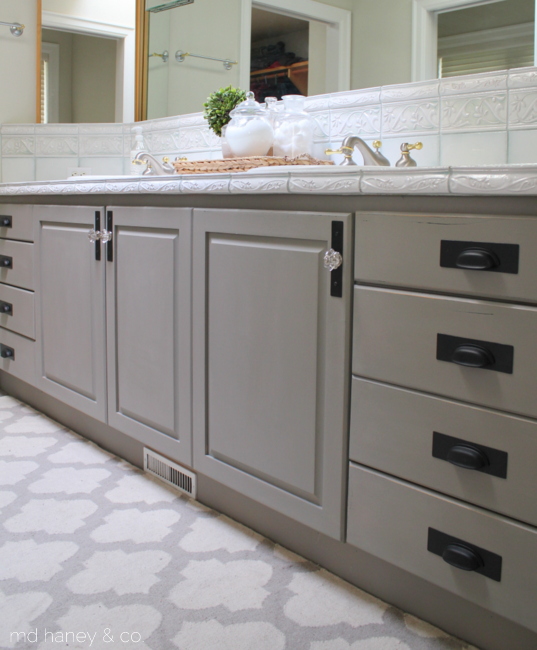
I applied two coats of FRENCH LINEN and then lightly sanded the edges to reveal the black paint underneath. I waxed with Annie Sloan's clear wax. The original hardware was a bit modern for my taste. They must have been a custom size because I couldn't find any knobs or pulls that would match the existing drilled holes! Instead of filling and sanding the existing hardware holds and then re-drilling new holes, Matt cut down a sheet of metal to make metal plates. We sprayed them with a matte black textured spray paint and we used that to attach the new hardware. Still time consuming, but not as time consuming as filling/sanding/drilling new holes would have been!
There is a lot we want to do to this space with the timing is right. But for now, I will keep making simple changes and 'tweaking' it here and there ;-)


