PAINTED CERAMIC TILE
/Every time I talk to one of you lovely ladies (or gentlemen) who reads the blog, you always say how much you love seeing pictures of our home projects. Matt and I both love working on our home, so it's fun for me to share pictures and projects! We have A LOT of 'un-finished' projects, as 'one things leads to another'. The beauty of this is that all of the sudden a lot of projects will be wrapped up at the same time ;-)
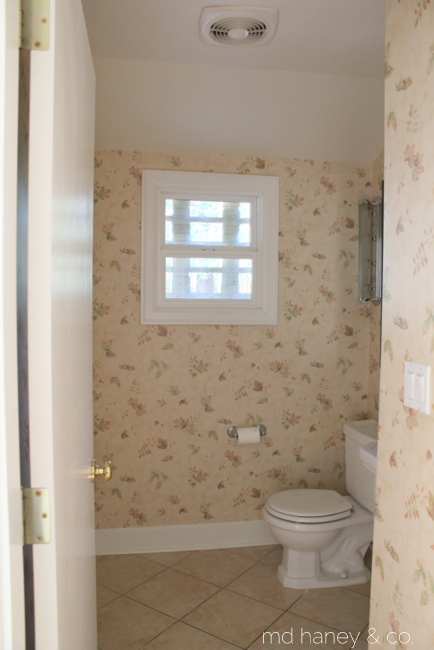
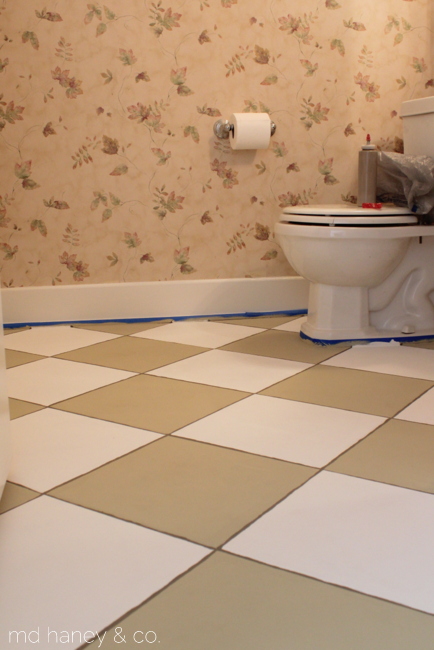
I am slowly working on making changes to our powder room. I hope to wallpaper within the next couple of weeks and I just finished painting the ceramic floor tile last week. I thought I would share a few photos and my thoughts on painting tile.
Here is the 'BEFORE' photo.
Now, let me start by saying my approach with painting the floor tile was that if it didn't turn out, we could rip it out and replace it with new tile. That wouldn't be ideal, but I knew it was an option. **I may not have been so brave as to paint the floor tile if I didn't know that we could replace it if it was a total bomb.** Also, we had some extra floor tile stored in the basement. I tried painting and sealing several pieces before actually painting the floor.
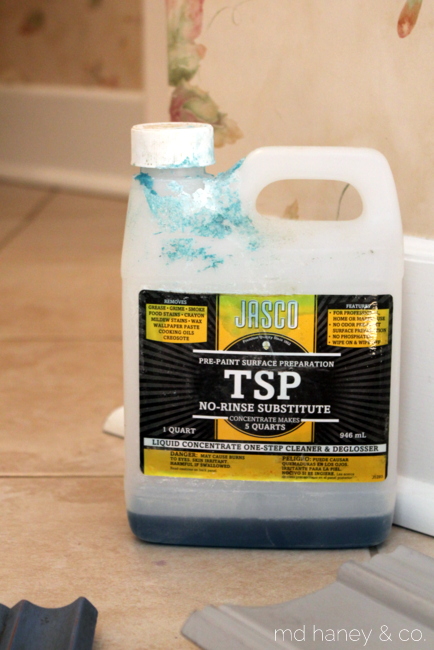
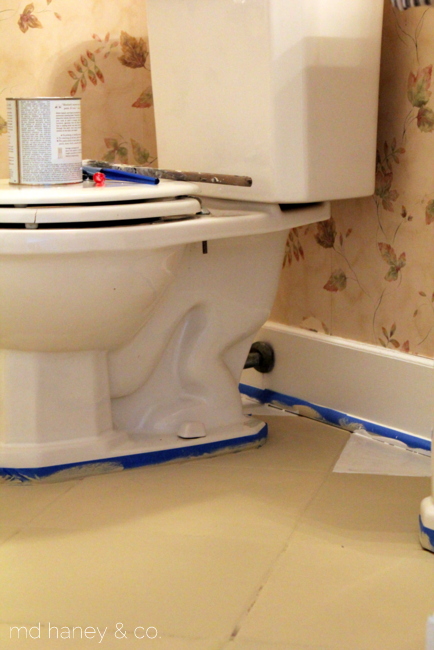
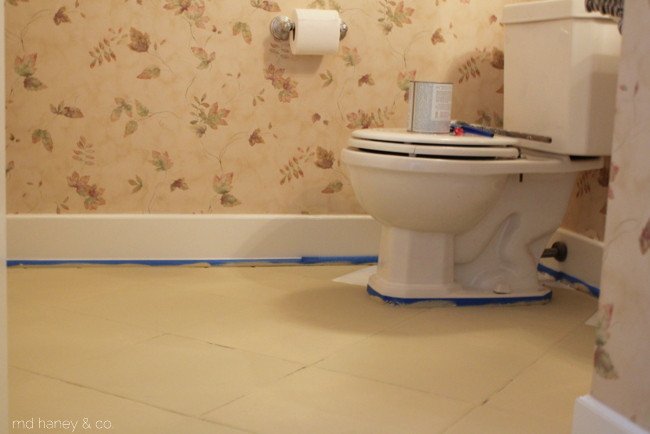
I began by scrubbing the floor with TSP. I let the floors completely dry and made sure they were clean before I moved onto taping the trim and plumbing fixtures. Once everything was clean and taped, I painted the entire floor with 'Country Grey' Chalk Paint® decorative paint. As you know, I love (and sell) Annie Sloan's paint. I love it and use it on everything! I have used it on concrete floors, and was curious as to how it would paint and hold up on a tile floor.
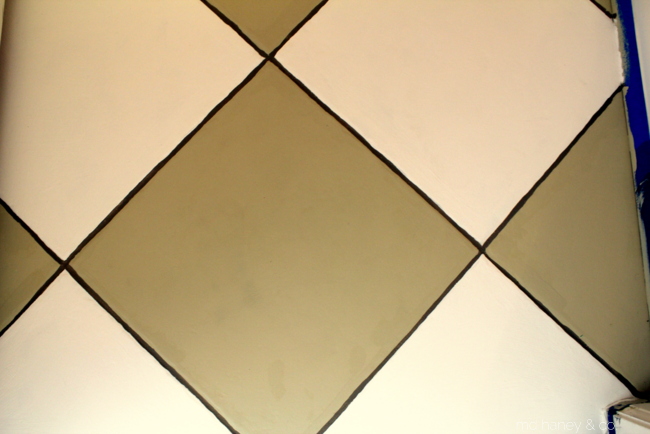
After two coats of the 'Country Grey', I cut in the alternating squares with 'Pure White'. 'Pure White' is the bright white offered in the line up of beautiful colors. I used an artist brush to cut in. I probably could have used tape to tape off the squares, but I didn't want to risk the tape pulling off the freshly painted grey paint.
I cut in (two coats) of 'Coco' Chalk Paint® over the grout lines. I wasn't loving the look because the grout lines were not straight. I just looked like painted tile, but not necessarily in a good way. My sweet and well intentioned husband kept making suggestions and I knew he was trying to think of a polite way to say it look a bit tchotchke.
So, I took my own advice…..keep working on it until you love it! You can always change something to make it more of what you like. I lacquered the floor with the Annie Sloan Lacquer. It's an awesome product. It seals and protects and has a beautiful matte finish. Not to mention it's water based for easy clean up!
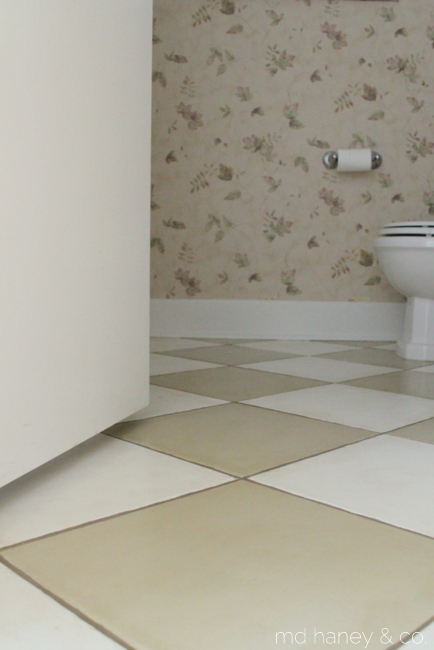
After two coats of lacquer, I applied a light coat of dark wax. The dark wax provided just the bit of aging and distressing I needed to make the imperfect grout lines look worn and a bit more authentic. I kept everyone off of the floor tile during this entire process and followed the instructions on the lacquer container. I also kept everyone off of the finished floor for a week, this little powder room gets a lot of foot traffic and I wanted to give the floor a fighting chance! So far it looks really great and has held up very well. And for those of you who know my husband, he is a tough critic! He likes it and said it looks great ;-)
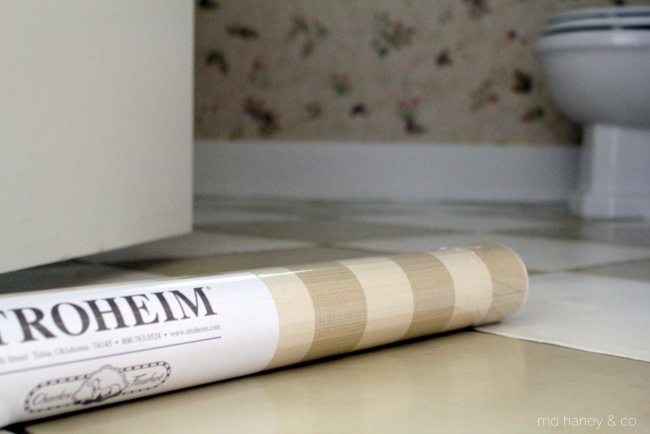
The last picture makes the wallpaper and floor tile color look a little off. It actually matches perfectly and looks really good against the oak wood floor which is right outside of the bathroom door. Hopefully I will have pictures to post soon of the new wallpaper! Until then, I am off to paint the ceiling of the dining room and living room. Not super fun but I love what a fresh coat of paint does to a room!!
If you have questions about painting tile, don't hesitate to shoot me an email or ask in the comments section.
xoxo~
Darci

