DIY WOOD SIGN :: made from a cabinet door

IMG_3056.jpg

 Hello and happy Monday!

I didn't take any photos to document how I made the wood signs for our covered deck {big surprise...wink}.  I am just awful at documenting things!  However, it was really simple, so I thought I would share a few tips.

IMG_3056

Being that my sweet hubby is a {very talented} cabinet maker, we usually have new cabinet doors laying around the shop.  Doors that didn't fit or work for a job, for whatever reason.  You could use any cabinet door really.  But, the shaker style work best.  It already has a 'frame', no modifications need to be done!

IMG_3055

  • I took two matching cabinet doors and painted two coats of OLD WHITE Chalk Paint®.  The paint covered the laquer finished, maple cabinet wood perfectly.
  • Next, type your phrase onto a blank document.  I used the HELVETICA font, and the font size I chose for my sign was 200.

Screen Shot 2013-08-05 at 2.07.42 PM

  • With a pair of scissors, cut each word.  If the word didn't fit onto the printed  page, roughly cut the letter to be able to make the word.
  • Tape any letters together that need to be taped, and lay the entire word onto the painted cabinet door.
  • Move the words around until you like the spacing.
  • Once the words are right where you want them, tape them to the cabinet door.

IMG_3057

  • Once the words are taped, with a pencil, trace the outline of each letter.  Press hard!  You want the letter to be outlined on the wood door.
  • Once your words are traced, fill in the letters with a paint pen {I use these} or an artist brush and paint.
  • At this point, you may be done!  Wasn't that easy?
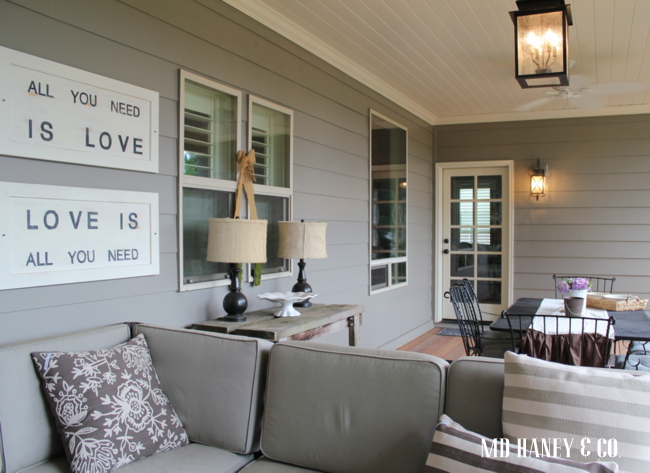
  • I took a fine grit sand paper and distressed my sign.  I wanted the words to look a little 'worn and tired'.  Then, I coated the entire sign with clear wax, asked my hubby to hang the signs and we were good to go!  Matt had some really neat old nails, we found them when we remodeled our home {a 1908 foursquare}.  My guess is that they are original to the house!  Anyways, he centered the signs and attached them with the old nails.....

I love them!

Do you have a different way of making a wood sign?  I would love to hear!!

xoxo~Darci

BEFORE & AFTER :: the back deck

As you may remember, I showed a few photos of our recently finished back deck.  Matt still had some details to finish, but I was excited to post some photos.  Well, yesterday he finished the back deck!

IMG_2214

See how tall the deck is off of the ground?  Well, for months now, this area has just been open {and ugly}.

IMG_3043

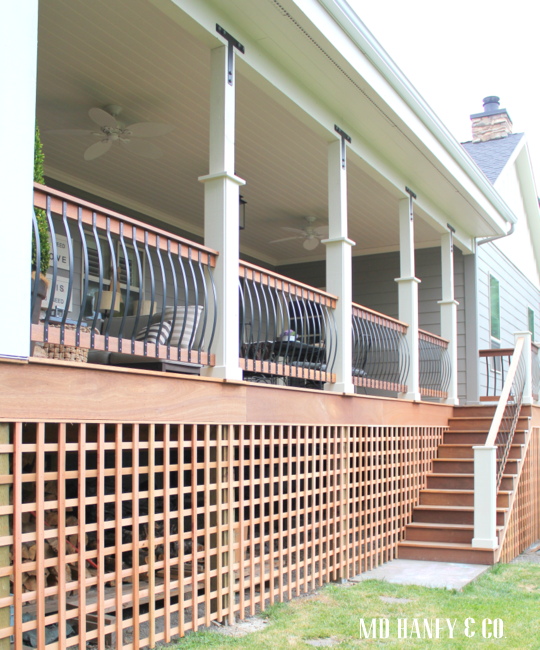
We couldn't put siding back up because it would trap the moisture and just be a big, yucky problem down the road.  We still wanted to be able to use the space for firewood storage, so we needed something accessible, yet pretty to look at.

IMG_3047

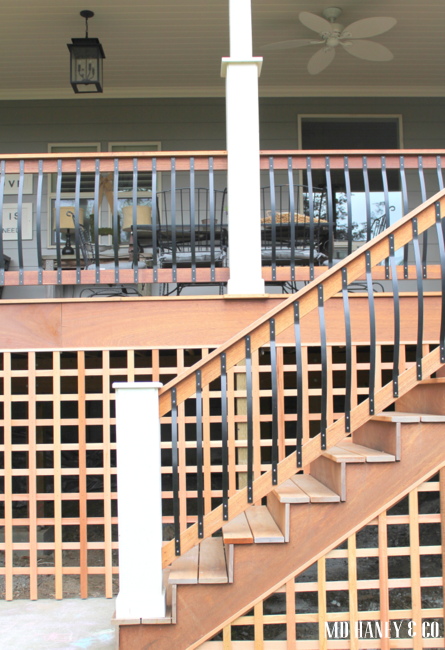
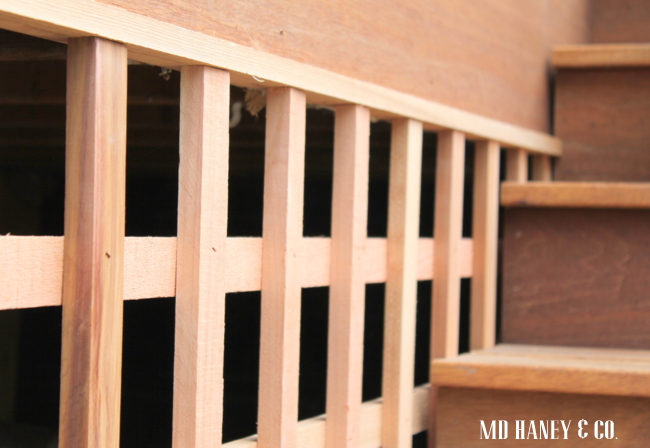
Matt built this trellis our of cedar.  It will turn a soft gray as it weathers.  He is going to spread bark dust under the deck, so when you do peek through, you see a nice clean layer of bark.

IMG_3050

When I watch Matt work, he makes everything look so effortless.  This would look awful if I attempted to try it!

IMG_3054

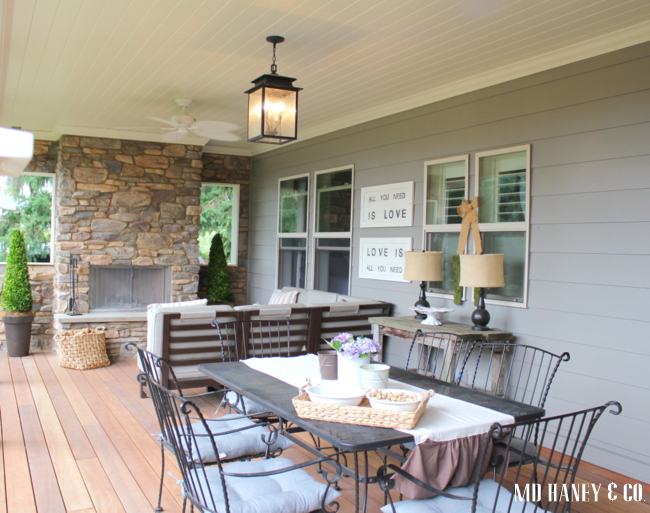
It truly is one of my favorite spots to sit and relax.

IMG_3053

We eat dinner out here almost every night!

IMG_3060

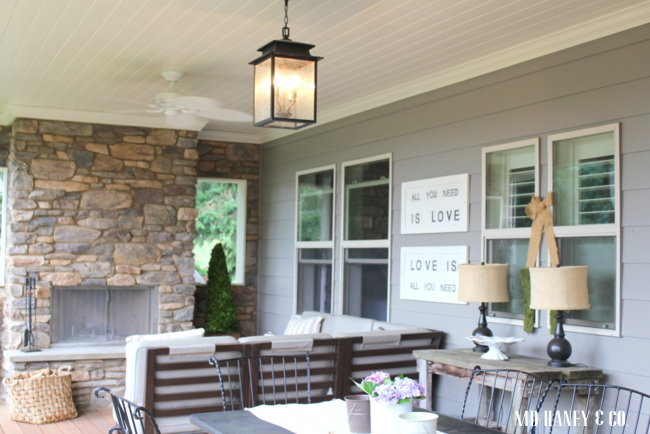
I needed something between the windows so I made these two signs from cabinet doors {we have a few extras laying around}!  Next week I will do a 'non-tutorial' on how I made the signs, they were super easy!

IMG_3062

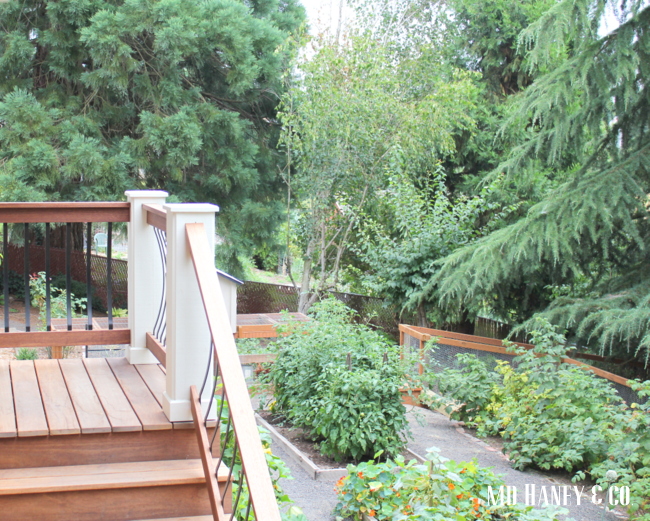
The garden is growing like crazy!

IMG_3044

And I can't forget to share a photo of my little assistant!

xoxo~Darci
BEFORE + AFTER :: our dining room furniture

 Happy Tuesday friends!

I thought I would show you a few photos of our dining room furniture.  I am in the middle of re-decorating {or really just shopping the house and re-arranging} our dining room.

Confession ::  I would love to buy a long, rustic dining room table.  Pair it with linen slip covered chairs and I would be a happy girl.  But,  it's hard to justify that when we have a dining room set that works just great!

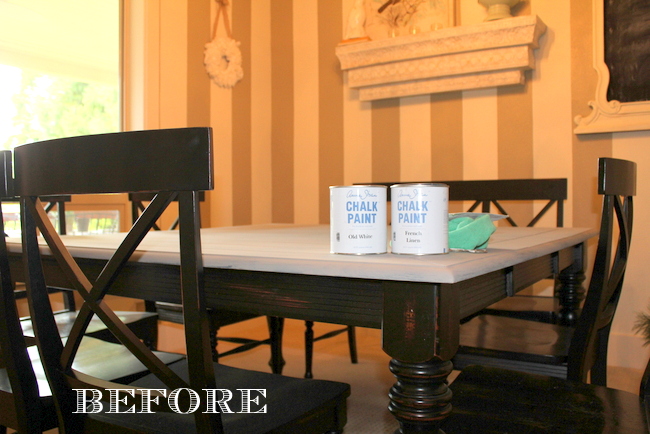
I thought I would try painting our furniture to see if I would like it a little better.  If I hadn't been introduced to Chalk Paint®, I would have never dreamed of tackling our dining room furniture!  What a pain!  Sanding, priming, several coats of painting, yucky fumes.....just doesn't sound appealing.  However, with the ease and beauty of Chalk Paint®, I was willing to give it a try.

IMG_2960

I tried a coat of 'French Linen' on the table top.  I was curious to see how well it would cover.

IMG_2973

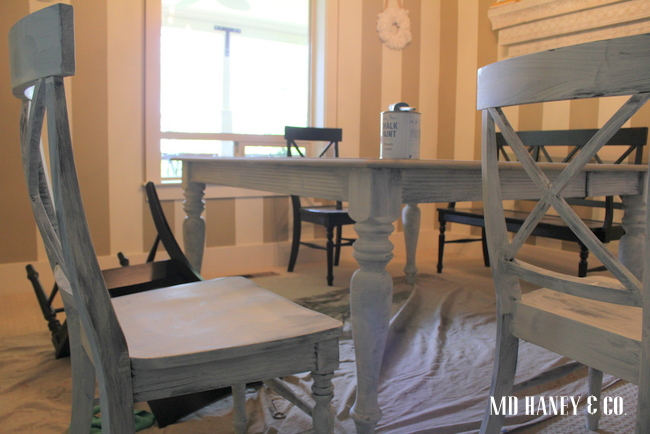
Two coats of paint on the top, and I was convinced it was worth it to paint it!

IMG_2974

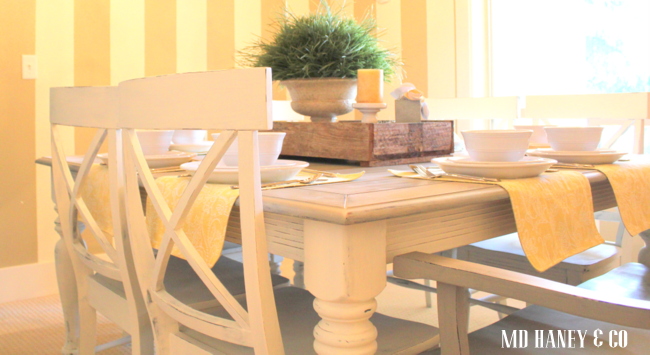
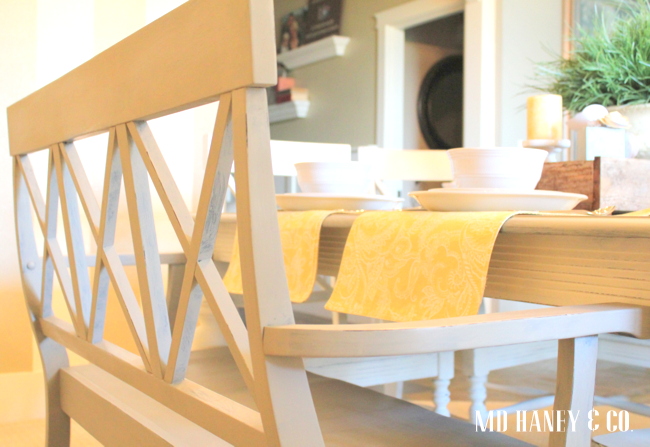
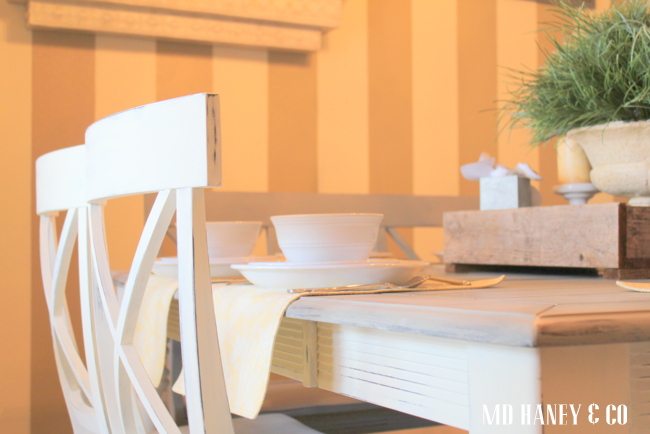
I painted the table top and bench a gray...."French Linen".  The chairs and base of the table are painted a soft white..."Old White".

IMG_2975

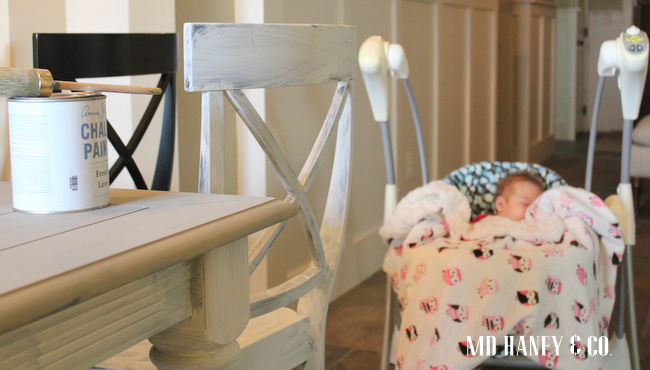
Sweet little Pea was quite the helper.

She happily slept in the swing and gave me a solid two hours of painting time!

IMG_2992

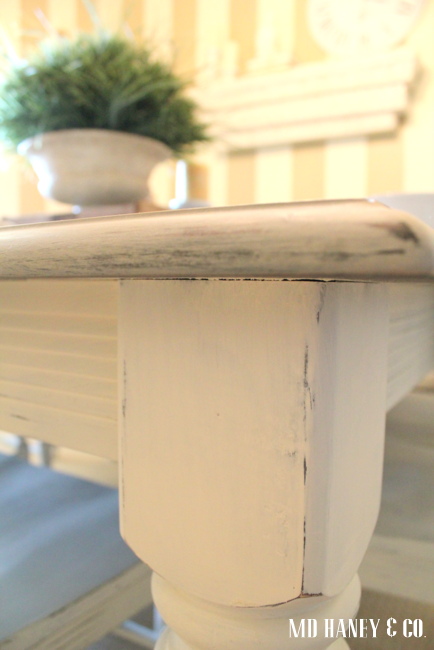
I distressed the edges and table top.  I wanted the original black to show through,  but just a little bit.

IMG_3001

I applied a coat of Clear Wax, and called it good!

IMG_2997

The table, bench and six chairs, took about eight hours to complete.

Start to finish.

And, I was able to do the entire project right in the dining room!  I am so lazy when it comes to painting.....yet another reason I love this paint!

IMG_2995

I still have a ways to go until I get the dining room put back together, but at least the furniture is painted...

IMG_2998

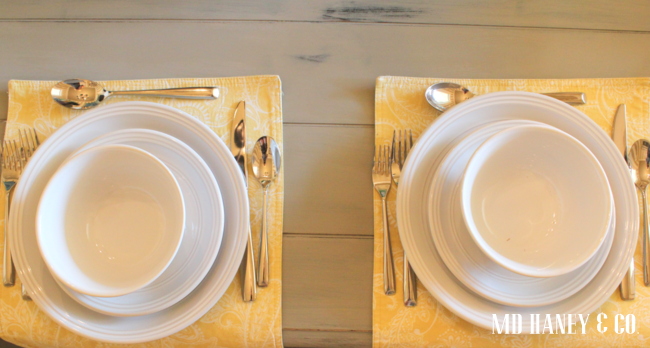
 and the table is set!

Now all I need to do is prepare dinner!

xoxo~Darci
TV CABINET :: to build or not to build

IMG_2966

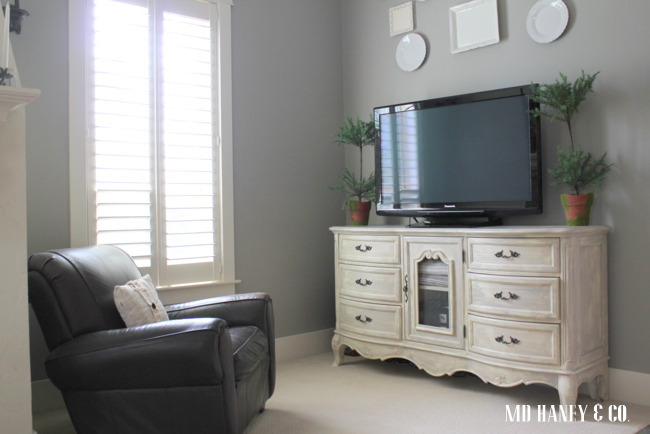
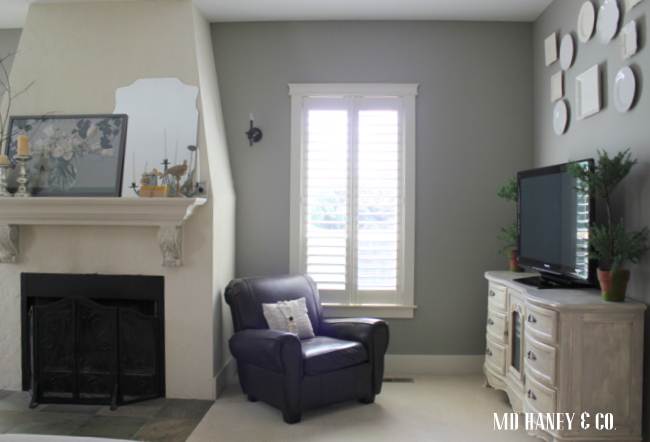
Matt has designed and built numerous TV cabinets for different clients.  As you all know, custom built-ins can make such a difference in a living space!  When we remodeled our home, we talked about doing an entire wall of cabinetry in the living room.  But, life happens and living room cabinetry falls to the bottom of the priority list. IMG_2967 So, we use this cabinet.

It has served it's purpose well.  It's nothing fancy or custom.

IMG_2970

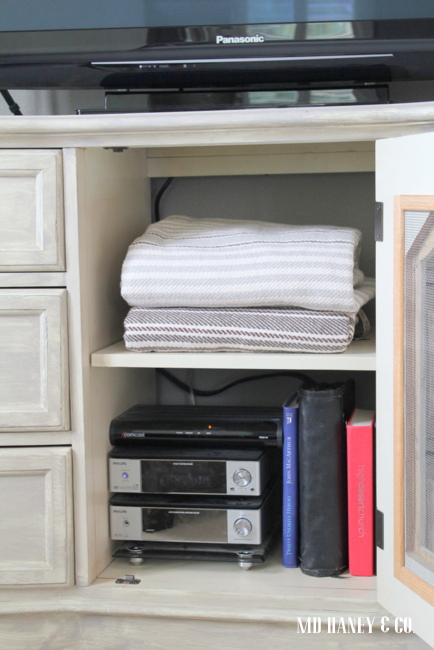
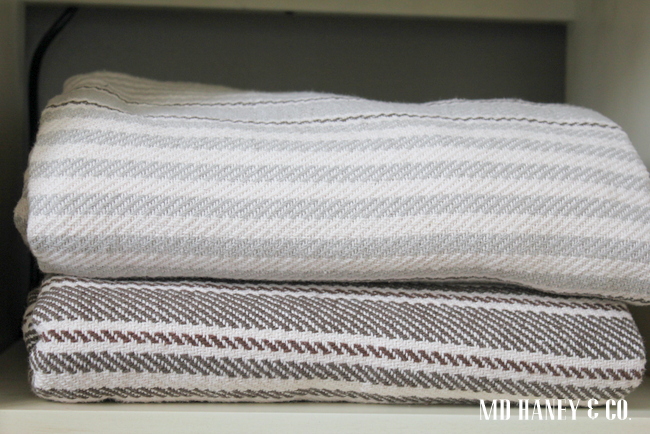
It holds cozy blankets, electronics, bibles and books that we are currently reading.

IMG_2968

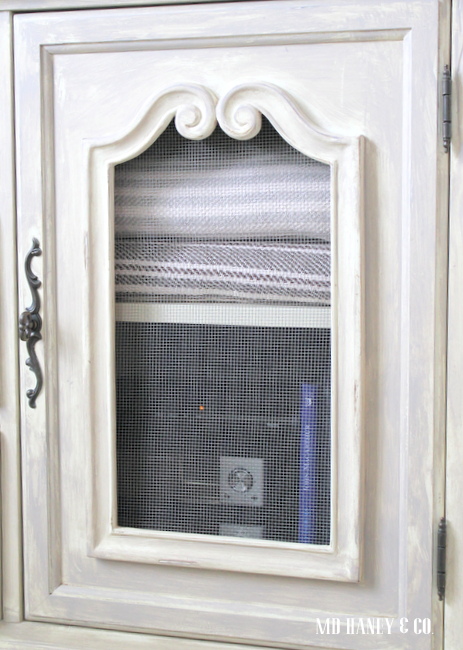
Matt modified the door {with wire mesh} so that the remote can still register with the electronics.

IMG_2972

It works just great.

I vote that we save our money, time and energy for a summer vacation.

But talk to me this winter and my answer may be different {wink}!

before + after :: BACK DECK

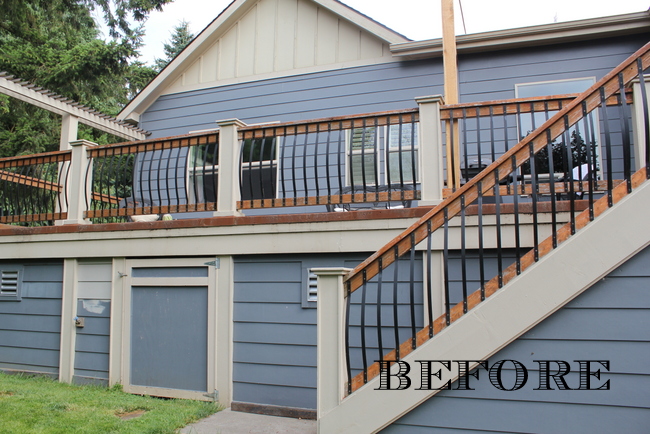
When we renovated our home 7 years ago, we decided to add a concrete back deck.  It was about 5 feet off of the ground and underneath was covered/enclosed storage.  The deck is on the South side of the house and gets hit hard with sunshine and pounding rain.  Eventually, the concrete started to leak.....

IMG_2214


We 'ignored' the problem for a couple of years, last summer, Matt decided we needed to address the issue.  Let me tell you, it was a big issue!  All of the existing concrete deck had to be removed.  We decided to go ahead and cover the deck....while we were at it {wink}, so we could enjoy the outdoors more than 3 months out of the year!

IMG_2217

It took Matt about 6 months {working the occasional evening and weekends} to finish the space.  I still have decorating to do, but I thought I would show you the new covered deck.

IMG_2880

The weather has been amazing for the past few weeks.  I can't tell you how much I have enjoyed sitting out here, cuddling with my sweet little babe!

IMG_2881

Like I said, I still have some decorating to do.  But, let's be honest, I am not sure when I will get to that ;-)

Have a lovely day!!