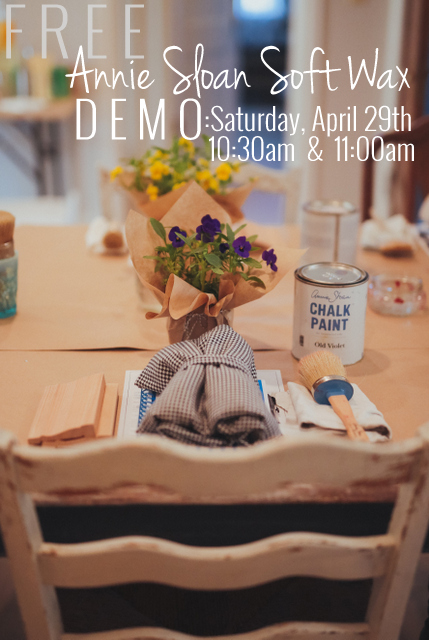
free demo || ANNIE SLOAN SOFT WAX

I would say the number one product we receive the most questions about, is Annie Sloan's soft wax.  It is such a fantastic product!  However, it can cause frustration if it's not applied properly.  Next Saturday, I am going to offer two {free} demonstrations on applying soft wax.  A little way to help customers who are struggling with the soft wax and for whatever reason can't attend a BASICS painting class.  Here are the details for you local peeps!

W H E N:  Saturday, April 29th, 2017

T I M E: 10:30am and 11:00am

W H A T: demo on applying Annie Sloan soft wax, 10% off your purchase of a wax brush, coffee + muffins

C O S T: free

Each demo is limited to 12 people.  Although there is no cost, you do need to sign up at the shop.  You can sign up by calling, emailing or stopping by the shop!

painted dresser || Chalk Paint® + MMS Milk Paint

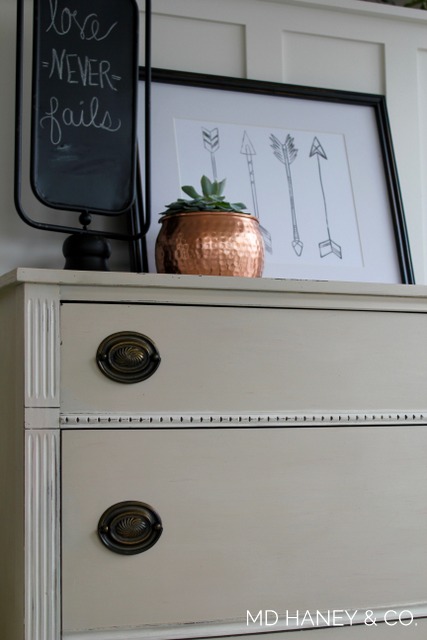
About a month ago I picked up this cutie of a dresser at Habitat.  I thought it had darling lines and it was in good shape, it just needed some paint!

I kept the original brass hardware and I painted this dresser with 3 coats of Miss Mustard Seed Milk Paint, MARZIPAN.  I painted the sweet trim pieces with Annie Sloan Chalk Paint®, OLD WHITE.  I lighting sanded, just to distress the edges.  I sealed the entire piece with two light coats of Annie Sloan Clear Wax.

This cutie is for sale at the shop for $285.

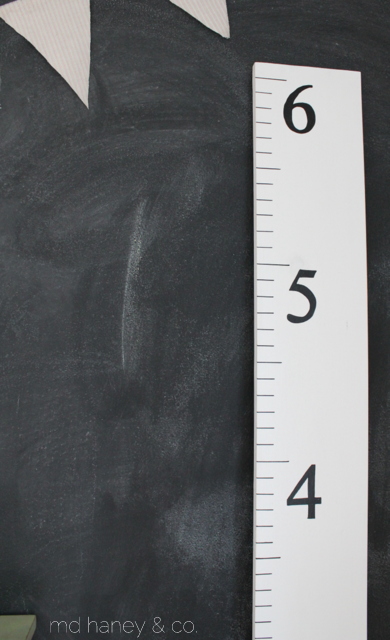
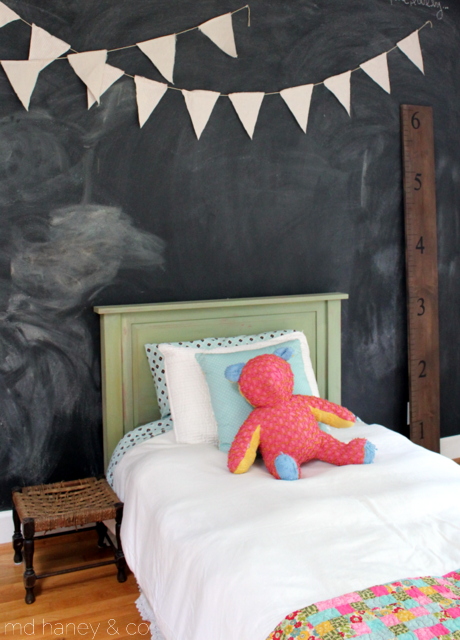
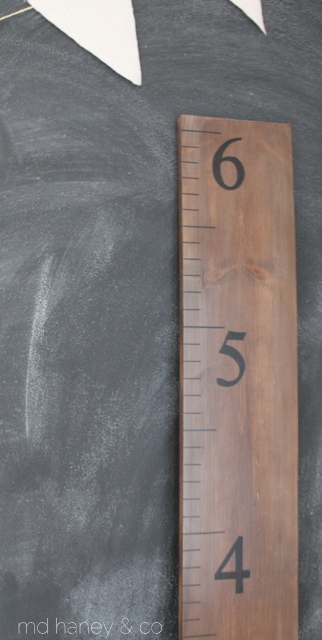
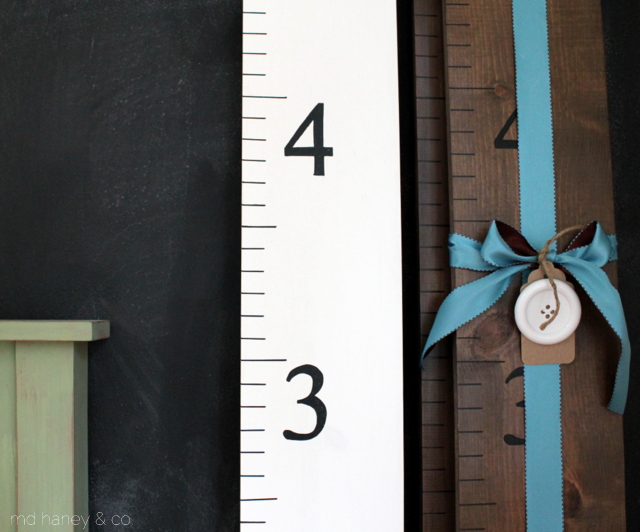
hand made growth charts

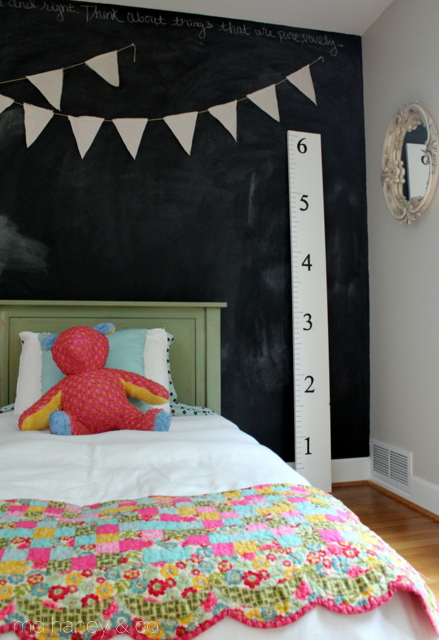
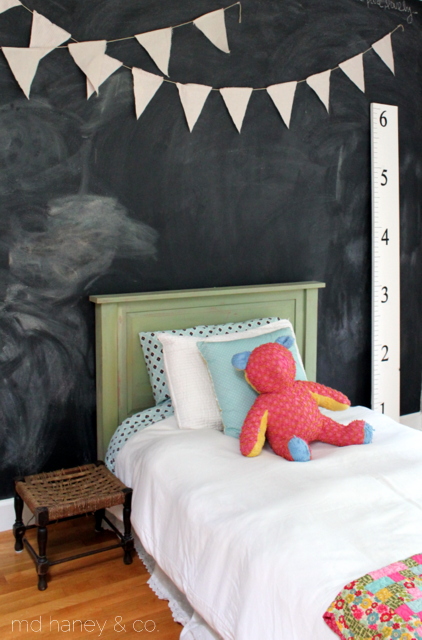
It must be the time of year, a few weeks ago I received requests for 4 custom growth charts, all within a two days.  The last time I made a growth chart was at least 4 months ago, it's so funny how things ebb and flow!

I know that there are a gazillion growth chart tutorials online, but I thought I would share the way that I make them, and hopefully inspire someone to make their own growth chart!  They take a few hours to complete, but I break mine up into stages and the results are so worth it!!
IMG_5629

IMG_5634

IMG_5636

IMG_5638

IMG_5640

IMG_5645

Supplies Needed:

~ 6' pine board, (the width can be whatever size you prefer)

~ paint and wax (I used Annie Sloan Chalk Paint® for the white growth charts (Pure White) and Miss Mustard Seed Milk Paint for the dark growth charts (Curio).  I used Annie Sloan clear wax for both growth charts.

~ black paint pen

~ ruler 

~ saw tooth hooks

1. Paint the board, both sides.  Wax with clear wax.  

2. Using a sharp pencil and a ruler, mark the side of the board every inch.  The pine is soft enough that you can press the pencil into the wood and it will mark.  (I lay my board on the work table/counter, it's best to do this with the board horizontal.)   Once the inches are marked, go back with your straight edge and make a line at every inch.  I use the marks on my ruler as a guide.

3. Use a paint pen and a straight edge to go back over the pencil marks.  The paint pen gives crisp, bold marks.

4. Print off numbers 1-6 in your preferred font, I use TIMES NEW ROMAN.  Trace the numbers with a pencil.  Again, the pine is so soft that you will easily see your tracing line.

5. Color in the numbers with the paint pen.

6. Attach the saw tooth hook to the back and your growth chart is finished!

This would make a fun baby shower gift, new mama gift or just a gift to yourself ;-)  One of these days I am going to make some in fun colors!  What color would you choose?
PAINTING GINGHAM CHECKED WALLS || how to paint a gingham checked wall

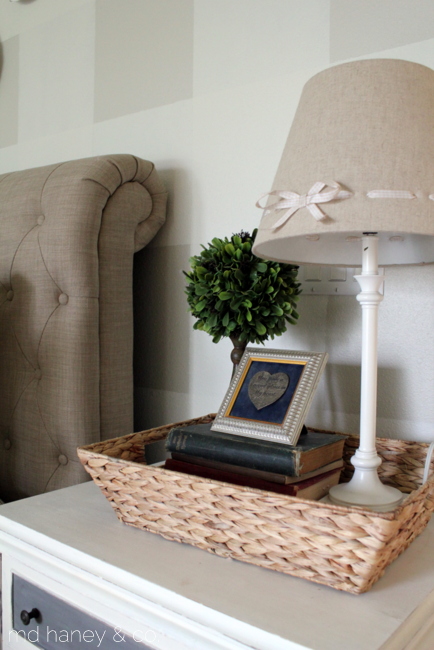
Several months ago I ordered a beautiful taupe, buffalo check wallpaper to hang in our stairwell.  The rolls are still sitting in their wrapper ;-)  We have since decided to panel our stairwell and I thought I would use the wallpaper for our bedroom.  Well, the wallpaper color clashed just enough with the wall color.  Since I didn't have the energy to re-paint the bedroom and attached bathroom and closet, I decided to come up with a different plan of attack!  I have painted stripes before (both in the cottage, and in our last home), but I just wasn't digging stripes for the master bedroom.  I googled "painting gingham checked walls" and a great tutorial from Southern Living popped up.

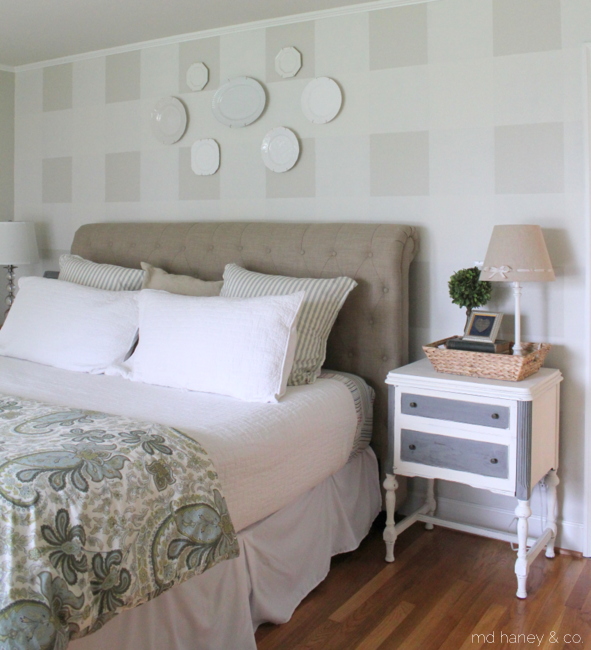
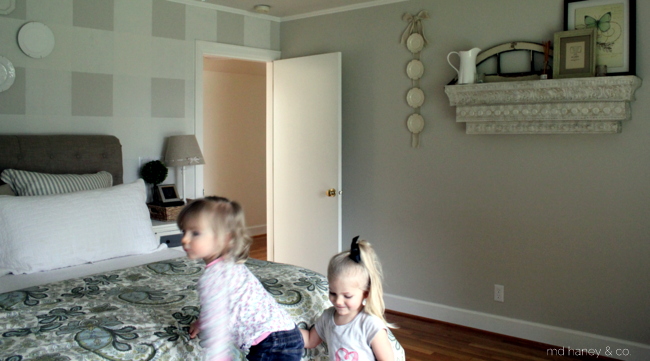
Perfect!  In less than 6 hours and $50, I had a beautiful gingham checked wall!

IMG_5167

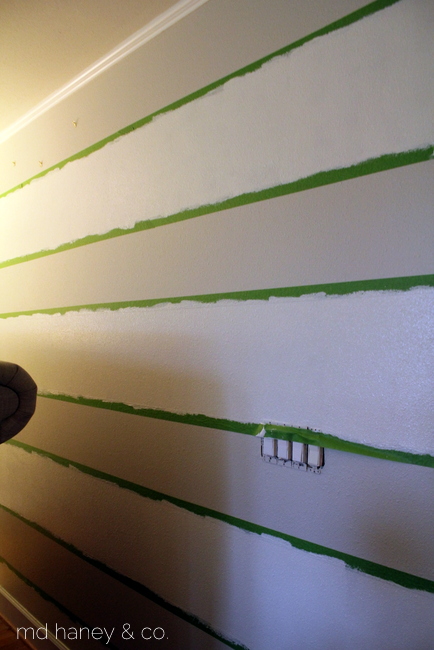
If you feel inspired to paint a gingham checked wall, I highly recommend following the instructions posted by Southern Living!  In a nutshell, you are measuring, leveling, drawing horizontal lines, taping and painting (mixing the paint with clear mixing glaze).

IMG_5169

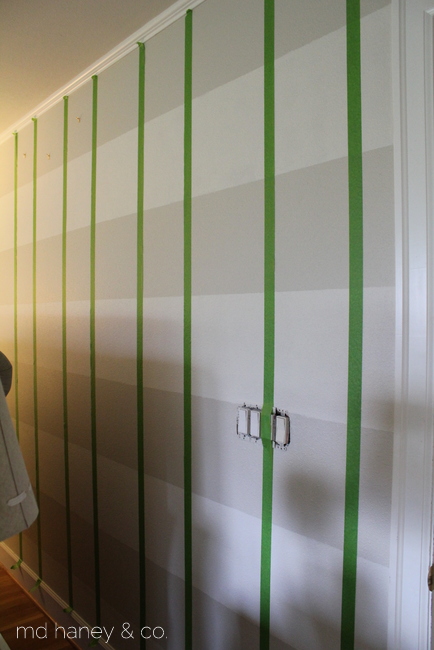
Once your horizontal lines are complete, you do the same thing vertically!

IMG_5202

IMG_5212

IMG_5211

IMG_5227

It's a subtle change, which I love.  My sweet but very picky/perfectionist husband even liked it and complimented me on the straight lines!

IMG_5216

And this was happening as I was trying to snap some photos of the bedroom wall ;-)

IMG_5215

IMG_5217

IMG_5220

One day I may feel inspired to hang wallpaper in the bedroom, but for now I am content with the gingham checked wall!

REPURPOSING CABINET DOORS || painted signs

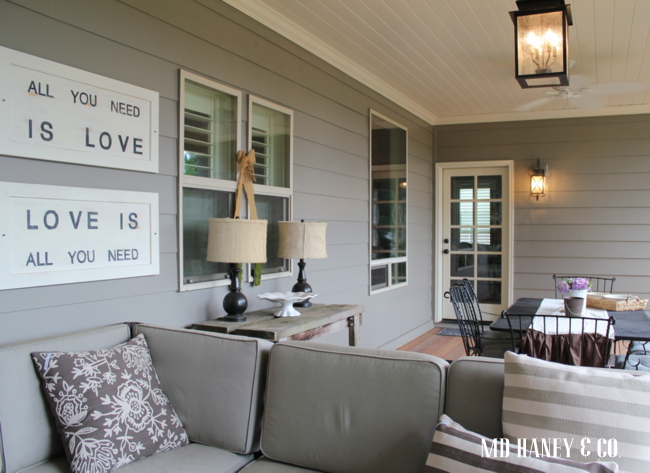
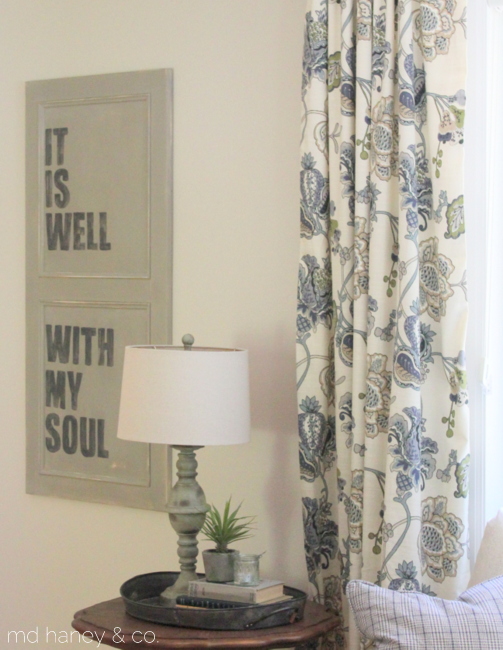
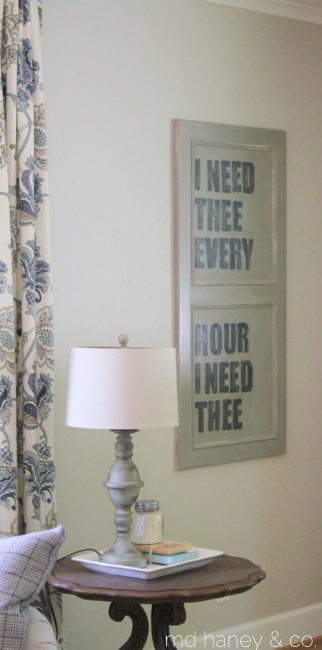
As you may already know, I love to use cabinet doors to hand paint signs.  I love that they are already 'cut and framed'.  No building or prep work, just paint and hang!

IMG_3057

I made these these two last summer and hung them in our covered outdoor space.  Matt used old square-head nails to hang them, they were my favorite.  When we sold our home, we sold it furnished, these two signs were included in the sale.

IMG_3060

Since we have moved, I haven't taken the time to make any new signs.  Last week a friend/client gave me some extra cabinet doors from a kitchen remodel she had done years ago.  She was keeping the doors for a future project, but was finally ready to just clean and purge.  I know that feeling well ;-)  Anyways, she sent me home with four large cabinet doors…..

IMG_4533

IMG_4539

IMG_4537

Simple little reminders.  And they just cost me an afternoon and a little bit of paint!  My kind of project!!

**For any of you who might want to make a similar sign, here are some very technical instructions {wink}…

I painted the cabinet door with two coats of French Linen {Chalk Paint®}.

Typed the wording than printed the wording in black.

Cut the words than traced over them firmly with a ball paint pin.

Used an artist brush and painted the letters with Graphite {Chalk Paint®}.

Distressed with 180 grit sandpaper.

Waxed the entire sign with clear wax.

Happy painting!!

A LITTLE GREEN || adding new {magnolia} life to an old wreath

When we moved {a few months ago} I did a lot of purging.  It felt so good.  We accumulate so much stuff!  I don't know if you are like this, but when we moved and lived out of boxes for the first few weeks, I realized how little we needed.  As we remodel our home, I am working at cleaning and organizing as we go.

As I am slowly starting to decorate some of the rooms, I am working hard at re-purposing items I already own.  It's so easy to go buy new {which I seem to do a little too often}.  I am really going to push myself to be creative with what I already own!

IMG_4415

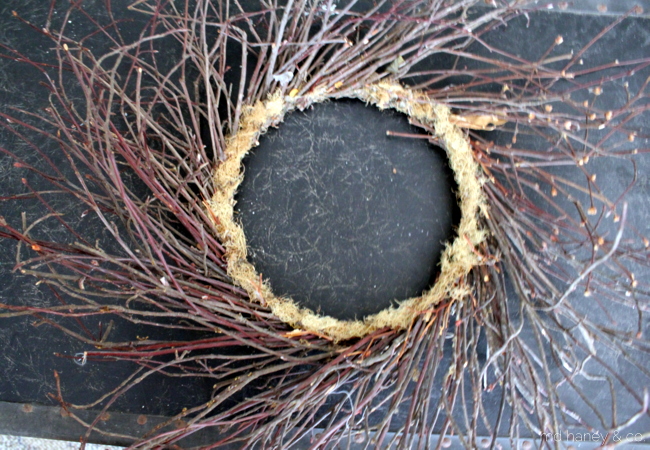
I was cleaning the storage shed last week and just about tossed this wreath into the burn pile.  It survived the 'purge and move' but it was just taking up space and I was ready to toss it.

IMG_4416

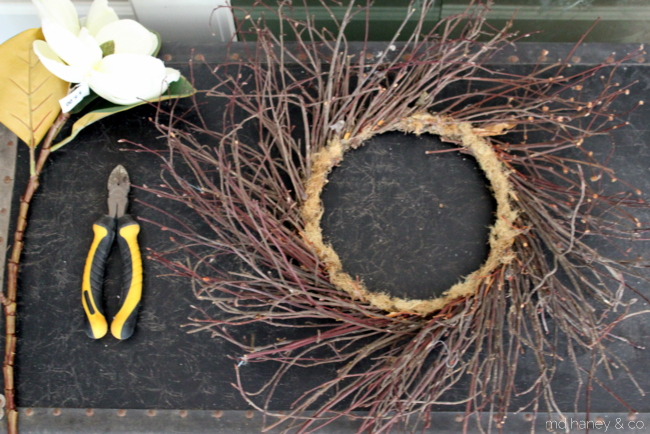
I changed my mind set and tried to think of how I could fall in love with this little darling of a wreath.  So, I loaded the girls into the car and we ran to the store in search of some artificial flowers….which can be tough since some look we too artificial.  Especially when I didn't want to have to leave our little town of McMinnville in search of   fake greens.

IMG_4443

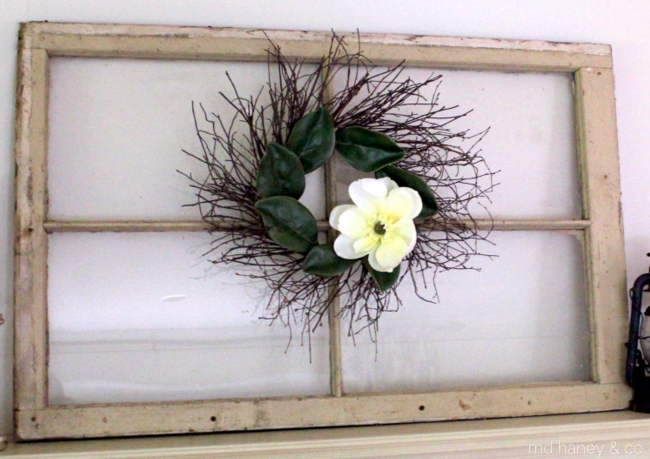
Believe it or not, I found some decent magnolia stems and leaves at Wal-Mart.  I directed the flower stems, and hot glued the leaves and one of the  flowers to the wreath. It gives it a little personality, and I spent $10 and less than 10 minutes on the project.

IMG_4442

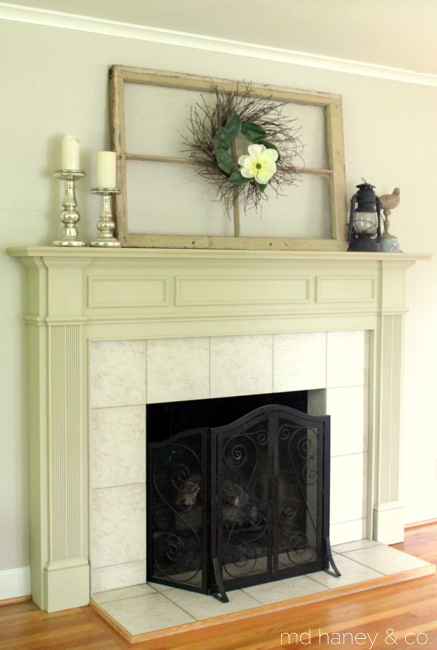
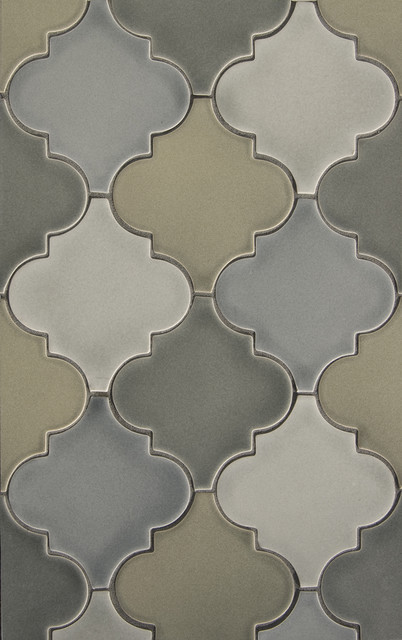
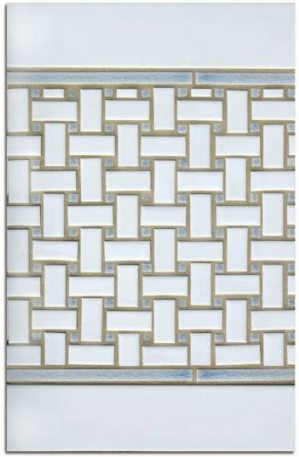
We are looking at tile to resurface the fireplace.  My top two contenders are...

contemporary-tile

and

Tile

both are from Pratt and Larson.  If you haven't been to Pratt and Larson and you are thinking of adding tile in your home, it is my absolute favorite place to purchase tile.  They have a 'seconds' store which is fabulous for smaller projects.  Their tile is hand made and B.E.A.U.T.I.F.U.L!

IMG_4449

I am slowly adding accessories here and there.  I have a few bigger projects I want to tackle for the living room, but I need to steal doors from the house and a dresser that's being used to hold our tv.  So, I will wait until my new doors are installed and the basement is finished.  All in good time….at least that is what I keep telling myself ;-)

Have a lovely weekend!

DIY WOOD SIGN :: made from a cabinet door

IMG_3056.jpg

 Hello and happy Monday!

I didn't take any photos to document how I made the wood signs for our covered deck {big surprise...wink}.  I am just awful at documenting things!  However, it was really simple, so I thought I would share a few tips.

IMG_3056

Being that my sweet hubby is a {very talented} cabinet maker, we usually have new cabinet doors laying around the shop.  Doors that didn't fit or work for a job, for whatever reason.  You could use any cabinet door really.  But, the shaker style work best.  It already has a 'frame', no modifications need to be done!

IMG_3055

  • I took two matching cabinet doors and painted two coats of OLD WHITE Chalk Paint®.  The paint covered the laquer finished, maple cabinet wood perfectly.
  • Next, type your phrase onto a blank document.  I used the HELVETICA font, and the font size I chose for my sign was 200.

Screen Shot 2013-08-05 at 2.07.42 PM

  • With a pair of scissors, cut each word.  If the word didn't fit onto the printed  page, roughly cut the letter to be able to make the word.
  • Tape any letters together that need to be taped, and lay the entire word onto the painted cabinet door.
  • Move the words around until you like the spacing.
  • Once the words are right where you want them, tape them to the cabinet door.

IMG_3057

  • Once the words are taped, with a pencil, trace the outline of each letter.  Press hard!  You want the letter to be outlined on the wood door.
  • Once your words are traced, fill in the letters with a paint pen {I use these} or an artist brush and paint.
  • At this point, you may be done!  Wasn't that easy?
  • I took a fine grit sand paper and distressed my sign.  I wanted the words to look a little 'worn and tired'.  Then, I coated the entire sign with clear wax, asked my hubby to hang the signs and we were good to go!  Matt had some really neat old nails, we found them when we remodeled our home {a 1908 foursquare}.  My guess is that they are original to the house!  Anyways, he centered the signs and attached them with the old nails.....

I love them!

Do you have a different way of making a wood sign?  I would love to hear!!

xoxo~Darci

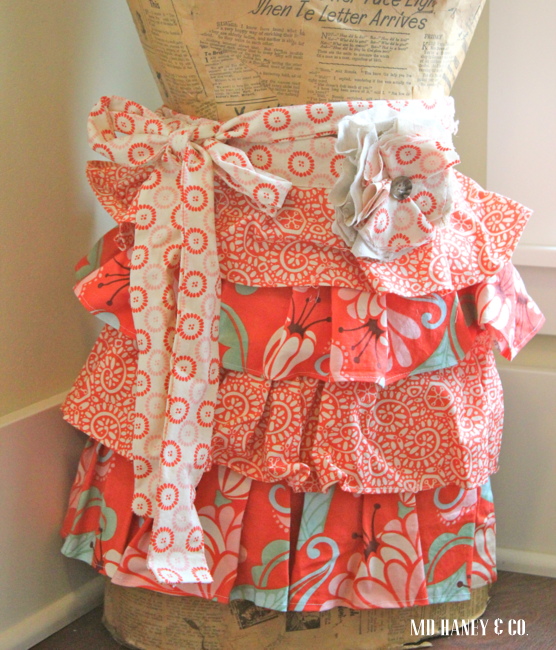
RUFFLED APRONS :: a non-tutorial

I am really bad about taking photos of my projects.  I am usually rushing to get through the project and I just go on  and forget!

I have been trying to work on Walk in the Park projects "here and there".   There is not a lot of "here and there" time with a 2 year old and a 2 month old, but I love to have little projects going.

IMG_1937

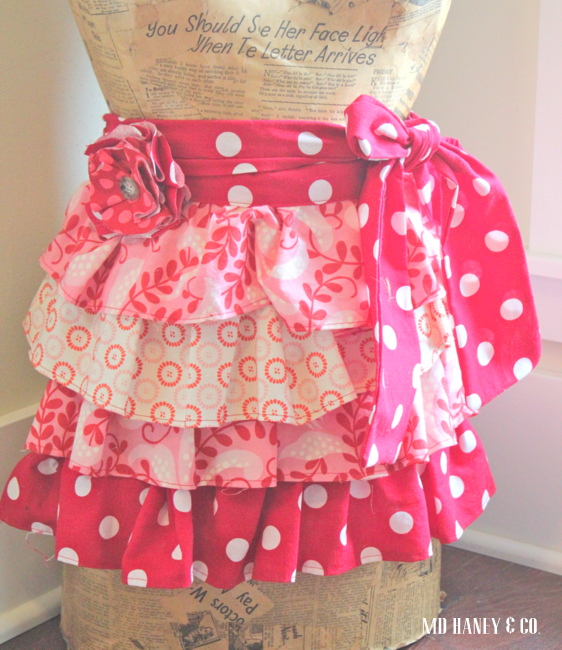
I thought I would sew a few aprons for our booth.

I have a thing for ruffles.

I am not necessarily good at sewing them, but I sure love having them on curtains, pillows, and aprons!

IMG_1938

Since one of my many faults is not being able to follow a sewing pattern, I just started sewing these aprons.  I wish I had detailed step-by-step instructions for you!

IMG_1933

They aren't perfect, but I think they make cooking and kitchen chores a bit more fun!

IMG_1934

xoxo~ Darci

FABRIC FLOWER POSY :: a tutorial

I know there are a lot of flower posy tutorials floating around the internet!  There are so many cute styles to choose from!!  I thought I would share my favorite fabric flower posy, it is super easy, and a great way to use up those cute fabric scraps!

fabric

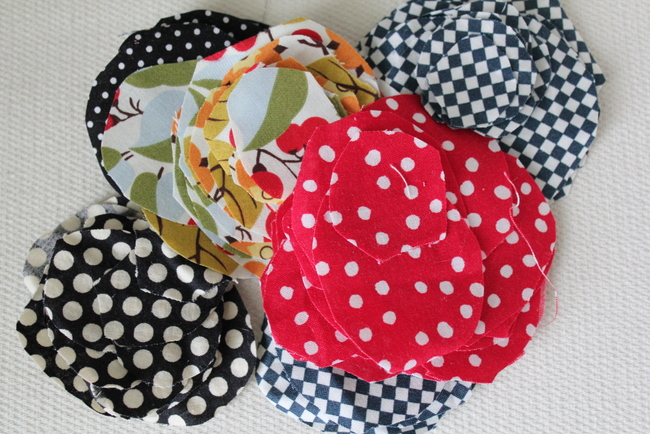
 First, you want to gather your fabric pieces.  I just use left over scraps, but of course you can by specific fabrics!
fabric

circles

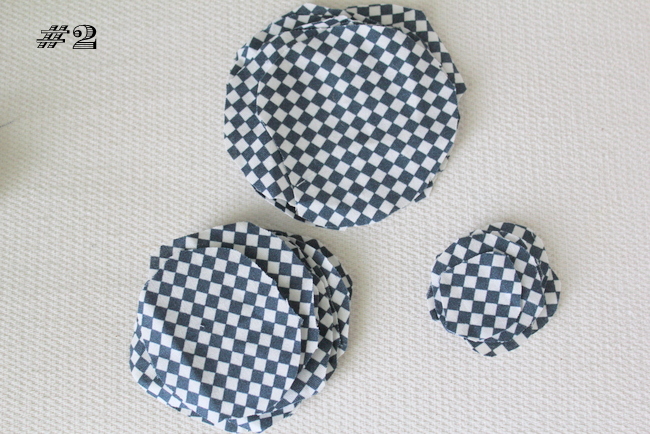
Next you want to cut your fabric into two or three different sized circles.  I used a small canning lid for the template of my largest circle.  The sized and cut the other two accordingly.

fabric

If I am going to take the time to make a flower posy, I cut up plenty of fabric pieces.  It is much faster to make several at once as opposed to one at a time.

IMG_2902

You will want to cut a felt circle, about the size of your smallest fabric piece.  You will be hot glueing your fabric petals to the round piece of felt.  I will show you the felt in a couple of steps....I forgot to take a picture of it!
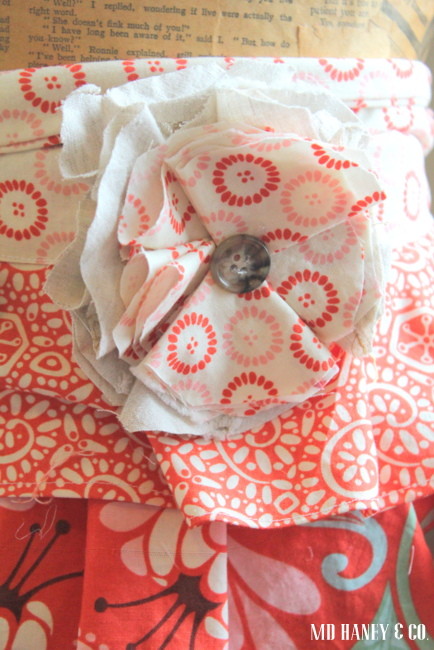
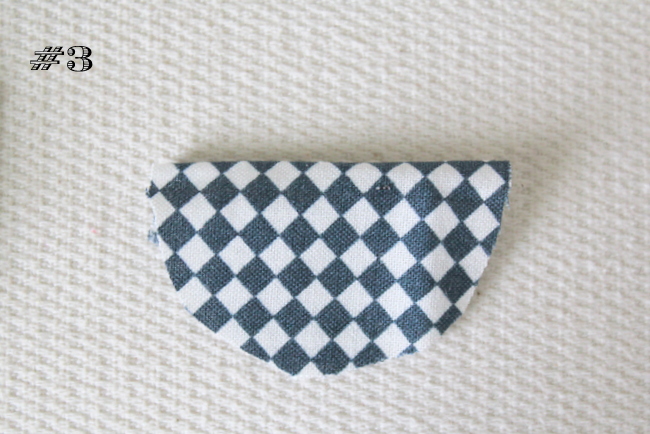
Fold your fabric circle in half....

IMG_2903

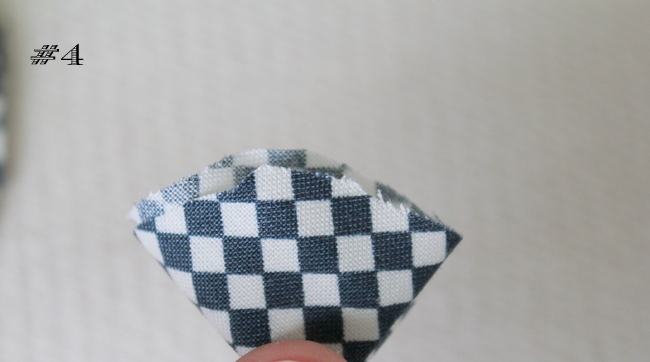
and then in half again.  Put a dab of hot glue at the bottom intersection of the fabric so that the petal holds this shape.

IMG_2909

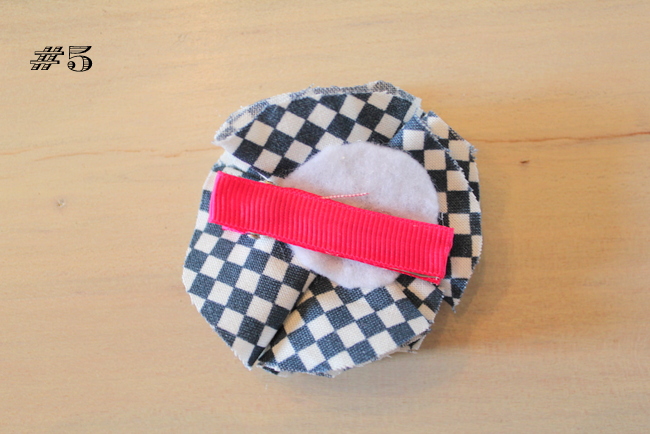
Glue all of your folded fabric pieces to the circle of felt.  You can layer folded fabric pieces to make your posy extra full.  I glued a hair clip onto the back.

IMG_2910

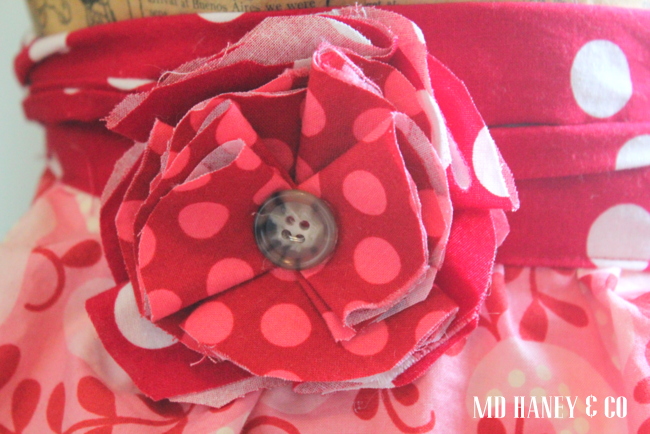
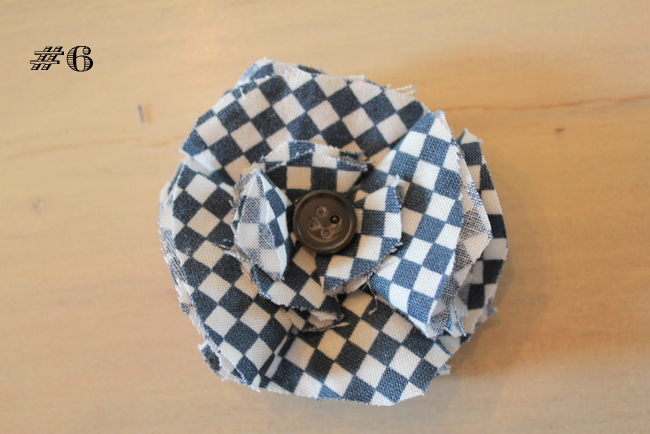
You can sew or glue a button, or any cute embellishment.

IMG_4429

I love making them for Addilyn's hair.  However, I also love adding them to my sweaters, tops or bags.....the possibilities are endless!

Happy creating!!