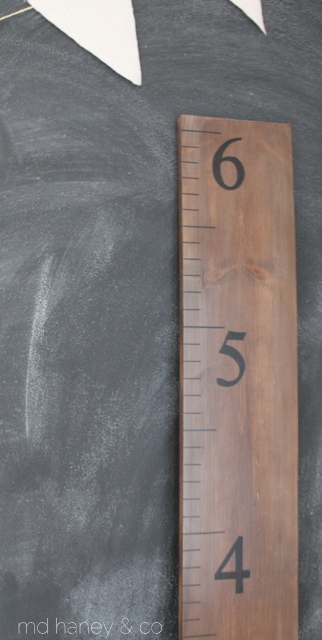
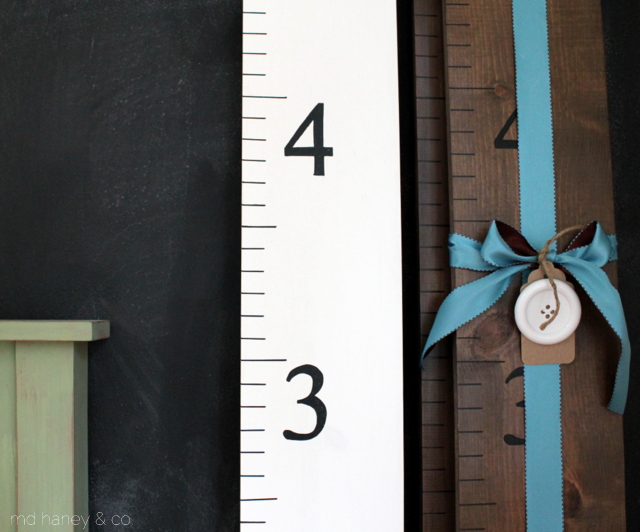
hand made growth charts
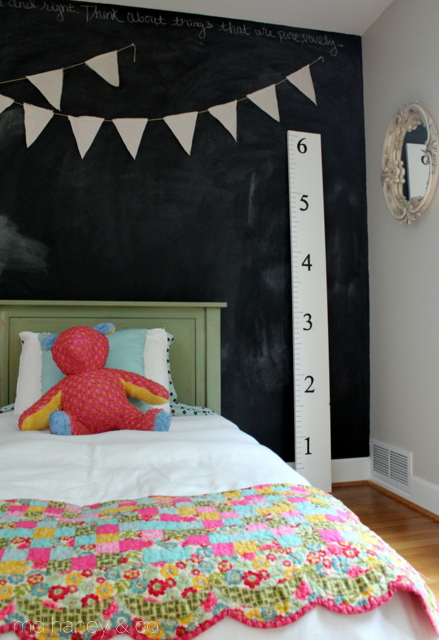
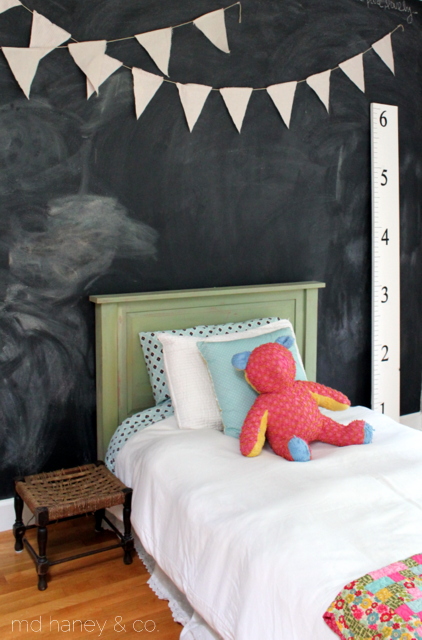
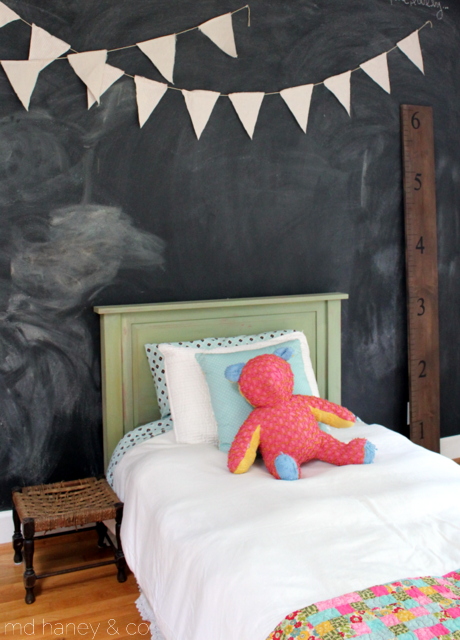
/It must be the time of year, a few weeks ago I received requests for 4 custom growth charts, all within a two days. The last time I made a growth chart was at least 4 months ago, it's so funny how things ebb and flow!
I know that there are a gazillion growth chart tutorials online, but I thought I would share the way that I make them, and hopefully inspire someone to make their own growth chart! They take a few hours to complete, but I break mine up into stages and the results are so worth it!!
Supplies Needed:
~ 6' pine board, (the width can be whatever size you prefer)
~ paint and wax (I used Annie Sloan Chalk Paint® for the white growth charts (Pure White) and Miss Mustard Seed Milk Paint for the dark growth charts (Curio). I used Annie Sloan clear wax for both growth charts.
~ black paint pen
~ ruler
~ saw tooth hooks
1. Paint the board, both sides. Wax with clear wax.
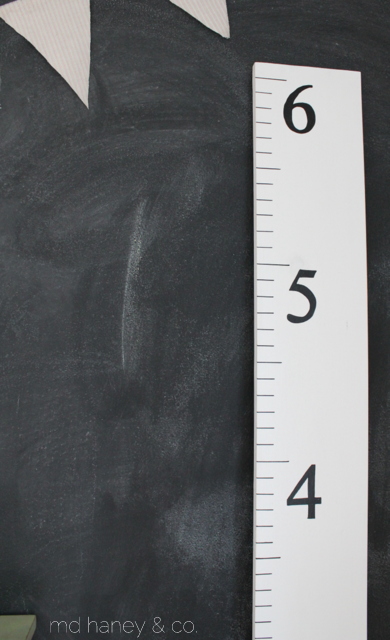
2. Using a sharp pencil and a ruler, mark the side of the board every inch. The pine is soft enough that you can press the pencil into the wood and it will mark. (I lay my board on the work table/counter, it's best to do this with the board horizontal.) Once the inches are marked, go back with your straight edge and make a line at every inch. I use the marks on my ruler as a guide.
3. Use a paint pen and a straight edge to go back over the pencil marks. The paint pen gives crisp, bold marks.
4. Print off numbers 1-6 in your preferred font, I use TIMES NEW ROMAN. Trace the numbers with a pencil. Again, the pine is so soft that you will easily see your tracing line.
5. Color in the numbers with the paint pen.
6. Attach the saw tooth hook to the back and your growth chart is finished!
This would make a fun baby shower gift, new mama gift or just a gift to yourself ;-) One of these days I am going to make some in fun colors! What color would you choose?

