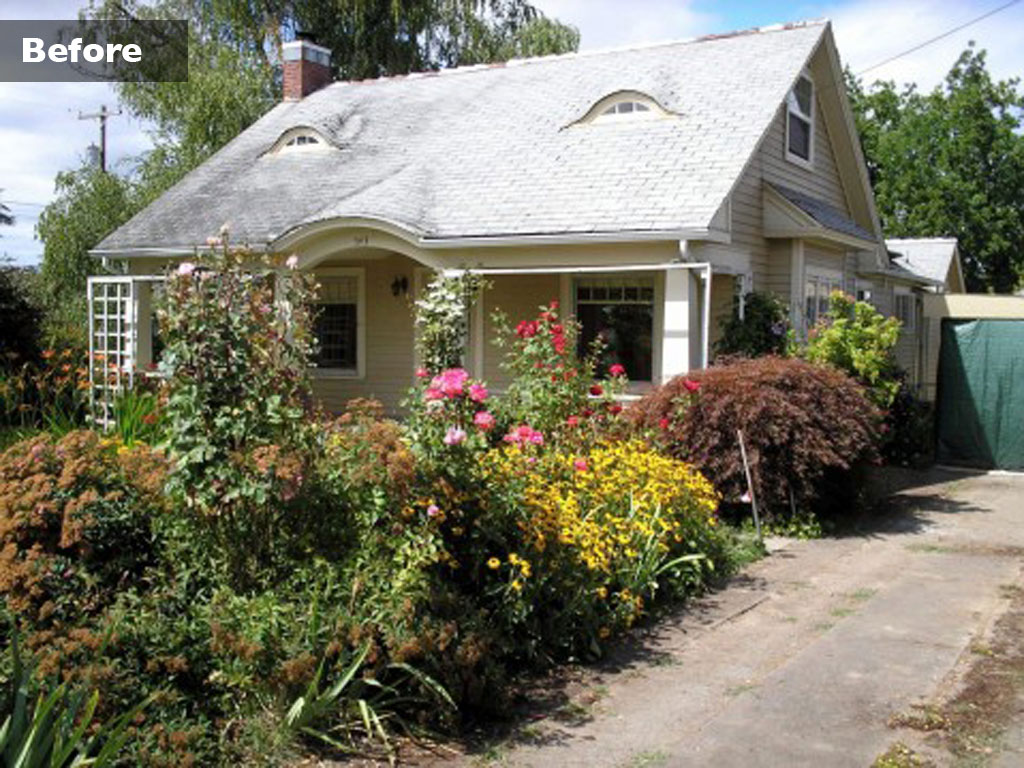
McMINNVILLE REMODEL || before + almost after

For the past 5 months Matt has been working on completely remodeling this cutie of an old house.  The house was taken down to the studs, thoughtfully designed and carefully put back together.  

Park Drive

** I hope to get some finished photos within the next month....including the exterior.  Since this picture, the door has been painted, beautiful new exterior lights have been hung, and the landscaping has been finished.**

I stopped by on Friday as Matt was wrapping up a few little details.  The owners have completely furnished it and there are a few little construction details left too.  As soon as both those are done, I will get some "after" photos!

So, starting downstairs "before".....

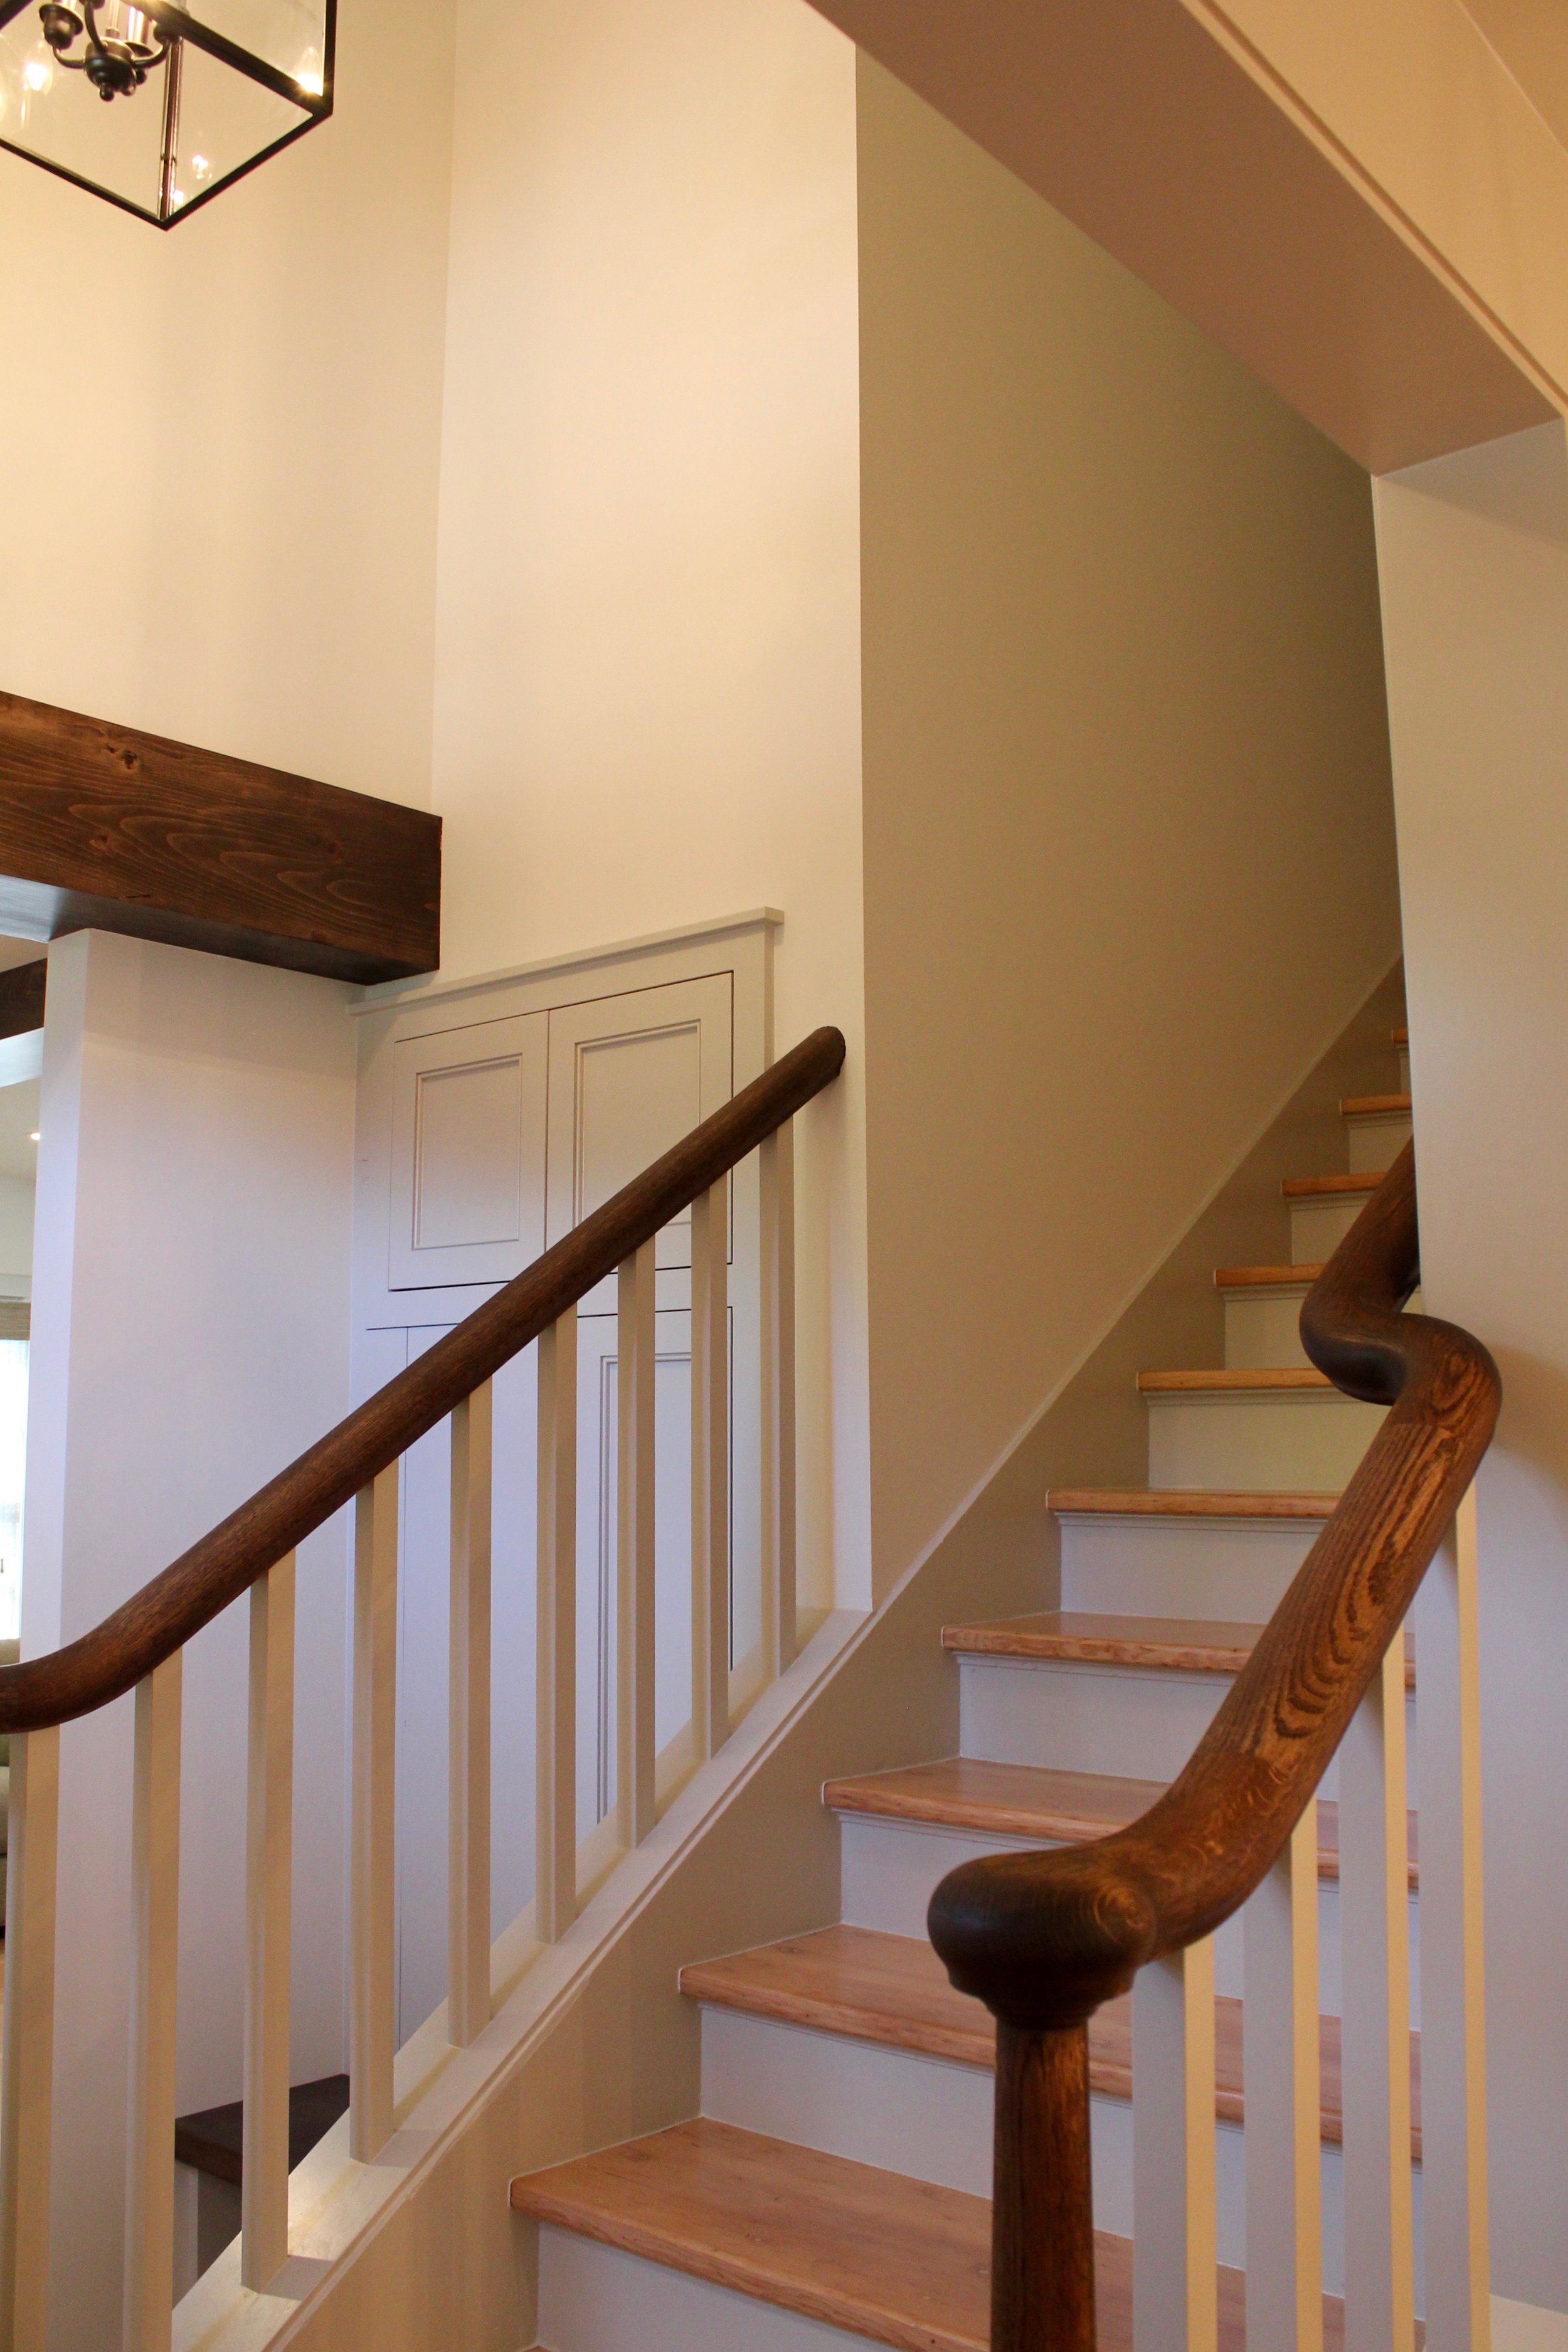
After......Matt removed the a lot of walls and "stuff" in the way, now the entry is open and inviting!!

entry
entry

Isn't this little built-in bench and storage just the cutest?  Now there is plenty of room to walk in, have a seat to take off muddy boots, and a place to hang your coat and purse.

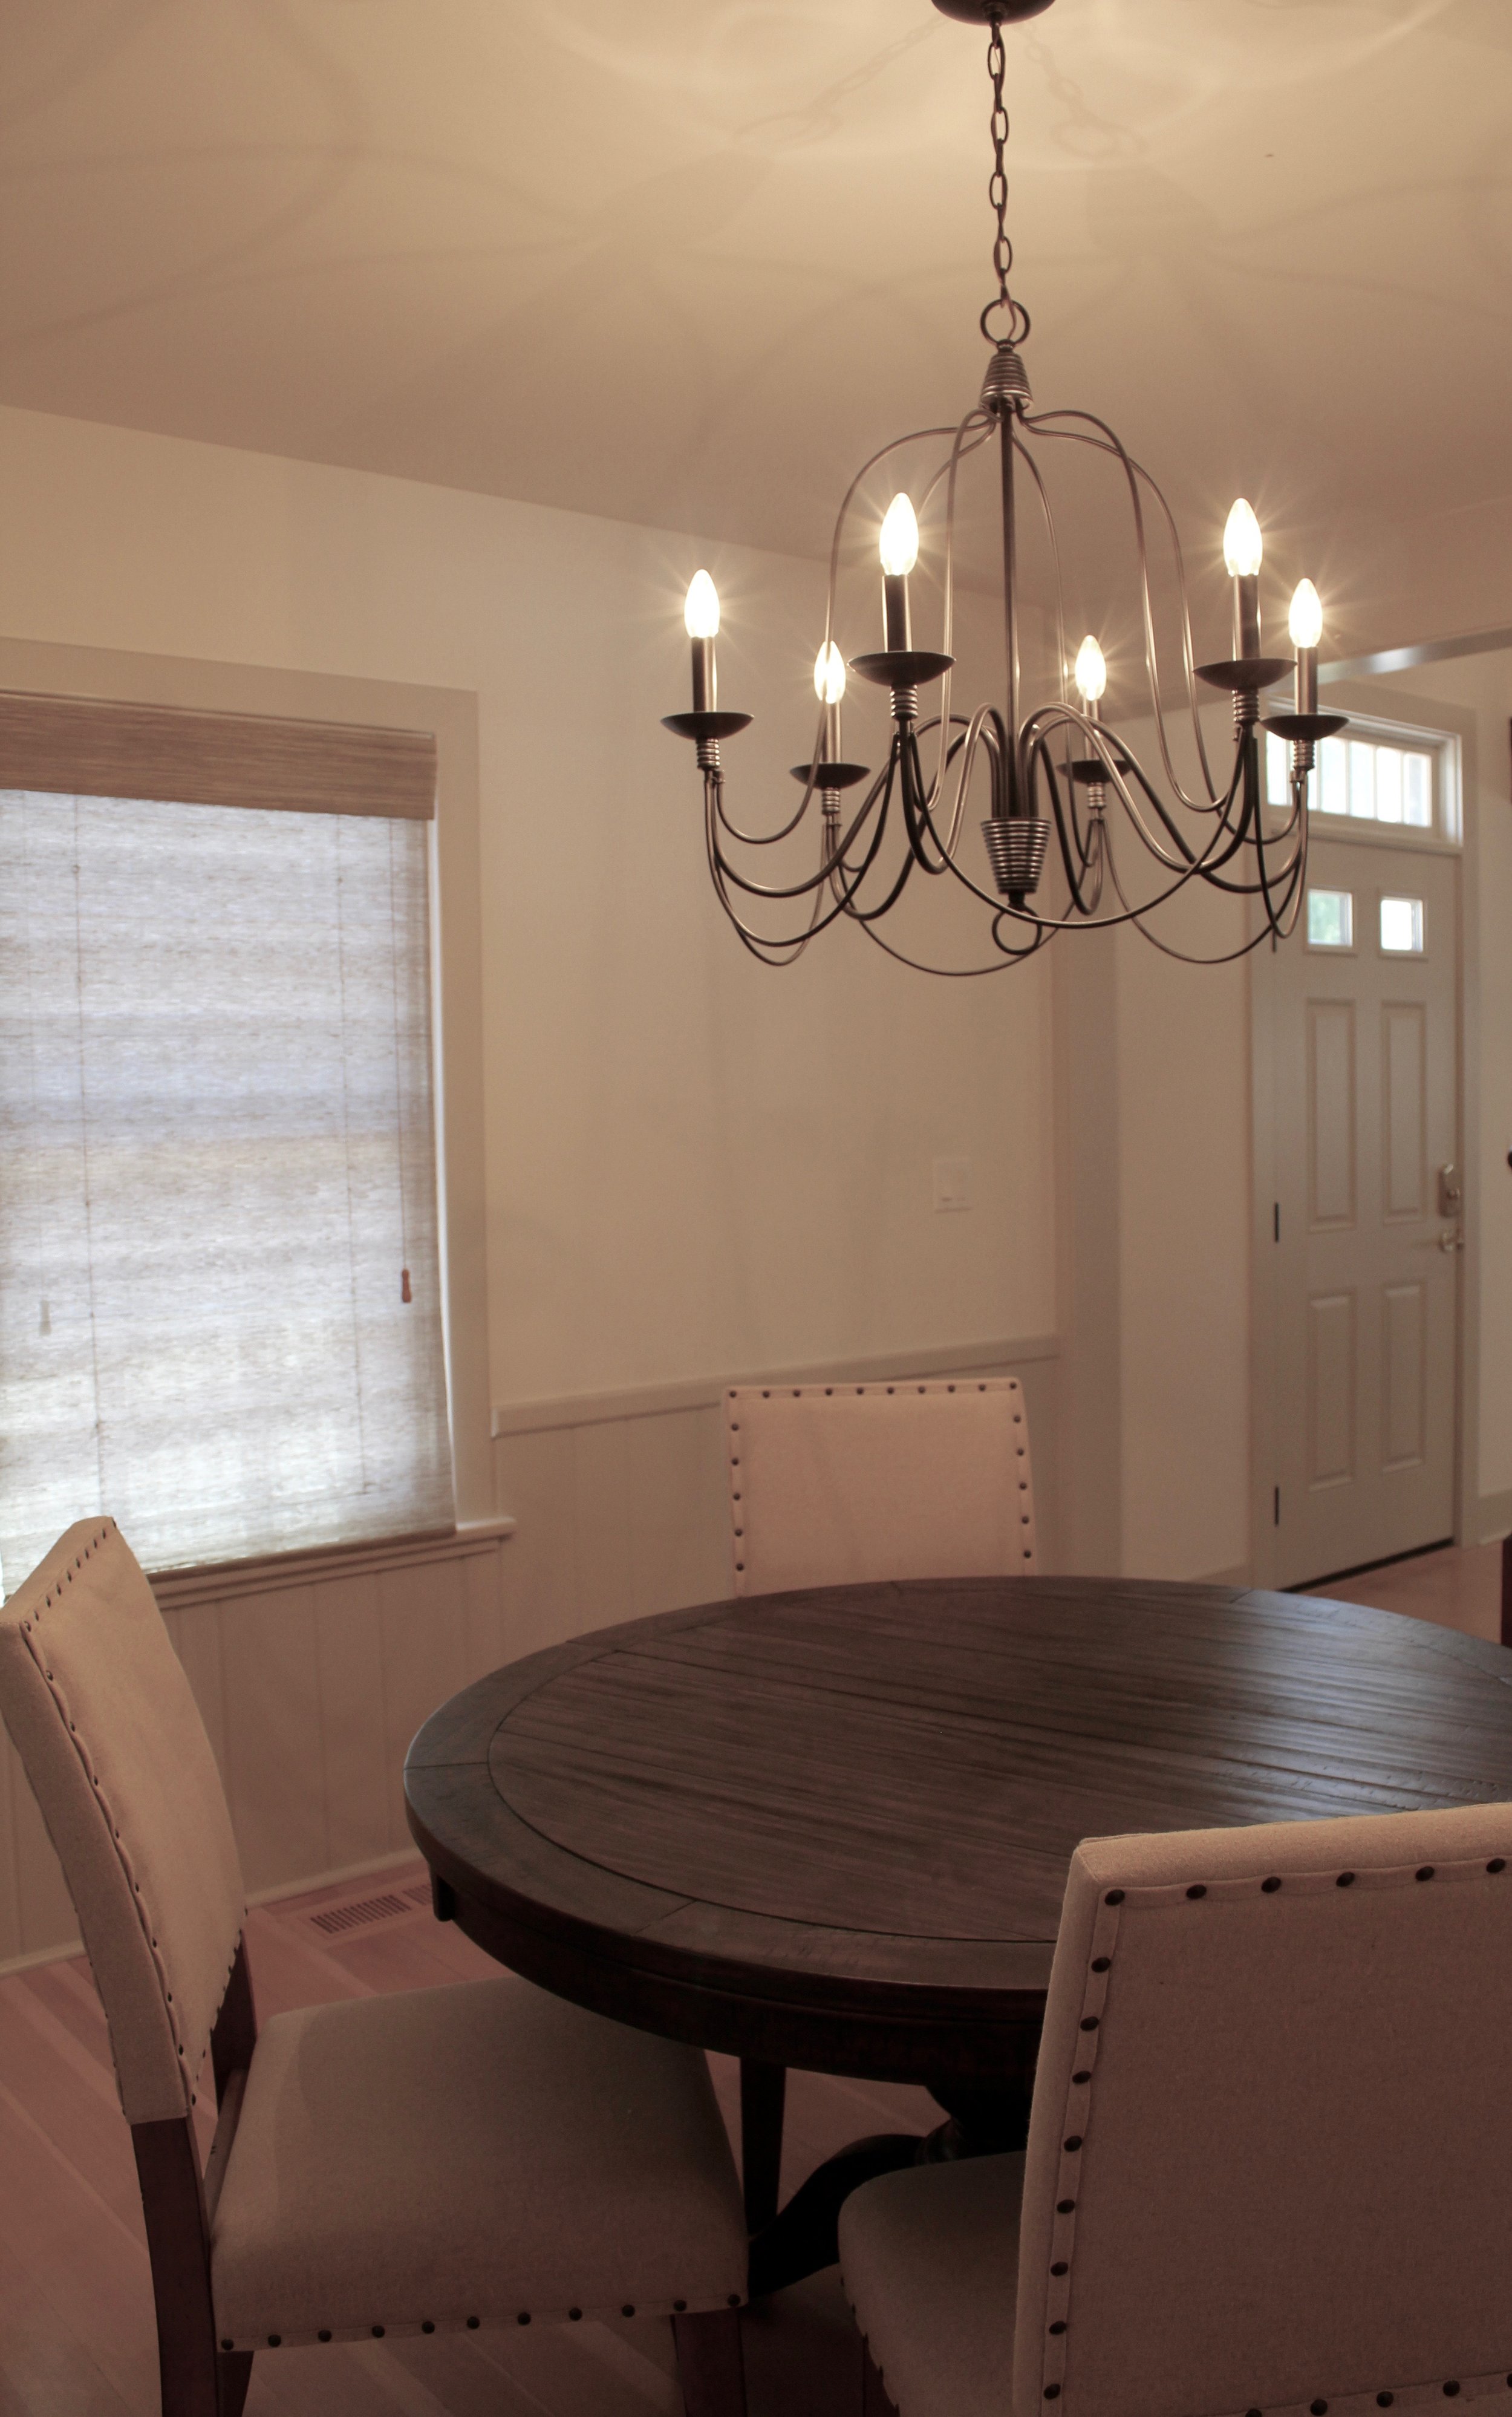
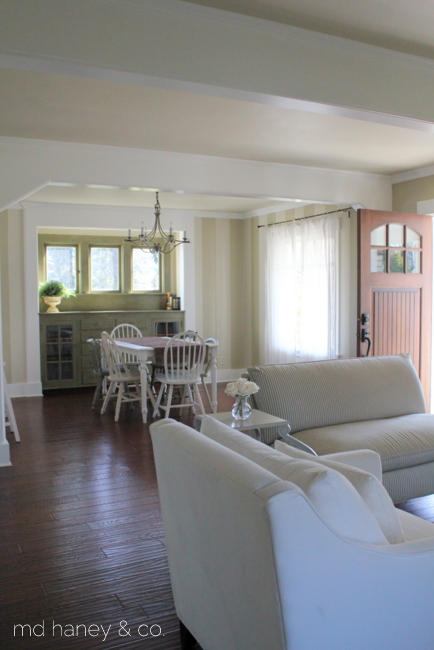
After heading through the front door, you can head to the right and right into the dining room....

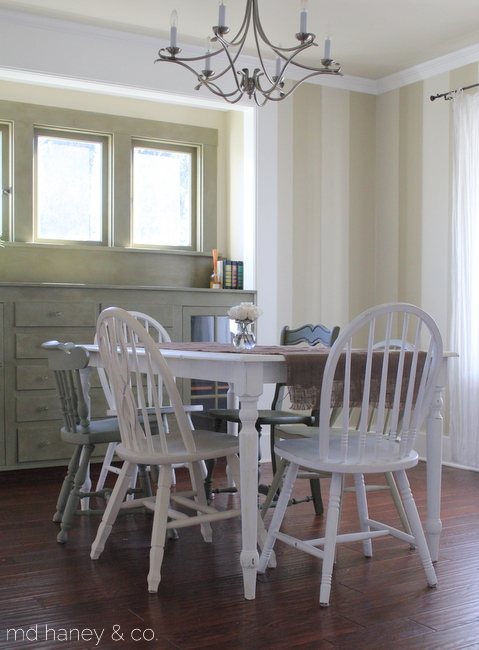
dining room
dining table

As you head through the dining room, you can enter the kitchen to the left, or head down the hallway towards the powder room.  

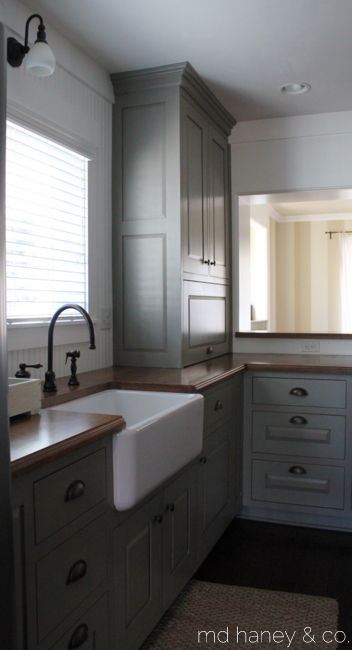
The kitchen before......

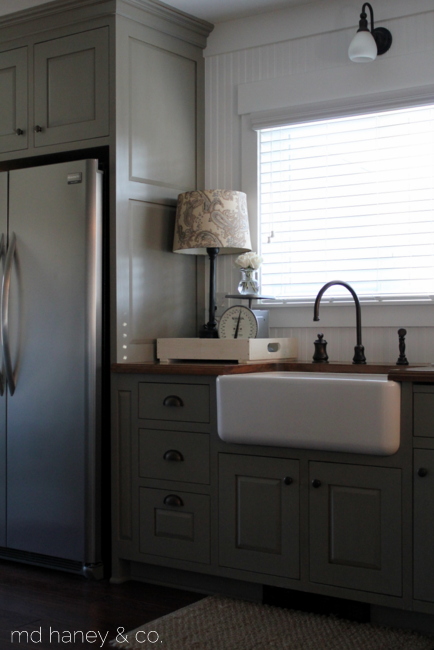
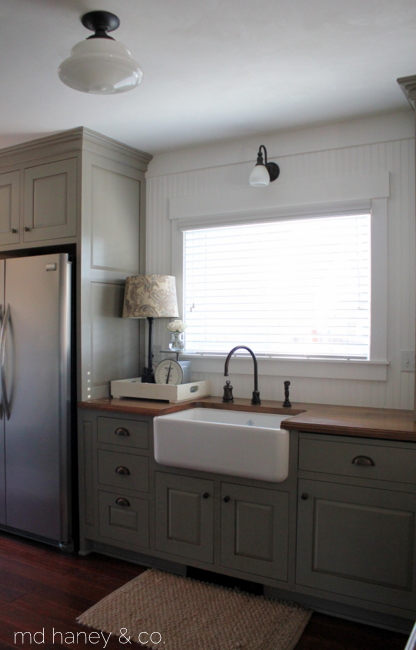
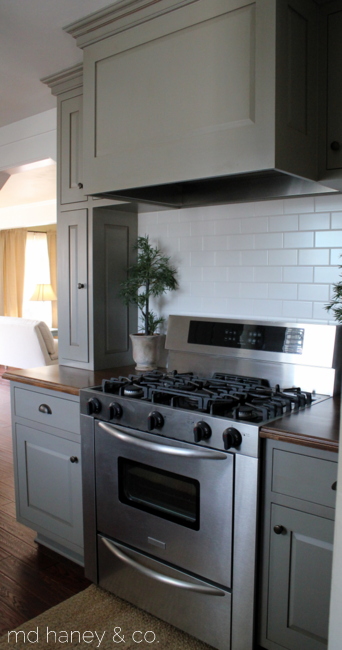
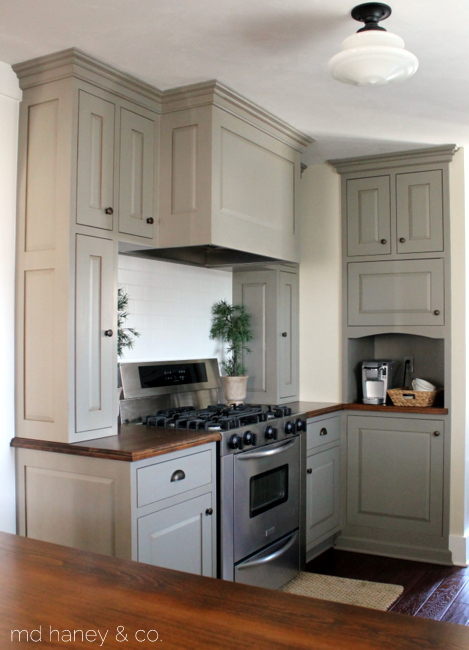
And after.....

pantry

I love this built-in pantry!  One of my favorite features in the kitchen!  Matt built all of the cabinetry and custom built-ins.   He did all of the finish as well, to me, that's where so much character is added!  And don't even get me started on the attention to detail!  I am sure I notice it more than most people because I see all of the work that he puts into a project, but the beauty is definitely in the details!

pantry
desk area

The kitchen is open to the living room, the beautiful back yard and the sunroom.....

kitchen

The living room before.......

before

And the beautiful living room now......

livingroom
open living room
sunroom
entry

The wood floors turned out beautifully!  There was a lot of thought and research that went into the finish for these fir floors.  We refinished the existing and added new and needed them to tie in beautifully.  The owner also wanted them to have a bleached look, and nothing too orange..it was quite a process but we got there and I wish you could see how beautiful they are in person!

Another before photo of one of the bedrooms.....

bedroom before

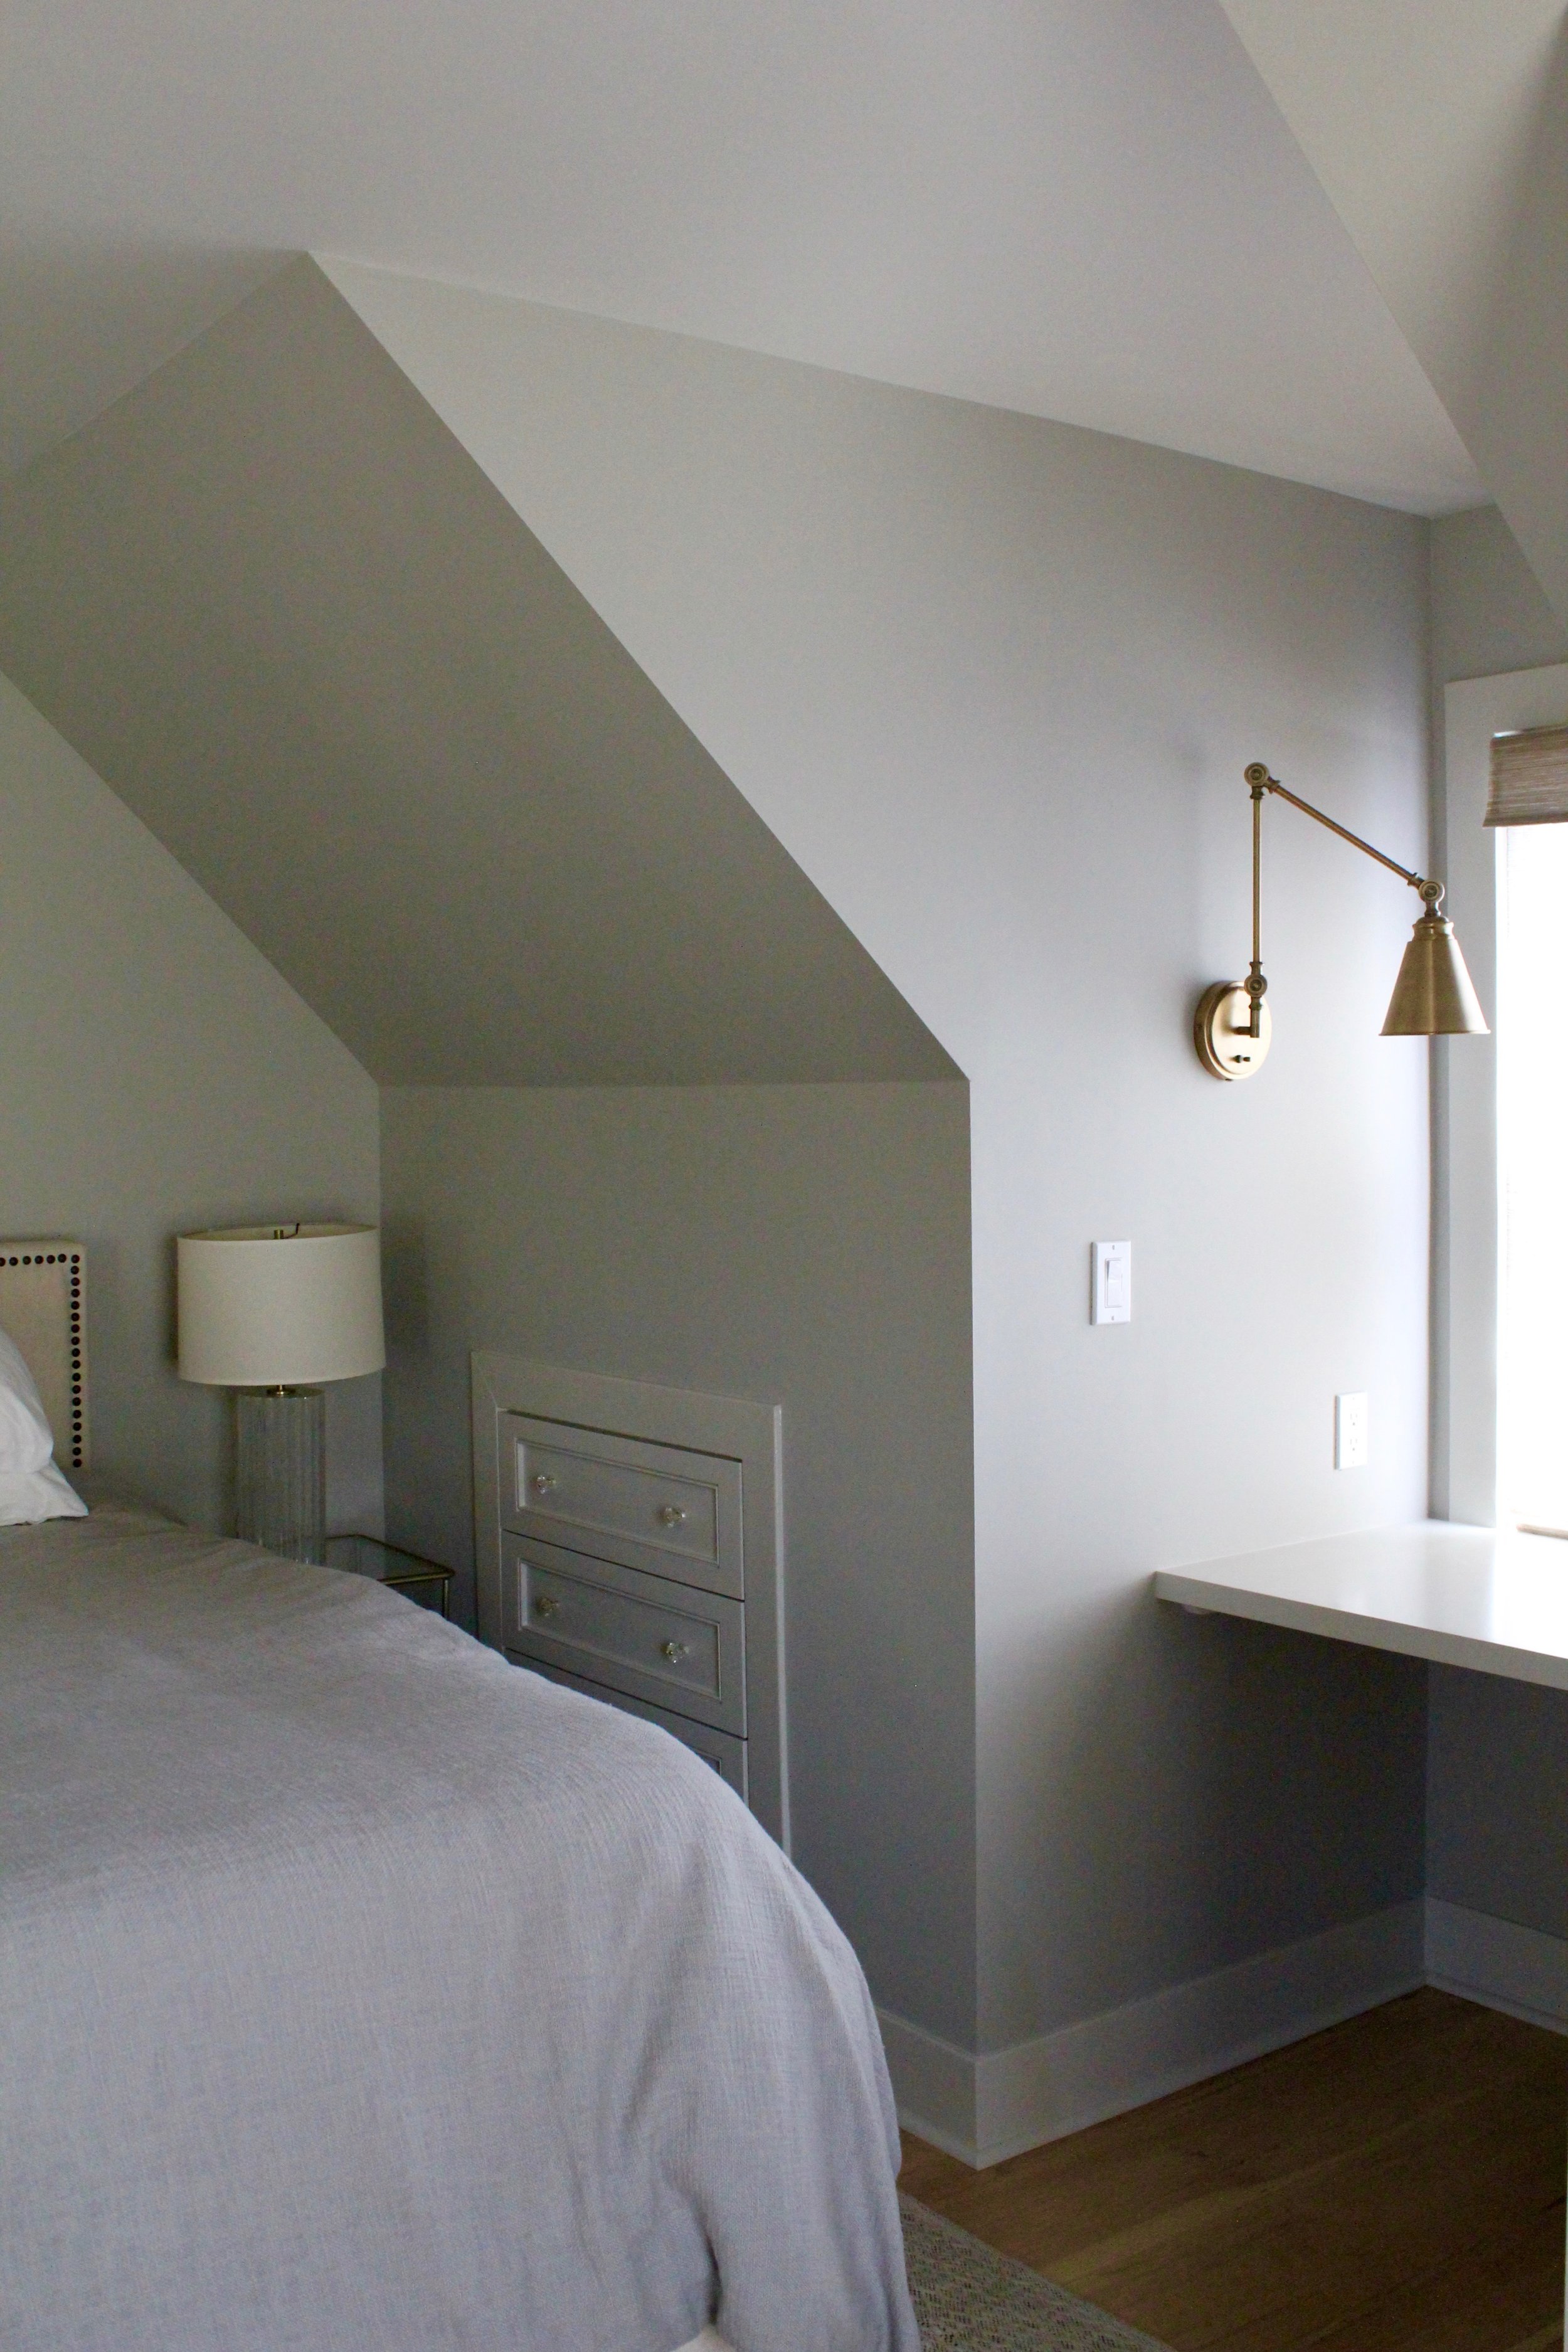
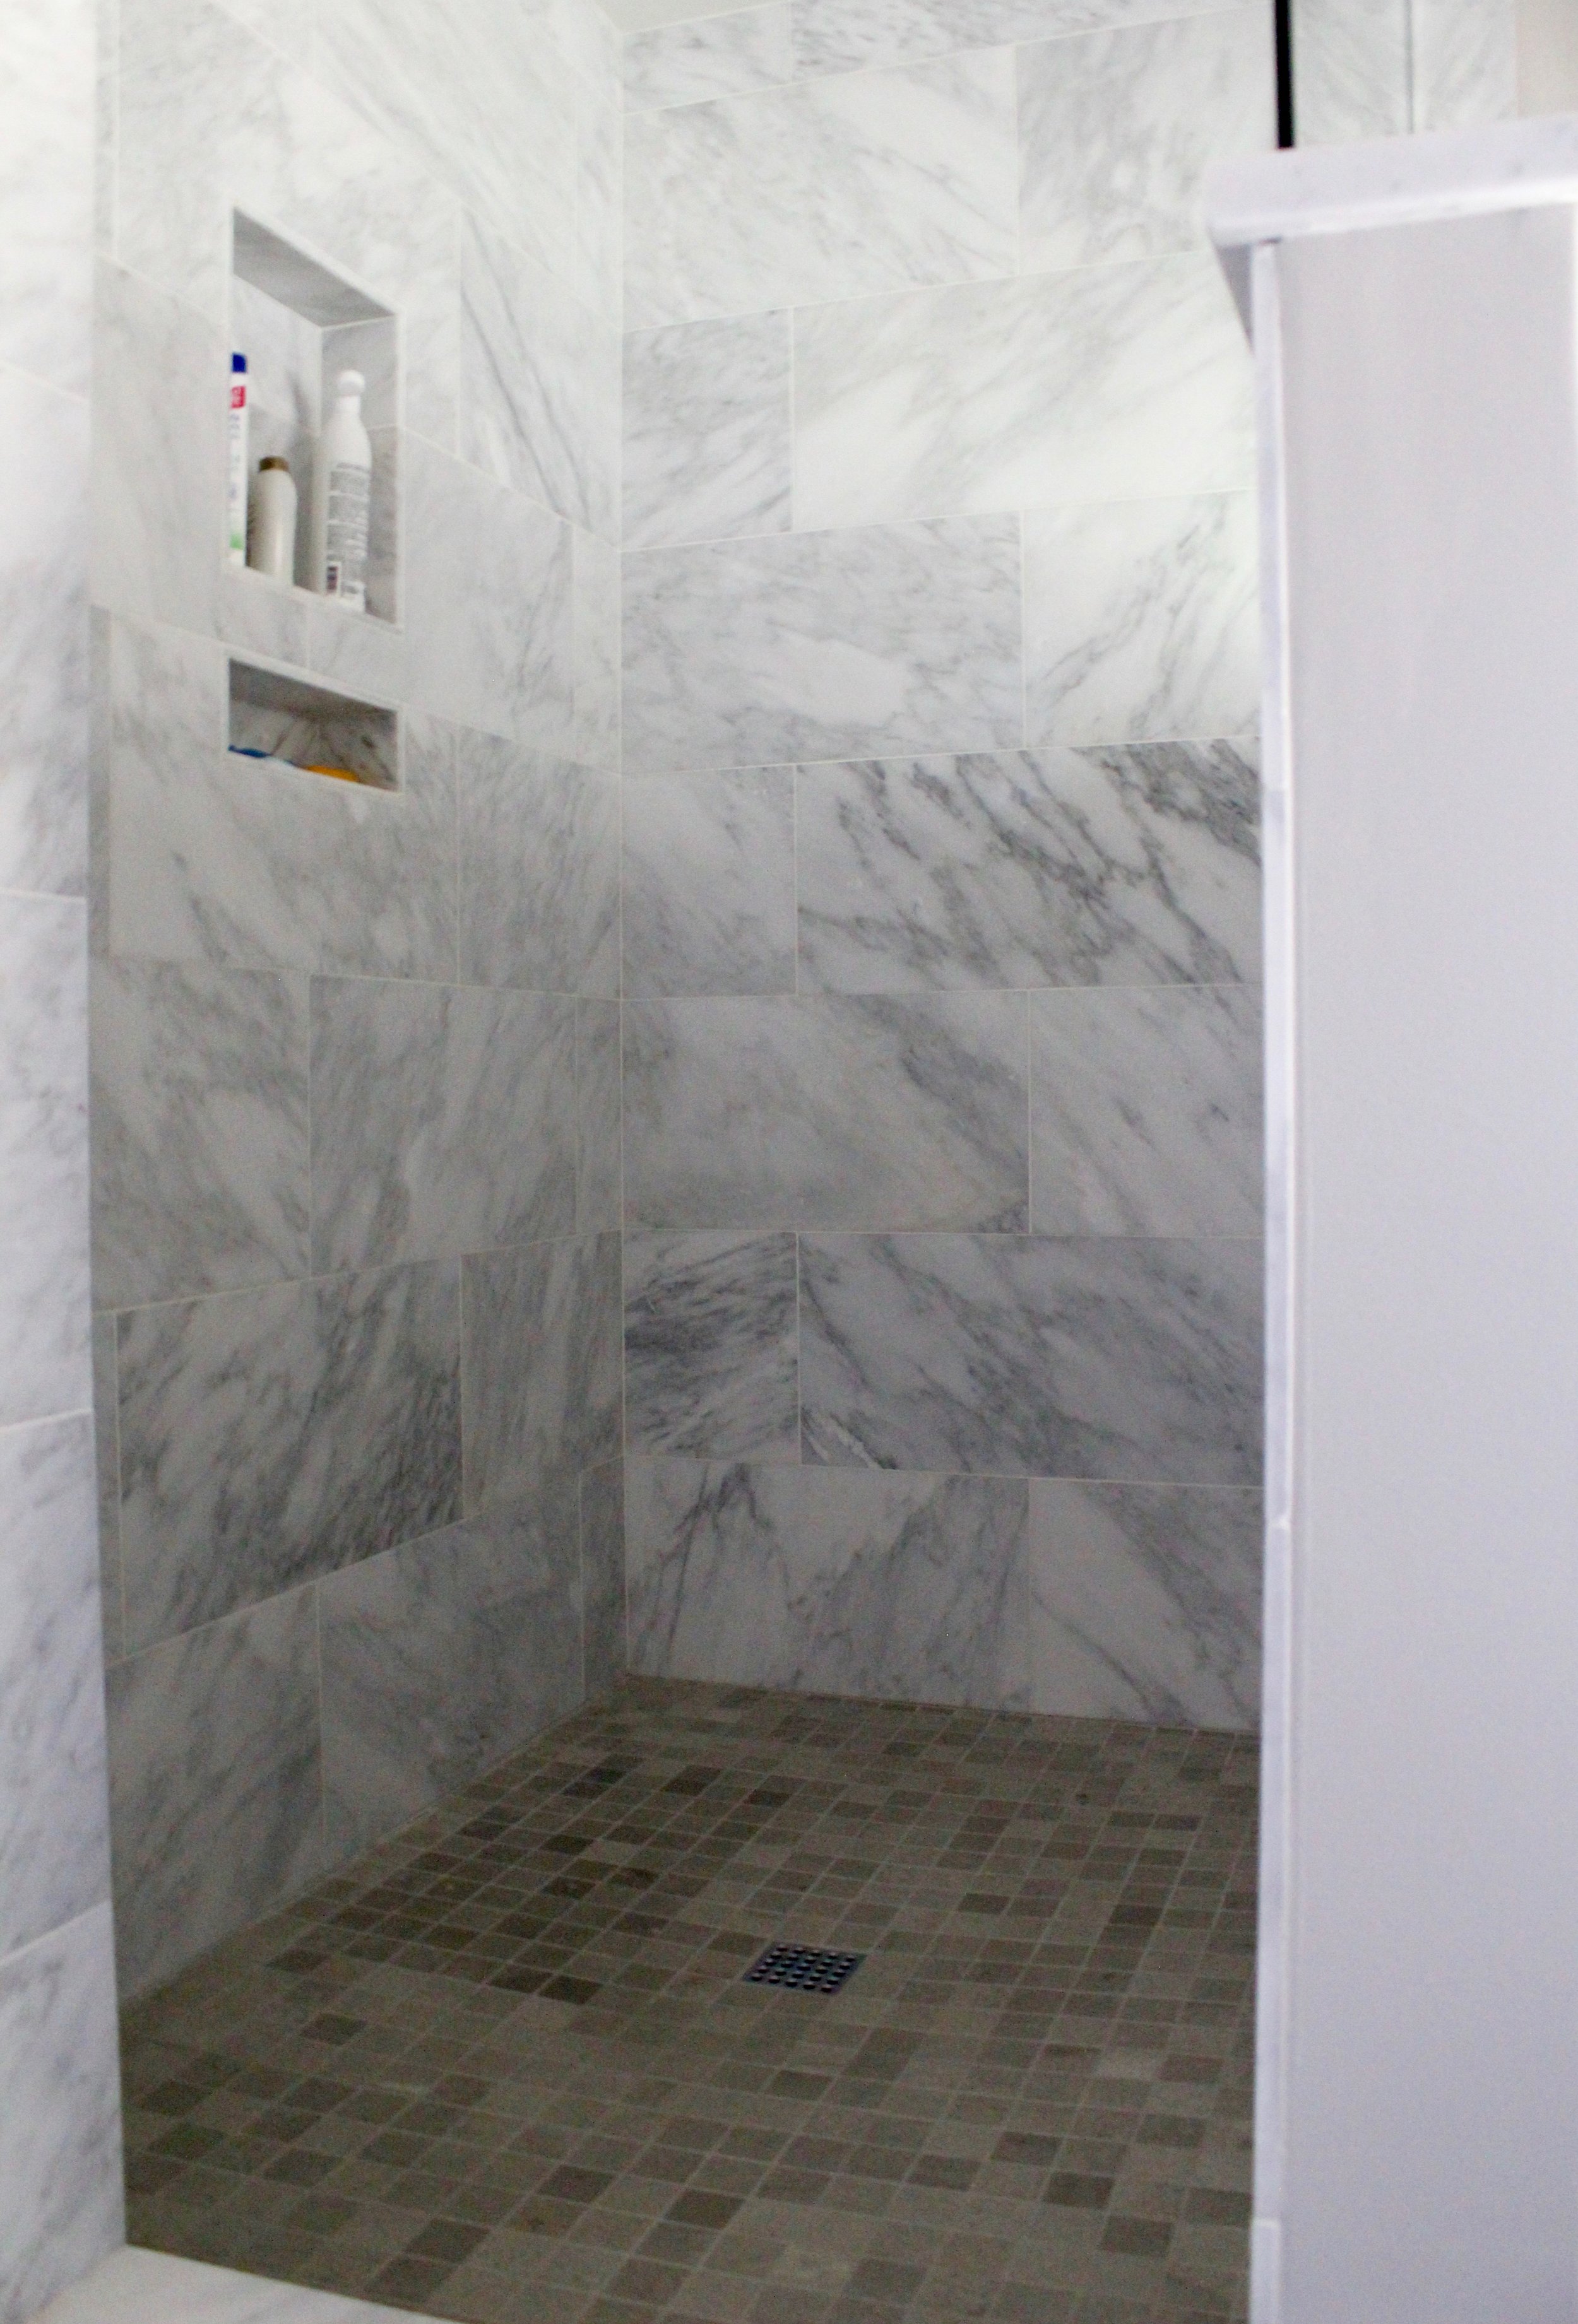
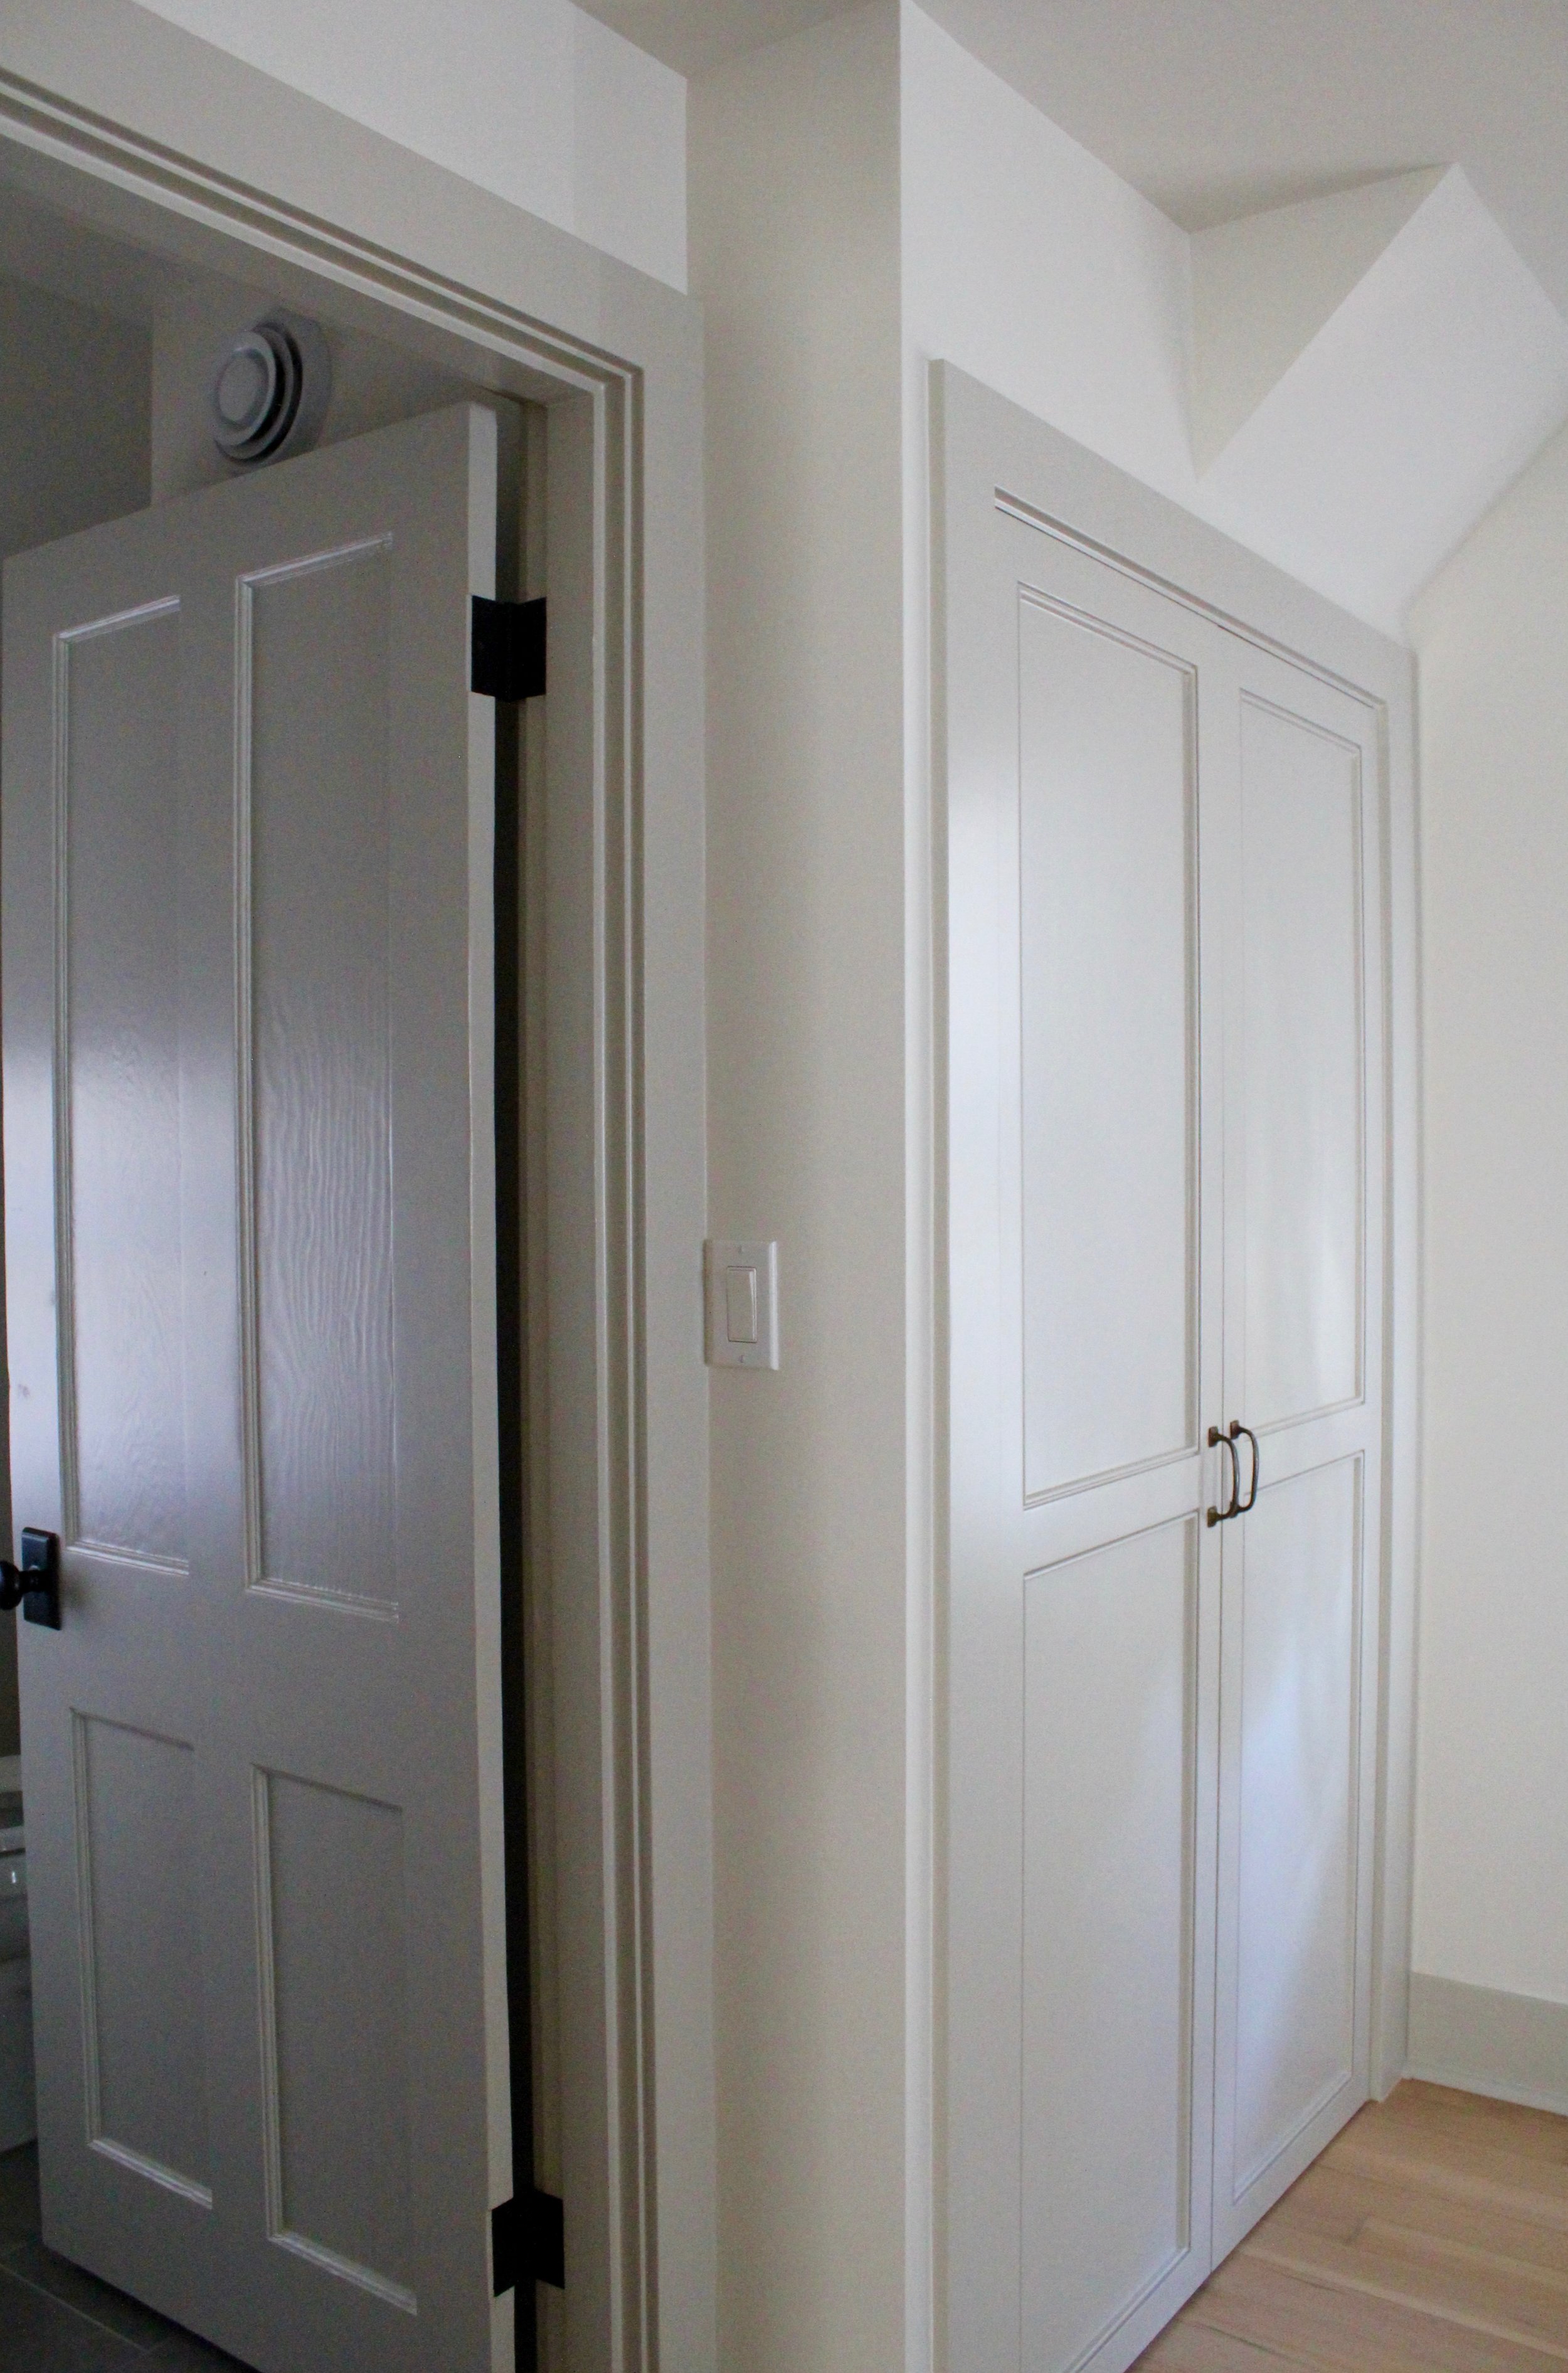
And some after photos of the upstairs.  Matt added a laundry room and a bathroom, the upstairs is now so comfortable with two en-suites and a laundry room.  I am telling you, it's the best of both worlds.....olld house charm with modern amenities!

bedroom
built-in
bathroom
shower

A dear friend, who was also the listing realtor, stopped by when I was there on Friday.  She commented that it looks like a brand new house, and it does.  You are probably sick of me always saying this, but my dear hubby is incredibly talented and a very gifted craftsman.  Not one detail slips by him.  It can drive me a bit crazy at times, but it sure makes for incredibly beautiful spaces with well thought out designs and well executed craftsmanship! 

hallway
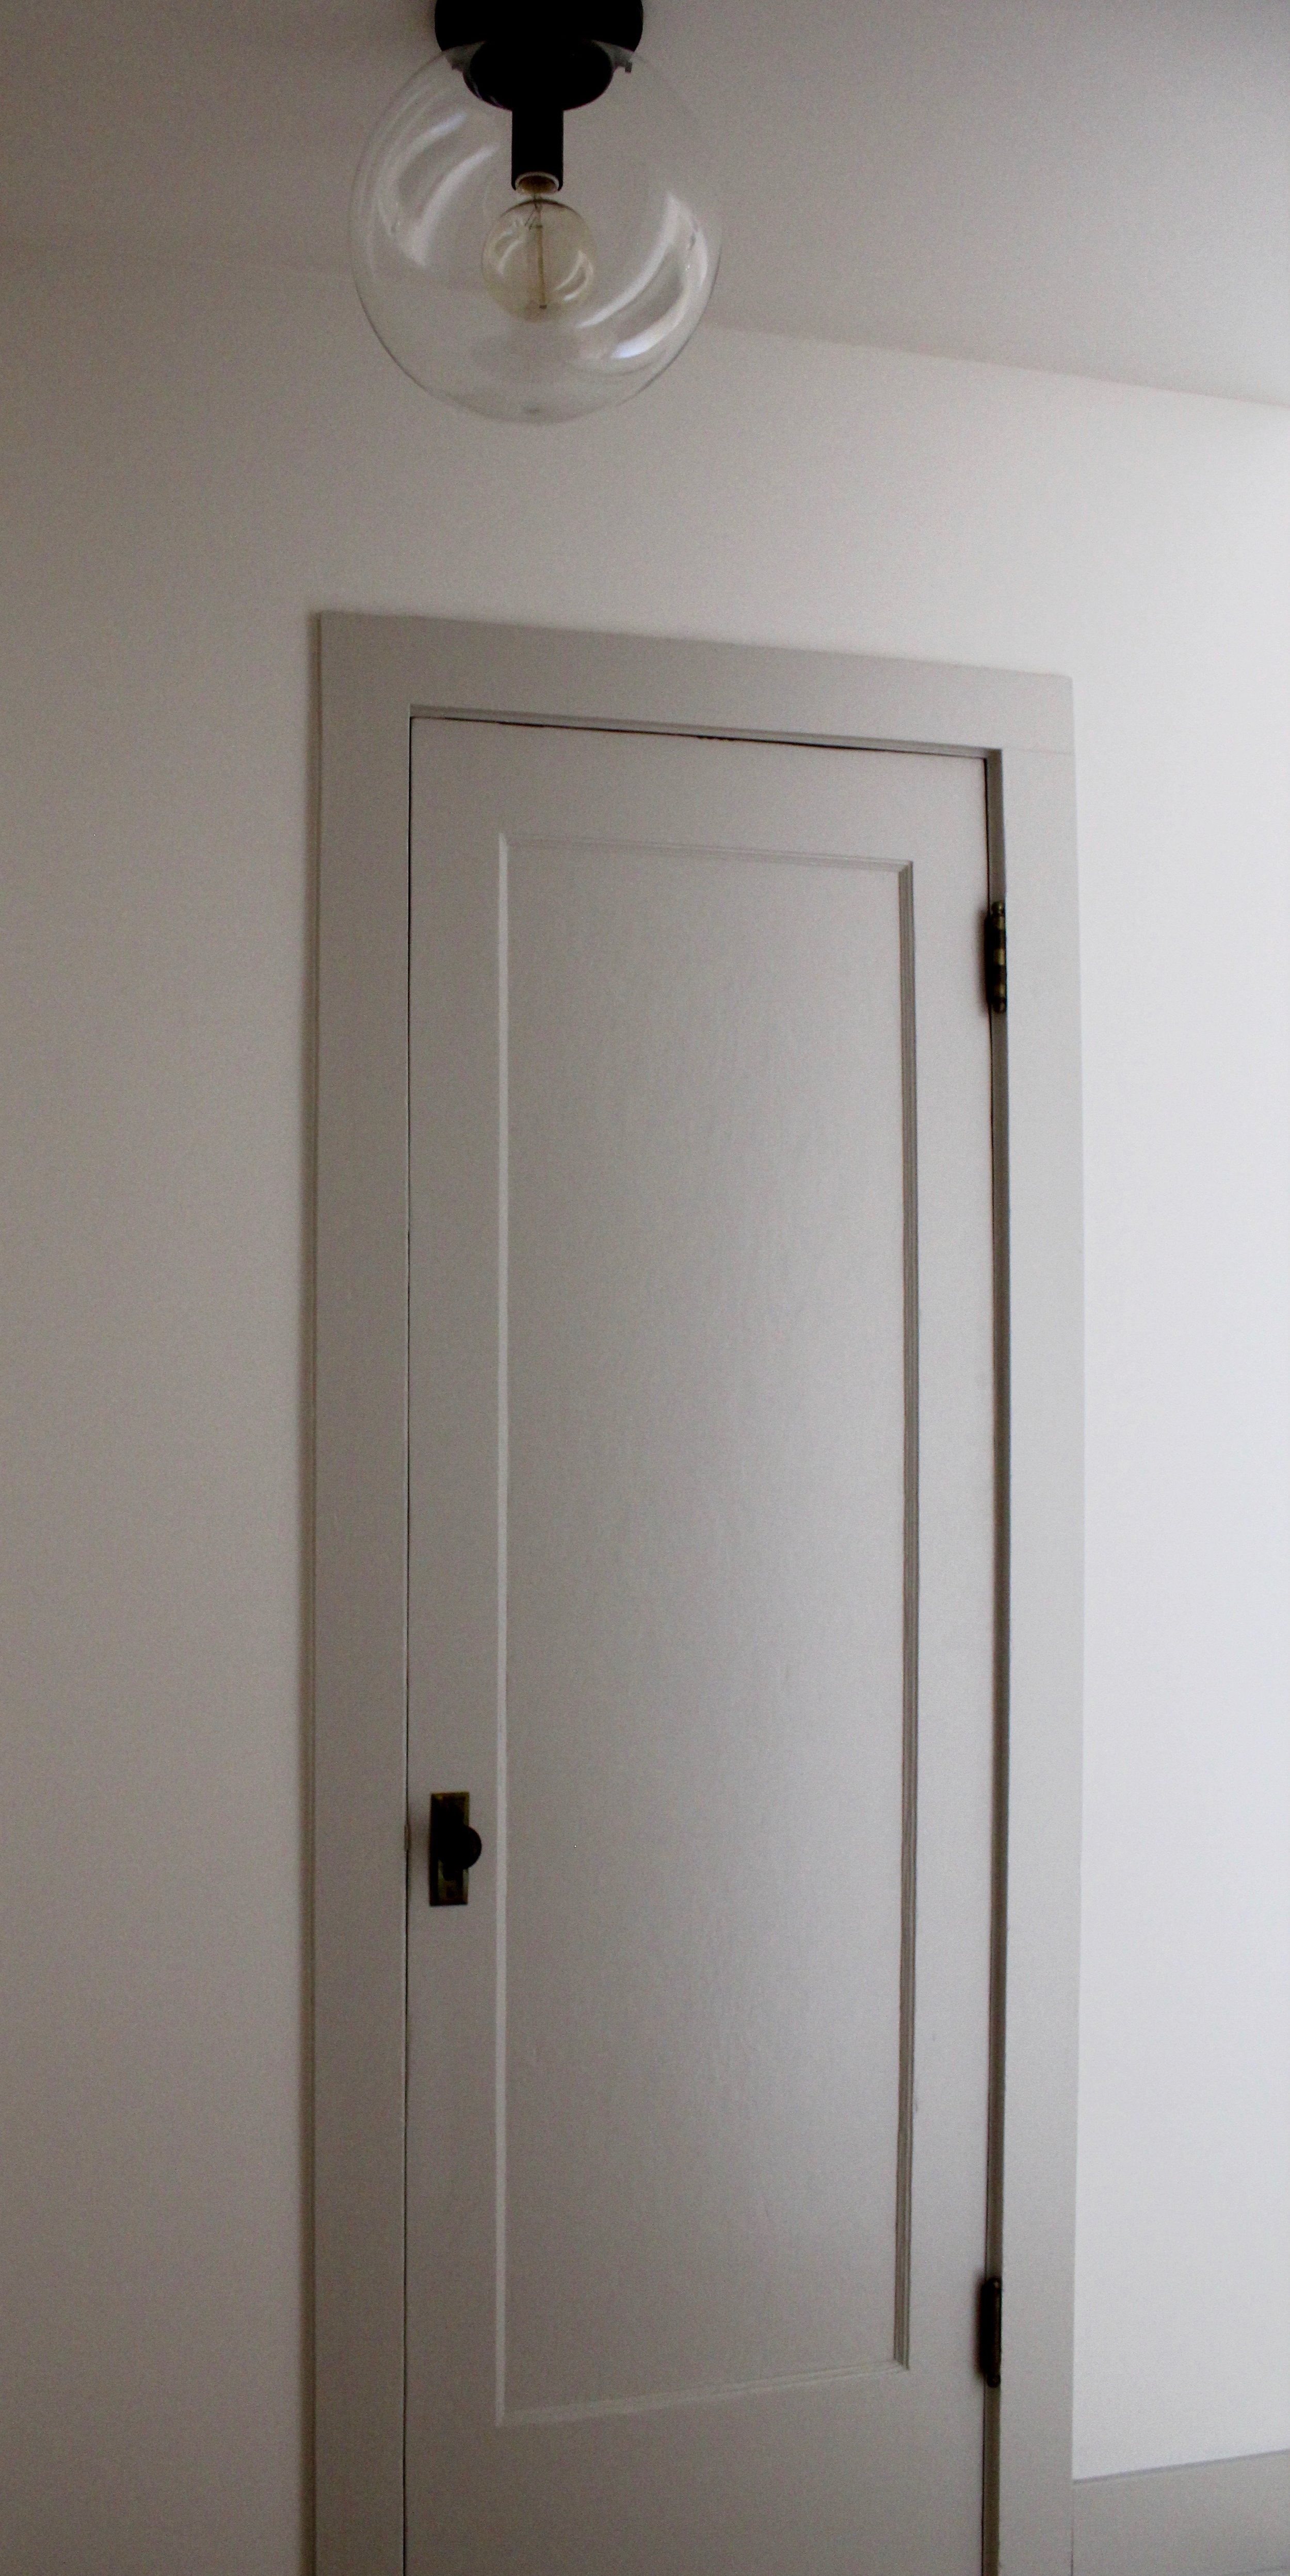
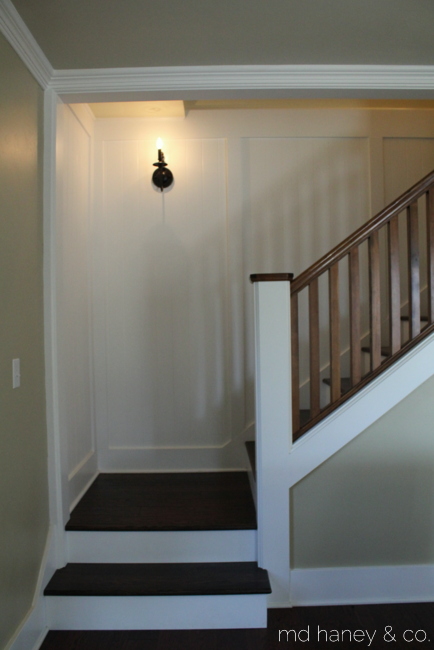
hallway light

I will definitely post better photos with more of the bedrooms and bathrooms, plus a lot of material and selections information.  

This sweet little home took A LOT of creativity, construction smarts and time, but it sure looks clean, open and inviting! Can't wait to share better photos soon!!  

Happy Independence Day friends!

French Country Farmhouse || custom cabinetry

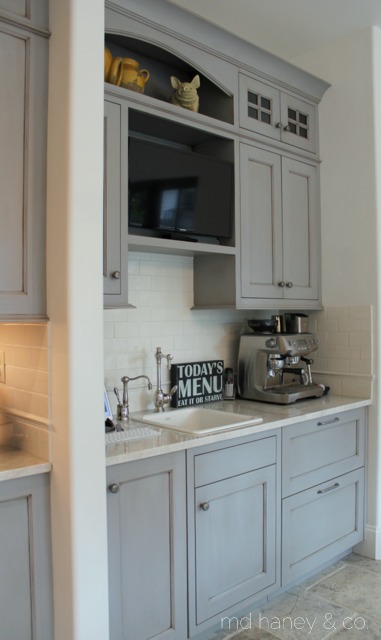
Last year we started to work with the greatest.clients.ever.  Truly, they are exceptional people and it has been an honor to work with them.  They built (actually, it's still under construction) their dream home and Matt was hired to build all of the custom cabinetry.  The clients were working with two sweet and talented designers.  My role was to help with paint colors and technique, as well as paint some of their existing furniture.  It was such a fun and challenging  collaboration! Hopefully we will have a professional photographer into photograph the home when Matt has wrapped up all of the little details.  But, the girls and I went to visit today and I snapped a few pictures.  I couldn't wait to share....

IMG_6695

IMG_6697

IMG_6703

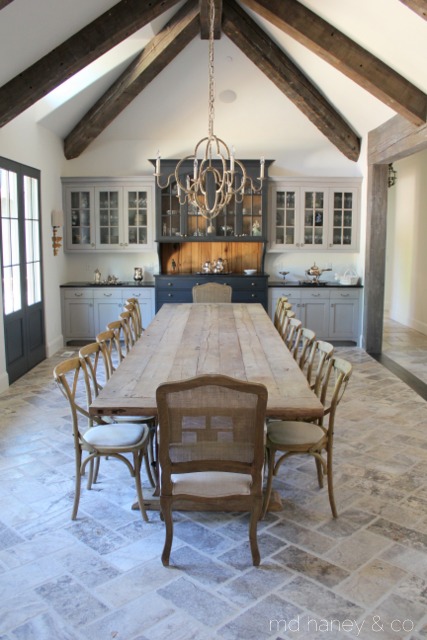
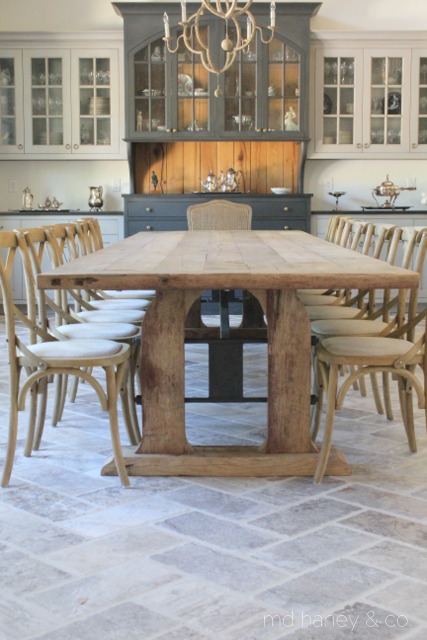
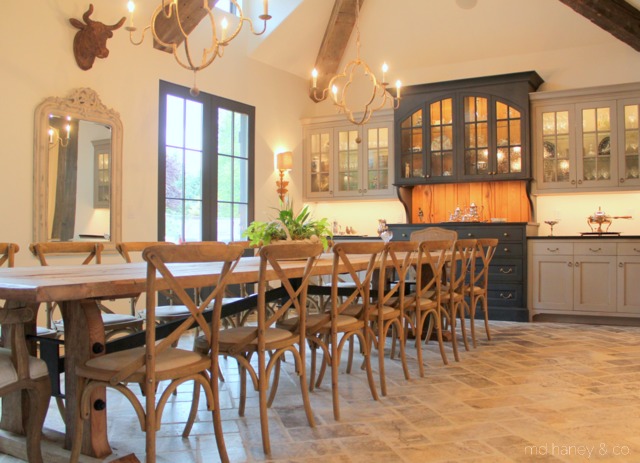
When you walk in the front door, you are greeted by this amazing dining room.  Matt built the cabinetry, as well as the dining room table.  The cabinetry has some custom finishes and is painted with Annie Sloan Chalk Paint®.  The dining room table is made from reclaimed oak.  Can you believe the reclaimed beams in the ceiling?!?  The pictures do not do the space justice!

IMG_6747

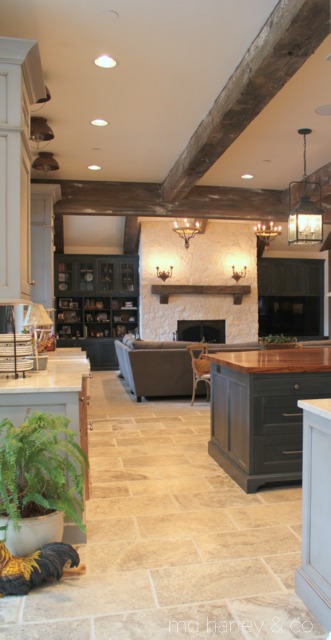
The dining, kitchen and living room are all open with large vaulted ceilings and reclaimed beams.  In this picture, you can barely see the cabinetry in the living room.  The cabinets are painted with Annie Sloan Chalk Paint and have a wash over them.

IMG_6732

IMG_6739

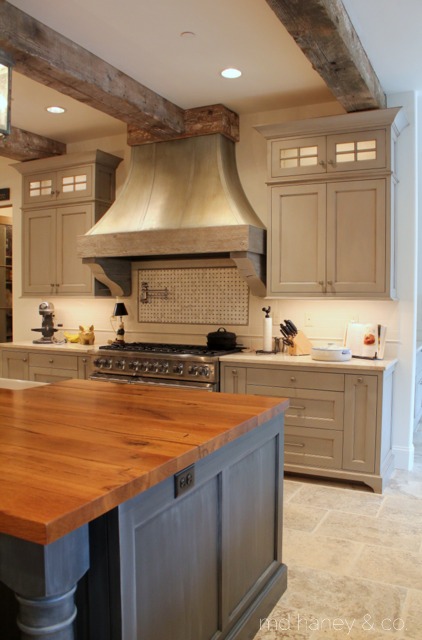
Matt is still working on the built-ins for the refrigerator unit so I didn't snap any photos of the other side of the kitchen.  Can you believe he made that ginormous island countertop in just two pieces?!?  The hood is one of my favorite features.  I could brag on my hubby all day!  He doesn't brag on himself, so somebody needs to ;-)

IMG_6713

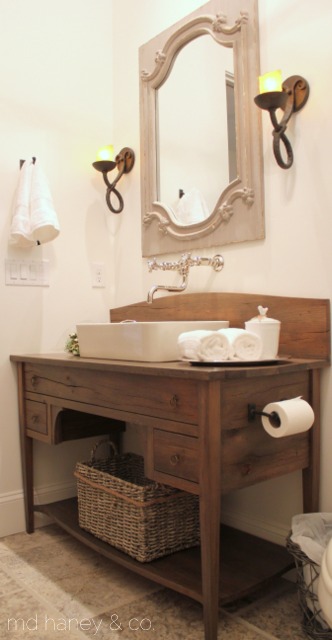
For the powder room vanity, the designers  showed Matt a picture and wanted something similar....didn't this turn out darling?!?

IMG_6719

IMG_6725

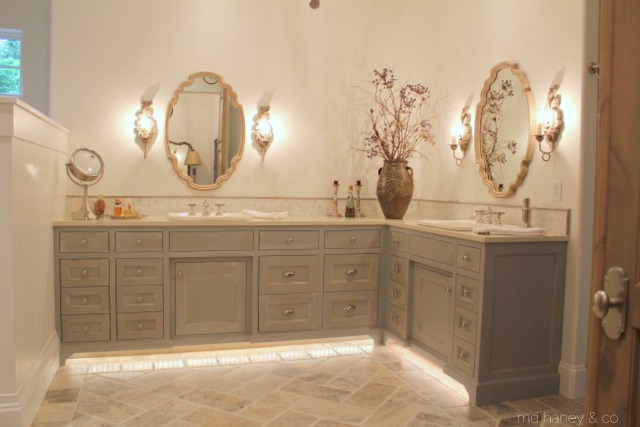
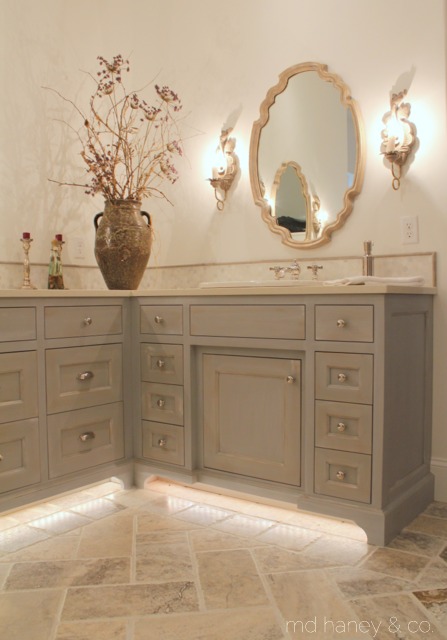
The master bathroom cabinetry is also painted with Annie Sloan Chalk Paint®.  A mix of three different colors with a wash and dry brush technique.

There are more beautiful rooms and more beautiful cabinetry.  I will show more soon, and go into more details on the cabinetry and rooms.

Thanks T & P.....it's been such a dream to work with you!


the cottage || SPRING CLEANING

Typically in March and April I do some major Spring cleaning at the cottage.  Our little vacation rental in Carlton keeps me busy in the summers!  I have cut the gardens way back and filled in a lot of flower bed space with shrubs and bark dust, but the flowers still need tending to and the cottage needs cleaning after each guest leaves.  I am always ready and excited for the start of the busy season {usually May} but then always ready for the busy season to come to an end {usually November}. I took the girls with me to take inventory of everything that needs to be done.  The list is long!  So I took a few new pictures for the vacation rental website page instead ;-)  I can't seem to find any interior 'before' pictures of this little cottage, I know I have some somewhere.  But this little place was definitely a 'fixer upper'!!
exteriors1


Mar12-cover

A few interior photos...


IMG_5360

IMG_5353

IMG_5361

IMG_5367

IMG_5364

IMG_5355

IMG_5381

IMG_5372

IMG_5388

IMG_5376

IMG_5394

IMG_5402


Once I get the outside in ship-shape, I will share some pictures of the exterior!  It's such a sweet little home and full of many memories!

WOOD FLOORS :: the great debate

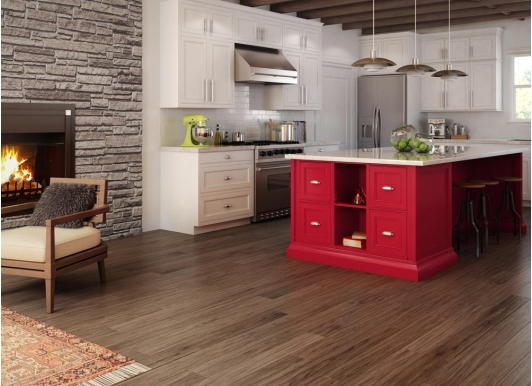
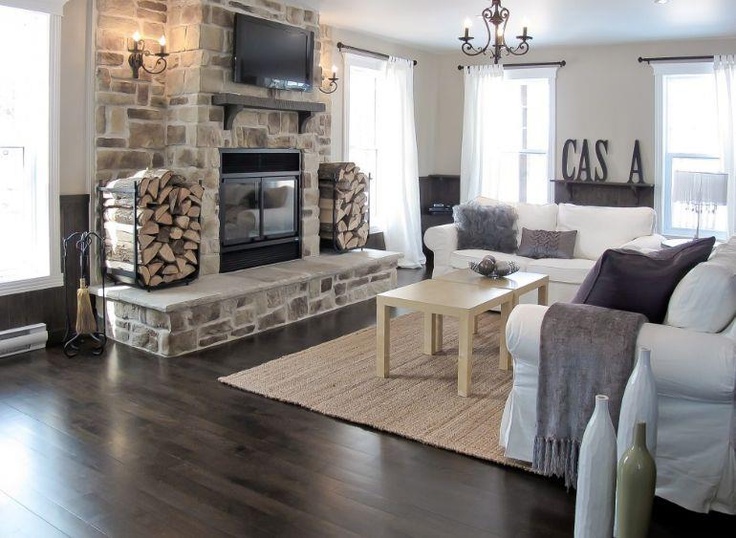
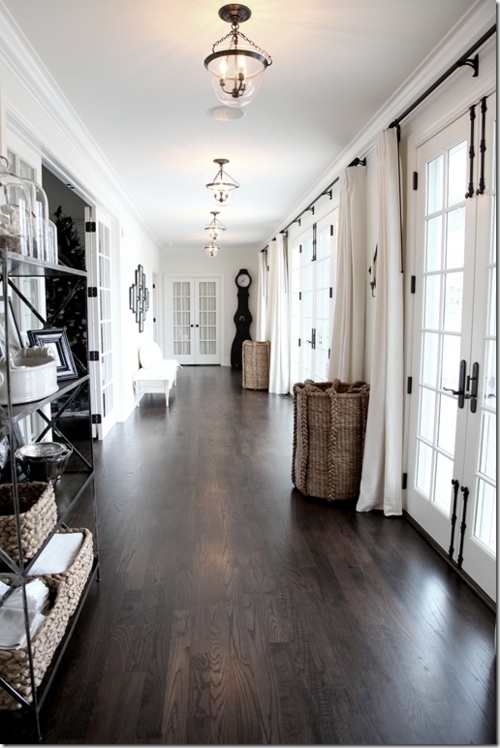
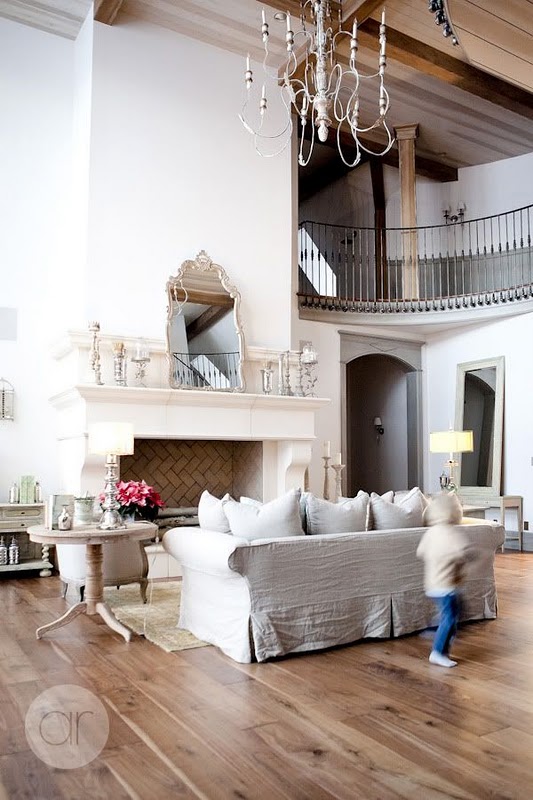
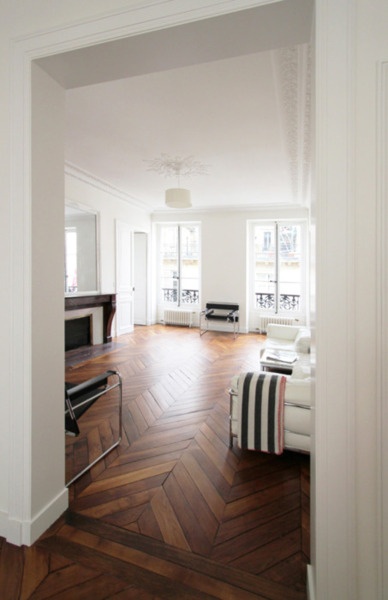
I feel like more and more of our clients are choosing wood floors for their remodels/new home.  I thought I would start working on a few 'resource' posts.  One place were you can find resources, tips and ideas for your home!

The biggest question we get asked {regarding wood floors}.....Are pre-finished floors right for us?

2080612976Horizontal_Hickory_Wave_Tofino_5_3_16_S_low

Pre-finished floors, like any product, have PROS and CONS.  Let's start with the PROS!

1c06c72d88bdf7b9b8b80c4759e6ab59

PROS ::

It's easy to install.  There are not numerous steps involved with pre-finished floors like there are with unfinished wood floors.

It's lasts, and looks great for a long time.  Most pre-finished floors have factory applied UV-cured finishes and can be sanded and refinished multiple times.  To refinish an older floor, there must be at least 1/8 inch left between the top of the boards and the tongue.

dark hardwoods

CONS ::

It can still scratch and dent.  You can conceal most minor scratches with a manufacture's touch up kit, but for major scratches/dents/issues, you will need to refinish.

It's more expensive than carpet, most vinyls, laminate and most ceramic tiles.  However, it is an easier DIY project than installing tile tile or carpet!

It's affected by weather.  All wood expands and contracts with changes in moisture.  Boards may cup in high humidity and gap during dry weather.  Solid wood shouldn't be installed below grade, and you really want to think twice before installing it in bathrooms or laundry areas.

e37f5373f7e50acb514438a03d94f7f6

What's the difference between unfinished hard wood, engineered wood and laminate?

ENGINEERED WOOD 

It's looks like solid wood, but it is made up of wood veneers glued together and topped with a factory finish.  Engineered wood is great for DIYers, but the durabiltiy can vary depending on how thick the top veneer is.  Typcially, engirneered wood can withstand 2-3 sandings, where hard wood floors can be refinished many times.  The cost ranges from $2-$12 per square foot.

UNFINISHED HARD WOOD

It's solid wood.  Bare wood strips and planks are sanded, usually stained and topped with protective coasts after they have been installed.   The entire process takes several days and is best handled by a professional.  The great thing about hardwood floors is that when it's time to refinish, the floors can be refinished many times.  Bare wood typically ranges from $2-$12 per square foot, plus installation/labor.

LAMINATE

It's made of a sheet of fiberboard topped with a high resolution wood grain image on paper and coated with melamine.  It typically has a texture to help achieve a 'wood floor' look.  The clear top coat resists scratches and stains, but this type of floor can not be refinished.  You may also notice a hollow sound when you walk on the floor, laminate is a 'floating floor' and it's also thin.  Laminate is very DIY friendly.  It's also about half the cost of wood, ranging from $1-$6 per square foot.

4256b2fac22970cbb79cd5f3b31def9a

To estimate the cost of a new pre-finished wood floor, measure the room's square footage and add a percentage for cuts and waste {typically 5% for strip and 7% for planks}. Multiply that by the price per square foot.

dark hardwood floors ellen grasso and sons

Hope this helps some of you who are thinking of different flooring options!  I will be sure to do a few follow up posts soon!

xoxo~Darci

Image Sources :: , 2, 3, 4, 5, 6

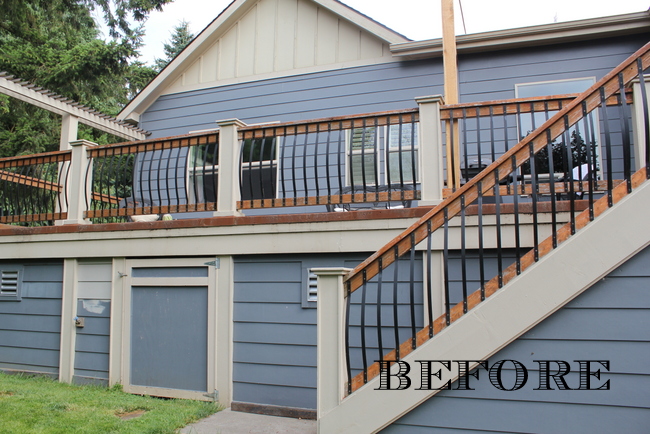
BEFORE & AFTER :: the back deck

As you may remember, I showed a few photos of our recently finished back deck.  Matt still had some details to finish, but I was excited to post some photos.  Well, yesterday he finished the back deck!

IMG_2214

See how tall the deck is off of the ground?  Well, for months now, this area has just been open {and ugly}.

IMG_3043

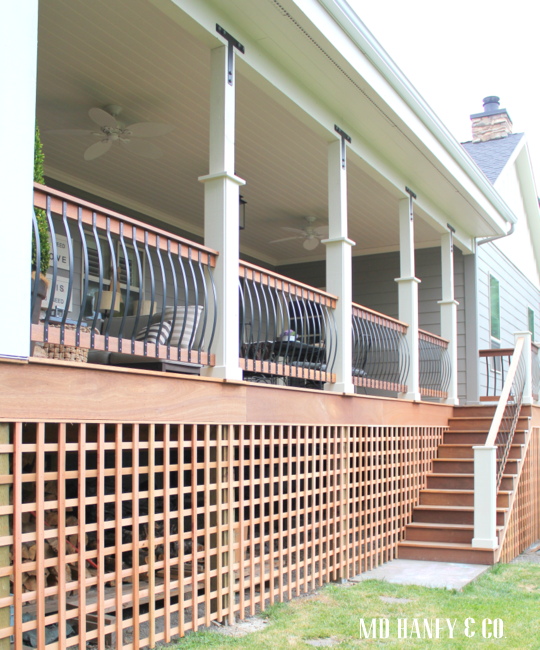
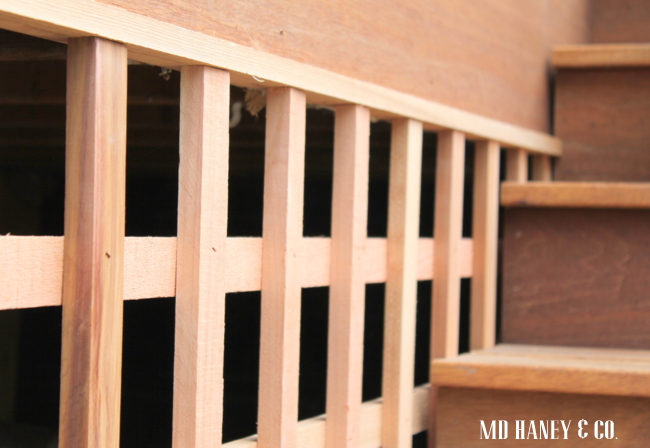
We couldn't put siding back up because it would trap the moisture and just be a big, yucky problem down the road.  We still wanted to be able to use the space for firewood storage, so we needed something accessible, yet pretty to look at.

IMG_3047

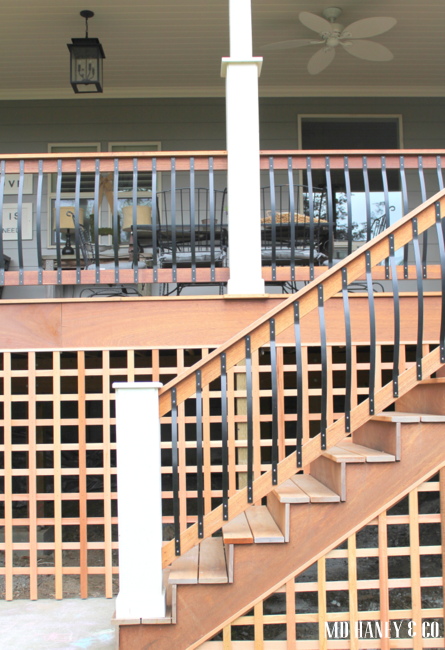
Matt built this trellis our of cedar.  It will turn a soft gray as it weathers.  He is going to spread bark dust under the deck, so when you do peek through, you see a nice clean layer of bark.

IMG_3050

When I watch Matt work, he makes everything look so effortless.  This would look awful if I attempted to try it!

IMG_3054

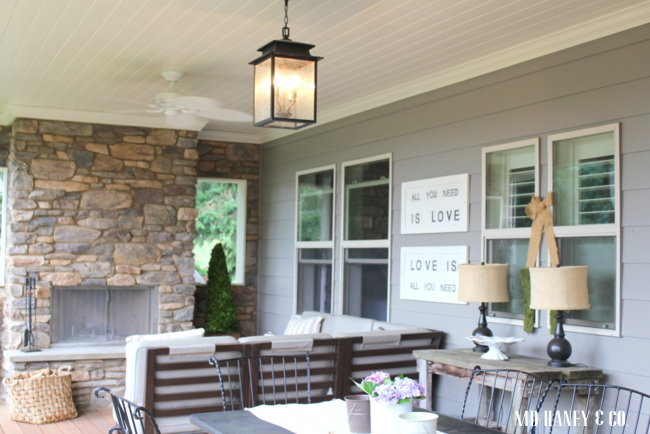
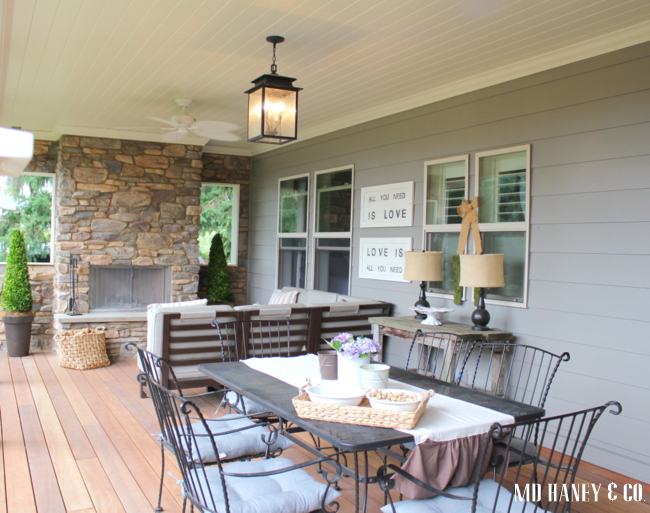
It truly is one of my favorite spots to sit and relax.

IMG_3053

We eat dinner out here almost every night!

IMG_3060

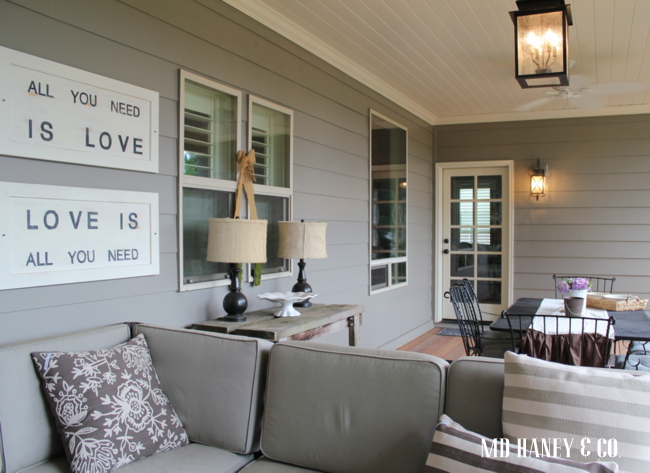
I needed something between the windows so I made these two signs from cabinet doors {we have a few extras laying around}!  Next week I will do a 'non-tutorial' on how I made the signs, they were super easy!

IMG_3062

The garden is growing like crazy!

IMG_3044

And I can't forget to share a photo of my little assistant!

xoxo~Darci