McMINNVILLE REMODEL || before + almost after

For the past 5 months Matt has been working on completely remodeling this cutie of an old house.  The house was taken down to the studs, thoughtfully designed and carefully put back together.  

Park Drive

** I hope to get some finished photos within the next month....including the exterior.  Since this picture, the door has been painted, beautiful new exterior lights have been hung, and the landscaping has been finished.**

I stopped by on Friday as Matt was wrapping up a few little details.  The owners have completely furnished it and there are a few little construction details left too.  As soon as both those are done, I will get some "after" photos!

So, starting downstairs "before".....

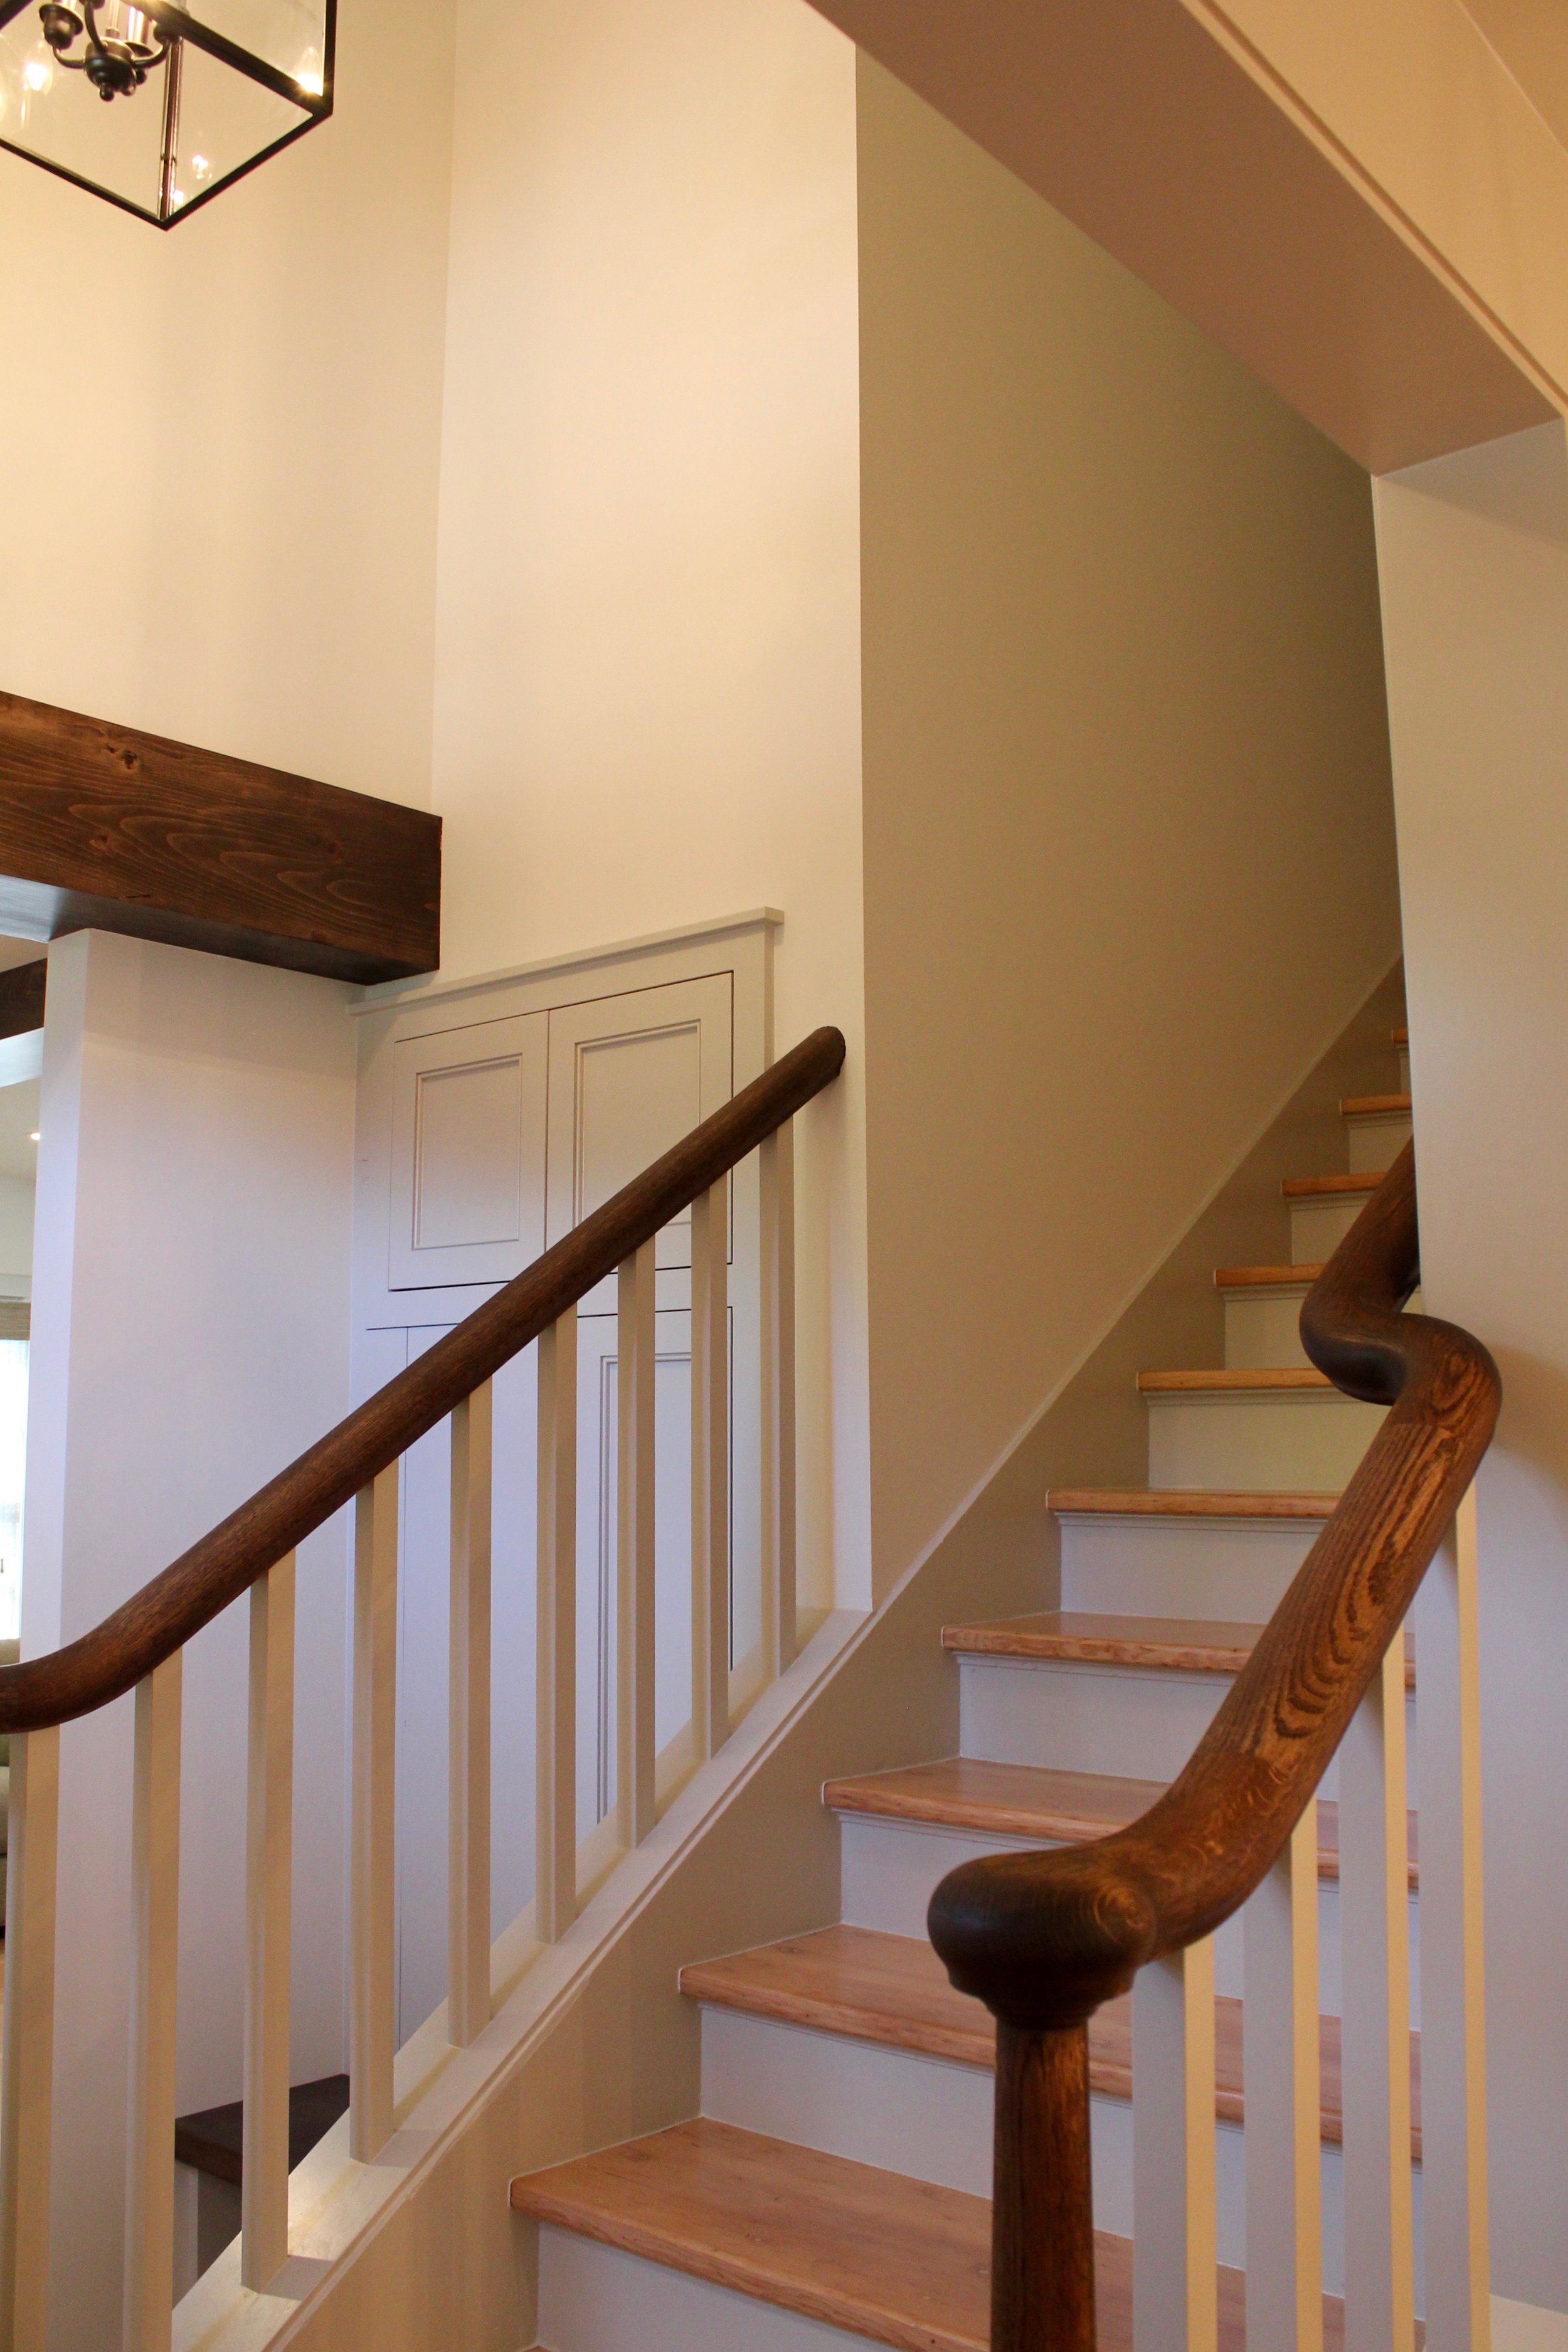
After......Matt removed the a lot of walls and "stuff" in the way, now the entry is open and inviting!!

entry
entry

Isn't this little built-in bench and storage just the cutest?  Now there is plenty of room to walk in, have a seat to take off muddy boots, and a place to hang your coat and purse.

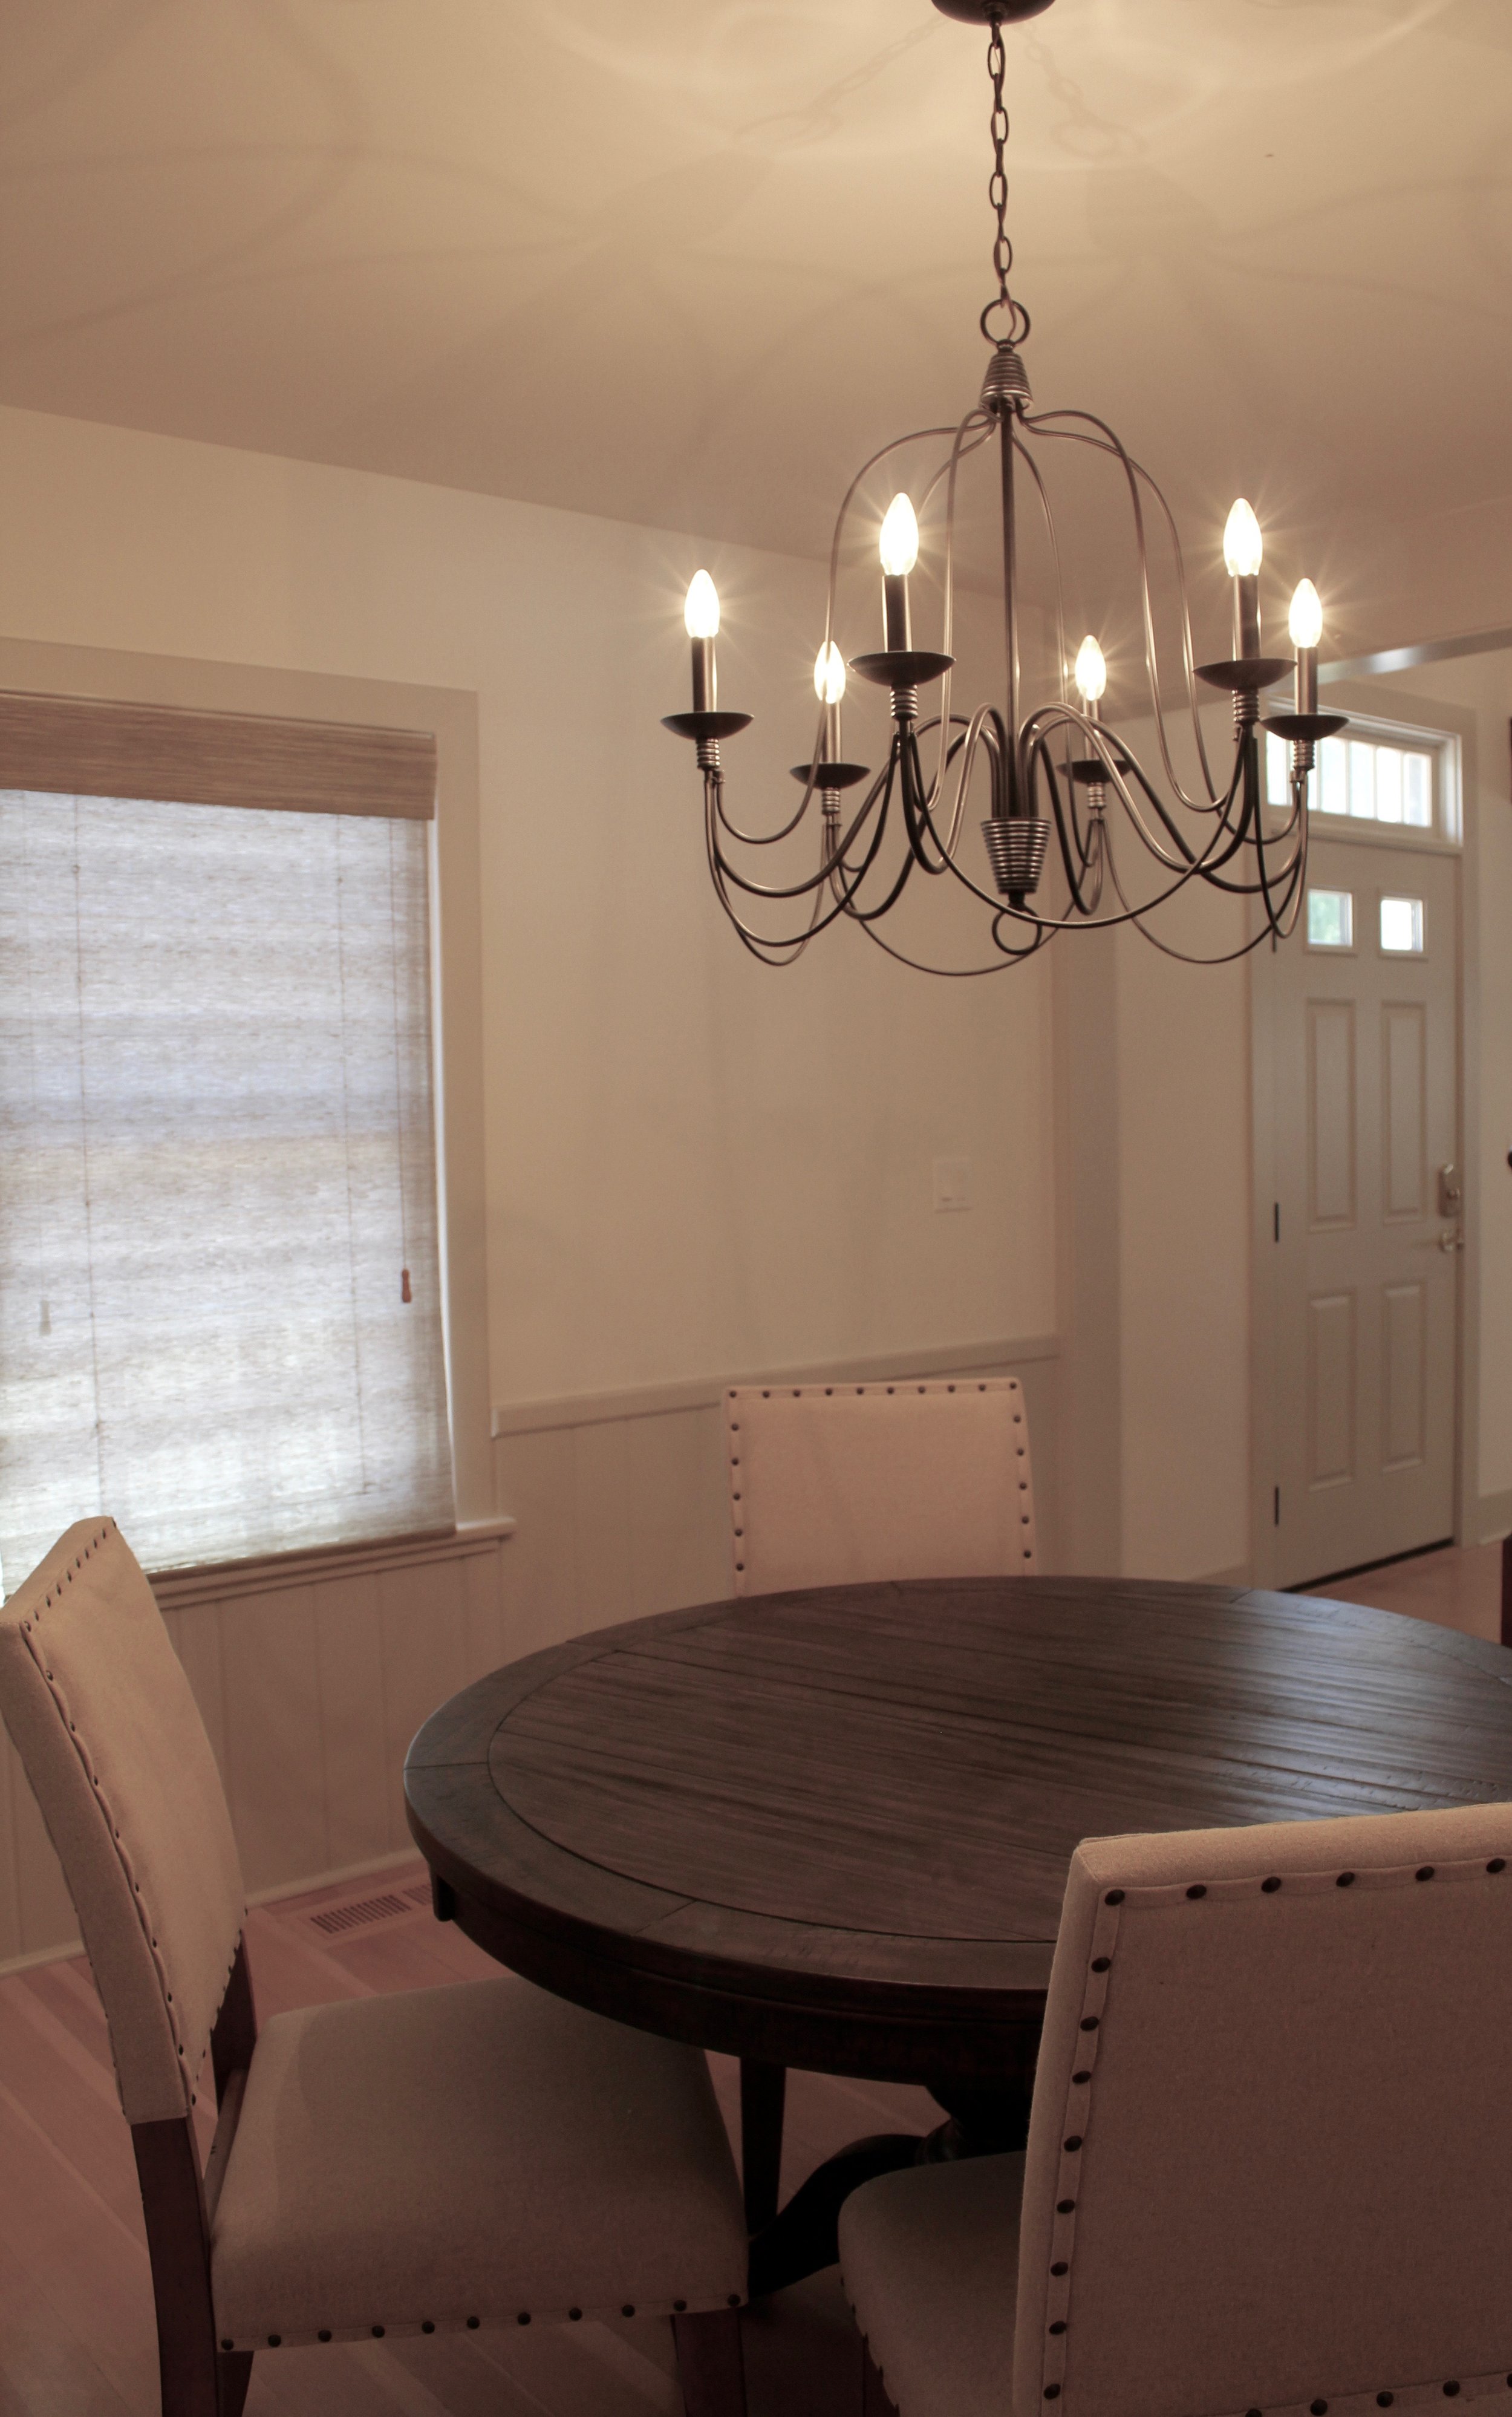
After heading through the front door, you can head to the right and right into the dining room....

dining room
dining table

As you head through the dining room, you can enter the kitchen to the left, or head down the hallway towards the powder room.  

The kitchen before......

And after.....

pantry

I love this built-in pantry!  One of my favorite features in the kitchen!  Matt built all of the cabinetry and custom built-ins.   He did all of the finish as well, to me, that's where so much character is added!  And don't even get me started on the attention to detail!  I am sure I notice it more than most people because I see all of the work that he puts into a project, but the beauty is definitely in the details!

pantry
desk area

The kitchen is open to the living room, the beautiful back yard and the sunroom.....

kitchen

The living room before.......

before

And the beautiful living room now......

livingroom
open living room
sunroom
entry

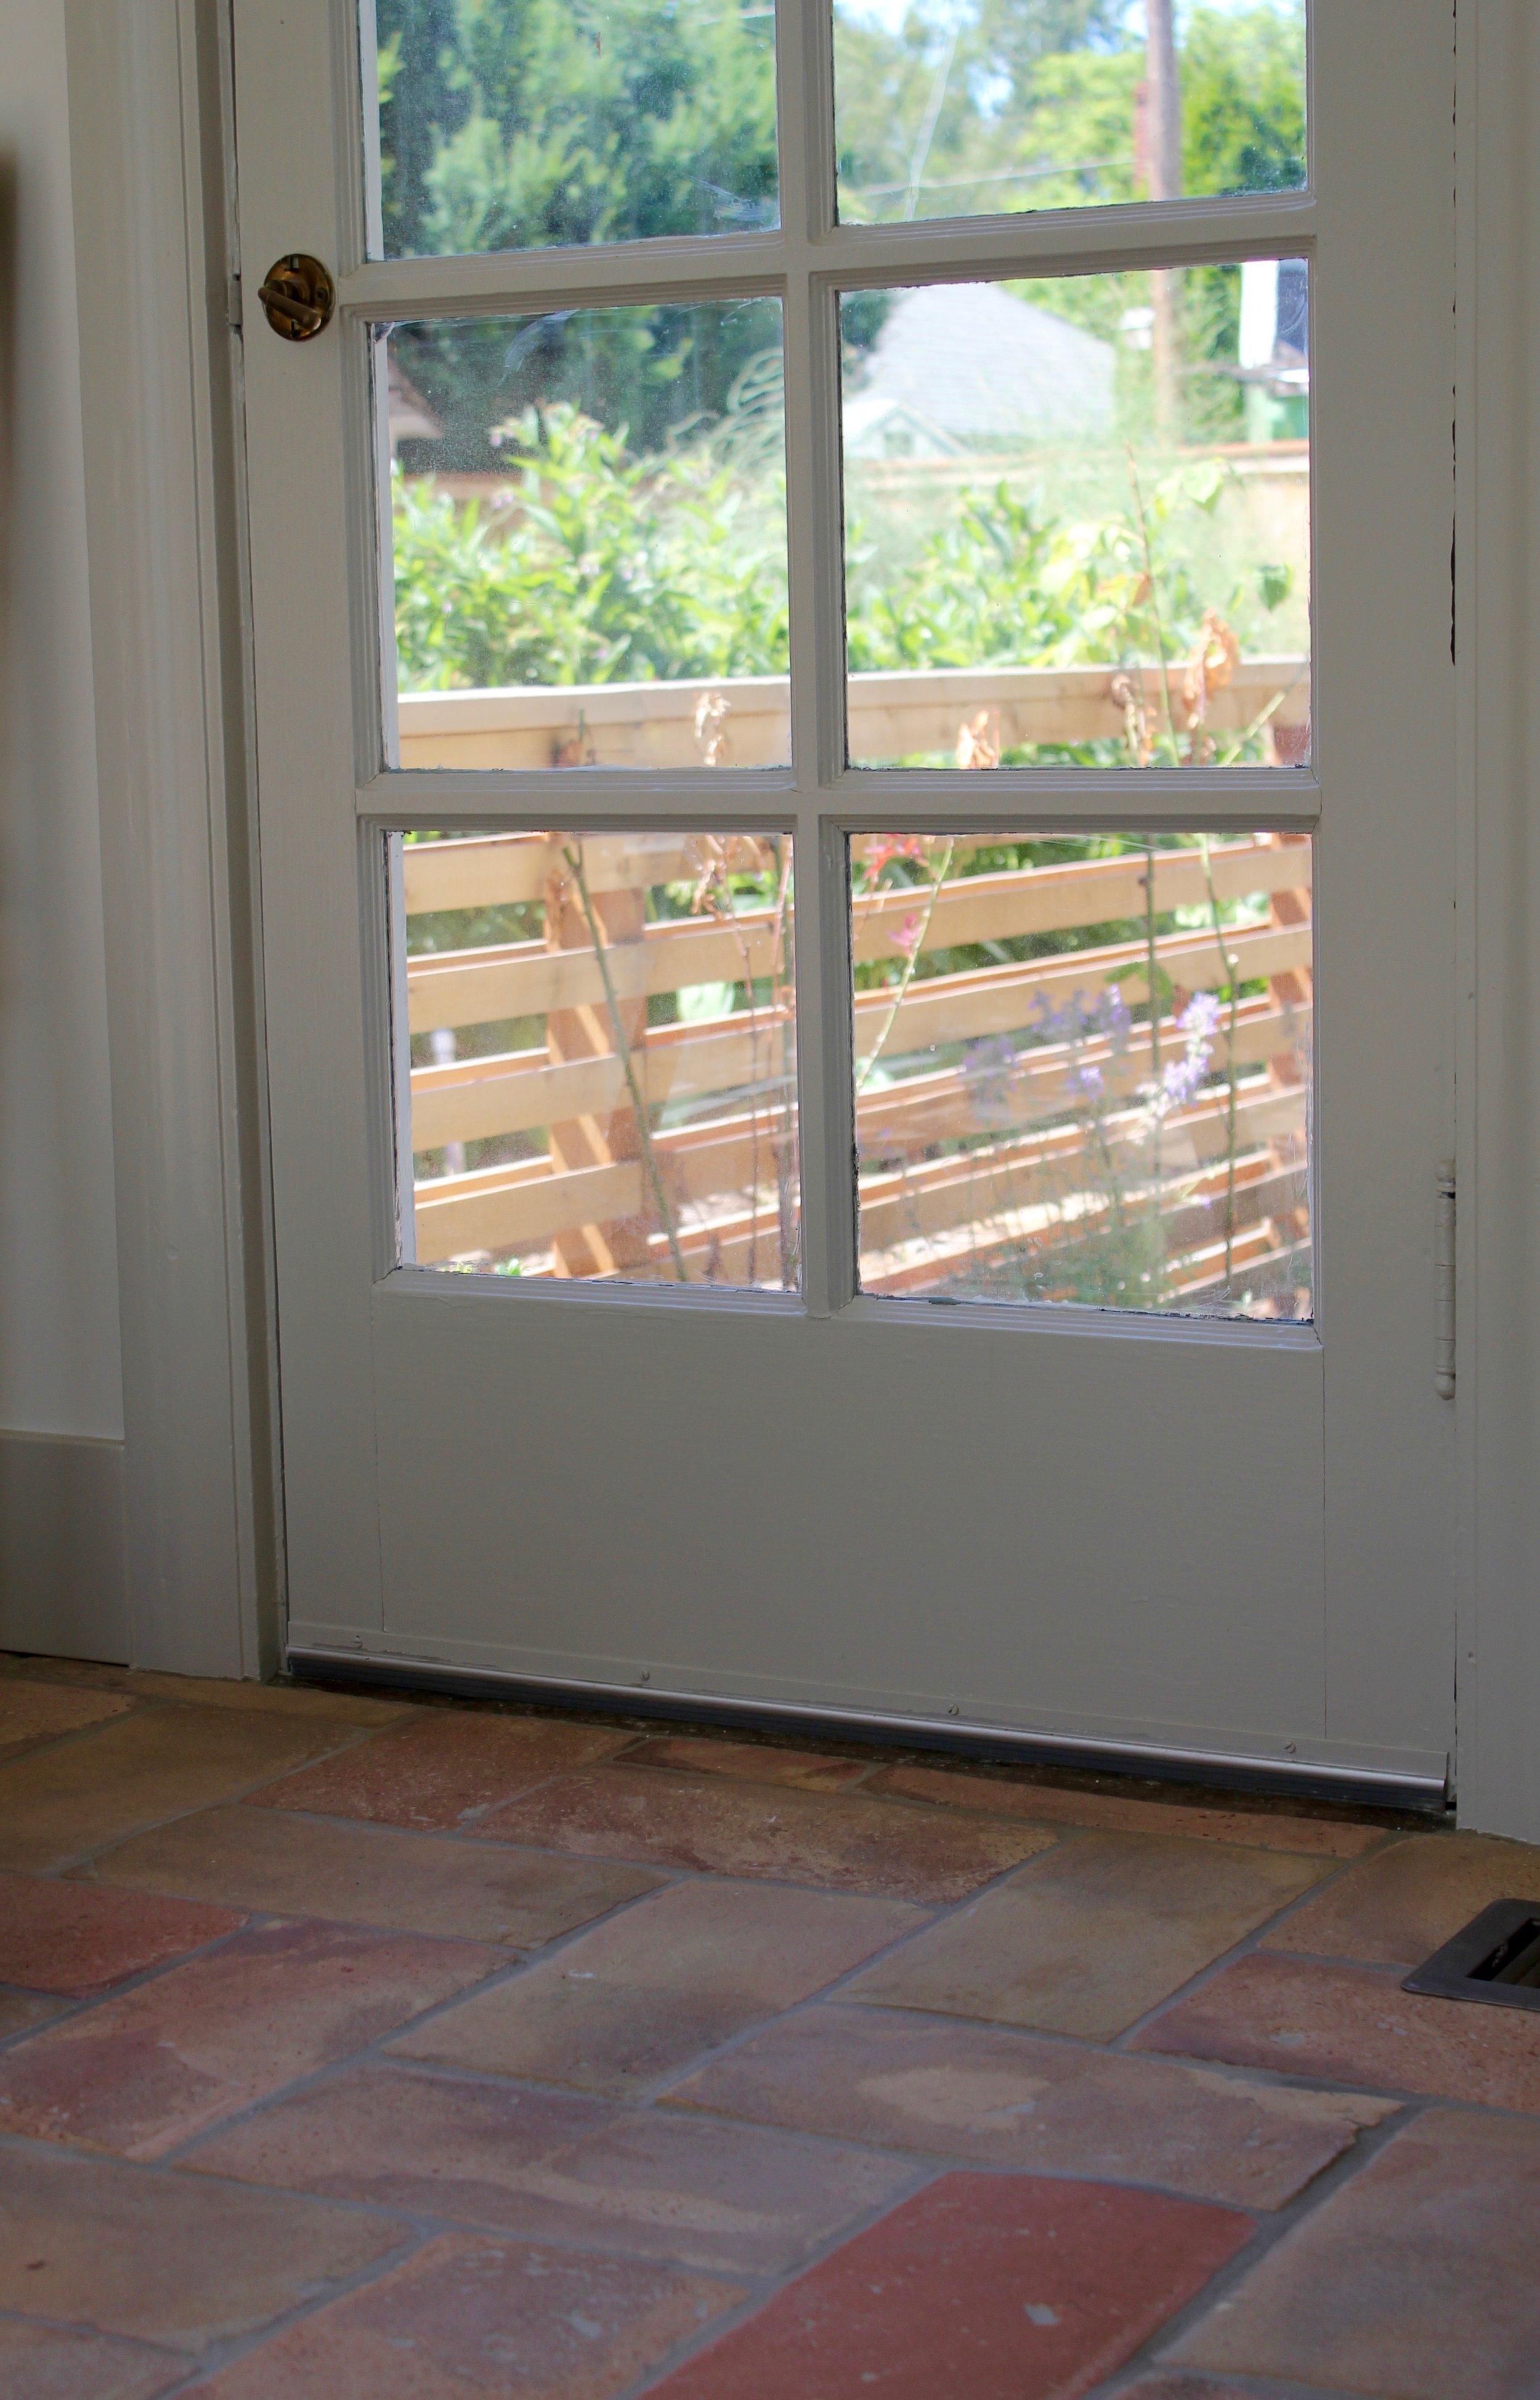
The wood floors turned out beautifully!  There was a lot of thought and research that went into the finish for these fir floors.  We refinished the existing and added new and needed them to tie in beautifully.  The owner also wanted them to have a bleached look, and nothing too orange..it was quite a process but we got there and I wish you could see how beautiful they are in person!

Another before photo of one of the bedrooms.....

bedroom before

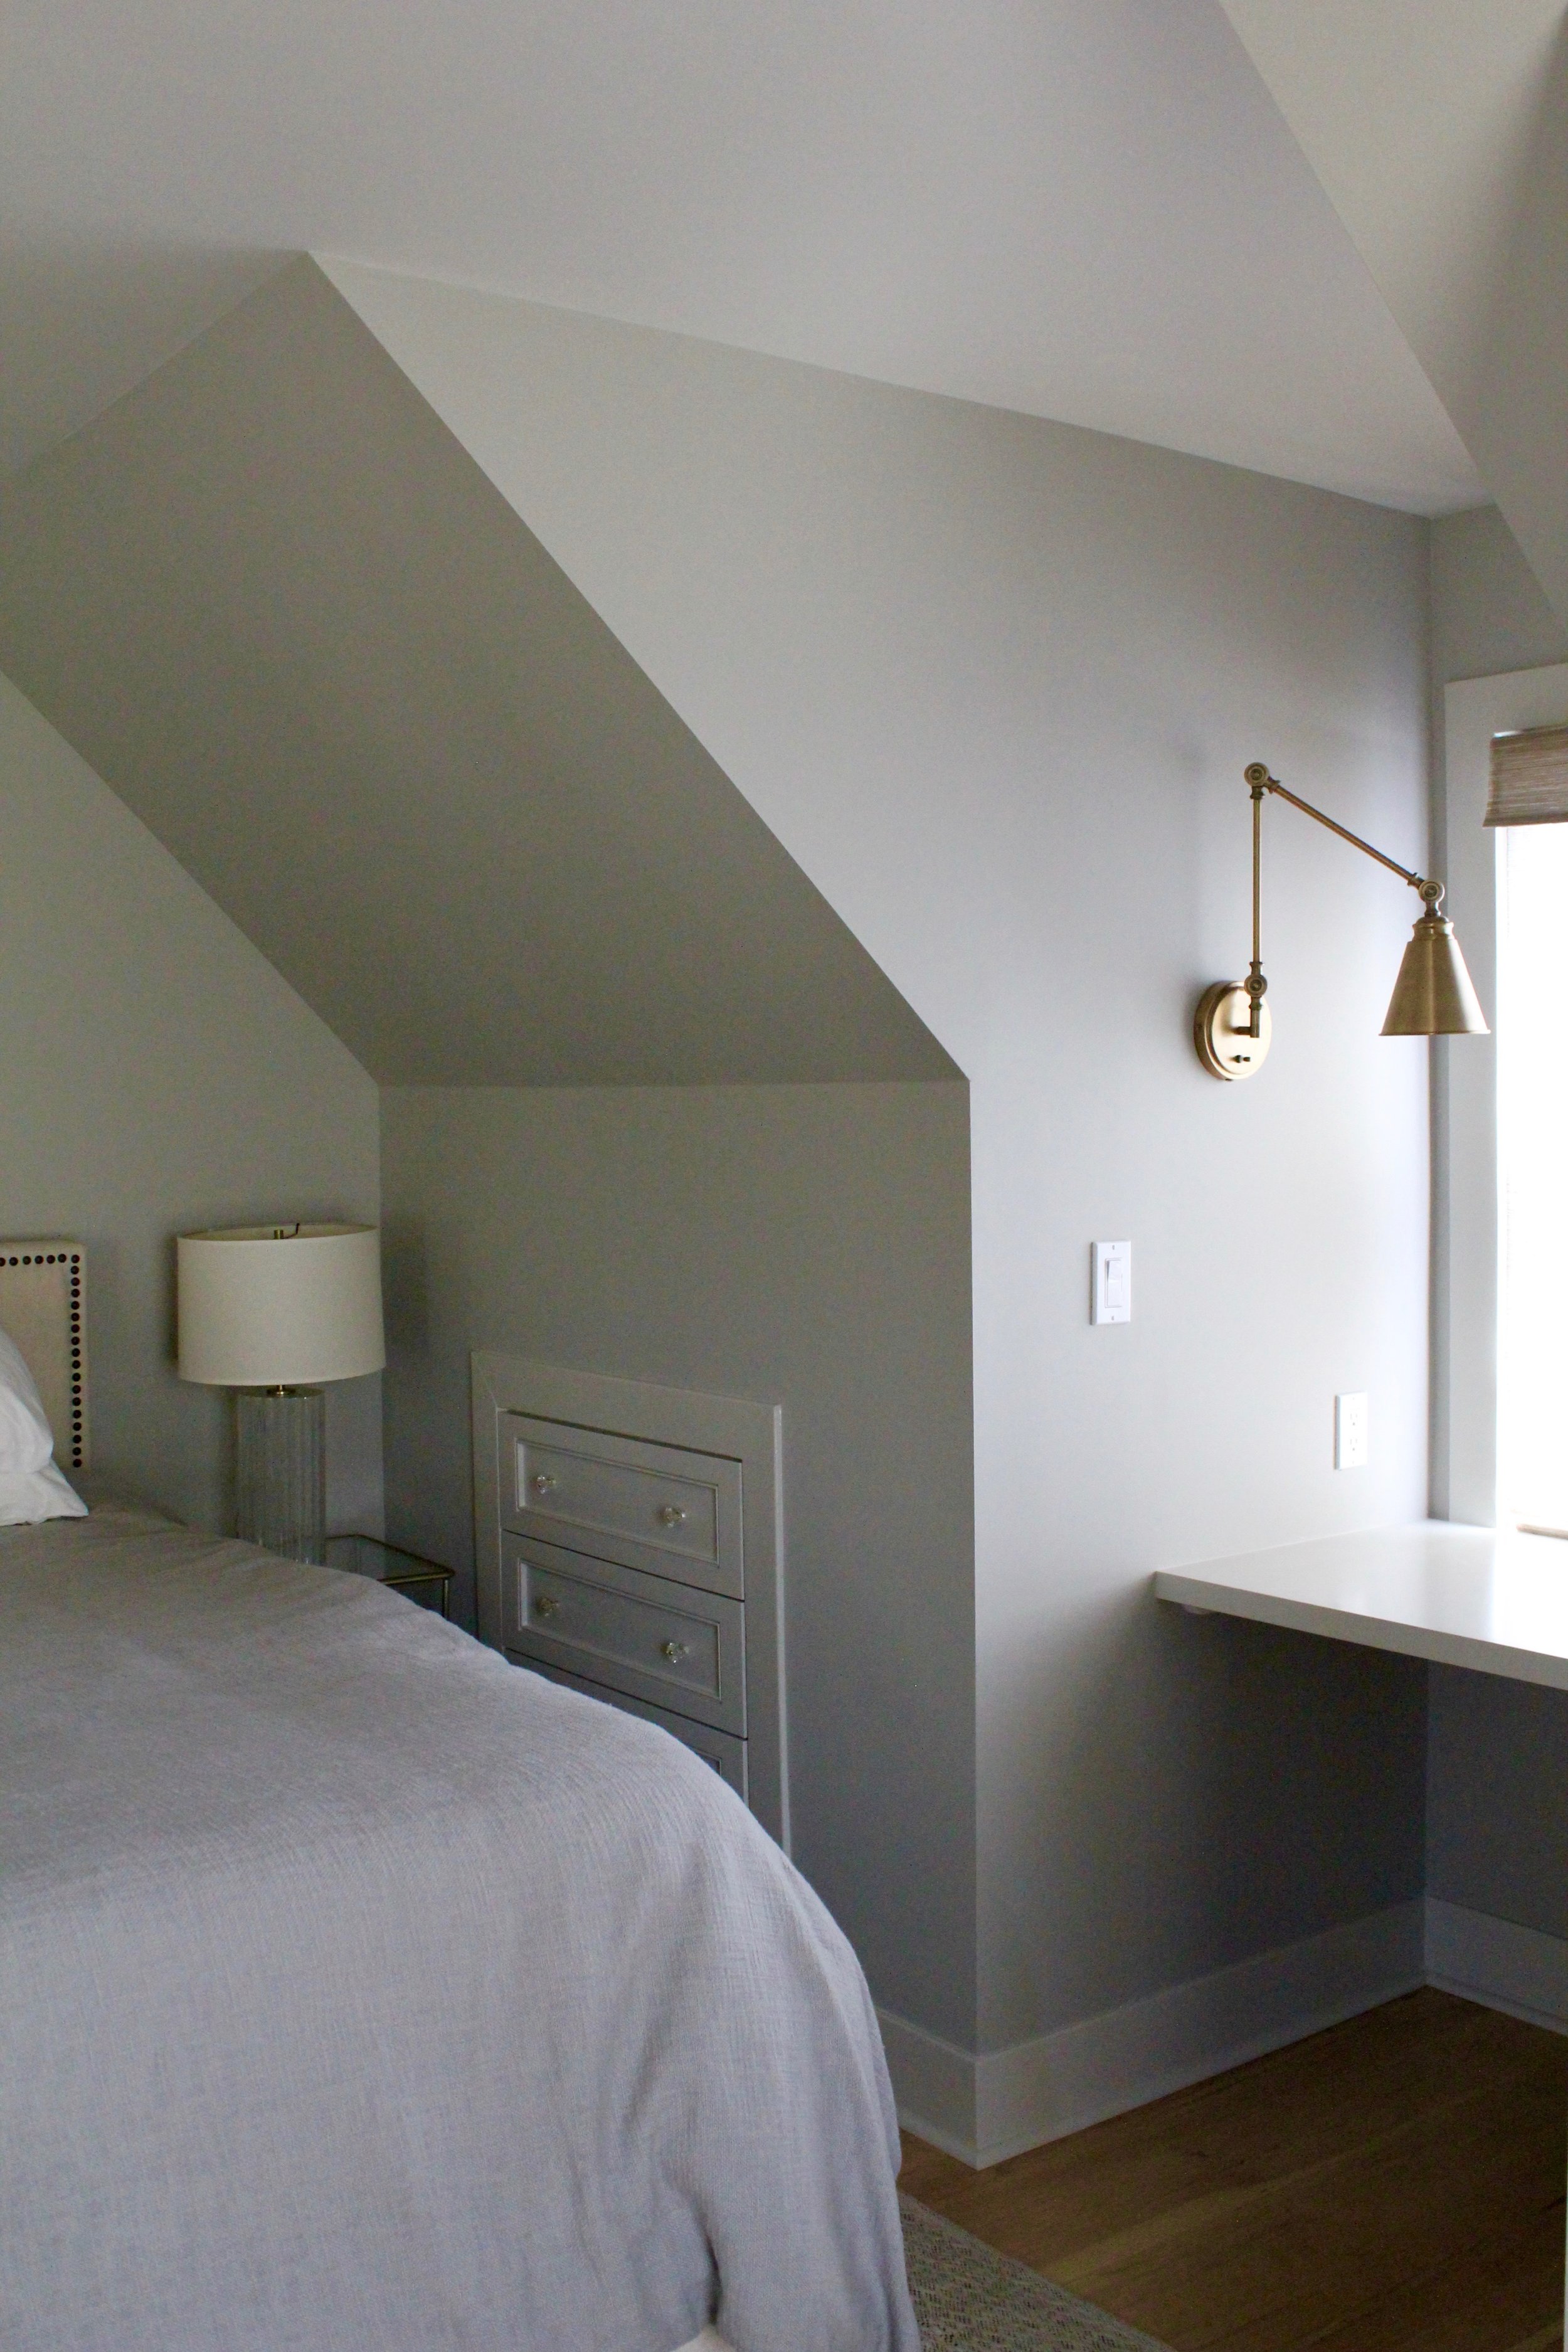
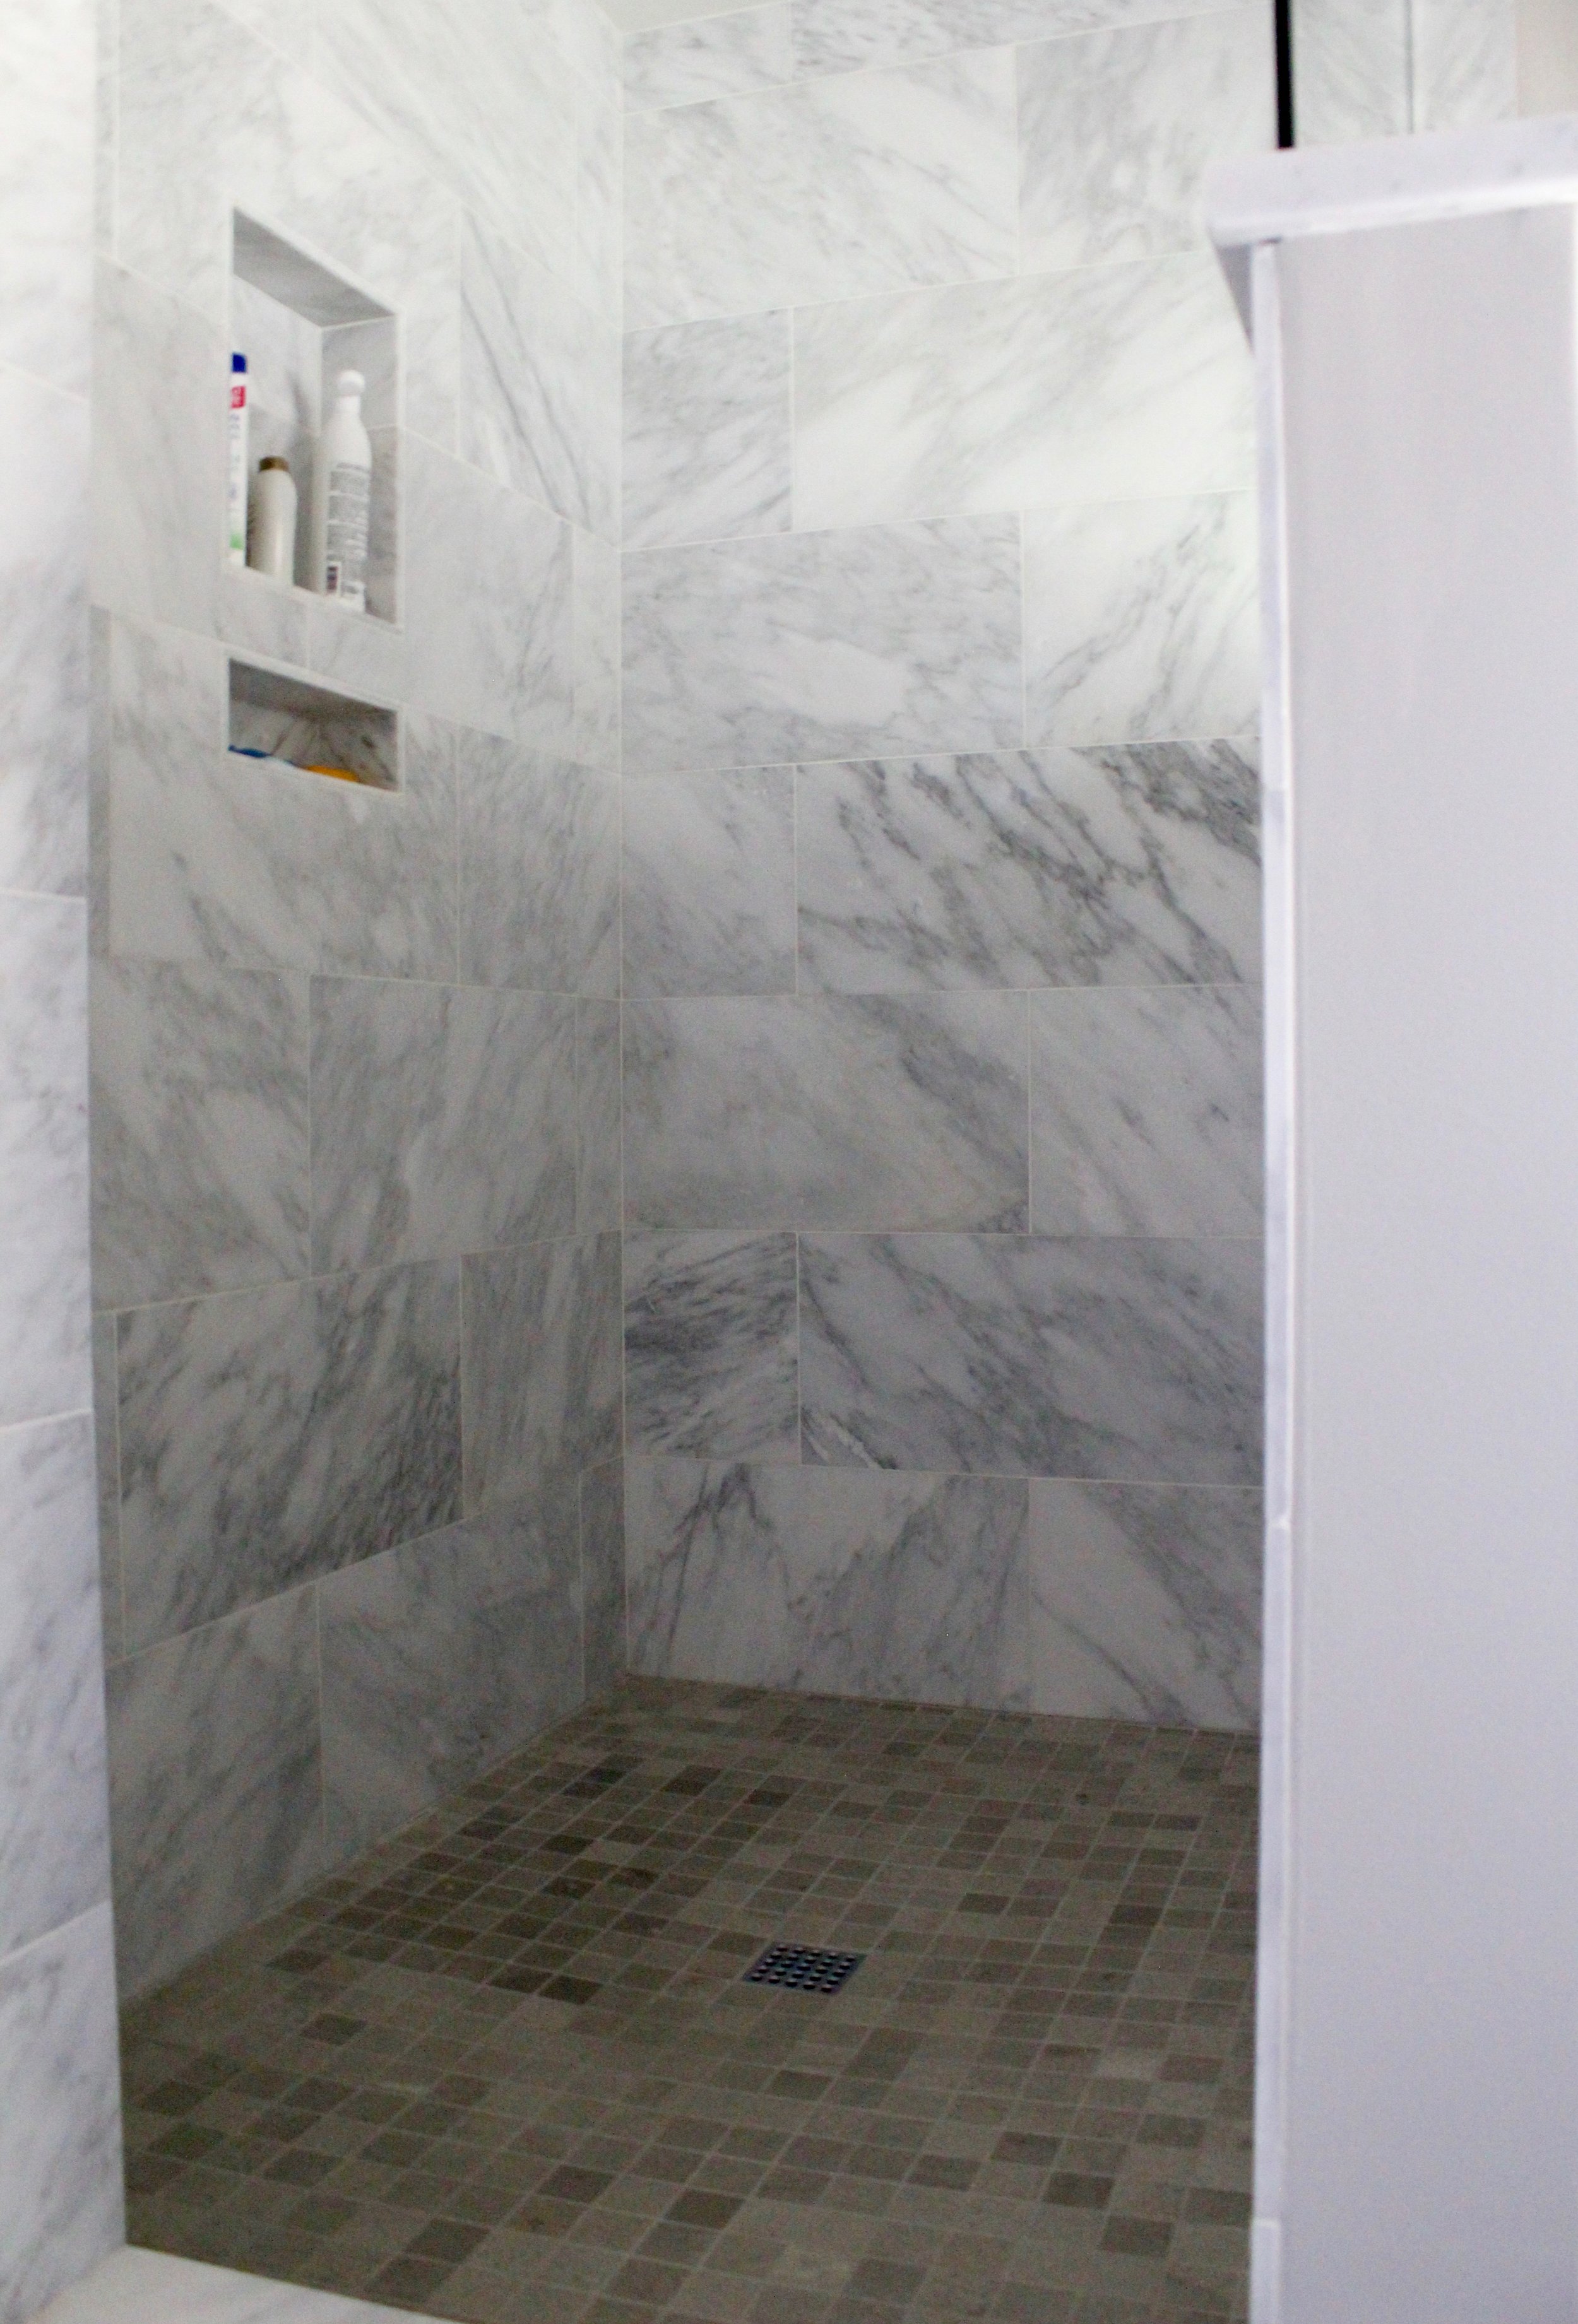
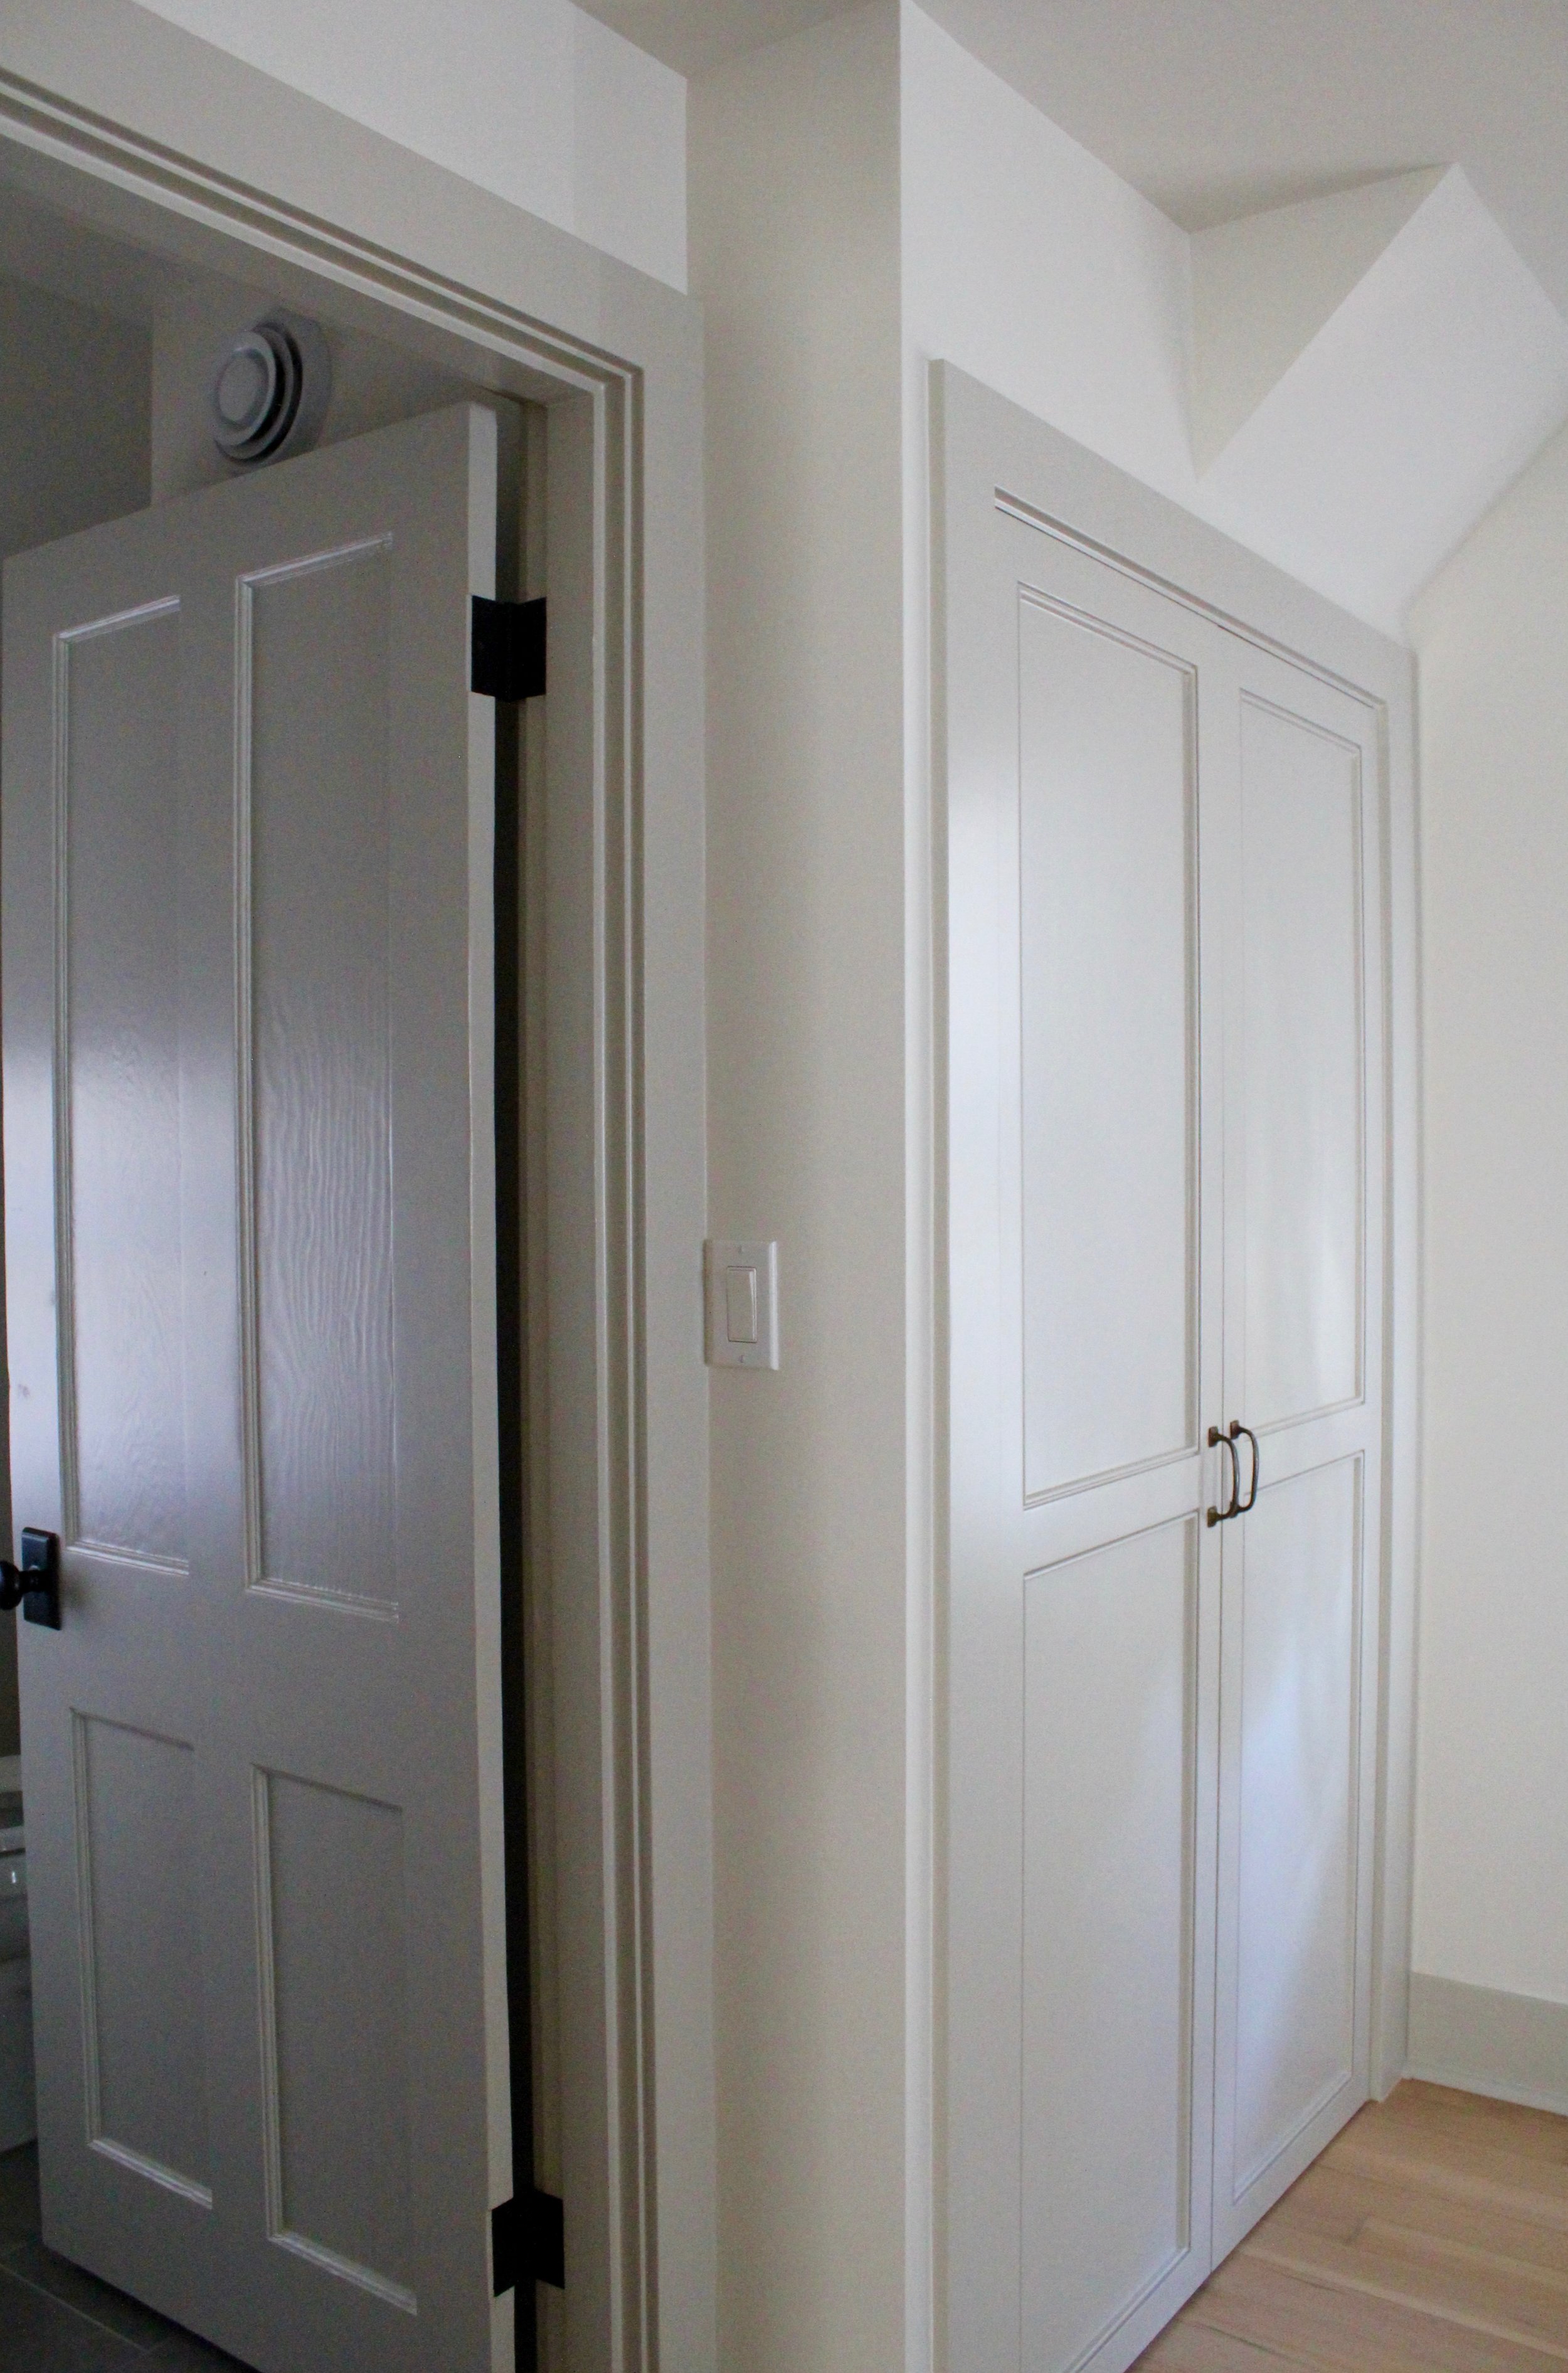
And some after photos of the upstairs.  Matt added a laundry room and a bathroom, the upstairs is now so comfortable with two en-suites and a laundry room.  I am telling you, it's the best of both worlds.....olld house charm with modern amenities!

bedroom
built-in
bathroom
shower

A dear friend, who was also the listing realtor, stopped by when I was there on Friday.  She commented that it looks like a brand new house, and it does.  You are probably sick of me always saying this, but my dear hubby is incredibly talented and a very gifted craftsman.  Not one detail slips by him.  It can drive me a bit crazy at times, but it sure makes for incredibly beautiful spaces with well thought out designs and well executed craftsmanship! 

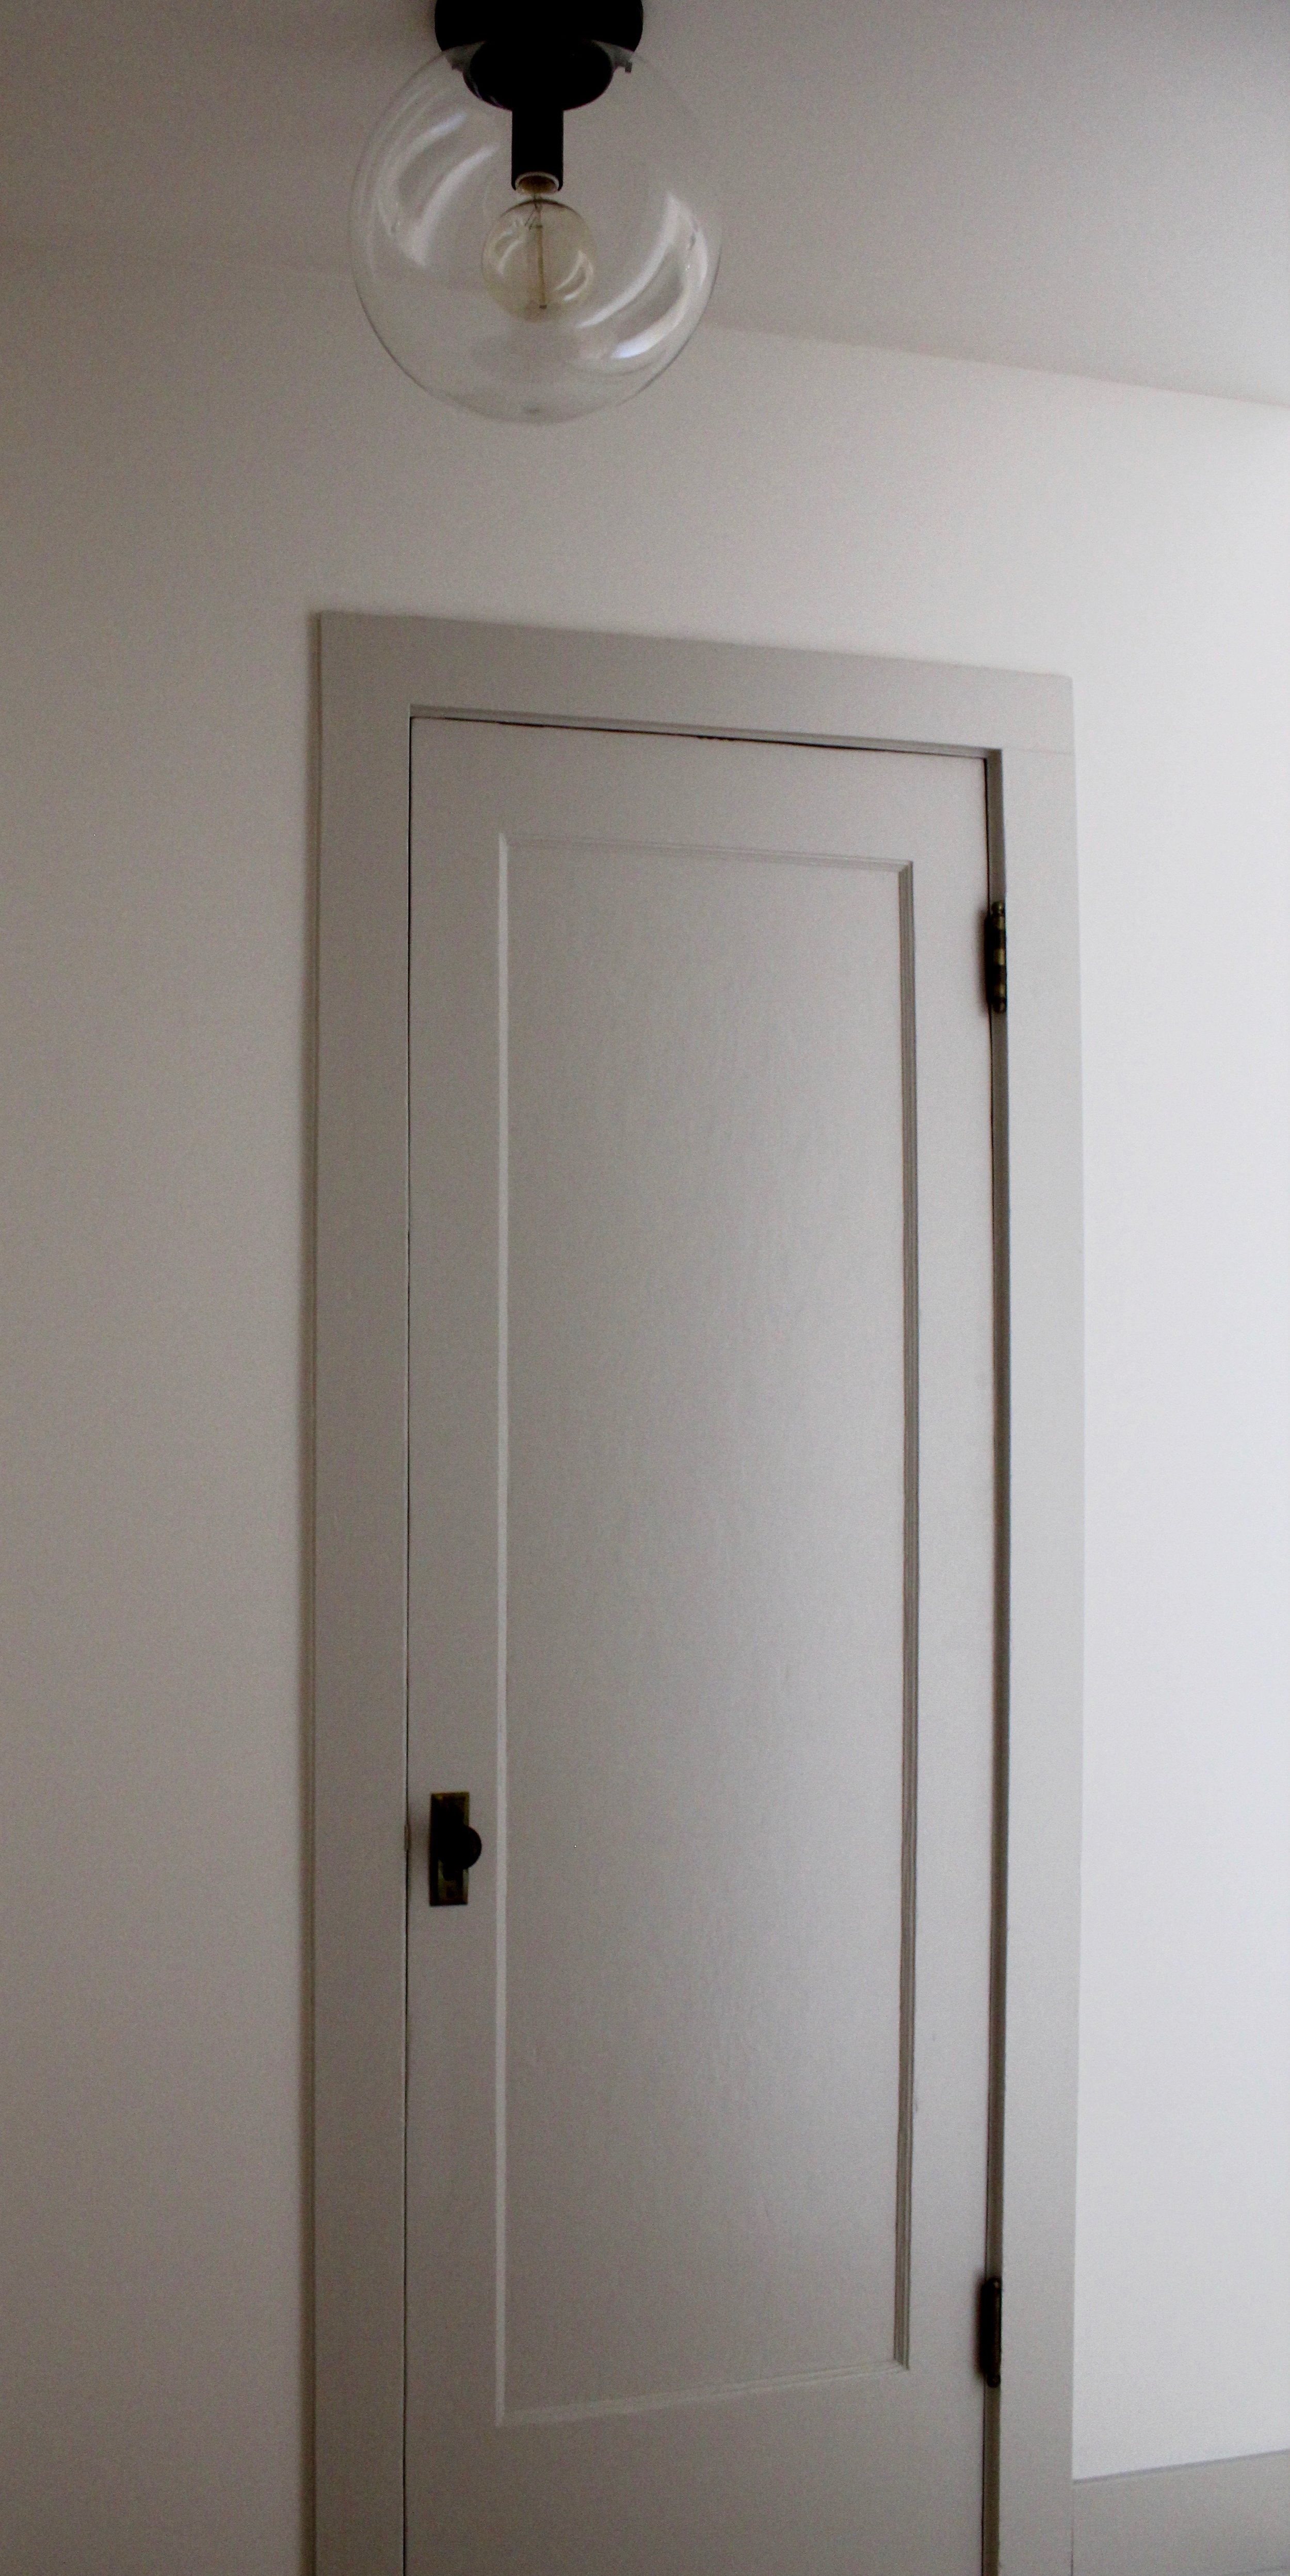
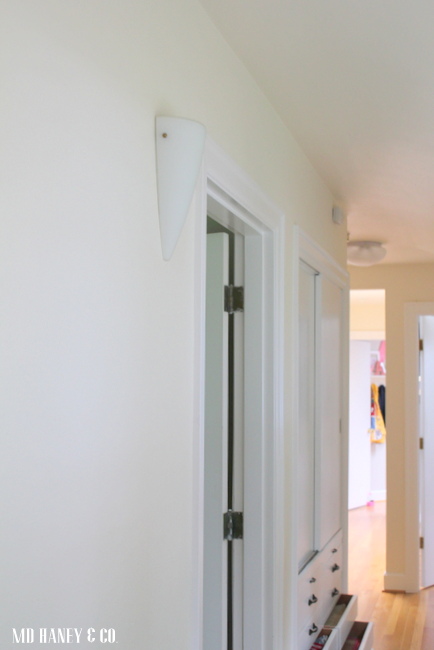
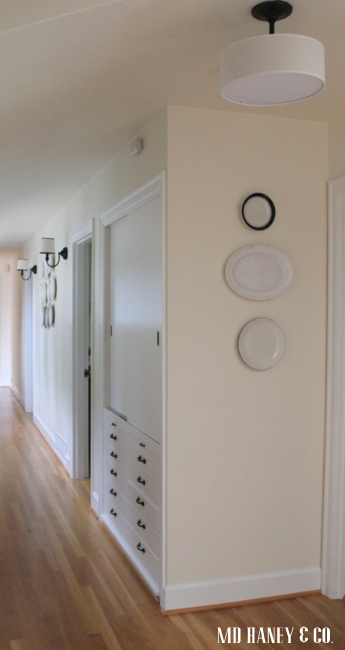
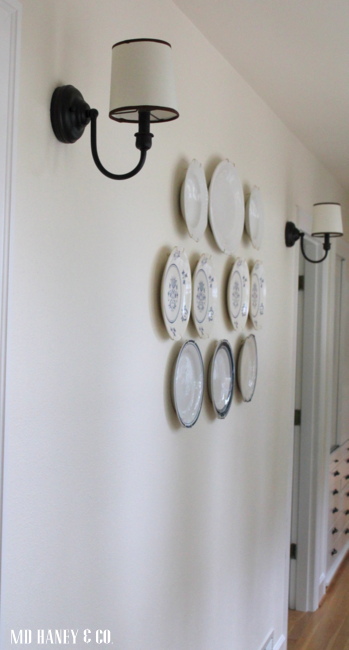
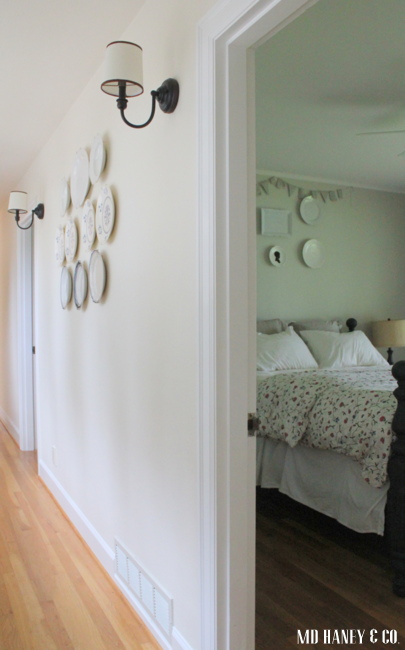
hallway
hallway light

I will definitely post better photos with more of the bedrooms and bathrooms, plus a lot of material and selections information.  

This sweet little home took A LOT of creativity, construction smarts and time, but it sure looks clean, open and inviting! Can't wait to share better photos soon!!  

Happy Independence Day friends!

before + after || upstairs offices and workshop area at the shop

Last week Matt finished the upstairs office + workshop space!

We bought this old house turned retail building just over a year ago.  We wanted to have the upstairs finished before our grand opening (March 27th, 2016) but we just ran out of time....and money was running out too!  I am so glad we waited!  After being at the shop, we figured exactly how we would use the space, and that is different from how we originally thought we would use the space!

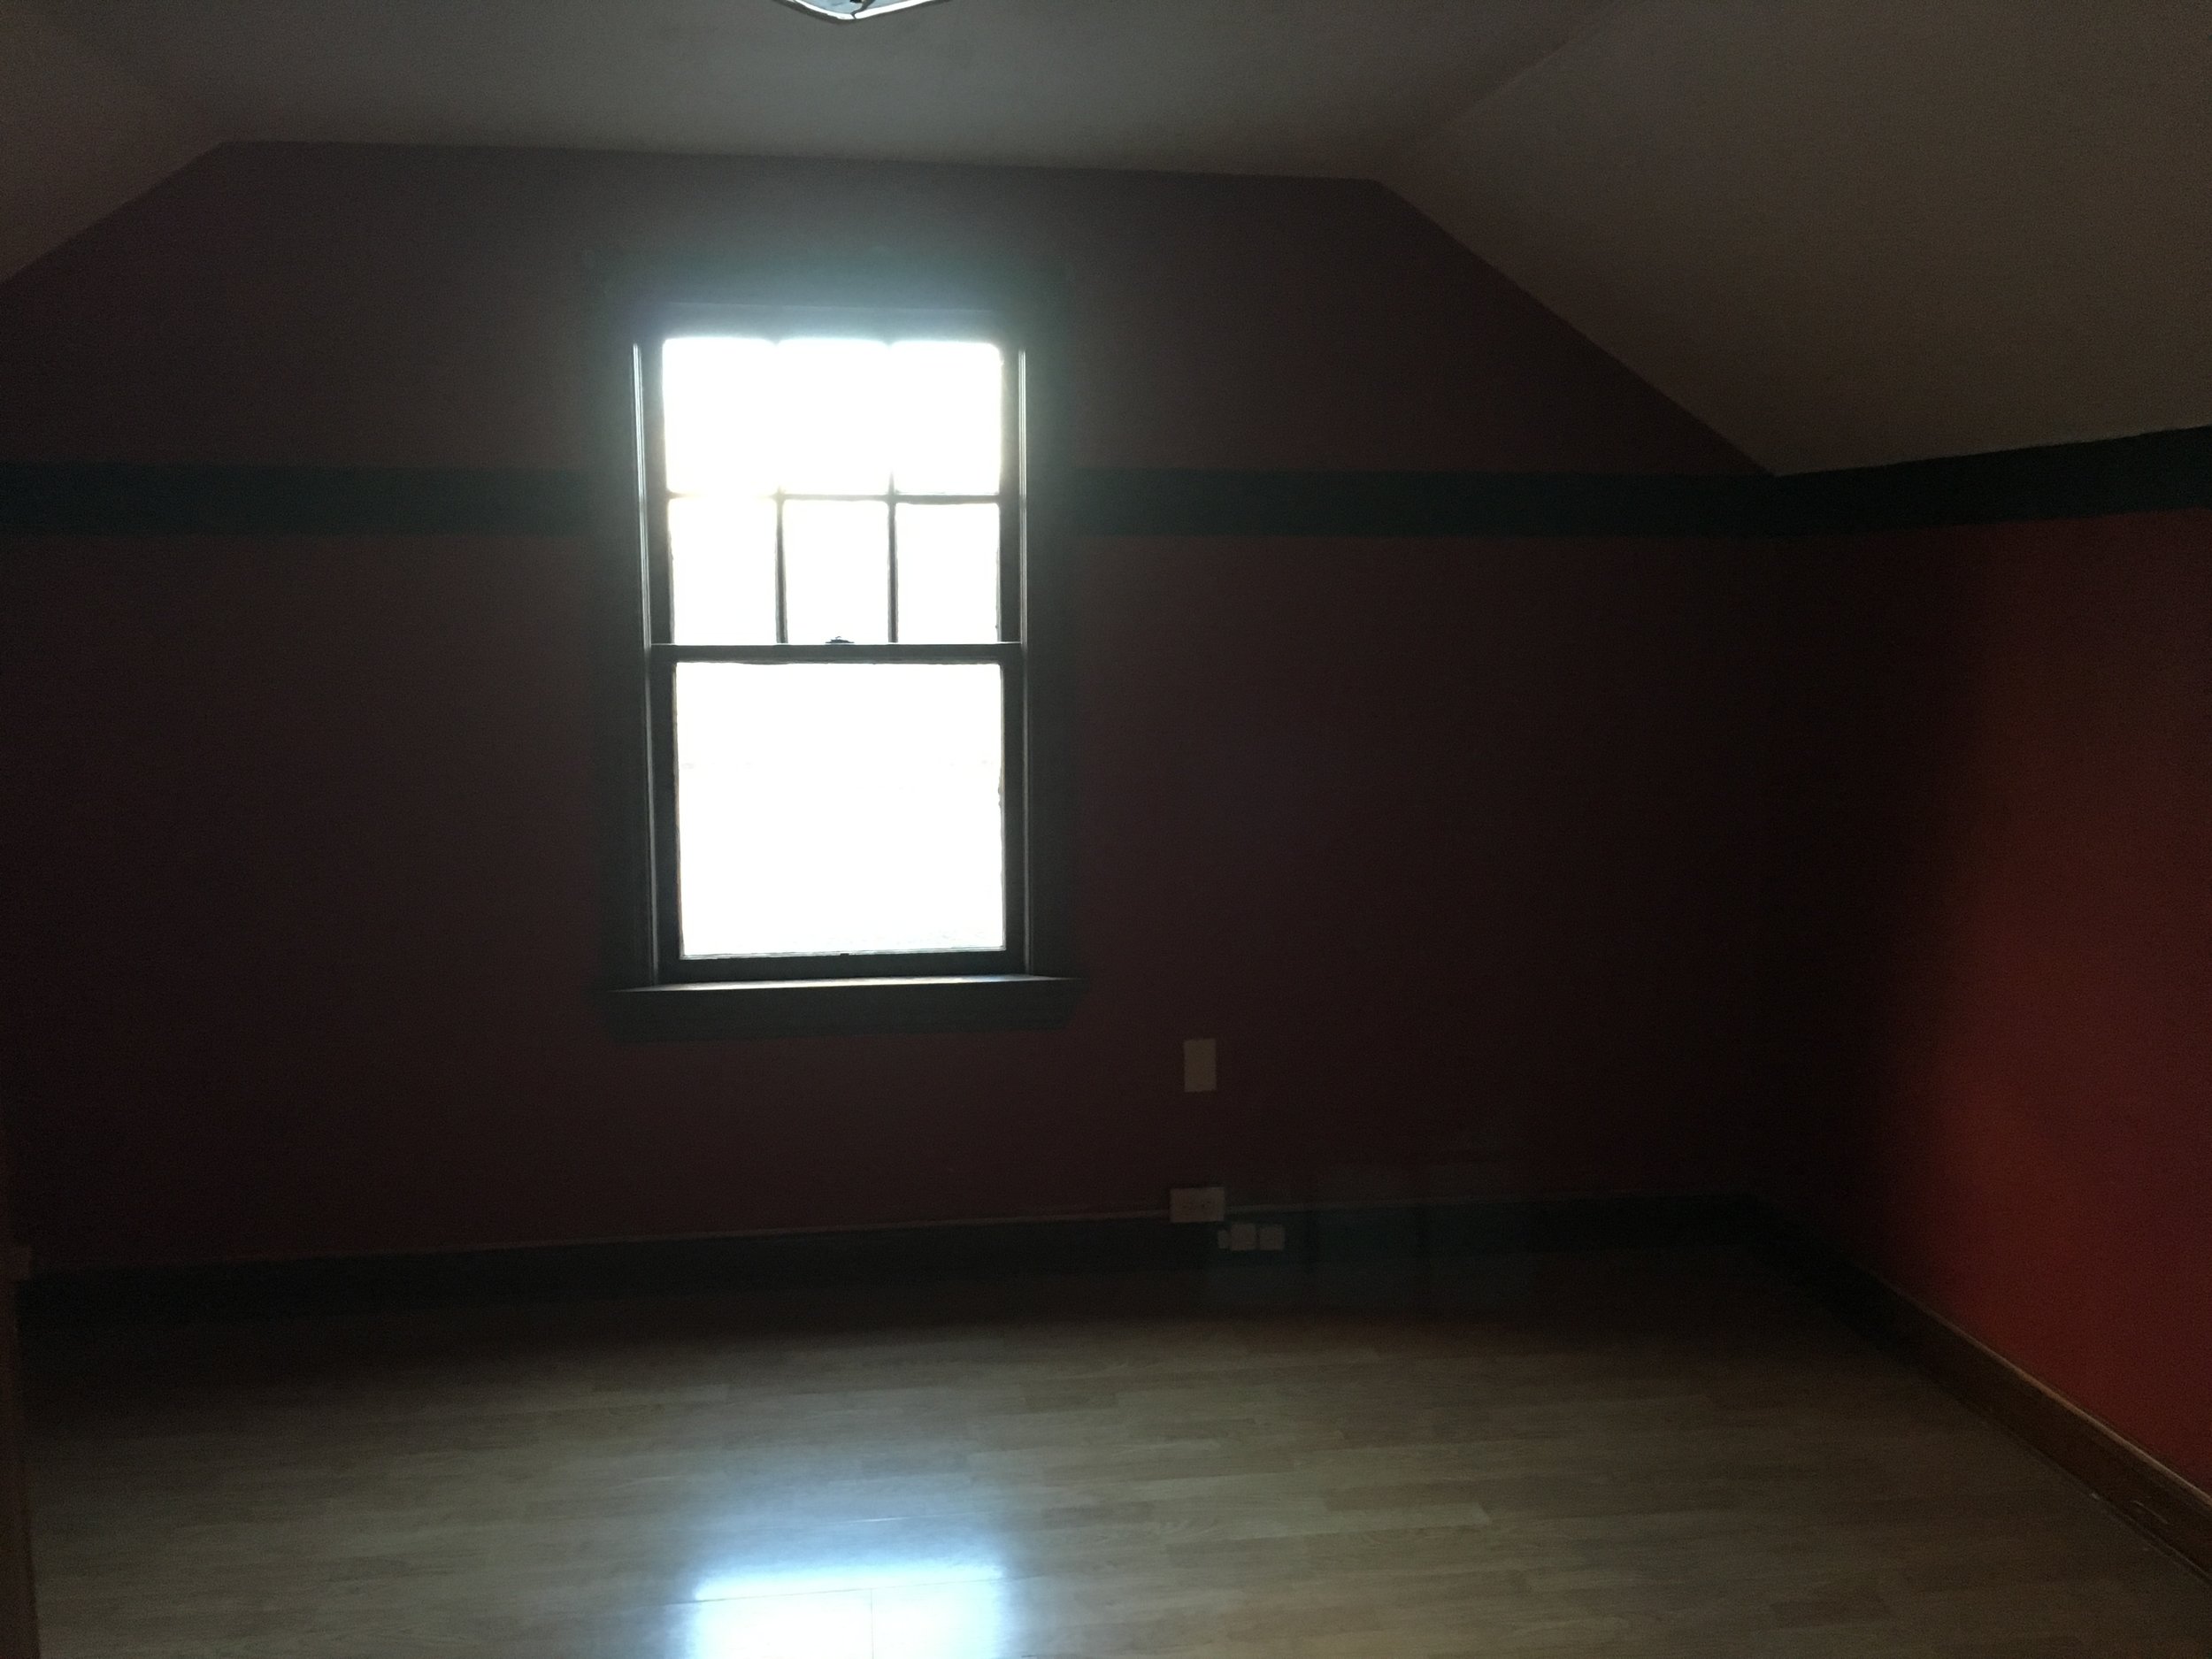
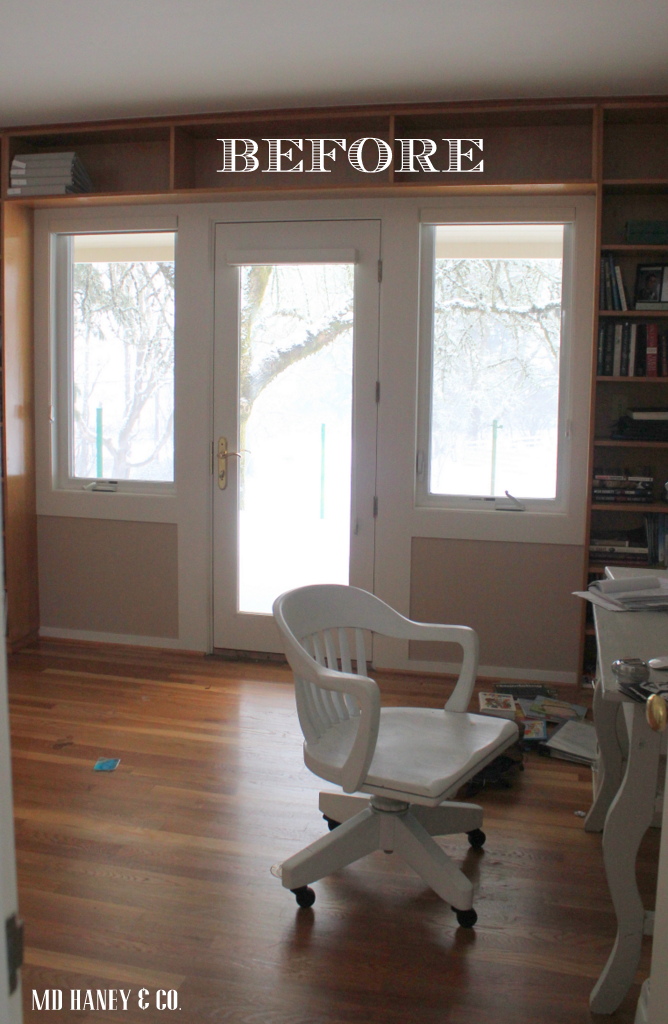
Here are some BEFORE pictures....the upstairs space was originally 3 bedrooms.  It had three layers of wallpaper, over drywall.  The floors were yucky, the windows were rotting, the lighting was bad, and it was hot in the summer and cold in the winter.

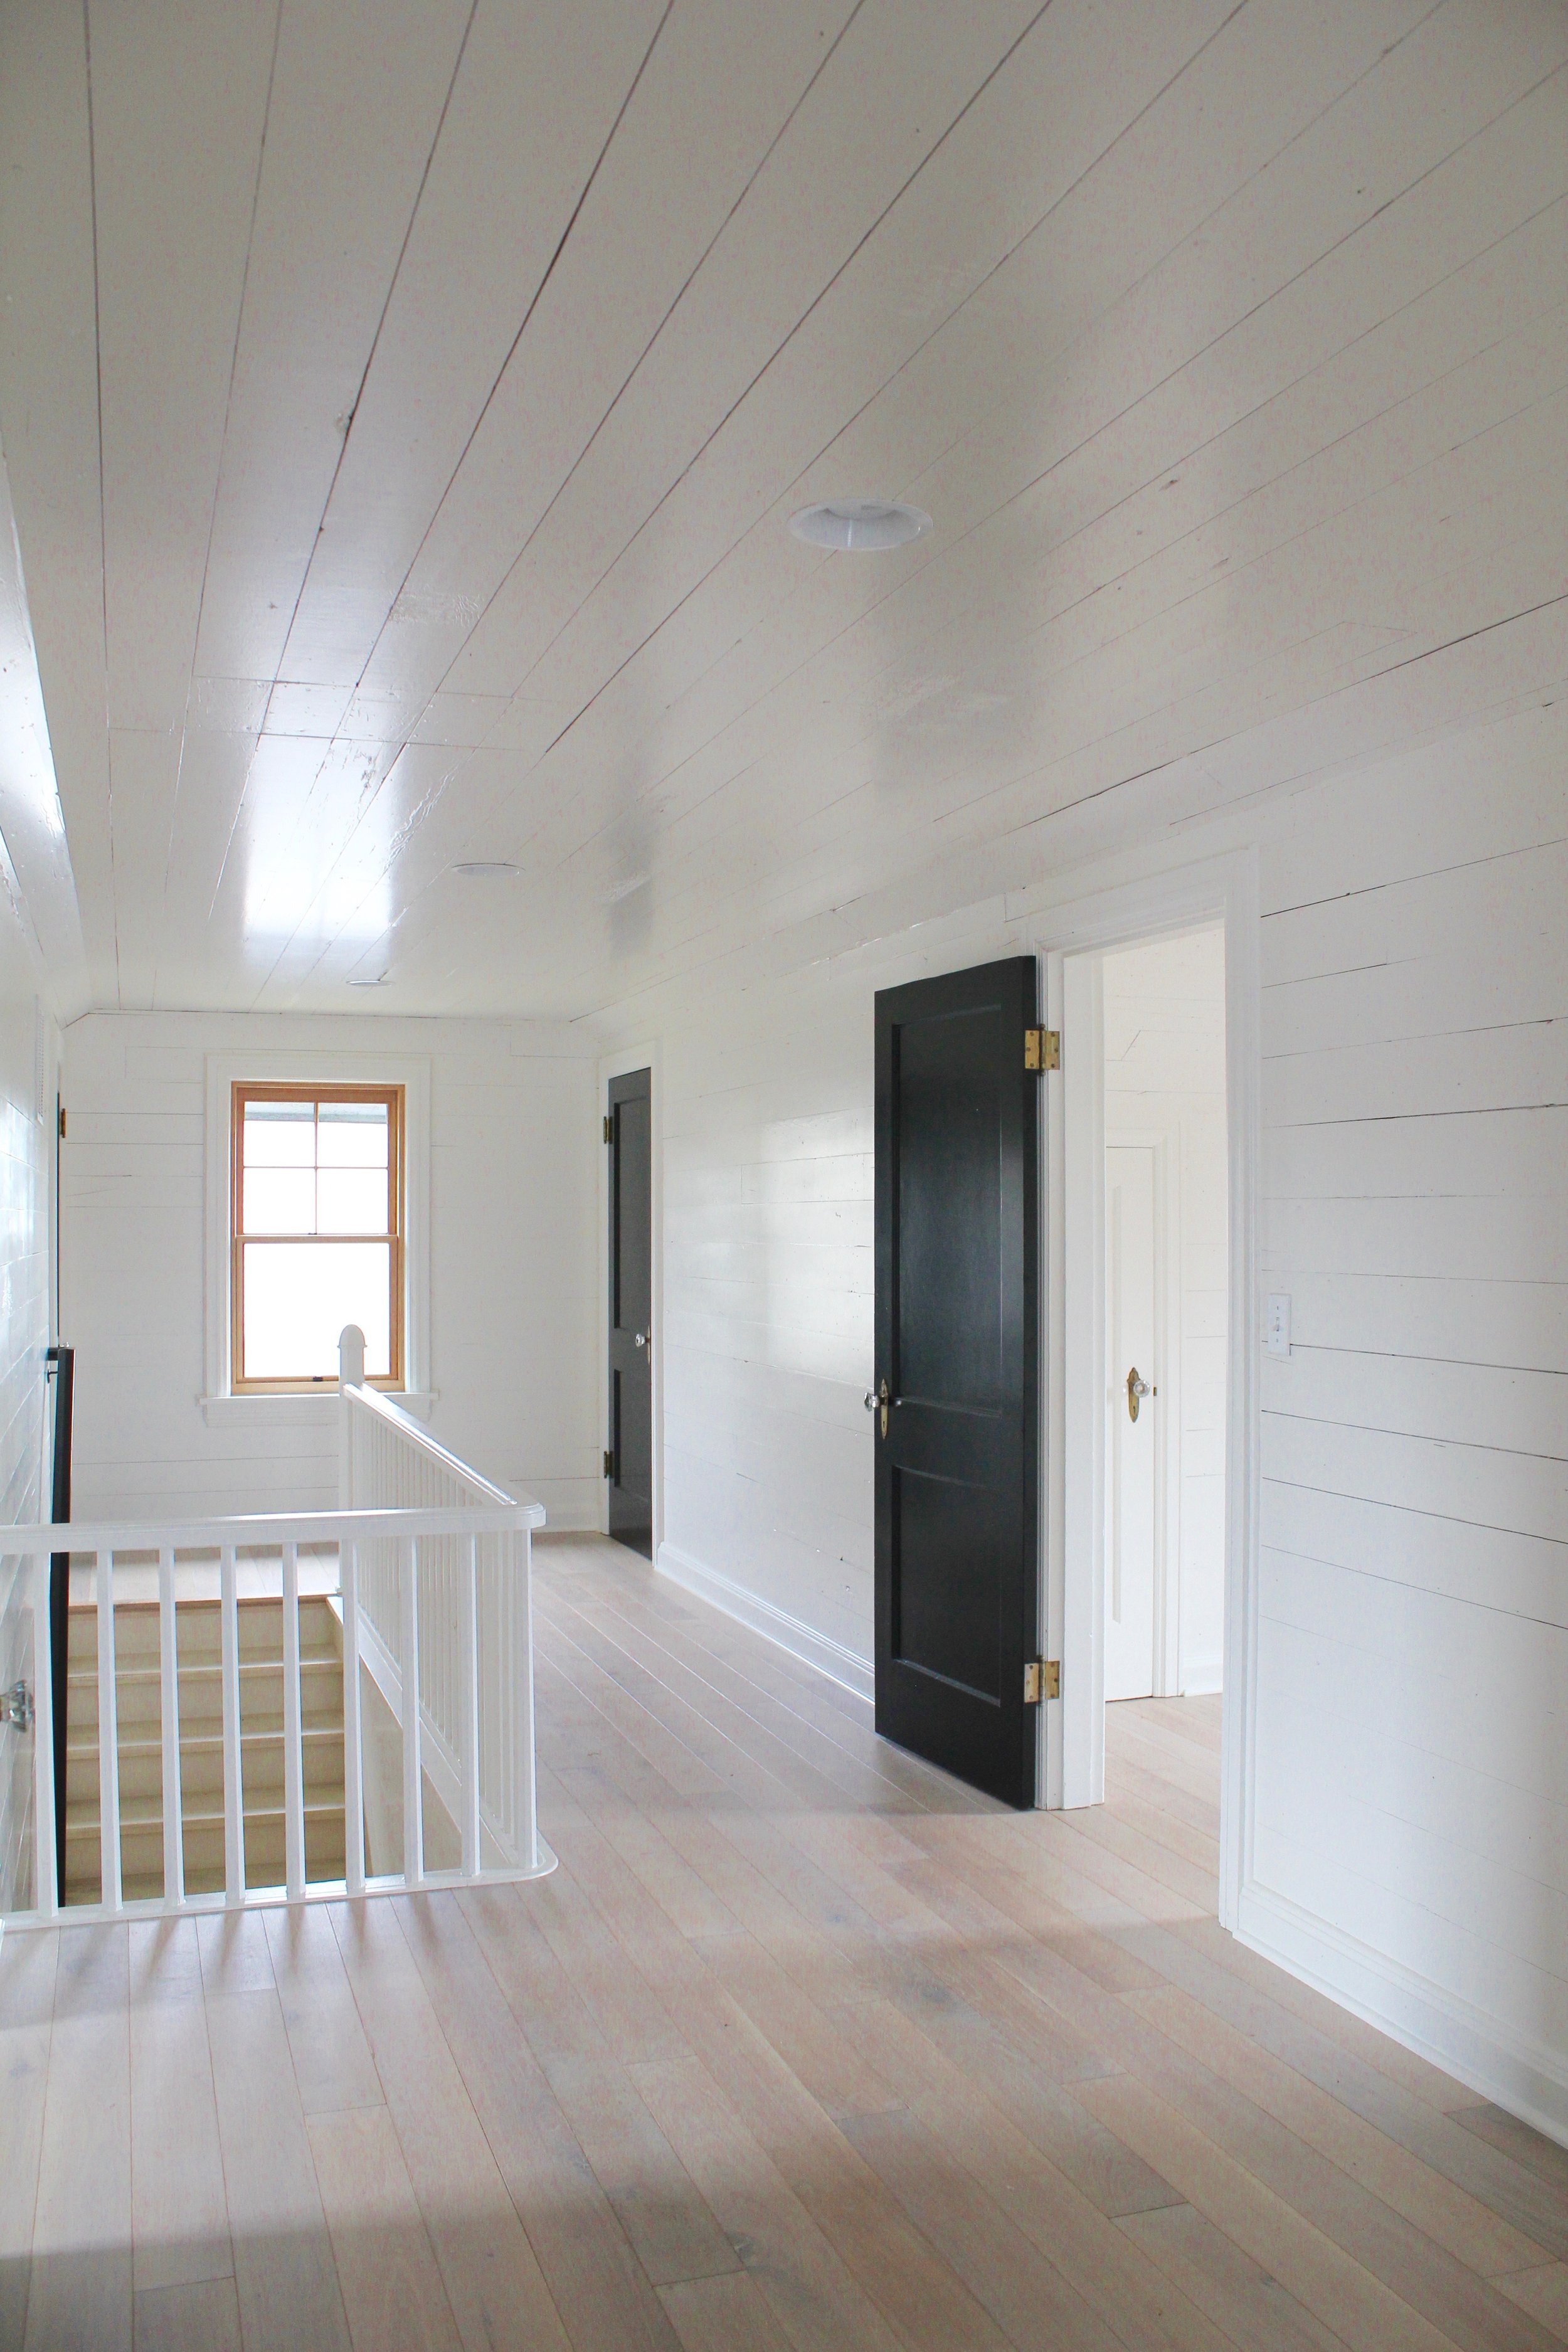
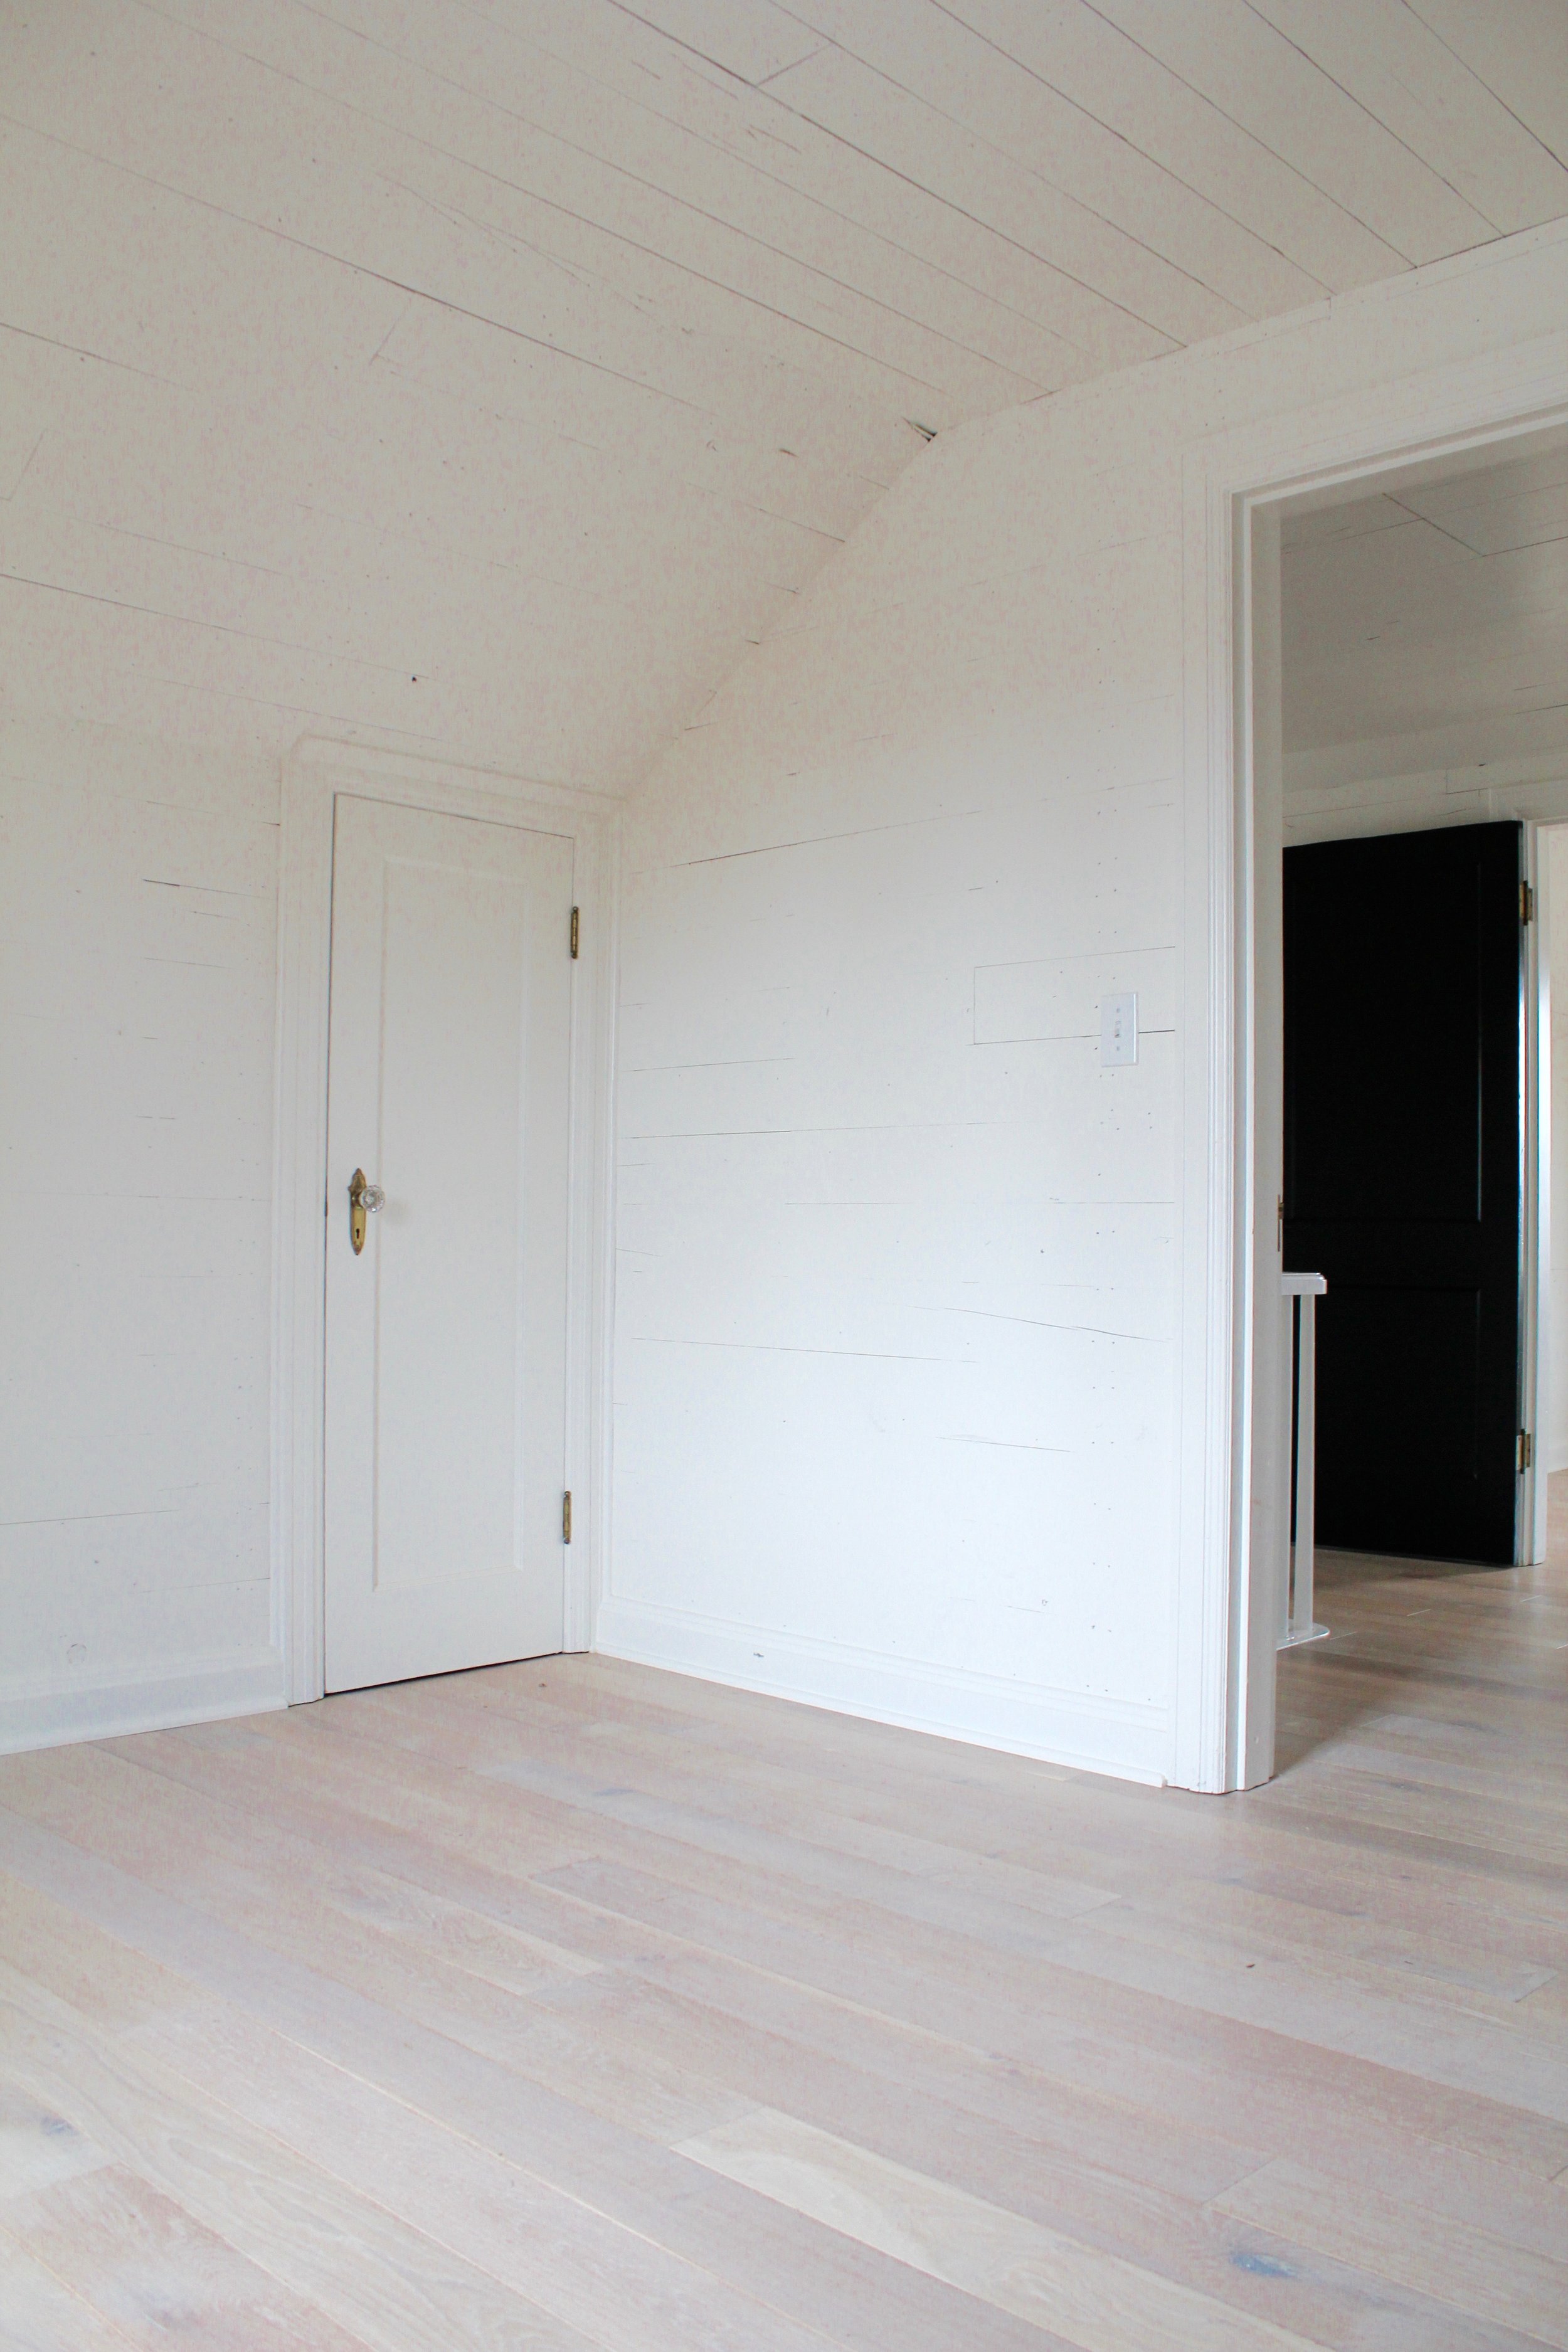
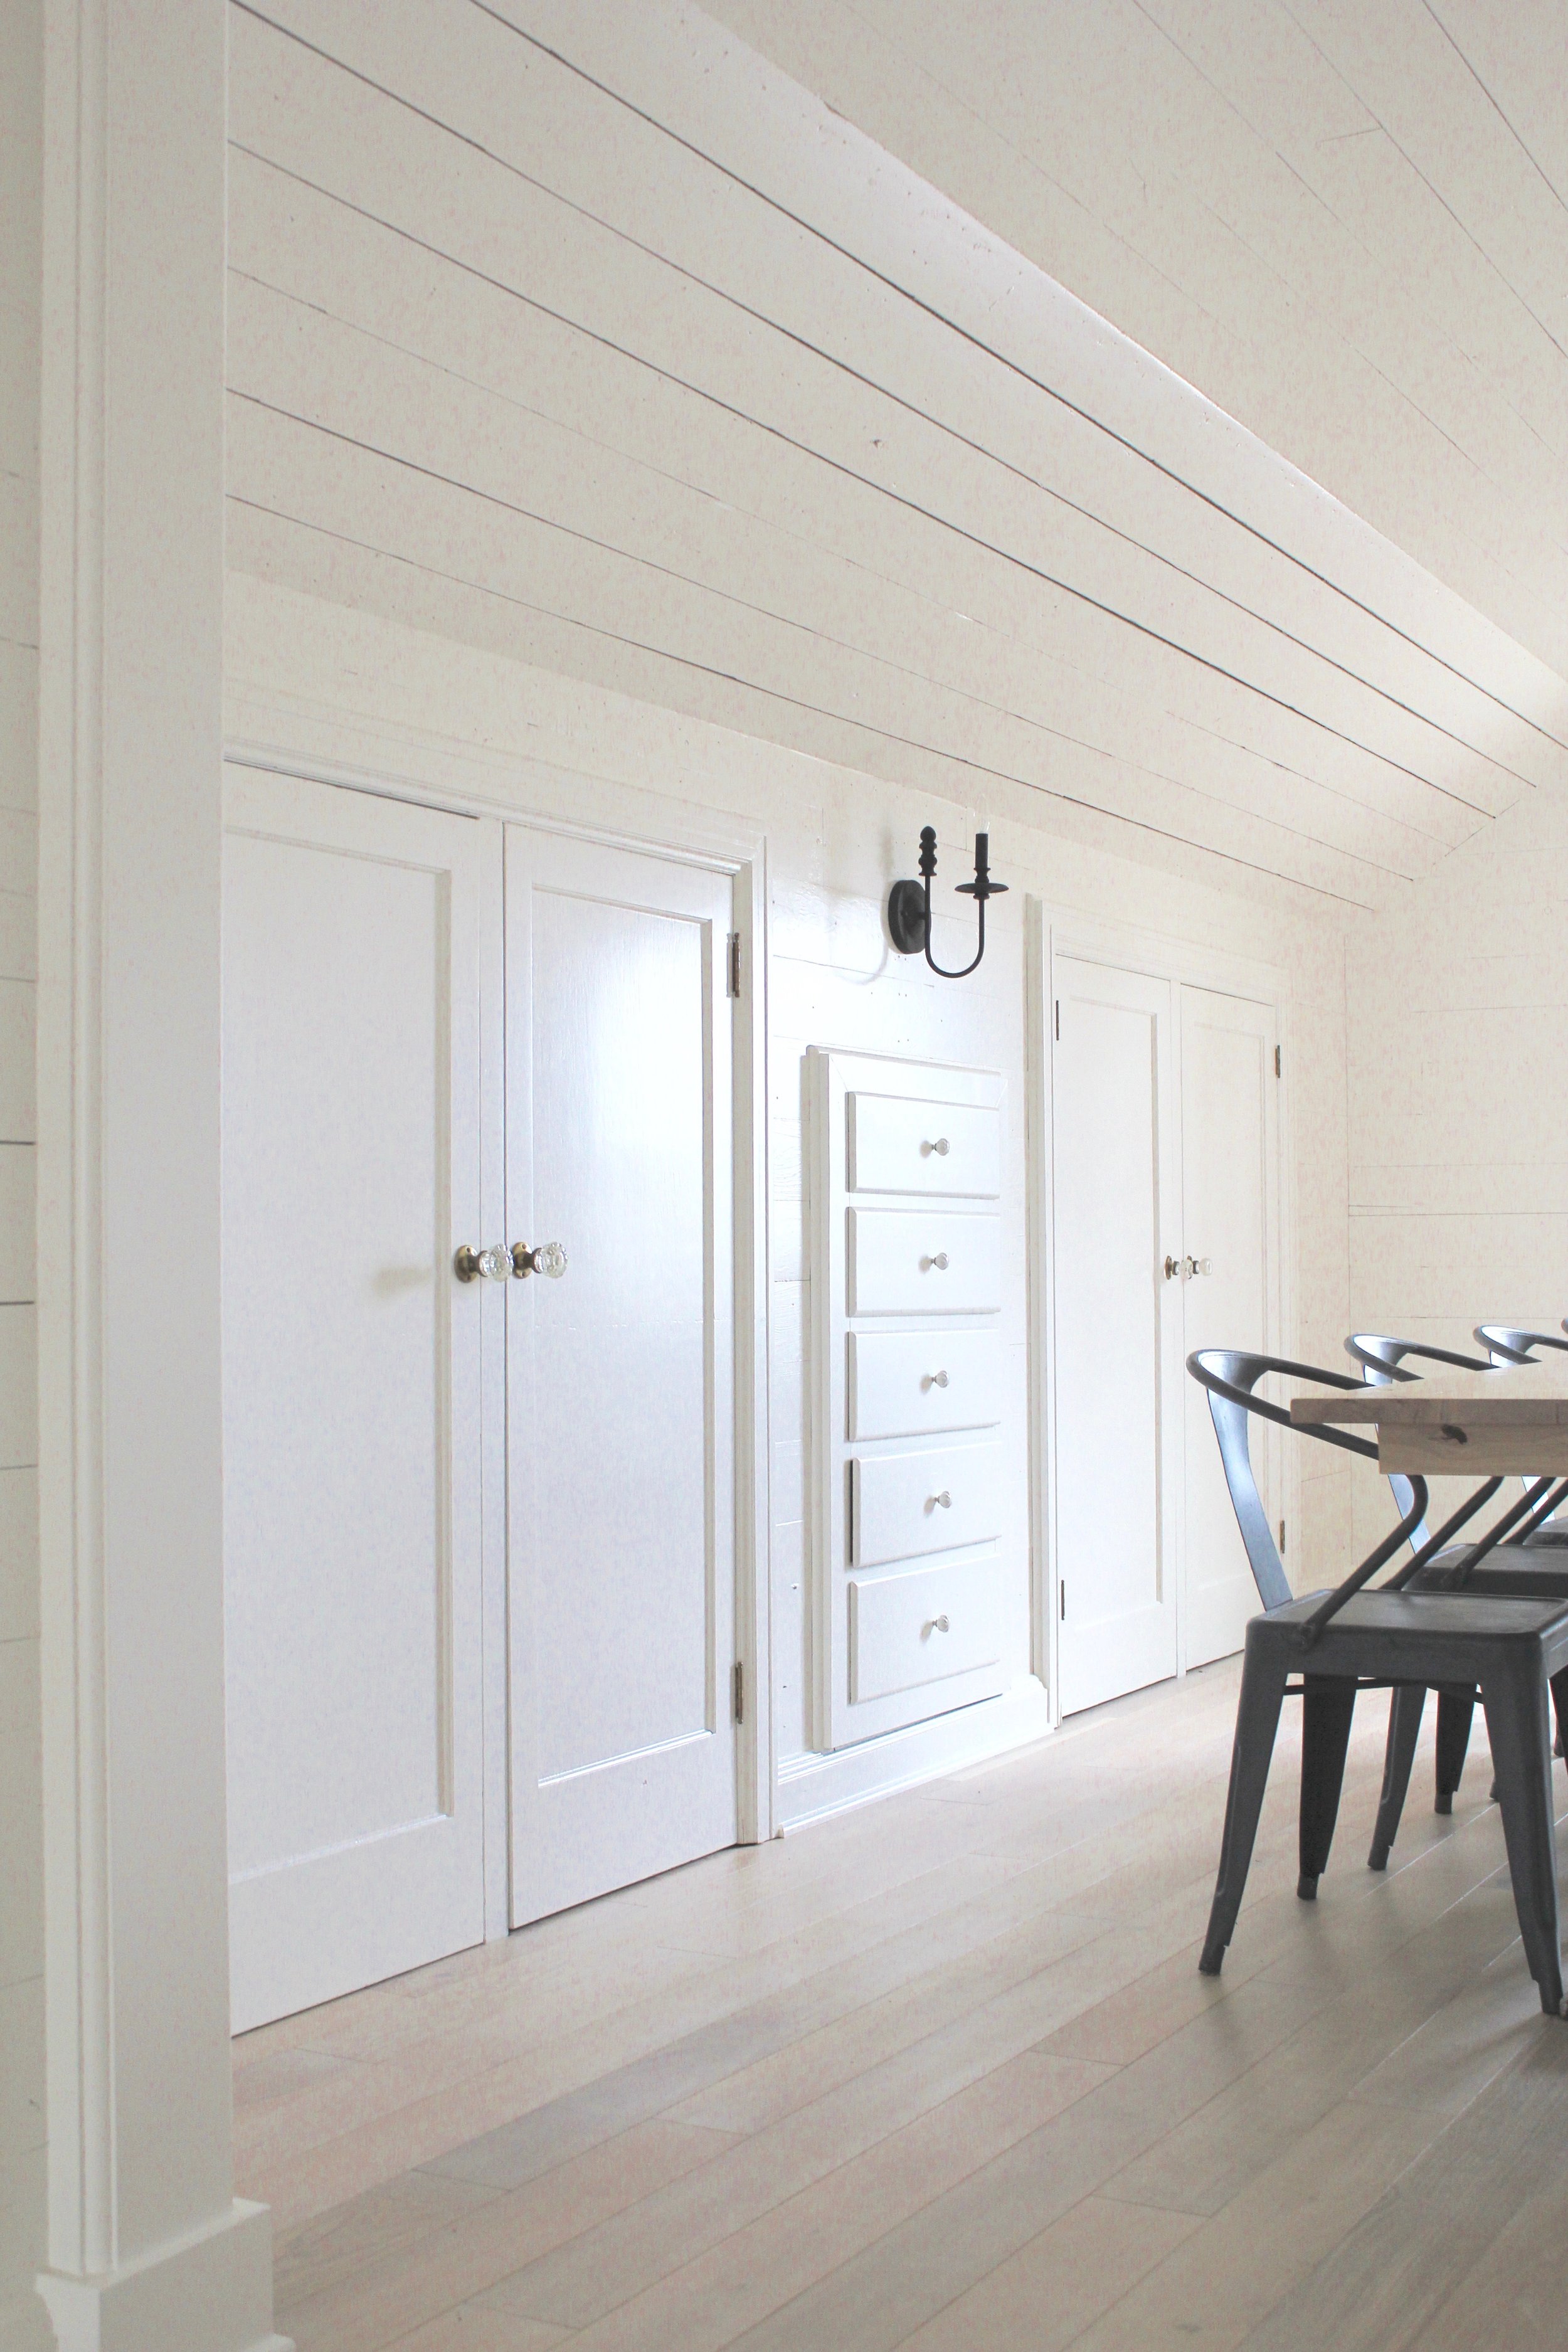
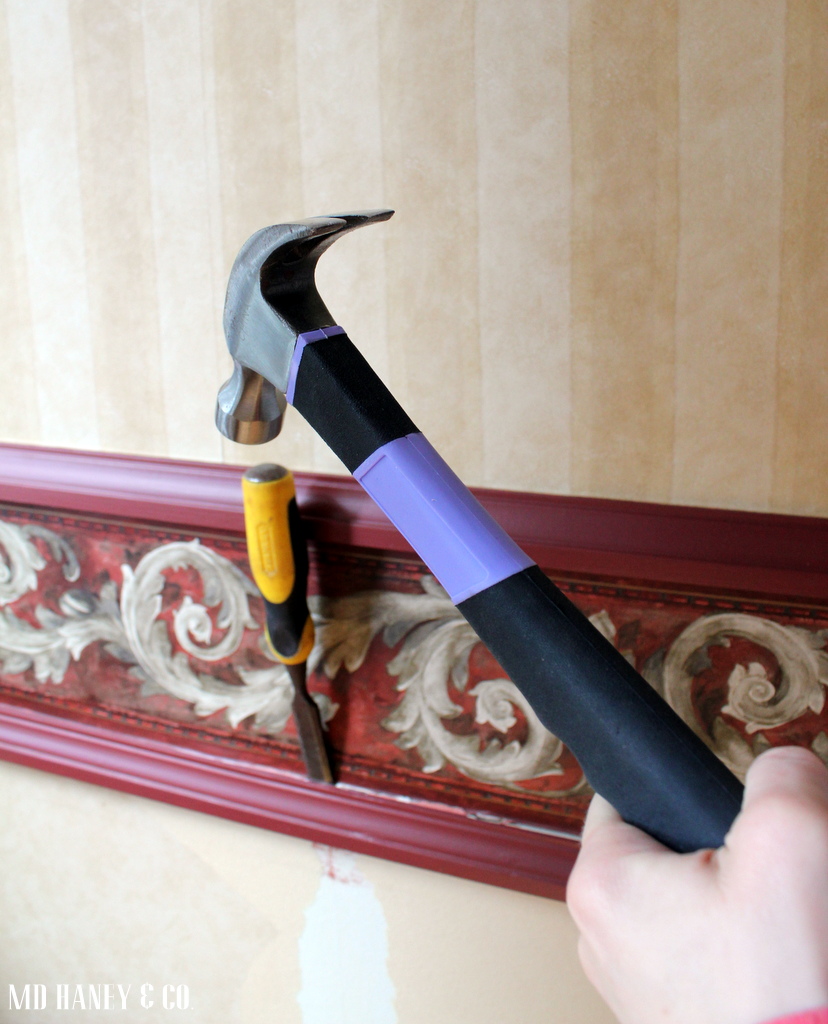
We removed all of the wallpaper and drywall.  Under all of those layers, we found shiplap!  We sanded it and sprayed it white.  Matt spent a lot of time sanding and spraying those walls...they really look amazing!

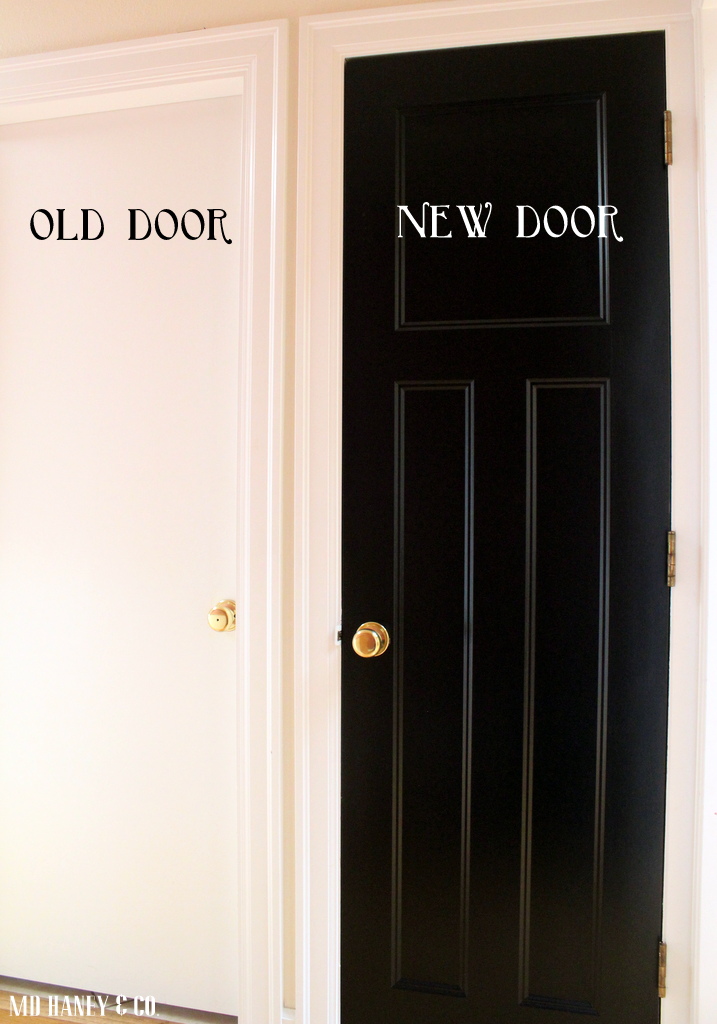
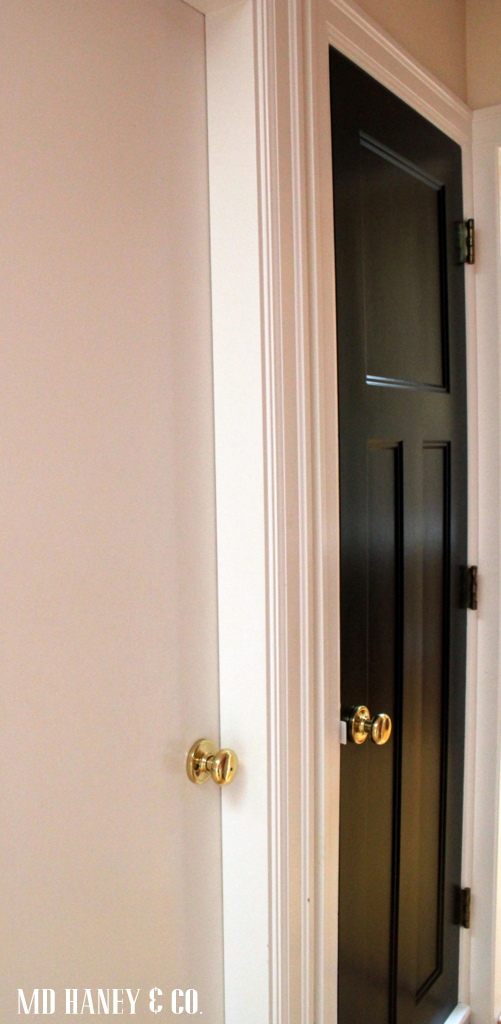
We sprayed all of the doors with a pure black satin paint.  The doors and hardware are original!

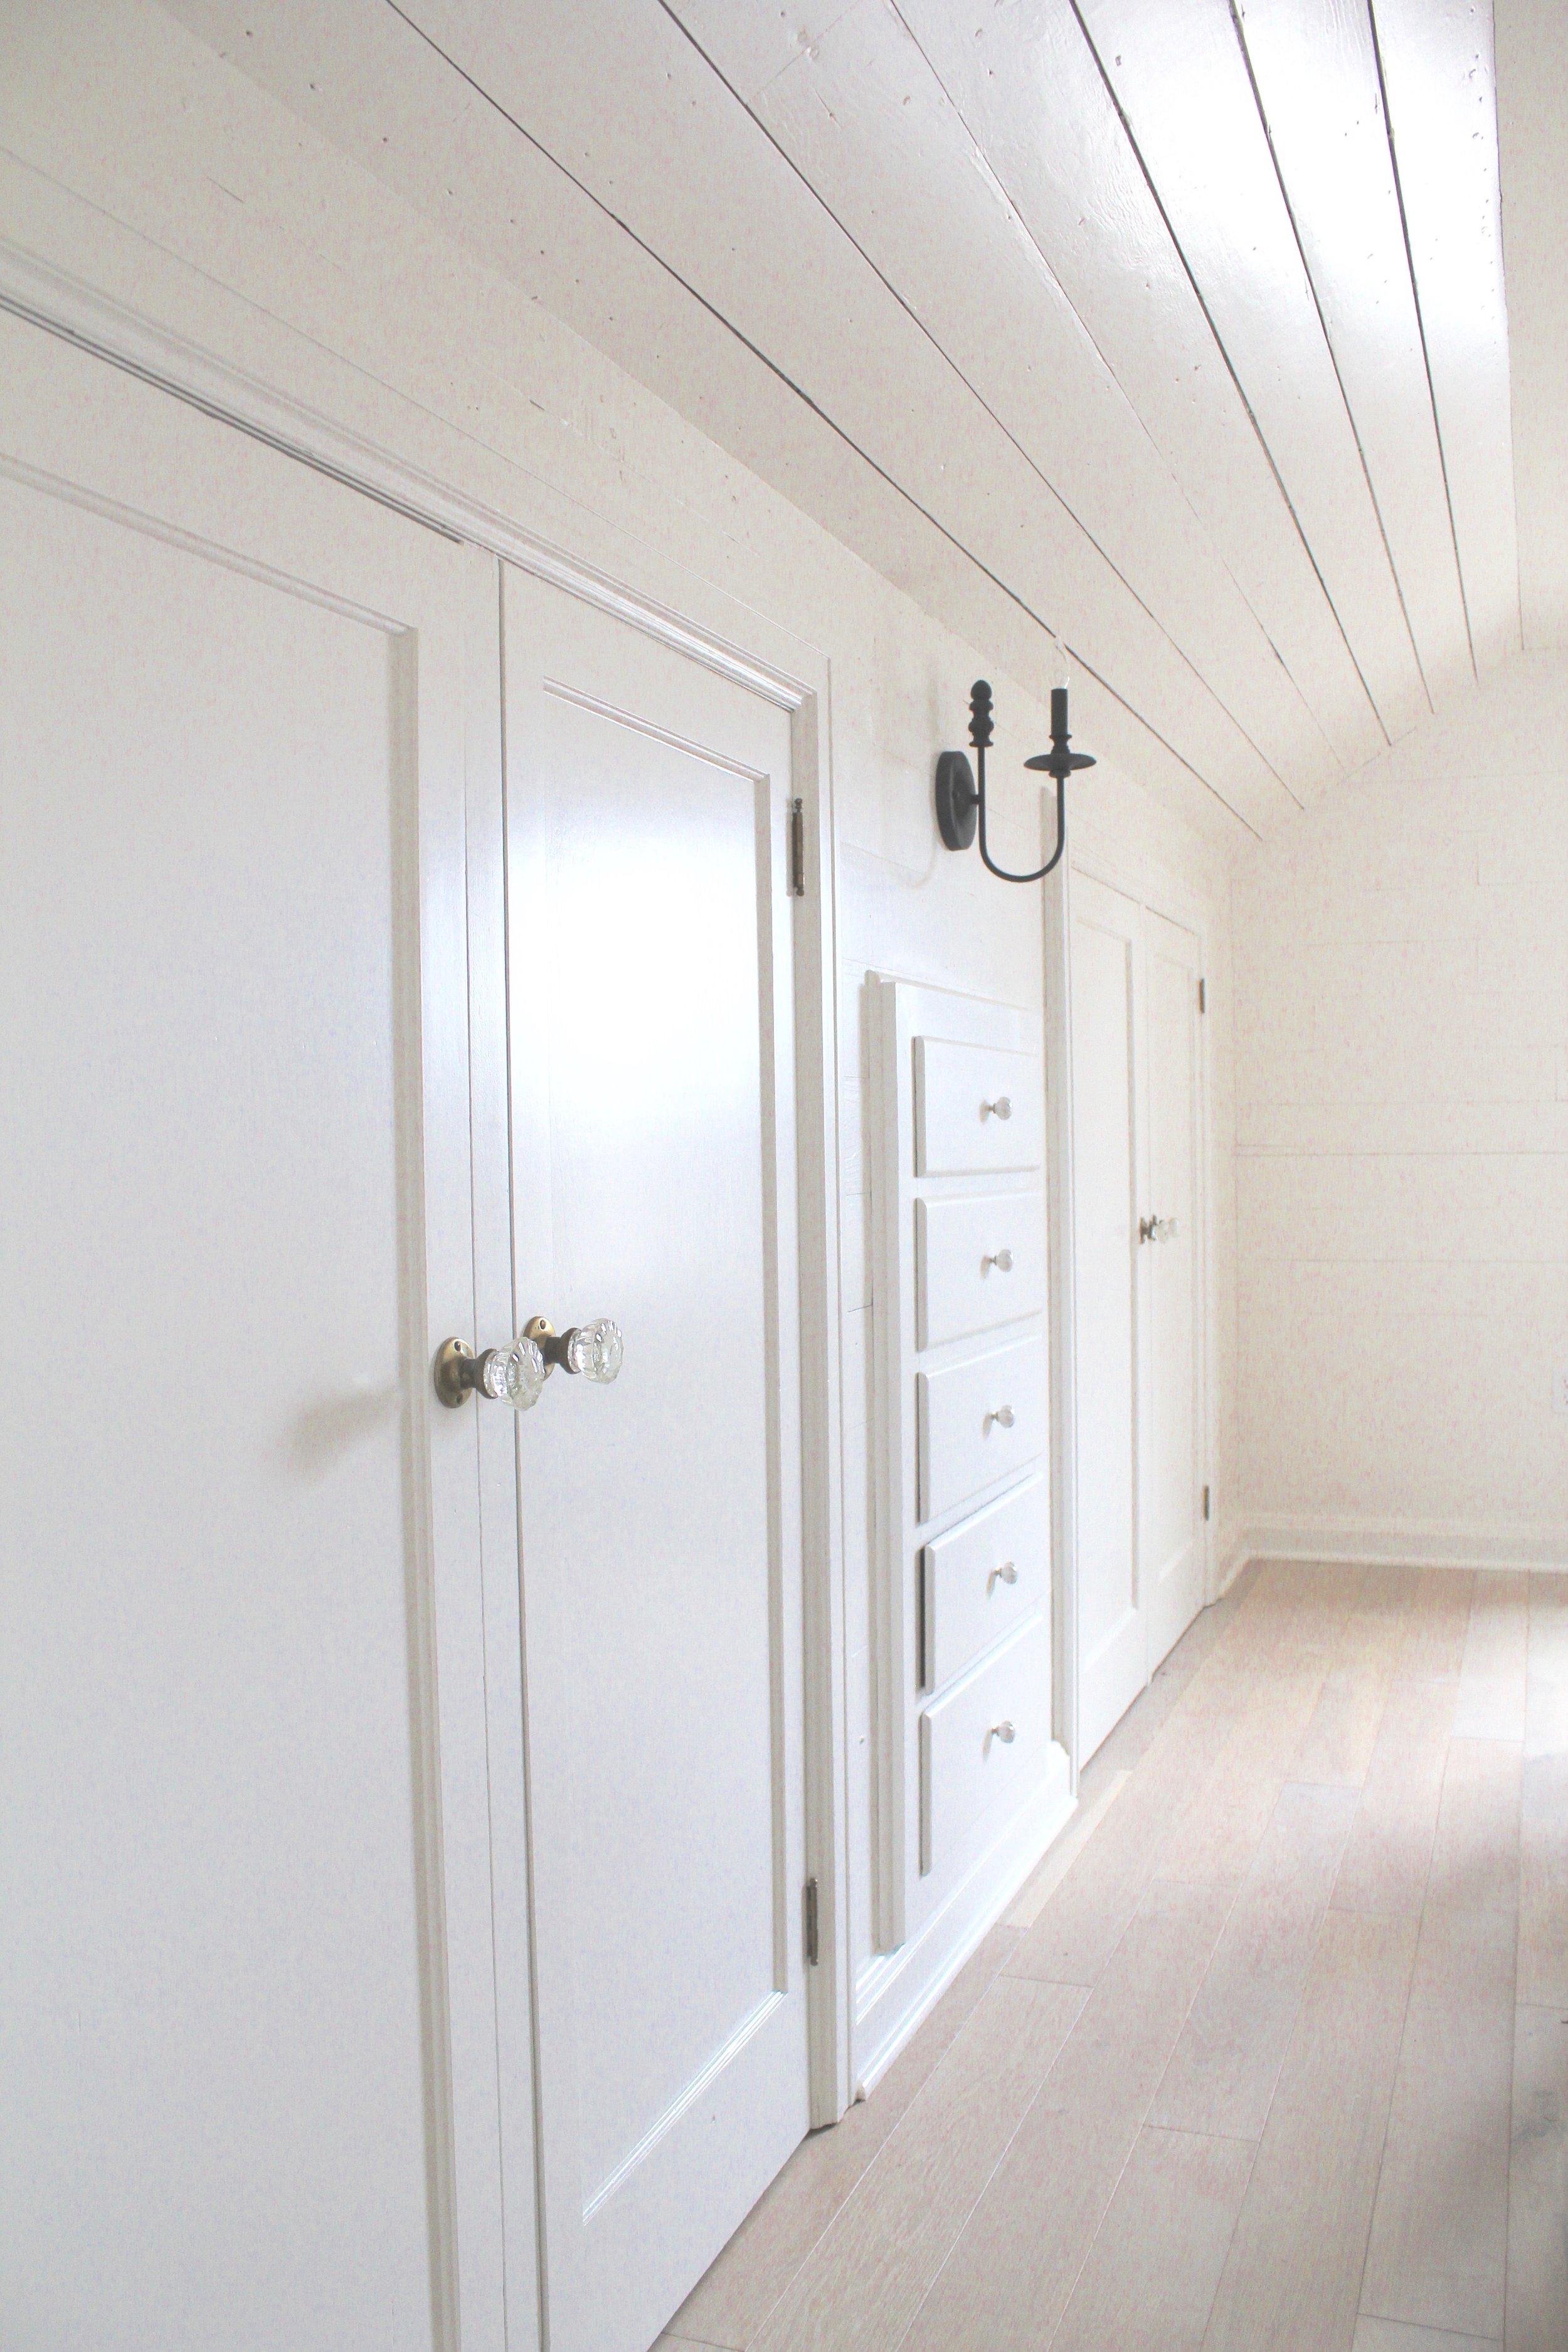
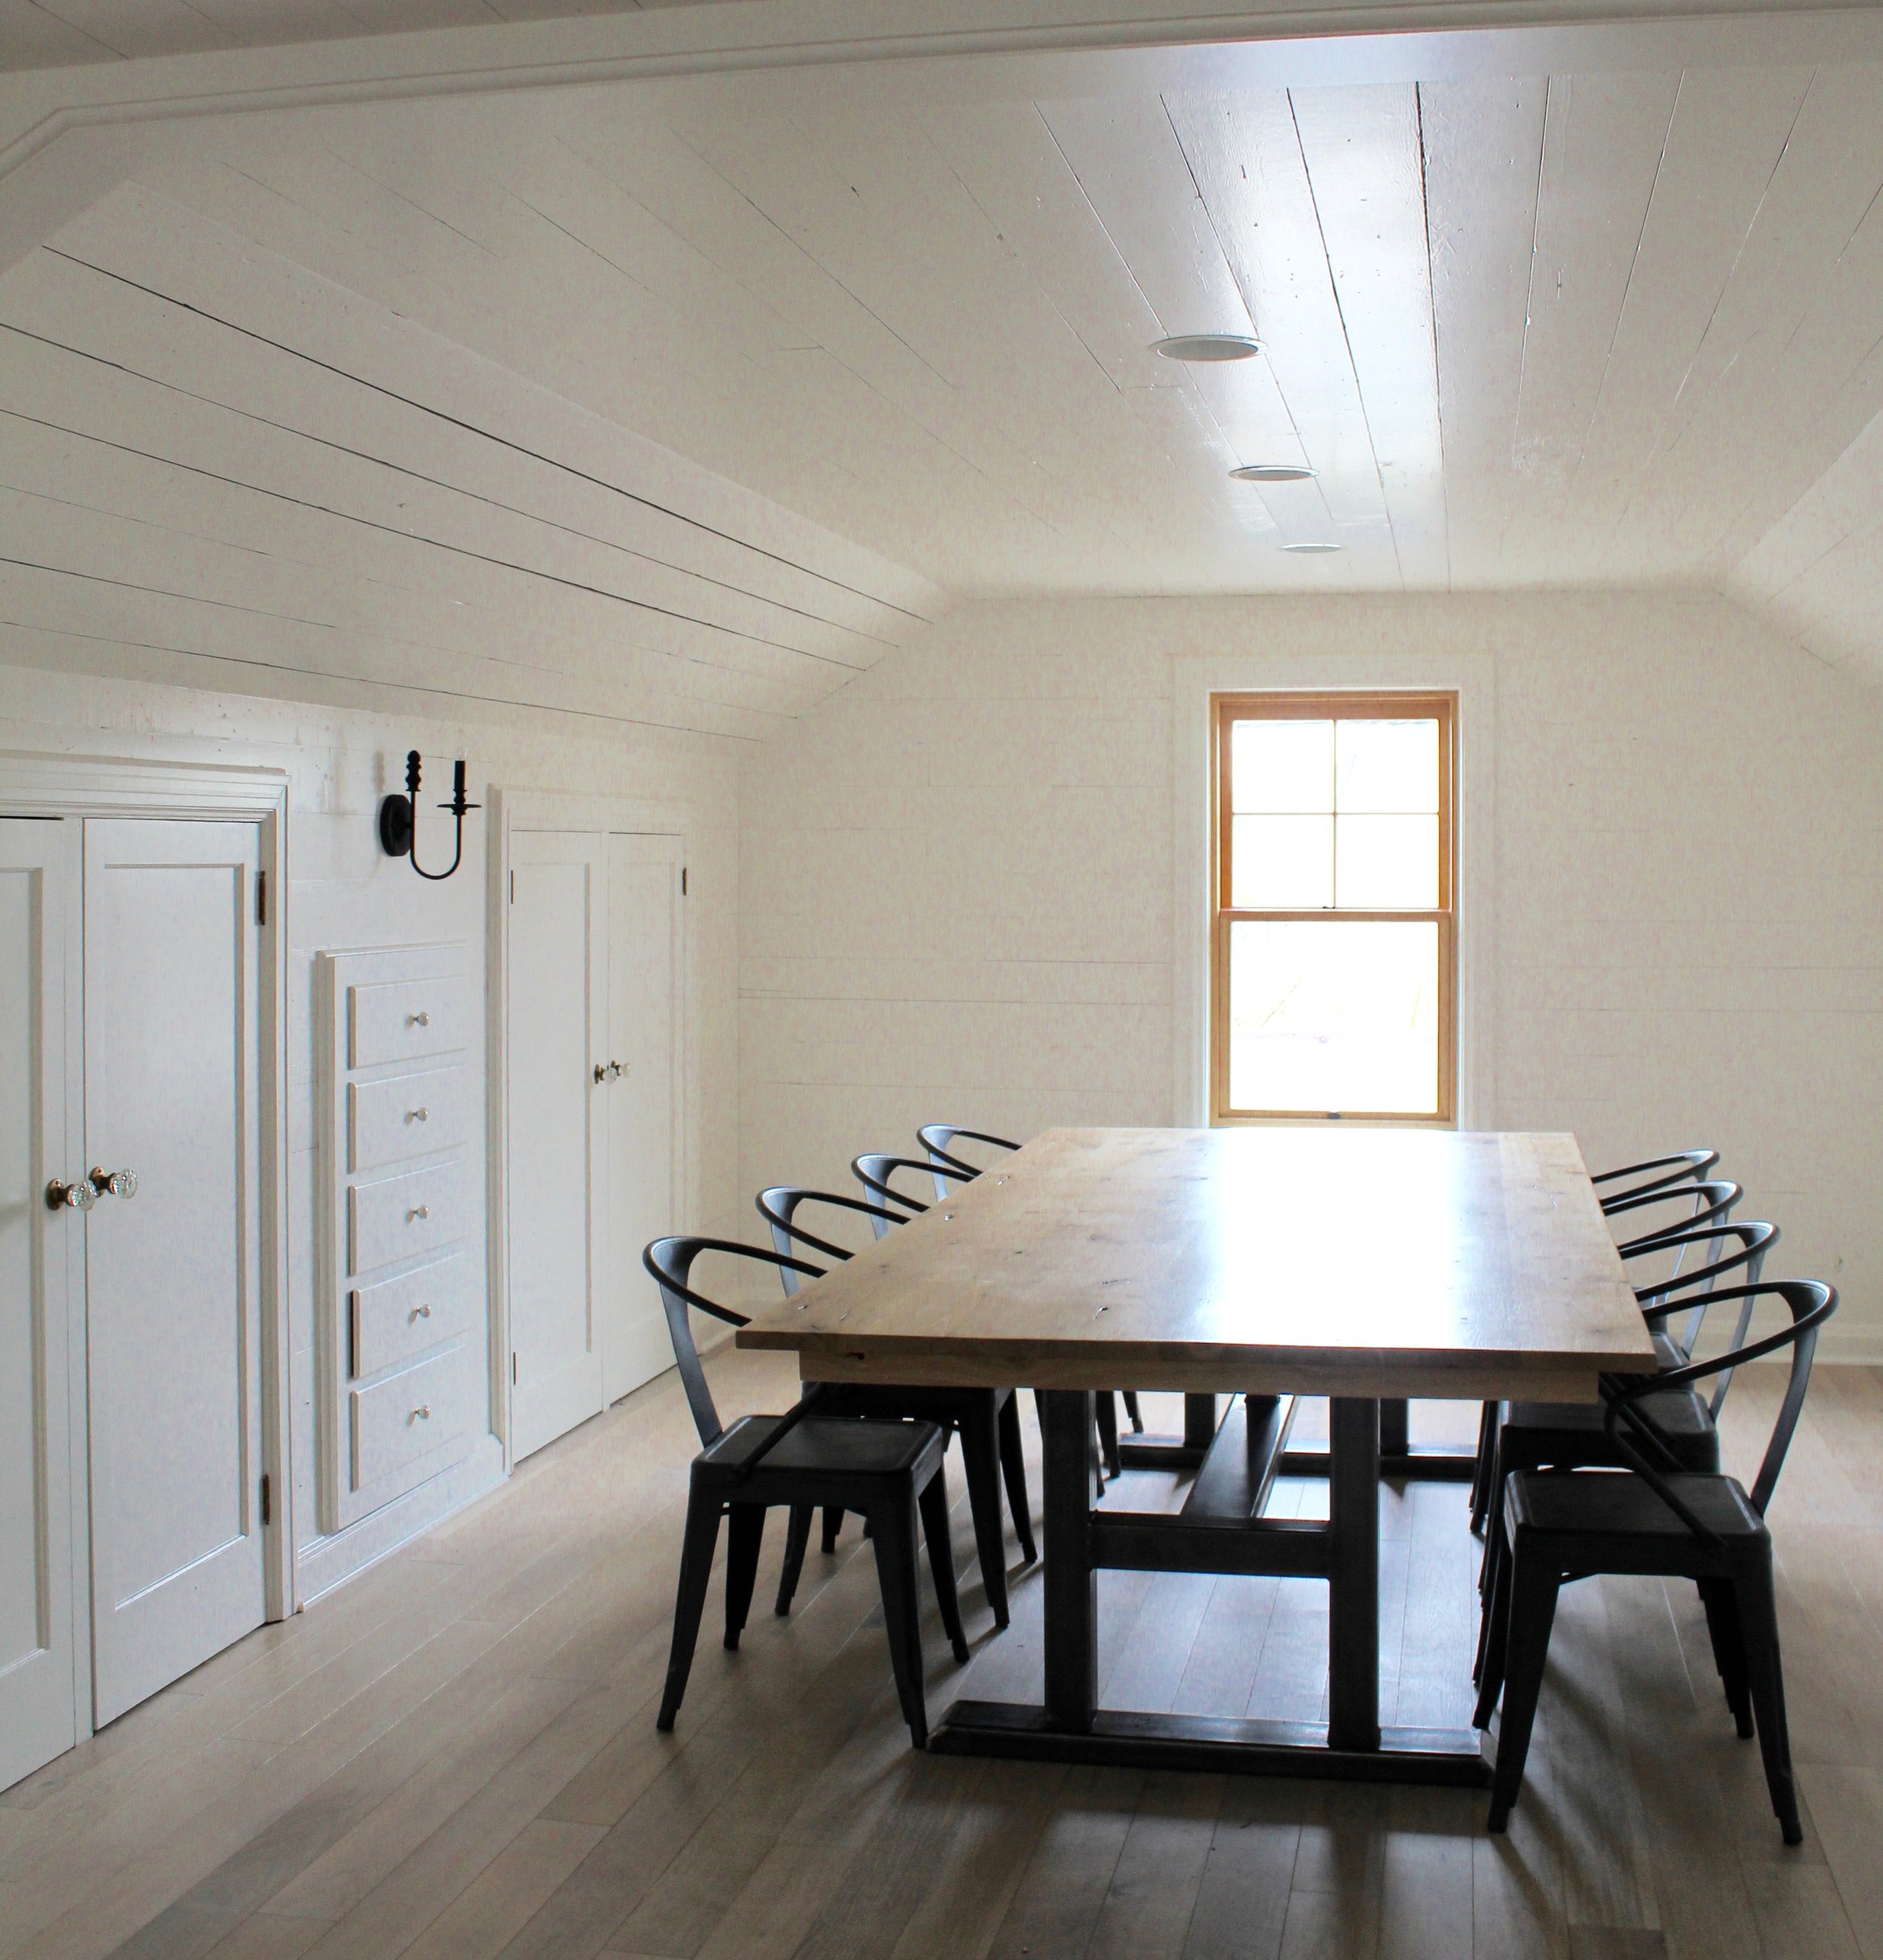
We added can lights and two sconces in the workshop area.  We also added new engineered hard wood flooring, the same that we have downstairs.  The HVAC was updated to make the space comfortable and we replaced the windows with new wood windows.  Can you believe these darling built-ins?  I love, love, love the character of old homes!

My Christmas present from my sweet hubby, was this amazing table!  He used white oak for the top, which matches my downstairs shelving, and he welded the base, which also matches my shelving.  They had to bring it up in two pieces because it is so big and heavy!  It's perfect for classes and workshops!  I am one lucky girl!!

It's a blank canvas at this point!  I still need to fill the office spaces, but I am not in a huge rush.  I love it simple and clean so I am just enjoying it as it is!

xoxo

Darci


painted furniture || ANTIBES GREEN CHALK PAINT®

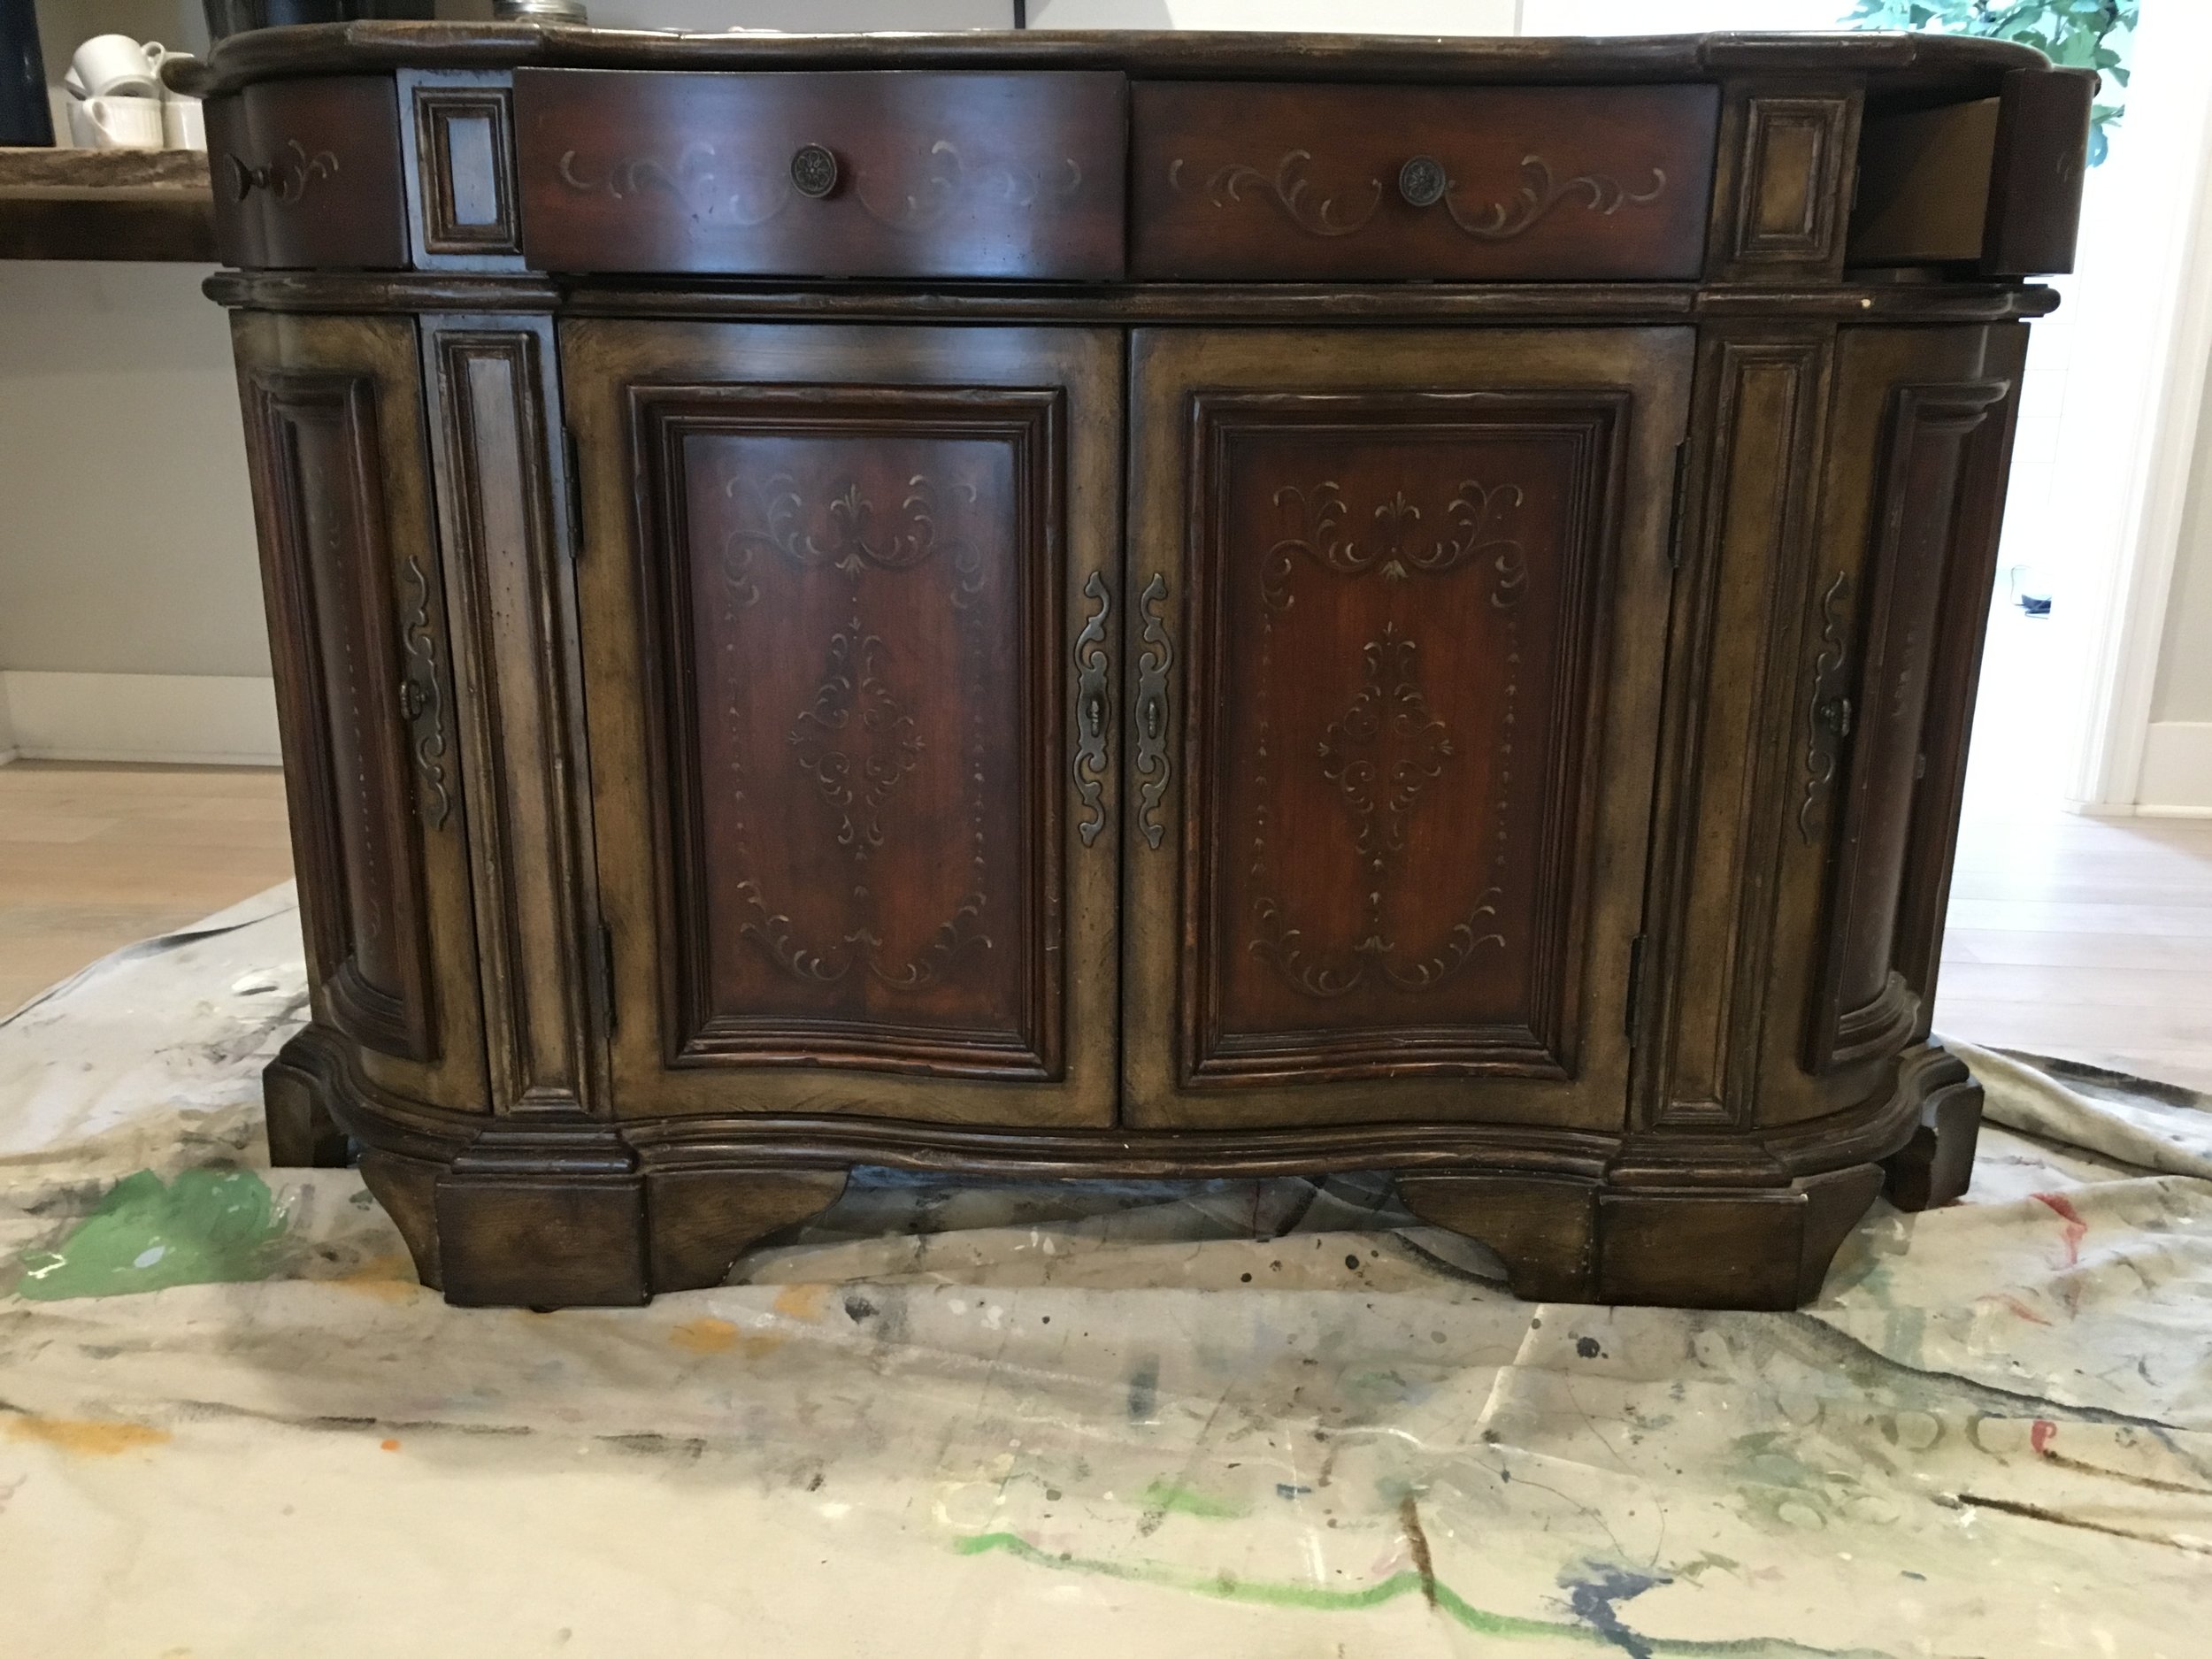
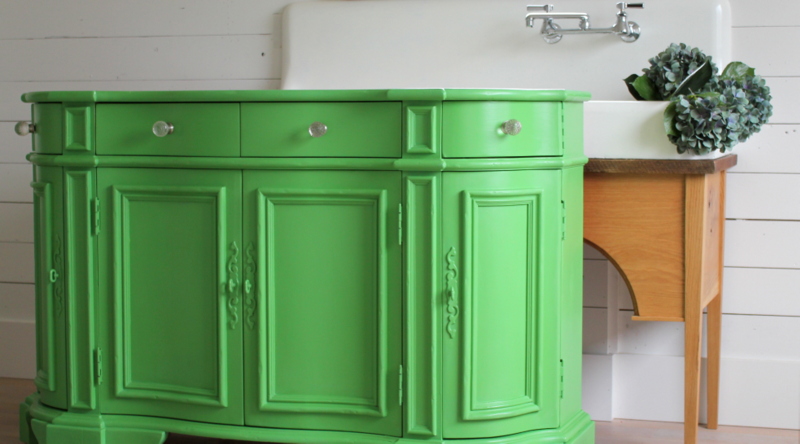
A dear friend of mine is giving herself a beautiful home office.  She has switched some rooms around and is making a space that is absolutely bold and beautiful, just like her!  She had a solid hutch that she wanted painted, it's going to be her pop of color in the new office.  We settled on Annie Sloan's ANTIBES GREEN..... hutchbefore

It is a beautiful piece of furniture.  Solid, well built and has some really great storage.  It was a lovely piece to paint!

hutch1

2017-01-09-23-00-53

2017-01-09-22-59-22

2017-01-09-23-01-30

2017-01-09-23-02-50

I used Annie Sloan Chalk Paint, ANTIBES GREEN, Annie Sloan lacquer and Annie Sloan Clear Wax.

The hutch was originally intentionally distressed.  It had manufactured worm holes, gouges and was made to look old.  She wanted the new look to be shiny and crisp, no sanded edges or distressing the paint.  This piece took four coats of paint (I watered down each coat, I wanted it smooth!) two coats of Annie Sloan Lacquer and one coat of Clear Wax.  I can't wait to see this beauty in her new office space!  I hope this has inspired you to paint something....maybe something bright and bold!

xoxo


THE PLAYROOM

A week before Christmas we had carpet installed in the playroom!  It was good to have a deadline and feels so good to have a room finished!  The girls spend a lot of time in this room.  We are so close to finishing our basement living room too….. IMG_5201

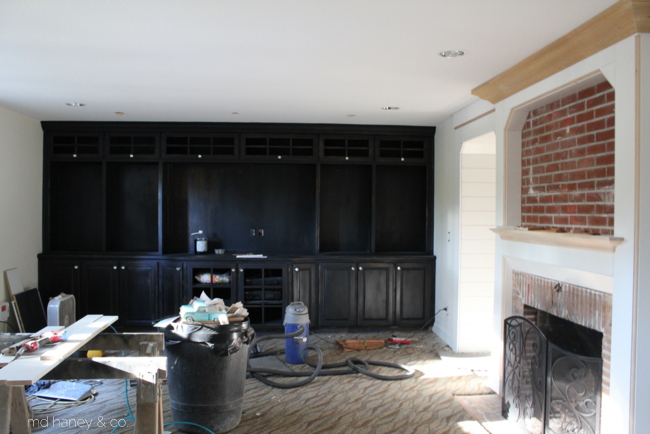
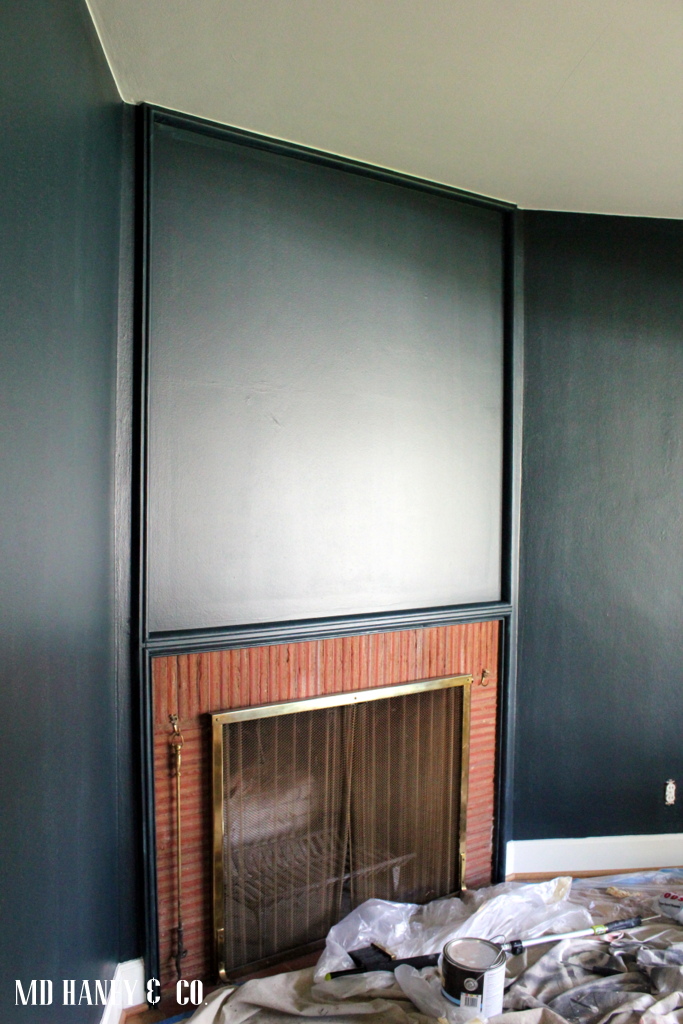
Matt is working on the finish work now.  Look at that cool brick we found under the drywall of the fireplace.  We may paint the brick, but we shall see!

IMG_5200

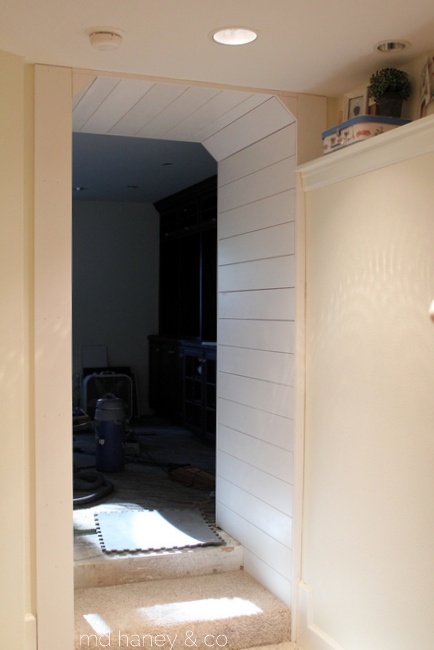
Matt is building an archway from the playroom to the basement living room, almost like a secret room. ;-) We plan on having paneled walls through out the house, so this will tie in nicely.  I know it's trendy right now, but we plan on remodeling the entire home and I think it will all flow perfectly.

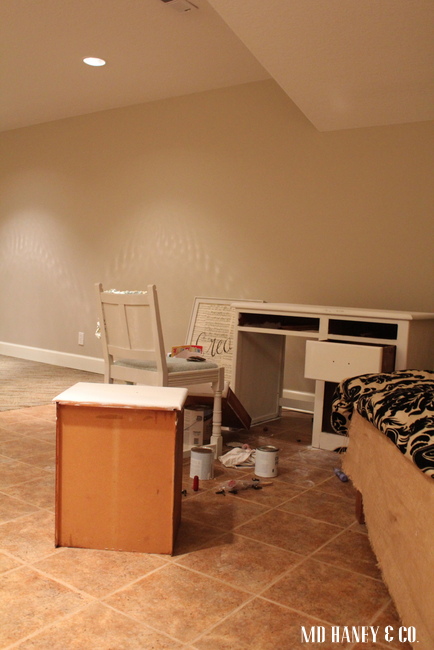
Below are a few BEFORE photos

IMG_4376

IMG_4377

IMG_4378

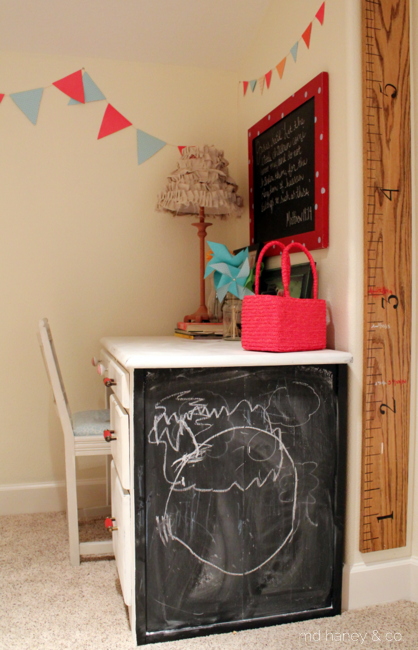
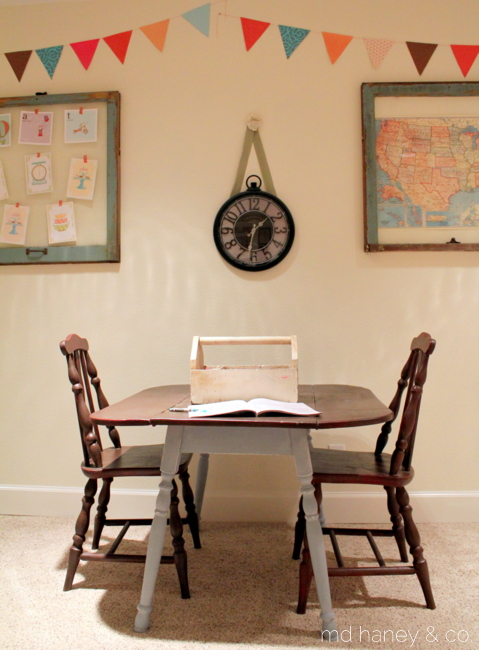
And here is the space now.  A little brighter, cleaner and the perfect spot for a playroom!

IMG_5174


IMG_5173

IMG_5176

IMG_5178

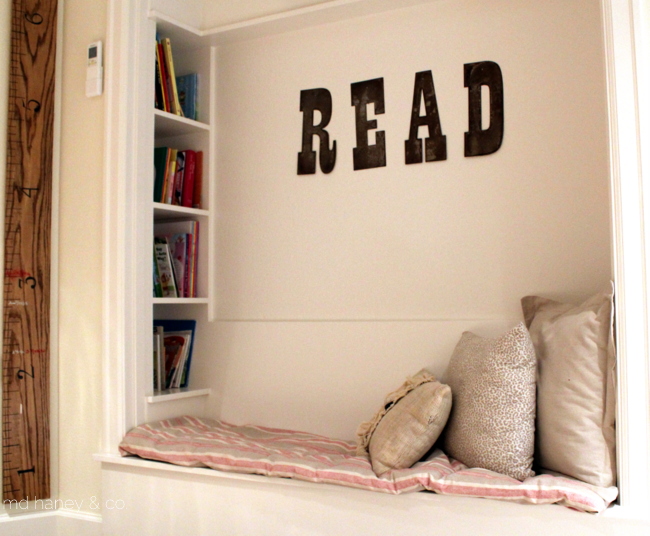
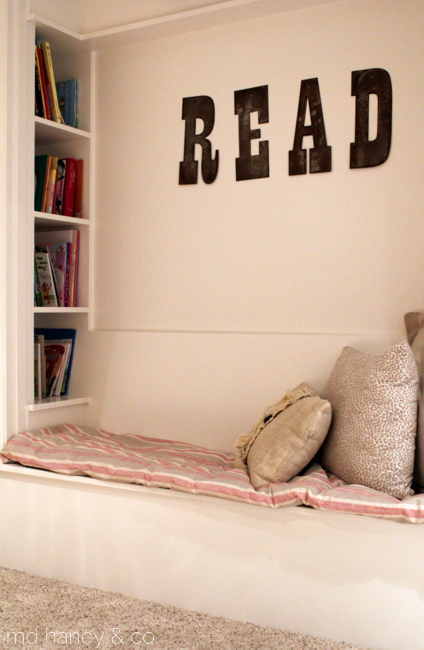
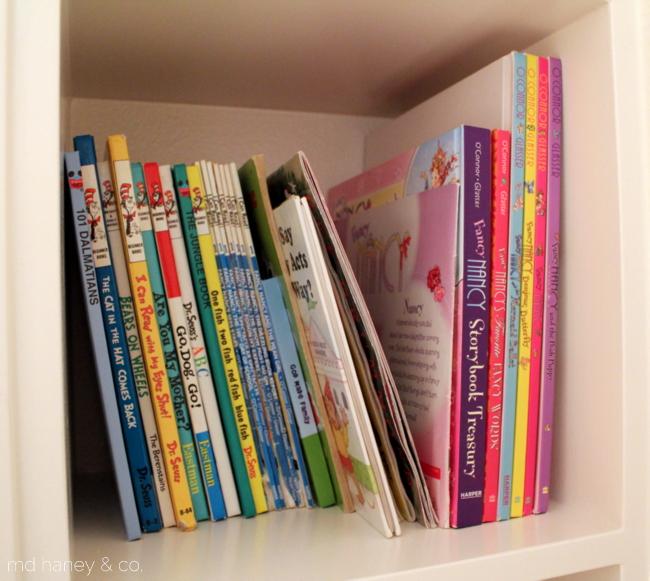
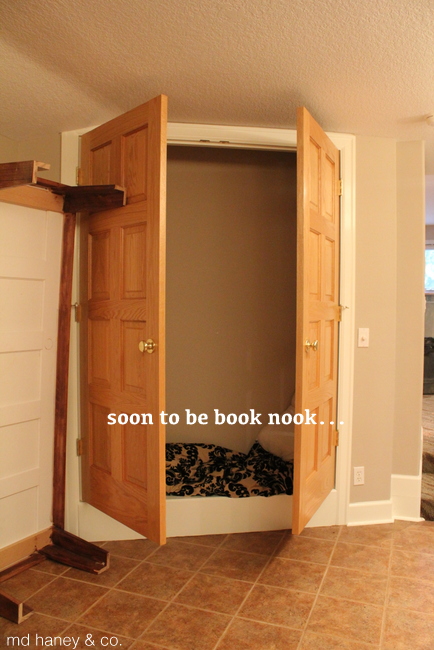
Matt turned an akward closet into a little book nook for the girls.  He added some shelves for a few of their favorite books and it is one of their favorite spots.  I still need to make a super cozy cushion, but for now this works.

IMG_5179

IMG_5183

IMG_5186

IMG_5187

IMG_5189

IMG_5197

IMG_5192

IMG_5195

There are still quite a few things I want to do in this space, but for now it works so great.  We sure love this house!  We have a handful of house projects that we should be wrapping up soon, so I will have plenty of pictures to post!

VANITY AND CHAIR || before + after

You know how there are certain things you think will just never happen to you?  For no reason, other than you just don't think they will happen.  Well, my computer crashed last week and of course the only thing I ever backed up was Quickbooks (which is good since I would be in a deep state of depression if I had to muddle my way through re-entering accounting for our personal and two business accounts....ugg.) Anyways, I am slowly getting applications re-installed on my computer and now have a fancy-smacny external hard drive attached at all times.  Lesson learned!

I had some great before + after photos of this darling vanity and chair.  Of course I lost all of those photos and haven't yet re-installed my photo editing program.  But, I still thought I would show a few 'after photos'!

IMG_4405

I picked up this darling vanity and chair at a garage sale a few weeks ago.  It was orange and had IMG_4405

I picked this darling duo at a garage sale a few weeks ago.  It was orange, brown and white.

IMG_4408

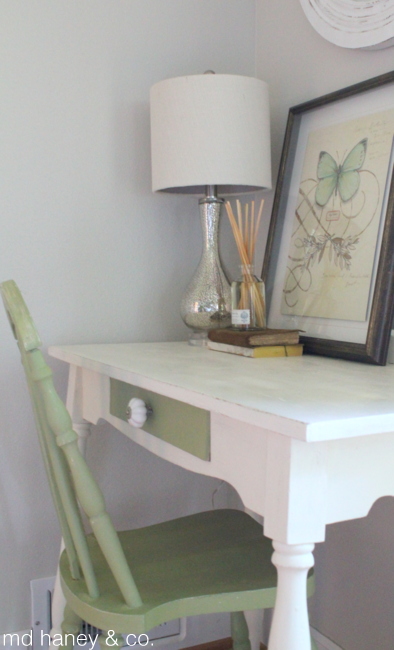
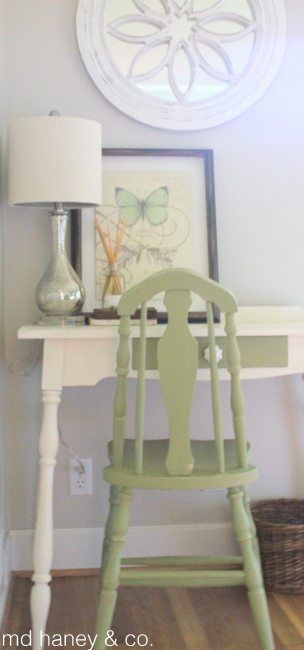
I used OLD WHITE {Chalk Paint®} for the vanity with one coat of CLEAR WAX. I sanded the edges lightly because this piece had A LOT of paint layers.  I wanted to add to the history of the piece, not make is look like it was brand new.

IMG_4406

I used LUCKETT'S GREEN {MMS MILK PAINT} without the bonding agent.  I sanded the edges and applied a CLEAR WAX.

IMG_4410

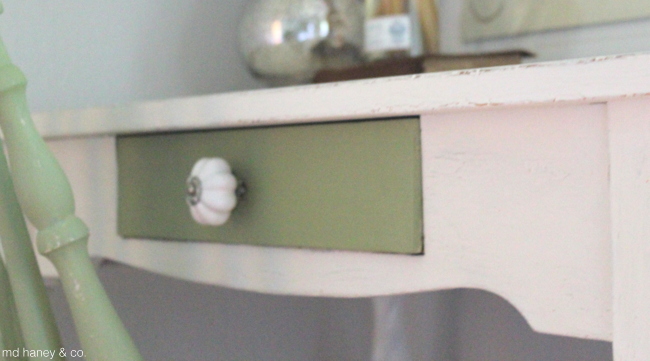
I sell fun knobs at the studio.  I snagged this darling white flower knob for a bit of a feminine touch.  Right now this cutie sits in my bedroom.  I am not sure if it will stay there, but it's the perfect spot to keep my planner and journal.

In other news, I thought I would show a few photos of the basement progress.....

IMG_4411

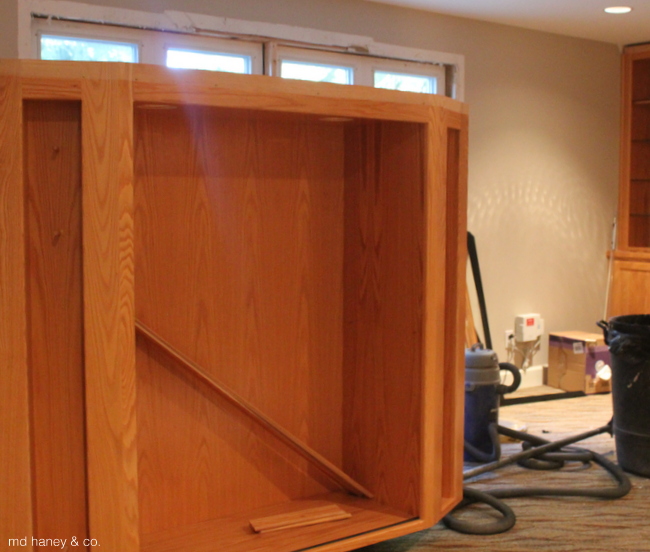
Matt is busy modifying the cabinet so it can house the TV.  He moved windows and doors so we are changing the layout a bit.  He is going to re-purpose the mantel {taken from a job years ago} and then paint all of the cabinet and woodwork white....

IMG_4412

It's a bit of a mess, to say the least, but we are almost ready to start cleaning up and prepping for paint {walls,ceiling and cabinetry}.  Yahoo!

IMG_4413

The play room is right off of the great room.  I am getting ready to paint the walls and then remove the flooring.  Addilyn already loves cozy-ing up in their soon to be book nook.  Love that girl!  And so fun to create a room just for the girls!  I can't wait to start getting some work done in there!
OK, I am off to work on my computer a bit more, super fun.

xoxo~Darci

A LIVING ROOM UPDATE

I thought I would post a few photos of the living room.  It's slowly coming together and I am loving everything about it!!

IMG_4291

Our living room furniture arrived a few weeks ago.  I still have  A LOT I want to do in this room.  I am amazed how fast time flies!  Kiddos and moving seem to make me realize it even more. :0) When I would tell someone that we moved 2, 3 and now almost 4 months ago, I realize how time is gone in the blink of an eye!!  And it doesn't seem like we have done much to our new space….the to-do list is long and we better get cracking!  With little people in our lives, we spend a lot more time playing and adventuring than just working on the house {like we use to}.  But, I wouldn't have it any other way!

IMG_3826

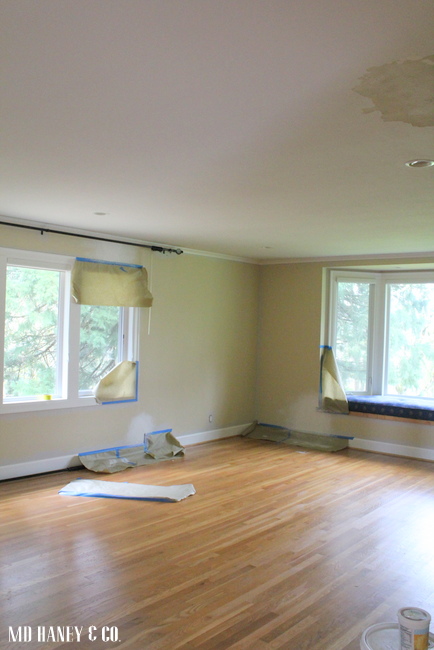
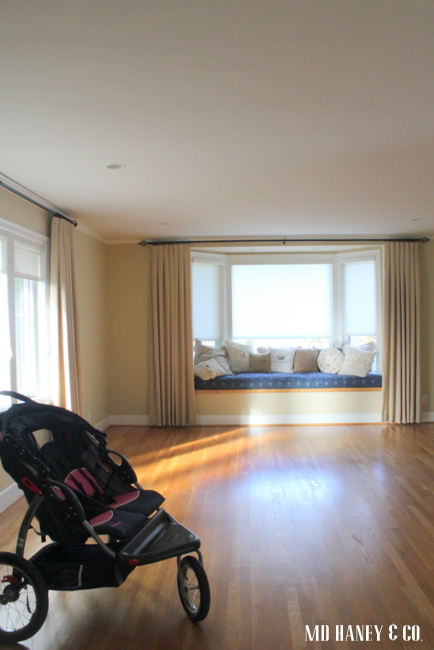
This was the living room when we moved in.  Clean, and great natural light.

IMG_4294

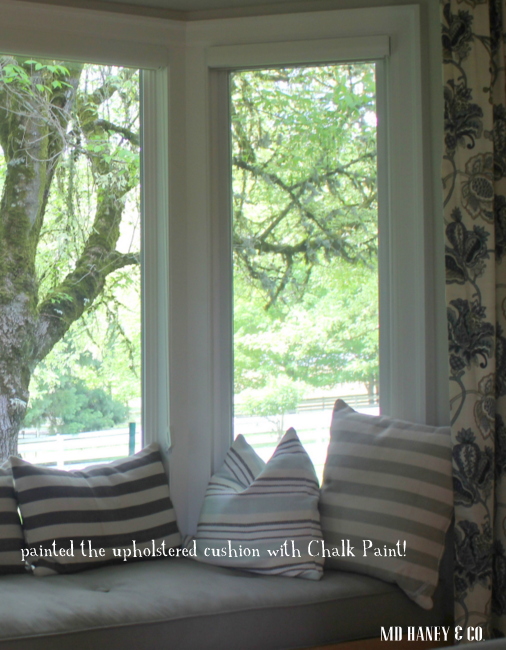
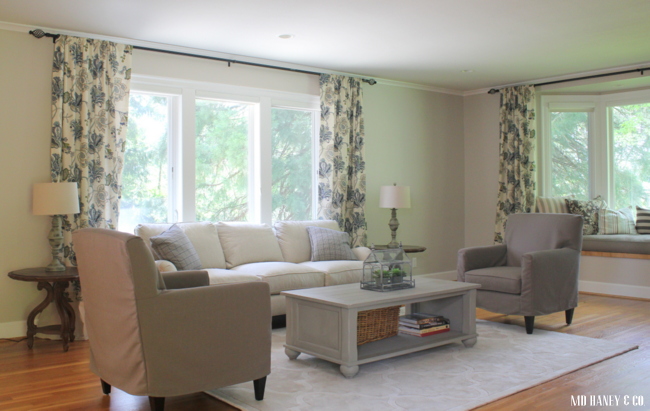
I painted the walls a soft gray, and added blue and green floral curtains and the room looked quite different with just those changes.  The bay window had an great upholstered cushion, however, the fabric didn't go with my new color scheme.  I knew I couldn't sew one, so I tried painting it with Chalk Paint!  It took three coats, but it covered beautifully! It isn't soft, I would compare the feel to that of an outdoor furniture cushion. But it doesn't crack when you sit on it and it serves is purpose beautifully!

IMG_4298

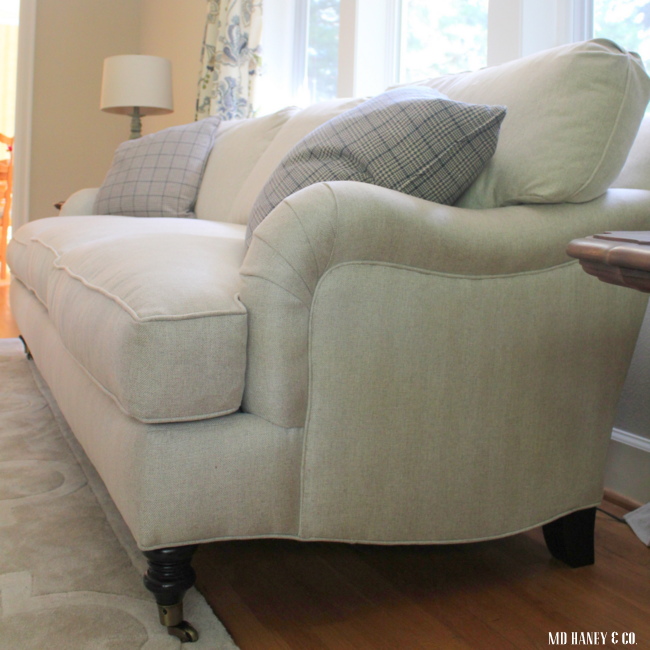
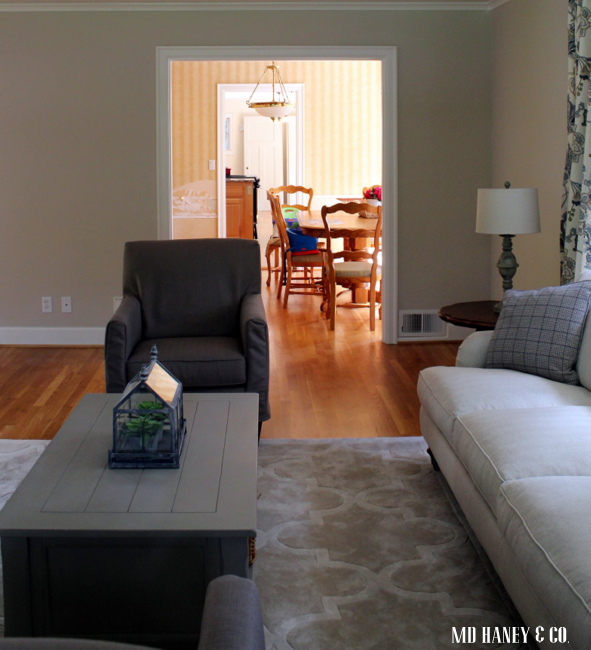
I am in love with the new sofa and chairs.  The cushions are down and super comfy, and the fabric is a soft linen color with a subtle herringbone pattern.  It has enough pattern that I don't worry about noticing every bit of dirt, but it's still light and keeps the room feeling lighter.

IMG_4197

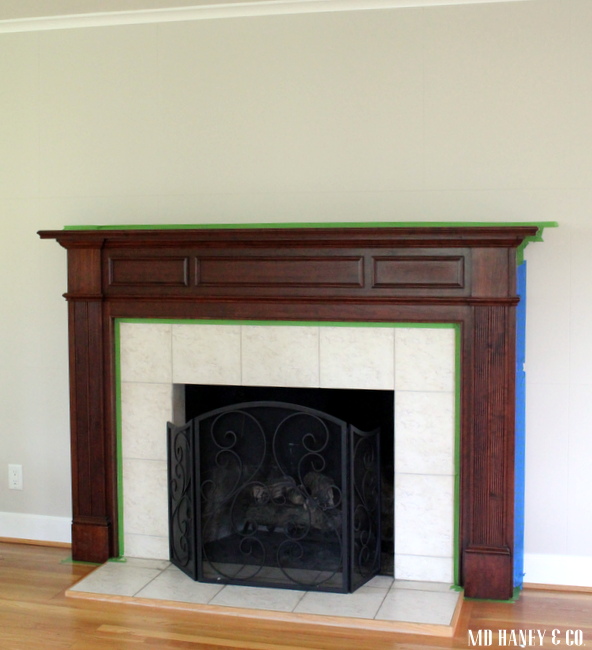
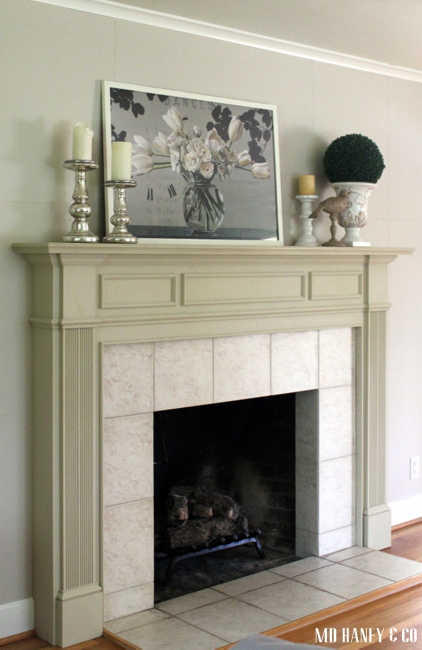
Remember our beautiful cherry mantel?  Matt really loved it but it was just a bit too dark for me.  While he was gone at work one day, I painted it with Chalk Paint®.  That's one of the beauties of Chalk Paint®…..I painted 3 coats of paint and waxed it in one day.  I didn't need to prime or prep the existing wood…..I love this stuff!!  I painted the mantle COUNTRY GREY, a soft grey with a bit of green.

IMG_4296

Matt wants to replace the stone and I want to add some art work above the mantel, we will see when that happens!

IMG_4300

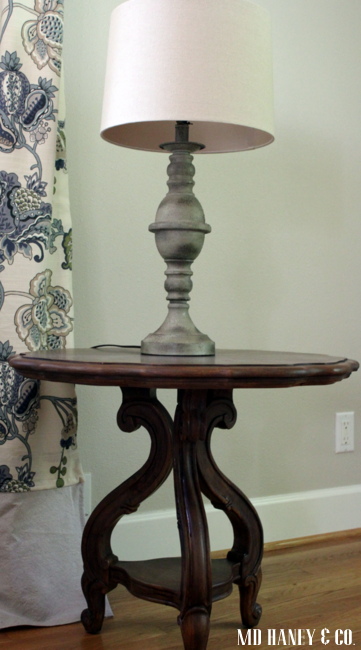
I bought two matching oak tables from this little hole-in-the-wall space.  They were in great shape, but very dated with a yellowed varnish- very 80's oak.  I wanted more of a chocolate brown color to compliment the oak floor.  I used MMSP MILK PAINT to act as a wash/stain.  I sill wanted the wood to show, I just didn't want to go through the hassle of stripping, sanding and refinishing the oak tables.  I used the color CURIO.  I applied one coat and sealed it with furniture wax.  It was done in less that one hour….love that!

IMG_4297

And we still have A LOT of work to do in the house!  This is the view into the dining room and kitchen.  You can see all the way through that we have all of our new interior doors stacked in the kitchen.  Matt needs a place to spray all of them, so they just wait.  We both really enjoy having projects. but there comes that time with every project that you just want to be done!  We haven't reached that point yet, hopefully we are a lot further along before we do ;-)

Enjoy the sunshine friends!!!!

A LITTLE UPDATE || and a sweet treat recipe

So sorry for the leave of absence last week!

It was a busy week with design clients, getting the cottage ready for a long term guest, and life with my two little ladies and one big man!  But, I thought I would post a few photos of the latest happenings here at our home.  And a cream puff recipe that is so easy, you will want to whip up a batch 'just because'!

IMG_4123

I finally ordered furniture for the living room!  We have about 4 weeks until it arrives so I am hoping to have the living room painted and ready when the furniture arrives.

IMG_4124

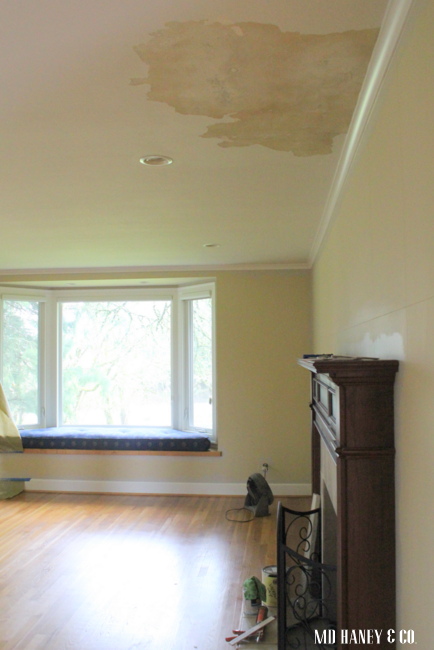
Matt is patching cracks and repairing an old ceiling leak.  The bonus of living with a contractor who is also a perfectionist…..the cracks get fixed before painting.

I am more of a 'i-just-want-paint-in-the-walls' kind of girl. I would have this room painted during one nap time.  Now, it wouldn't look nearly AS  good, but I would feel good about having paint on the walls.  Matt's approach is more along the lines of….puddy every hole, patch + texture every crack, cut in perfectly, paint the ceiling…..you get the picture.  I am slowly {after almost 12 years of marriage} learning that his approach is actually better than mine and always results in a great finished product.  So, the living room may actually take me closer to 4 weeks to paint ;-)

IMG_3972

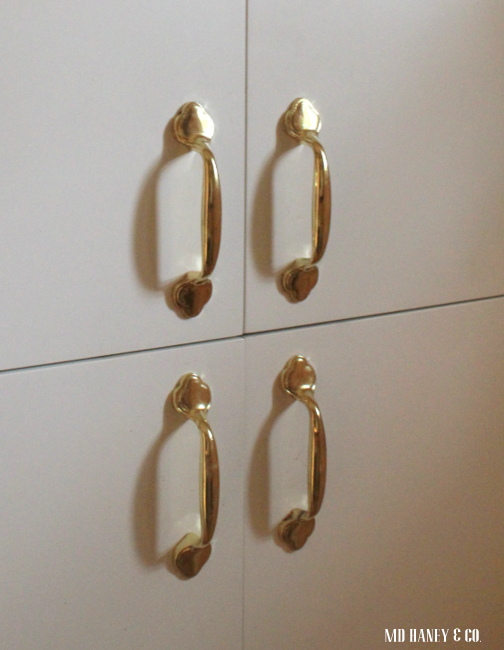
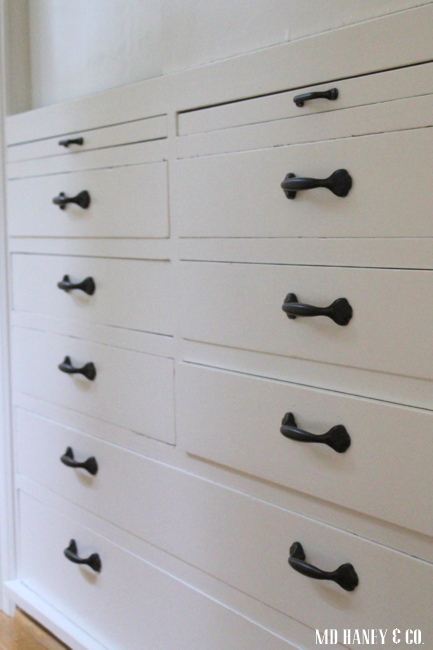
There are some built-ins in the hallway.  They provide excellent storage!  They all had brass knobs that were in great shape.  I painted the knobs black and I love how a simple change can make such a big impact!

IMG_4131

See what I mean??

IMG_3974

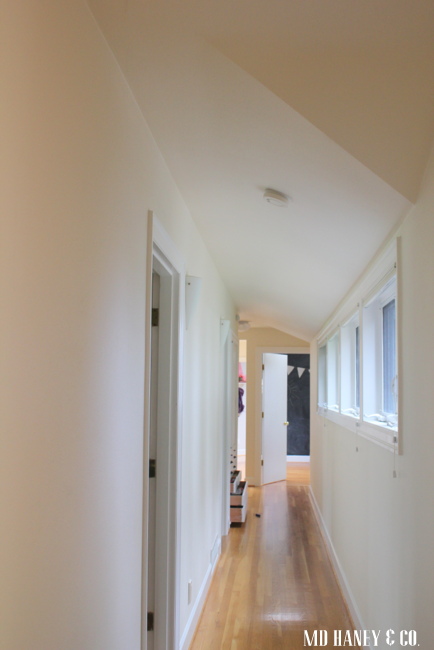
The bedrooms are all connected by this great {long} hallway.  I have been busy touching up paint, caulking and scrubbing.

IMG_3976

Won't this hall look beautiful with all of our new black doors?!?  Matt is ordering the doors this week, I will keep you posted!  Matt replaced the lights for me and it instantly changed the look and feel of the hallway.

IMG_4133

Here it is now with the new lights, painted hardware and some plates on the walls.

IMG_4128

I am working on some family photos to hang on another wall in the hallway.

IMG_4137

So, as you can see, the list of projects is pretty long.  But, we love having little projects and we really love our new home!

Now, to keep my sweet husband going with the list of projects seems too long, I often bake him something sweet.  A couple of weeks ago I made a batch of chocolate cream puffs.  A friend reminded me how easy {and tasty} they are, so I found an old recipe I had and give them a try.  Sure thing….they are so good!!

IMG_4121

Chocolate Cream Puffs

Ingredients

1 cup water 1/2 cup butter (one cube) 1 cup all-purpose flour 4 large eggs Bavarian pastry cream Melting chocolate

IMG_4111

Directions

  1. Mix the dough.  In a medium saucepan on medium-high heat, place one cup of water and one stick (1/2 cup) of butter.  After the butter is melted, turn off heat and add one cup all-purpose flour all at once.  Stir until the dough forms a ball and flour is absorbed.
  2. Place dough ball in your stand-type mixer with the paddle attachment and mix on low speed until the dough starts to cool, 1 to 2 minutes.  Add the eggs all at once and mix on low speed until the dough absorbs the eggs and the dough becomes very sticky. This will take about 8 to10 minutes.
  3. Bake the cream puffs.  With a large spoon or ice cream scoop (1/4 cup), spoon mounds of evenly spaced dough onto a greased cookie sheet.  Bake at 400 degrees for 20 minutes and then turn the oven down to 350 degrees for another 10 minutes. You can also use a small cookie scoop as shown in the pictures. You'll just need to lower the baking time to 15 minutes at 400 degrees and then turn down to 350 for another 7 minutes.
  4. Fill the cream puffs with Bavarian cream.  If you are using a scratch recipe, make a horizontal slit in the edge of each cream puff and slip a large spoonful of cream into each cream puff.  If you are using professional Bavarian cream, insert the tip of the plastic bag into the edge of each cream puff and squeeze.

IMG_4117

Melt the chocolate.  Melt your chocolate in the microwave for 20 seconds at a time until melted.  Do not overheat the chocolate.  You can either dip the tops of the cream puffs into the chocolate or spoon chocolate over the cream puffs.  Let the chocolate set before serving.

Enjoy!

IMG_4121

HOUSE PROGRESS || a quick update

Thank you for all of your sweet  comments, emails and FB messages about Monday's post.  You guys are so great.  I try to keep this space primarily about decorating/design/construction, thank you for the encouragement!

I thought I would update you on the progress of our various house projects!

In between  work {Matt has several smaller jobs going that is taking up all of his time during the day and I have a couple of ongoing design projects}, loving on my family {Savanna is almost 1!!} and just doing my best to keep our home in order, owe don't have a lot of room for working on projects.

IMG_4000

We have replaced one of the doors.  We picked a style that we thought fit the house, painted it black {Matt sprayed it with a true black, semi-gloss} and Matt hung it over the weekend.

IMG_4001

We decided to replace all of the interior doors {upstairs} and paint them black.  We both LOVE them!  You may remember this conversation we had before we moved ;-)

IMG_4008

I have started taking down the wall paper in the dining room.  By started,  I mean I have spent a total of 15 minutes.  I take what I can get!

IMG_3841

And, Matt's office….

IMG_3842

Over the weekend, he sprayed the book shelves white.

IMG_4003

Ahhhh, the power of paint!  Don't you love how it brightens the room??

IMG_4011

We also got the first coat of the wall color on.

IMG_4010

We have been working in here after the girls go to bed, so it's taking a while!  By 8pm my mind is mush and my body is tired!  I help for about 15 minutes, then go to get ready for our ice cream and tv viewing.  Sad, I know.  Matt is a rock star and has obviously been spending more time painting than I have!!

Well, that's it for now!  I am hoping to have photos of the design studio by Friday.  And possibly a little give away!!

Have a great day!!

A QUICK BED TRANSFORMATION || and my baby turns 3

Good morning friends!!

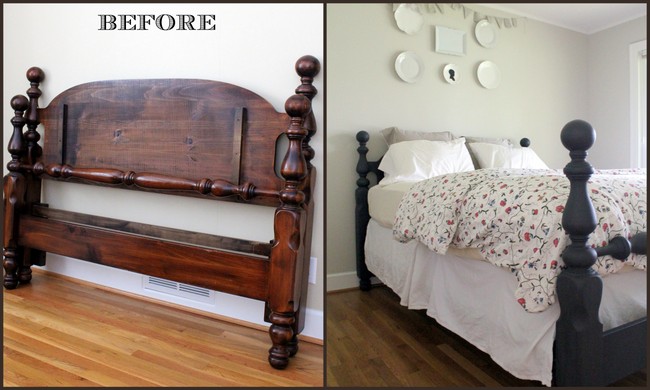
I thought I would show you a quick furniture 'BEFORE + AFTER'.  And a testament to how easy Chalk Paint® is to work with!!

2014-02-112

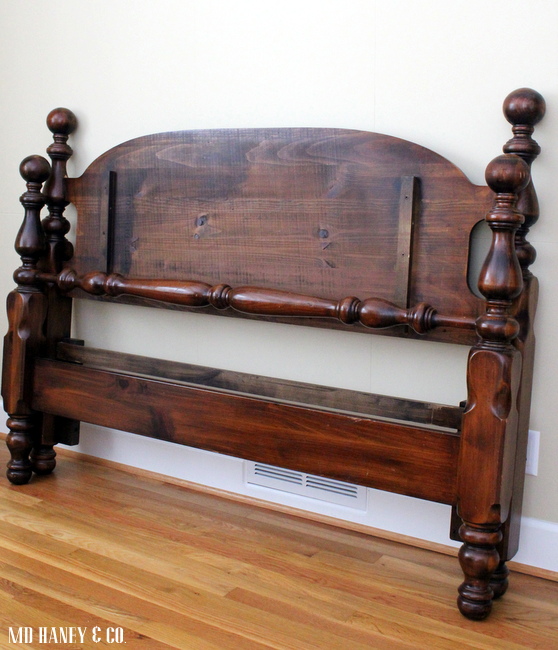
A friend was re-decorating her guest bedroom and asked if we wanted the Queen bed.  Of course I said yes!

IMG_3879

I loved the lines of it.  We wanted a Queen bed for the guest bedroom….it was just made to be :-)

IMG_3880

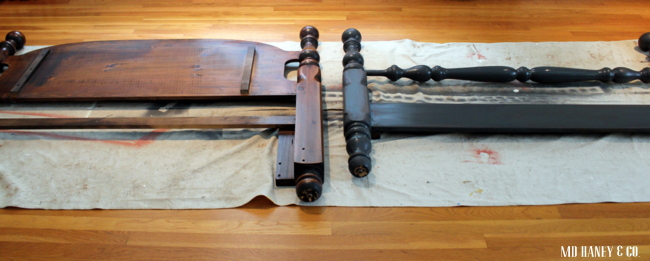
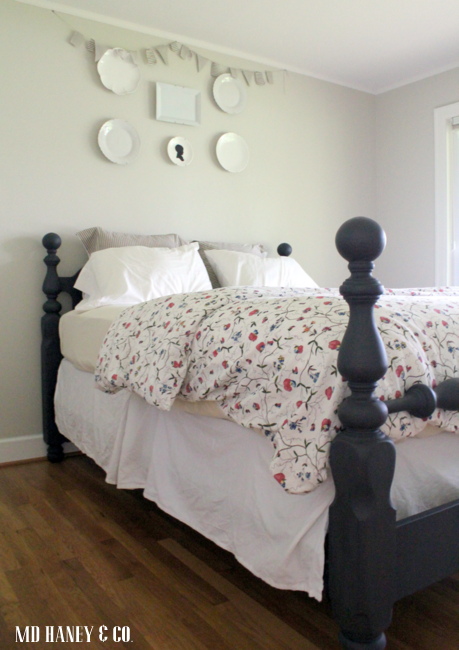
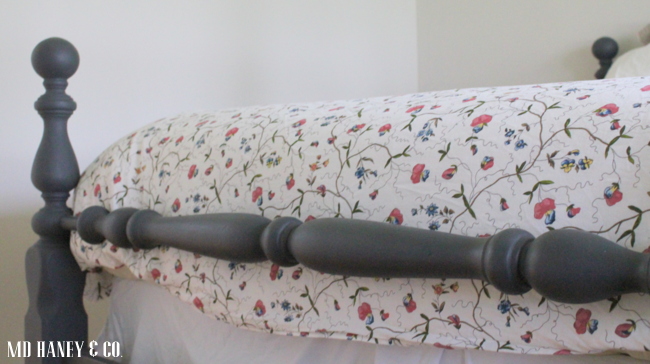
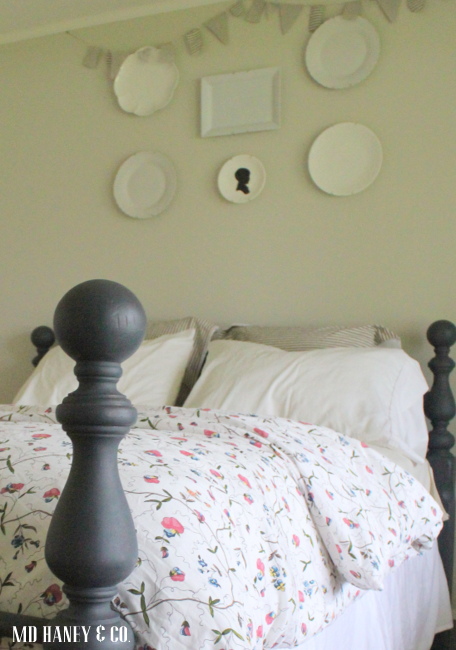
I painted it GRAPHITE.  I didn't sand or prime.  Just wiped it down with a clean cloth and started to paint.  It took two coats to get a really nice finish. I applied 1 coat of CLEAR WAX and it was ready to be set up in the guest bedroom the same day I painted.  Talk about instant gratification!

IMG_3933

The guest room isn't finished/decorated, but I wanted to show you how the bed turned out.

IMG_3936

I am addicted to this paint.  It makes painting so enjoyable and rewarding!

IMG_3935

Now I need to find a table and lamp.  I am thinking a red table could look really darling in this room…..don't you think?!?

IMG_3924

And, I thought I had some great pictures of my birthday girl.  Turns out, just a lot of videos and phone pictures.  This is a photo of when she crawled out of bed….her room was full of balloons when she woke up.  I got that idea from a friend {fill the bedroom with balloons while they sleep} and she was so excited when she woke up!

We spoiled her with lots of sugar, a new bike, and a trip to see her first movie at the theater.  Did anybody else cry like a baby at the FROZEN movie?  Oh I was a mess!  I think I can thank motherhood for that!

OK, off to {hopefully} finish up my chores at the vacation rental for the week!!

before + after

Kitchen & Living Room Remodel :: before + after

We had the priviledge of just wrapping up a living room and kitchen remodel right before Christmas.

The clients were wonderful to work with {they always seem to be}!

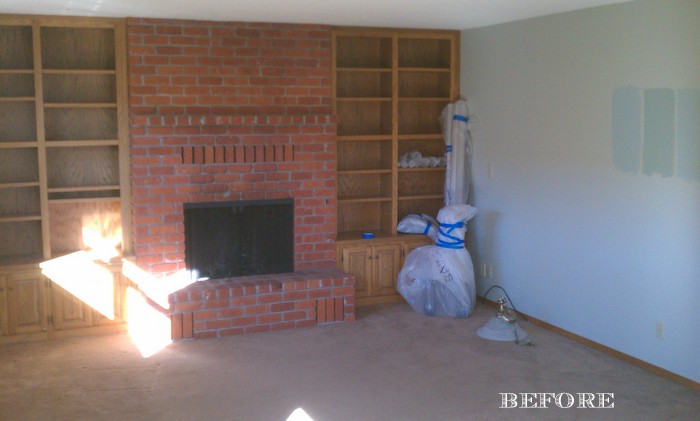
BEFORE-fireplace

 The home is a 1970's RANCH.

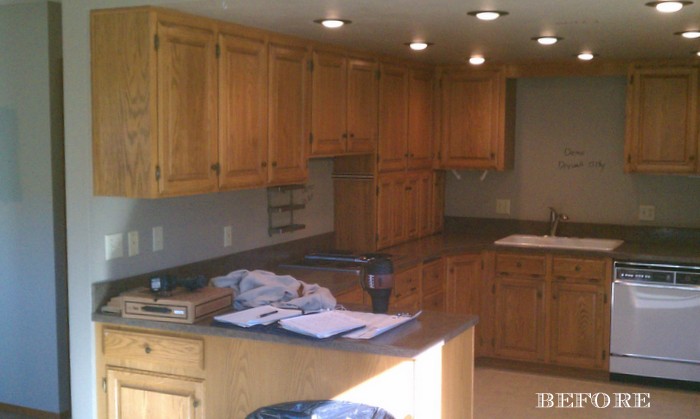
BEORE-kitchen

 There was very little natural light and the space was very claustrophobic.

BEFORE-entry

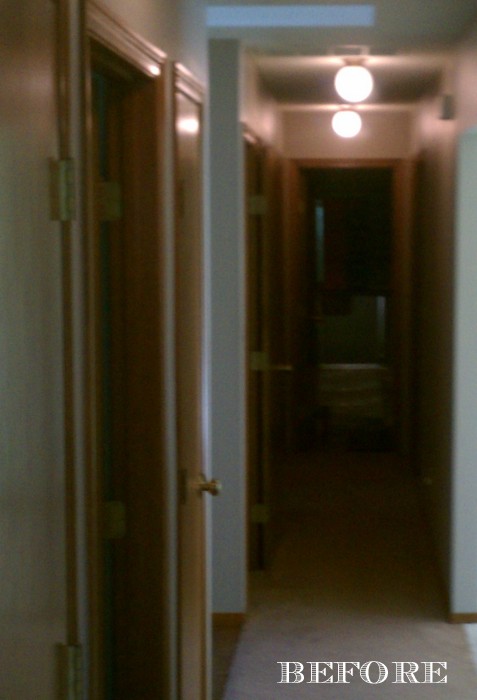
 When you walked in the front door, it was dark halls and walls.

BEFORE-dining

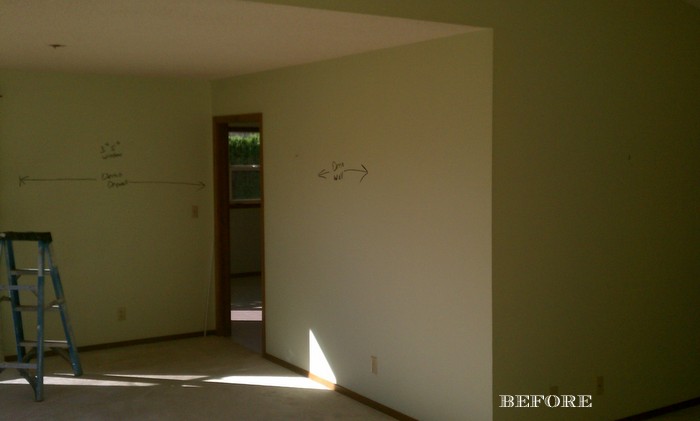
The kitchen was boxed in and separate from all other rooms in the house.

The clients had three must-haves: natural light, extra lighting and openness.

Here is what we came up with....

AFTER-dining

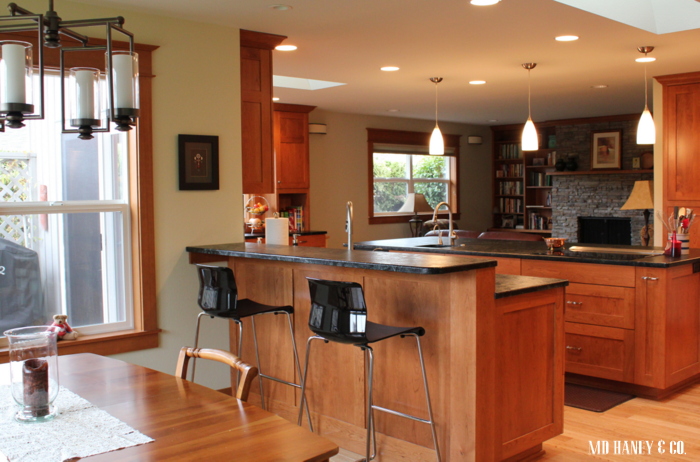
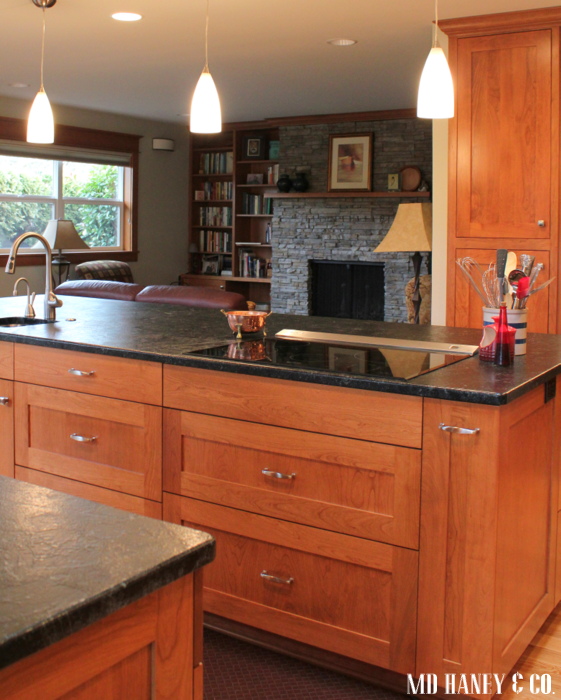
Open, natural light {we added a window and two sky-lights}, plenty of artificial lighting {can lights, island pendants and under cabinet lighting} and a lot of natural materials.

AFTER-kitchen

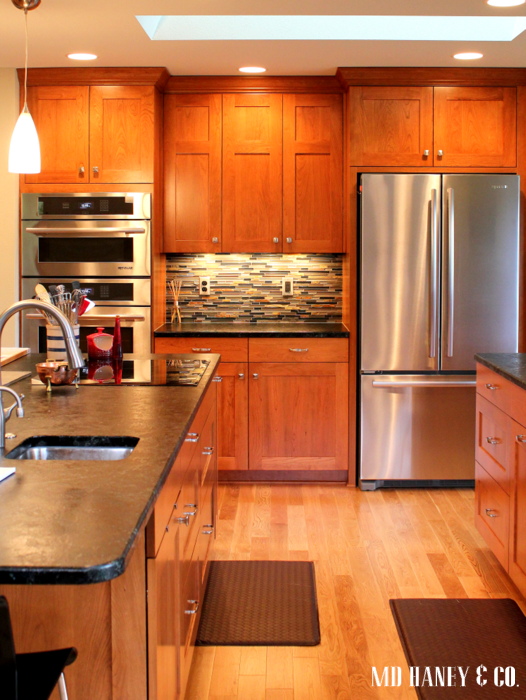
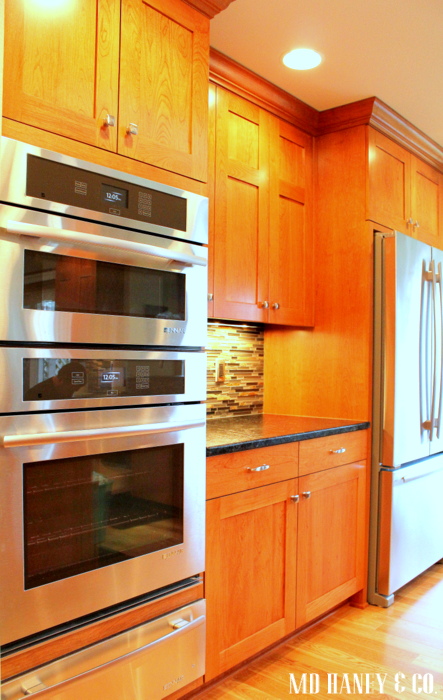
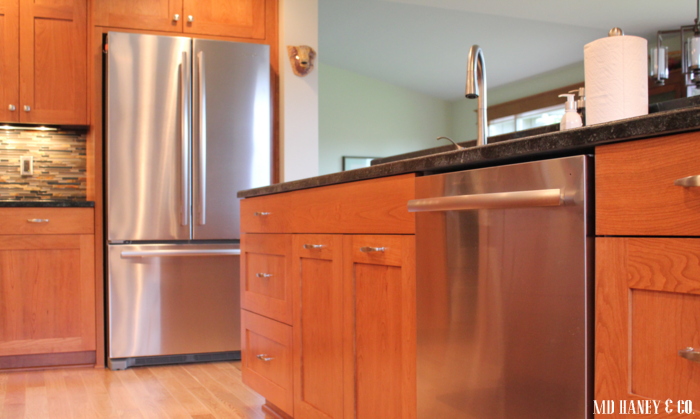
 Matt built the cabinetry out of cherry, then stained it so it wouldn't have any red undertones.

AFTER-kitchen

 With each kitchen we remodel, we go through a lot of design steps to make sure the clients are getting exactly what they have been waiting for.  I really enjoy the planning process!  Especially for clients who really enjoy cooking and using their kitchen!

AFTER-kitchen

 They chose pre-finished oak floors, a nice compliment to the cherry cabinets.

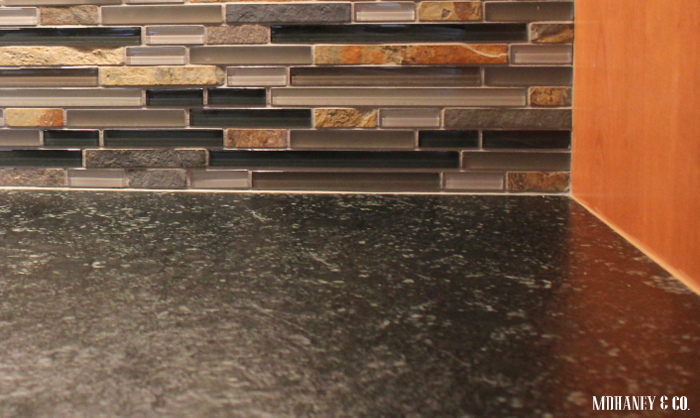
AFTER-countertop

Isn't the counter top beautiful?!?  It's soapstone and I absolutely love it!   Fortunately, so do the clients.

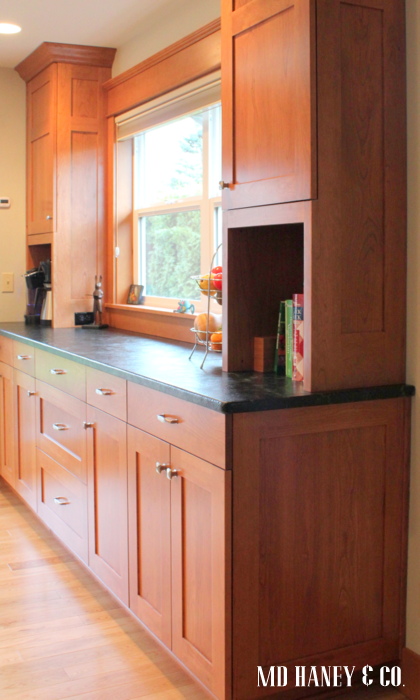
AFTER-hutch

 This hutch is away from the main kitchen working area.  A place to brew coffee, store cookbooks and gain more surface space for entertaining.

AFTER

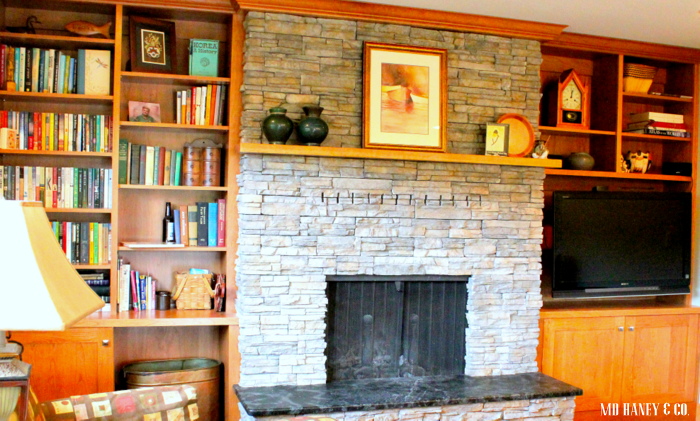
 We removed a few walls, this is the view looking from the kitchen into the living room.   Now everything is open and bright!

AFTER-fireplace

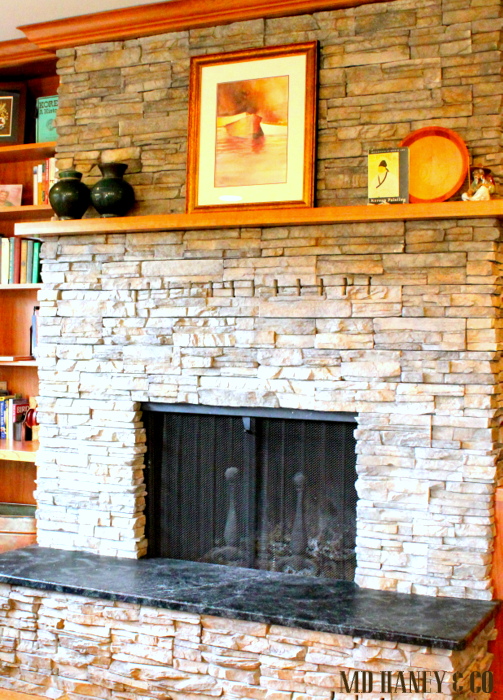
 The stone mason laid cultured stone over the existing brick.  Matt built new shelves and cabinets for the living room.

AFTER-fireplace

 We carried {not literally, you know what I mean....right?} the soapstone into the living room and used it for the hearth.

AFTER-hall view

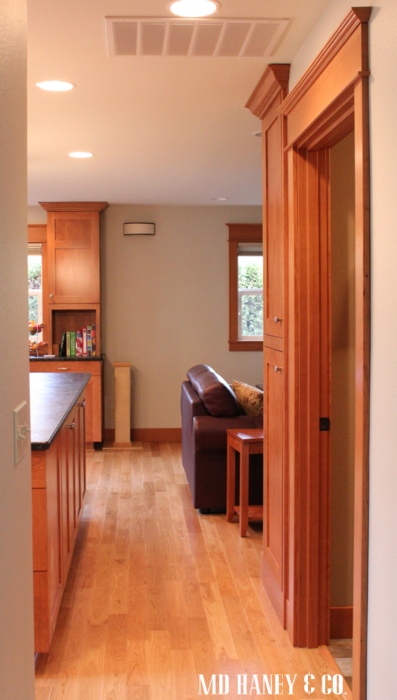
 Now the front entry is light, open and inviting.

This was a really fun remodel.  The clients waited a long time to remodel their space and it was so exciting to see everything come together for them.

Added bonus: they are really nice people.  We have been so blessed over the years to work for fabulous people, not something we take for granted!!

Thanks Mark and Laura!