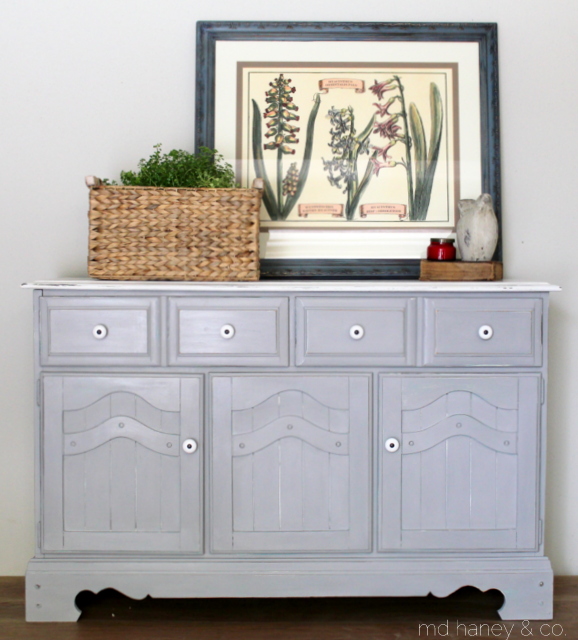
PAINTED HUTCH || painted with Chalk Paint®

I often forget to take pictures of different pieces I am working on.  I guess I just get side tracked, or I am just ready to move onto the next project ;-)  However, I did remember so here are a few pictures on a small hutch I finished last week….

IMG_5769

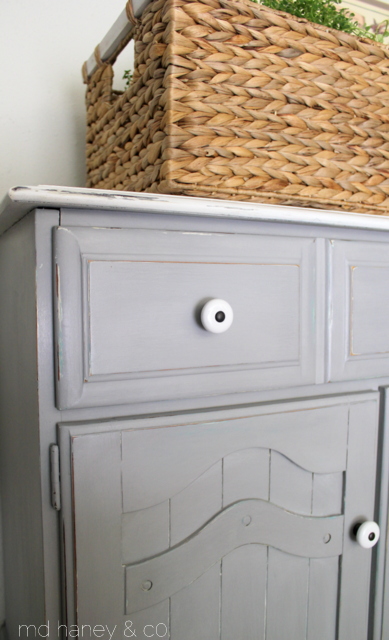
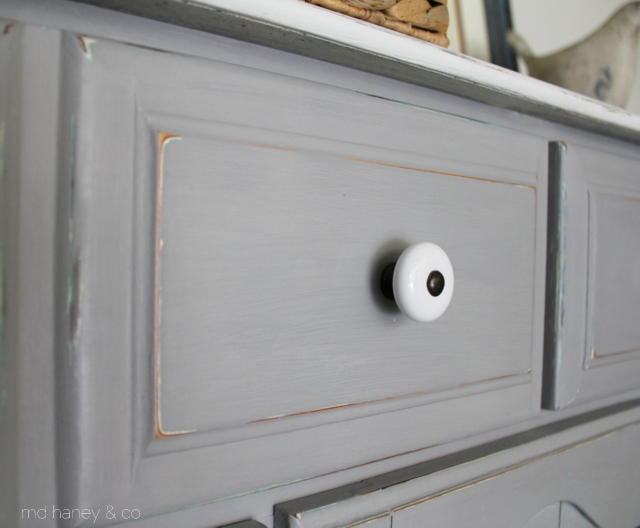
The top is has three different colors/layers (all Chalk Paint®)…..French Linen, Old White, and the top layer is Pure White.  The bottom is painted with Paris Gray.  I lightly distressed the entire piece and then sealed it with Annie Sloan's soft wax.  After applying two coats of soft wax, I applied Miss Mustard Seed's white wax in areas and allowed it to build up, giving the piece a bit of a bleached look.

IMG_5774

IMG_5775

IMG_5778

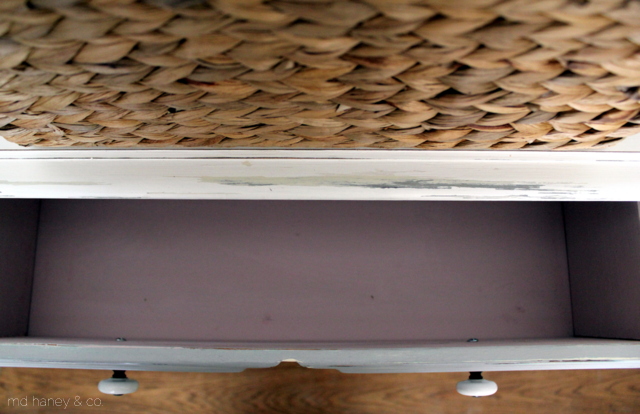
I added new knobs, painted the interior and called it 'good'.  It's a darling little hutch and it will soon be on it's way to La Bella Casa!

IMG_5784

Enjoy your week and happy painting!!!

PAINTING CABINETRY WITH MILK PAINT || Miss Mustard Seed Milk Paint

It's hard to believe, but we have been living in our home for a little over a year now!  Our first 'big' project for the interior of the home has been our basement.  We turned the 'bonus room' area into a play room for the girls.

IMG_4376

BEFORE

IMG_5197

AFTER

And we just finished part of the downstairs living space.  We still have a lot to do, but it's clean and now has furniture!

IMG_4411

BEFORE

IMG_5522

AFTER

When this area is completely finished (we still need to install the fireplace hearth and wire/glass on the cabinet doors) I will post a lot more photos.  However, my sweet hubby has asked that I let him finish the space before posting photos ;-)

One aspect of this little reno, is the entertainment center.  Since my dear husband was not a super talented, MVP, major league baseball player, we didn't have much of a use for a cool trophy case.  Matt modified the existing cabinetry so that it looked more like an entertainment center, we added some new glass doors, open shelves and a space for the ginormous TV.  Once the modifications were finished, I painted it with Milk Paint (TYPEWRITER) and sealed it with Hemp Oil.  I thought I would share a few tips on painting (previously finished) cabinetry with milk paint.

IMG_5518

IMG_5516

IMG_5514

IMG_5512

1.  Sand the cabinetry.  It doesn't need to be stripped, but you will have better results if you sand it with a course grit sand paper.

2.  Clean the cabinetry with TSP, Krud Kutter or a degreaser cleaner.  You can also use denatured alcohol to clean your cabinetry.  Once you have cleaned the cabinetry, wipe it down with a damp cloth, and then finally wipe it down with a dry cloth.

3.  Mix your Milk Paint well.  It's important to mix your milk paint, and continue to mix it as you paint.  (I applied two coats of TYPEWRITER.)

4.  Hemp Oil can be used as a top coat and it's  best on porous surfaces, so it can penetrate the surface instead of just hanging out on top.  Hemp Oil is your top coat, you don't need to apply anything on top of it.

5.  For this size of project, I used a brush to apply the Hemp Oil.  You can use a rag, but I feel the brush is easier.  I used the hemp oil to "wet sand" this cabinet.  To "wet sand", I brushed on the Oil, and sanded the entire piece with fine grit sand paper.  Once you wipe away the excess Oil with a cloth, you have a super smooth finish.  I wanted a slightly distressed look, so I sanded the edges with a bit more pressure.

6.  For an even finish, you will need to apply 2-3 coats.  The key with Hemp Oil,  is to only apply what the surface will absorb.  If you apply too many coats, the Oil will sit on top.

7.  While the oil is dry to the touch, it needs about 30 days to fully cure.  You can use the piece during this period, but it might feel a little oily to the touch while it’s curing.  I would recommend not setting items on the piece while it's curing.

I hope this inspires you to paint something!


CABINETRY DESIGN || inspiration for custom paint finishes & cabinetry design

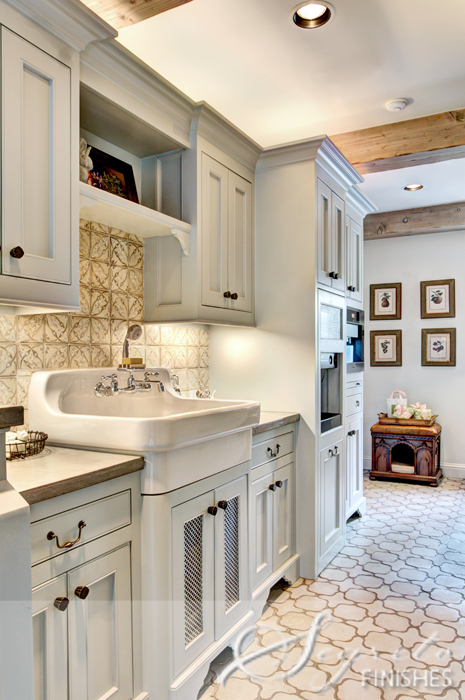
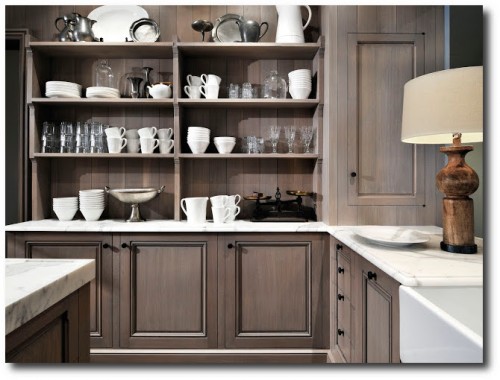
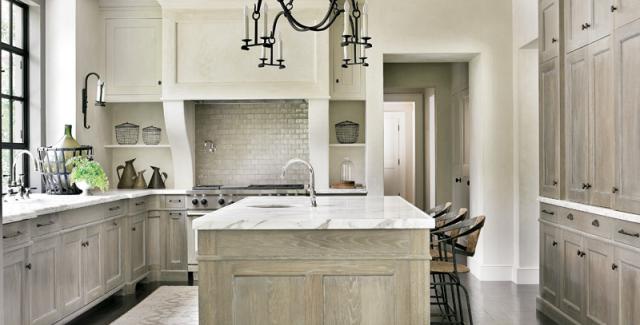
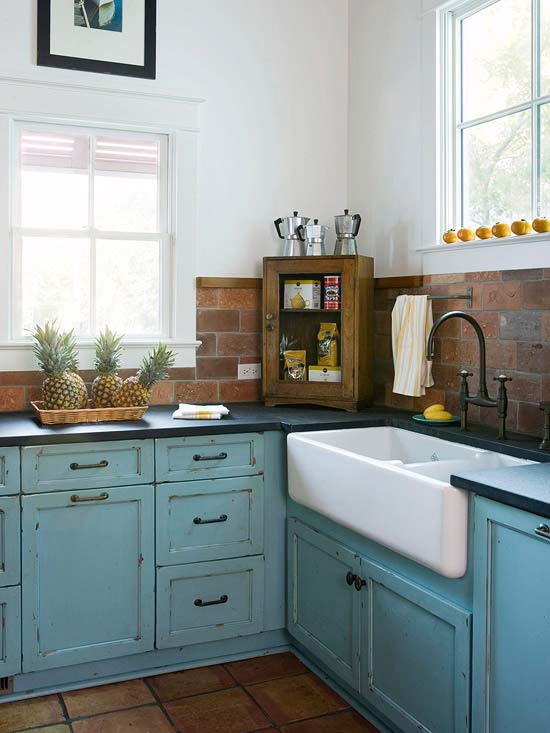
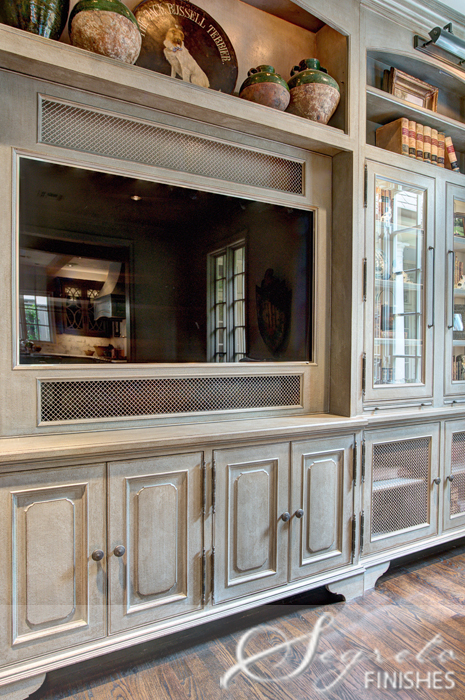
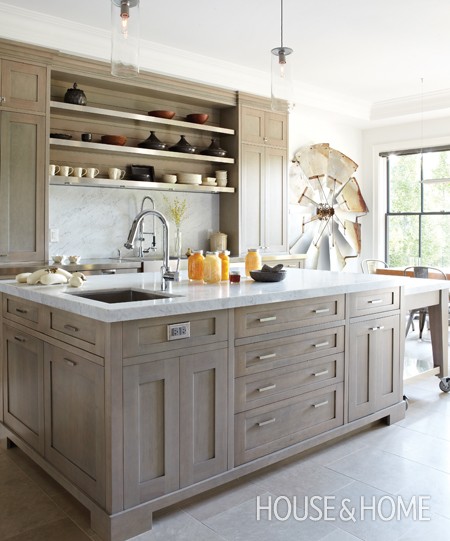
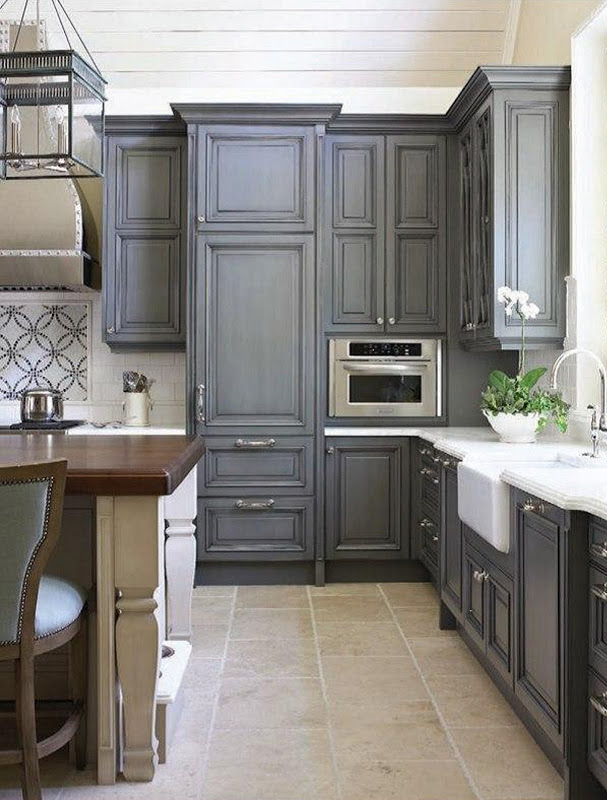
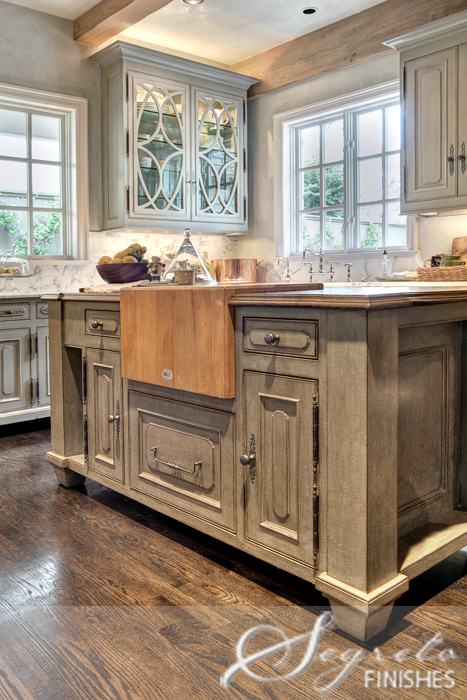
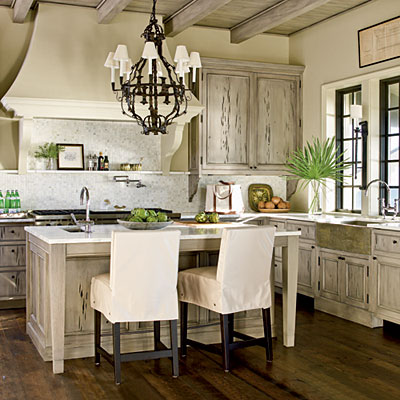
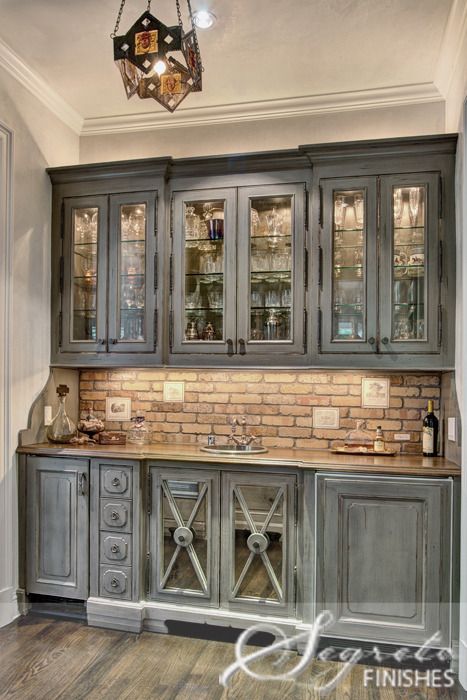
Matt and I are working on a large custom cabinetry project.  The clients are so sweet, the two designers we are working with are equally sweet,  and their new home is going to be beautiful.  Up until now, my time has been spent doing CAD drawings on the computer, and a lot of emails, now we are getting into custom paint finish/wood type/style specifics; the fun stuff!  Work has been busy (not much time for my own projects:-) so I thought I would show a few inspiration photos for the cabinetry paint finish and style.

west oak14w_edit

Gray-Wash-Kitchen-Cabinets-500x380

130617_067_0

101506986.jpg.rendition.largest

west oak6w_edit

Photo-House-Home-VMacdonald-BetsyAziz-ConnieBraemer-JA12-kitchen2

kitchen2

west oak3w_edit

kitchen-l

west oak10w_edit

There will be different paint finishes and cabinetry styles through out the home.  The goal is for the cabinetry to look collected over time, yet flow perfectly.  We are going to be using some reclaimed wood, and at this point our paint samples have all been Miss Mustard Seed Milk Paint samples.  I will be sure to show some of the finishes we came up with for samples!  So fun!!


MILK PAINT || my favorite colors {at least for this week}

I promise to start posting some 'after' pictures!  We have been busy with projects {both Matt and myself} but I am so bad about documenting the finished project with pictures!!  Maybe next week?!?

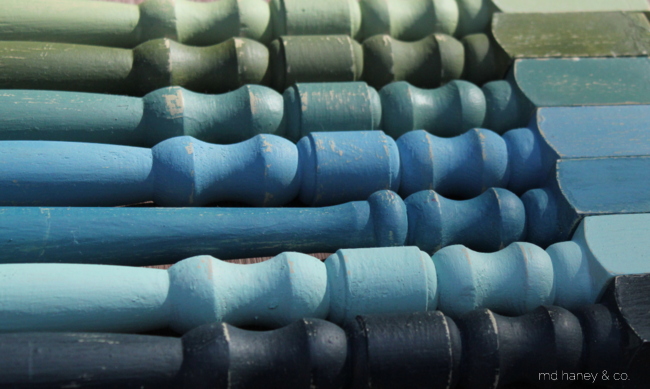
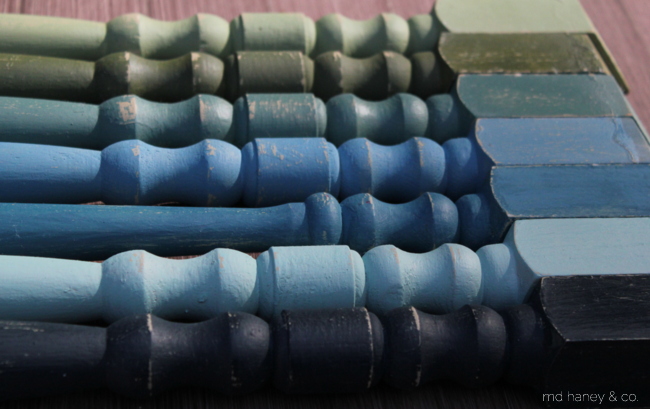
On another note, I have slowly been getting the studio organized and it feels so good!  A few months ago I started carrying the line 'Miss Mustard Seed Milk Paint'.  Next month I head to California for a two day training so I figure I better start working on color samples!  Here are my favorite Milk Paint colors….and when you see them in my living room you will see why they are my favorite {for right now anyways ;-}

IMG_4746

IMG_4747

IMG_4762

IMG_4768

IMG_4746

MMSMP colors from top to bottom~

LUCKETT'S GREEN

BOXWOOD

KITCHEN SCALE

FRENCH ENAMEL

FLOW BLUE

EULALIE'S SKY

ARTISSIMO

THE BABY IS 1 || & I painted the high chair

My sweet baby turned 1 last week and we had a little party on Sunday to celebrate.

IMG_4230

This little one is sweet and spunky and getting easier by the day.

IMG_4235

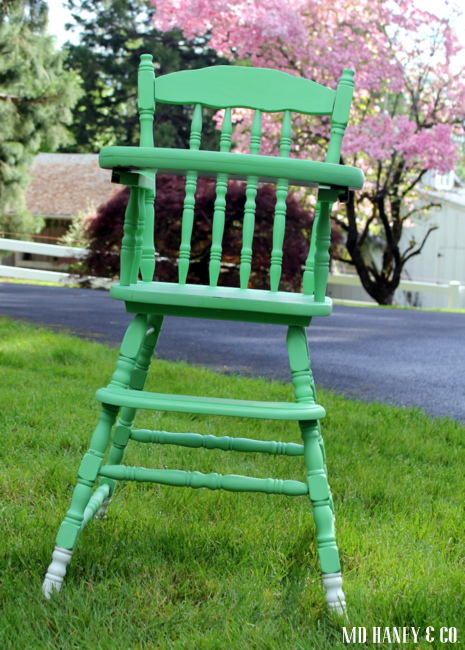
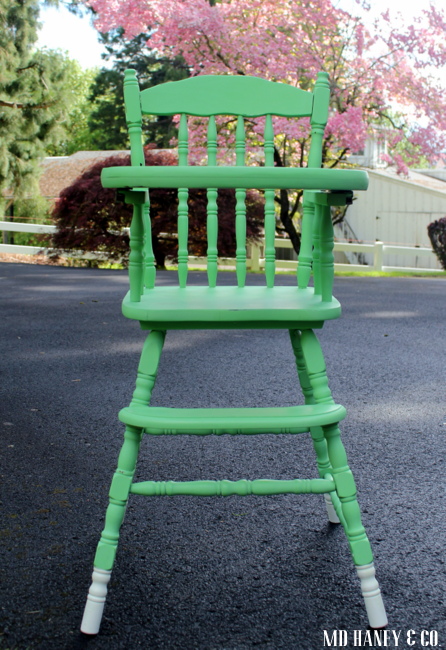
I had an old wooden high chair my mom gave me a few years ago.  It had a great shape, but the finish was worn and yucky {think 70's-yellowed-stain}.  I had wanted to paint it, but it fell low on the priority list.  With the birthday party coming up, I figured it would be a good excuse to paint it!

IMG_4264

I used Chalk Paint® {of course;-}.

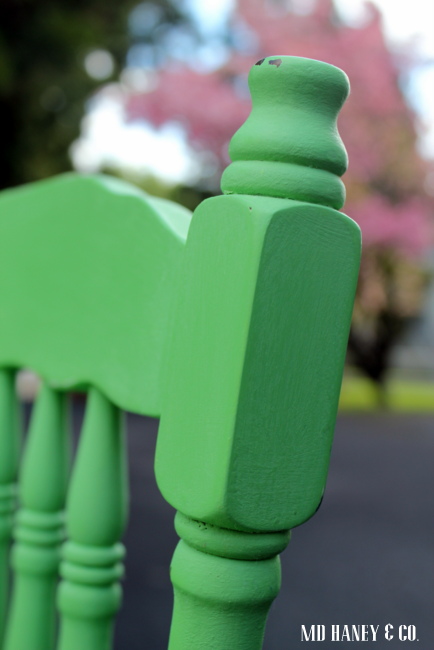
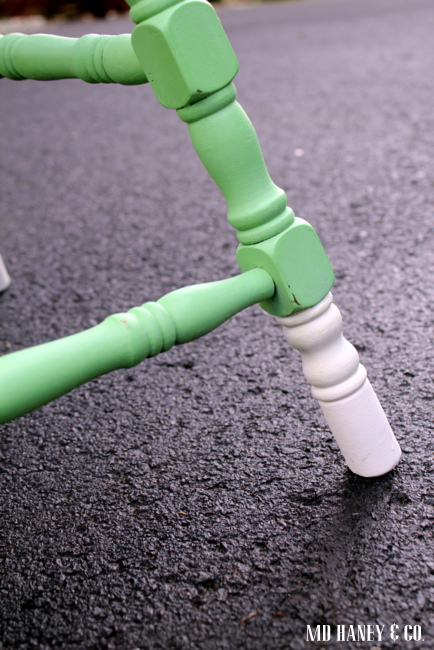
I mixed Antibes Green and Old White…..3 parts Antibes Green to 1 part Old White.  By adding the Old White, it softens the green.  It's cheerful but not too bright.

IMG_4266

I distressed the edges a bit and 'dipped' the feet in Old White.

IMG_4270

I waxed it with Clear Wax and called it finished!

IMG_4271

For the 'dipped feet', I taped with masking tape for a crisp edge.

IMG_4261

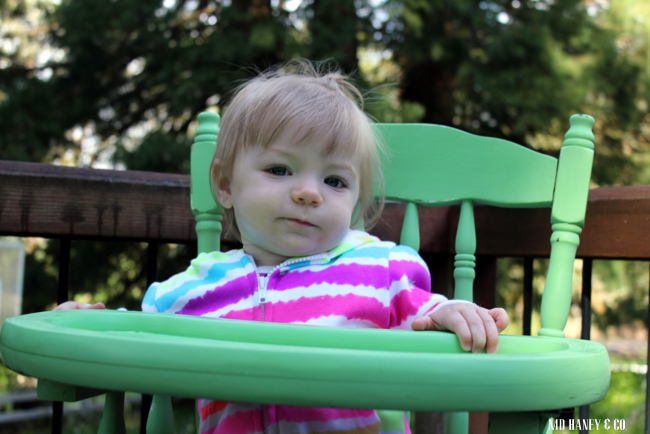
I set the monkey in the high chair and tried to capture some cute poses.  I took a lot of photos, but none really seemed to capture her personality.  Next time!

You have probably noticed, but I am really getting hooked on mixing colors of the Chalk Paint® and Milk Paint.  Both lines of paint come in beautiful colors, but it really opens the door to color when you start mixing….so fun!


THE STUIO || + a little giveaway

Have I mentioned how much I love having the design studio so close to home?  In Carlton, we lived about 3 blocks from my studio.  Not bad.  But here, it's a 10 second walk.  Awesome.

IMG_4050

We do a lot of bike riding on Fridays.  It's fun for the little miss, and we can easily greet customers when they drive up!

I thought I would show you a few photos of the updated studio space.  I still have lots of projects, but at least the space is 'presentable'!

IMG_3827

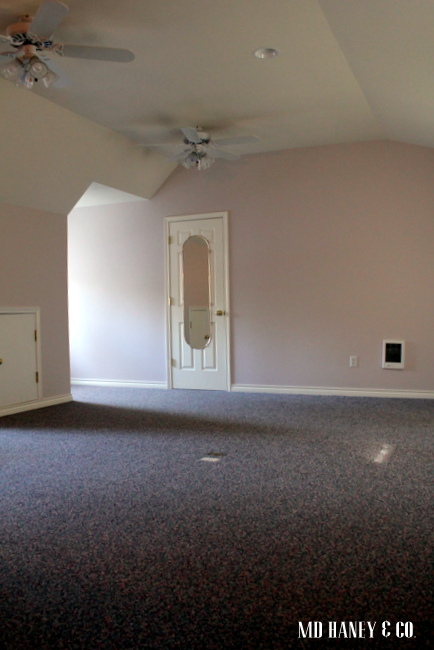
Remember the 'BEFORE'?

IMG_4057

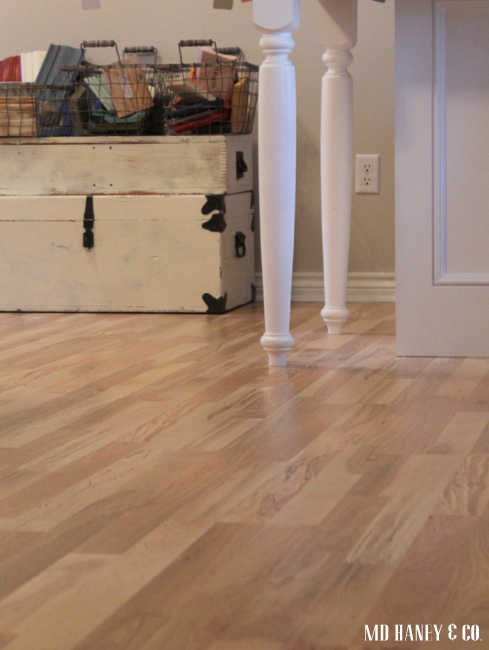
We started with new paint on the walls and ceilings and a new {laminate} floor.

IMG_4054

The floors have a lot of variation in color which hides dust and dirt well.  And in a working studio, that is a big bonus!

IMG_4052

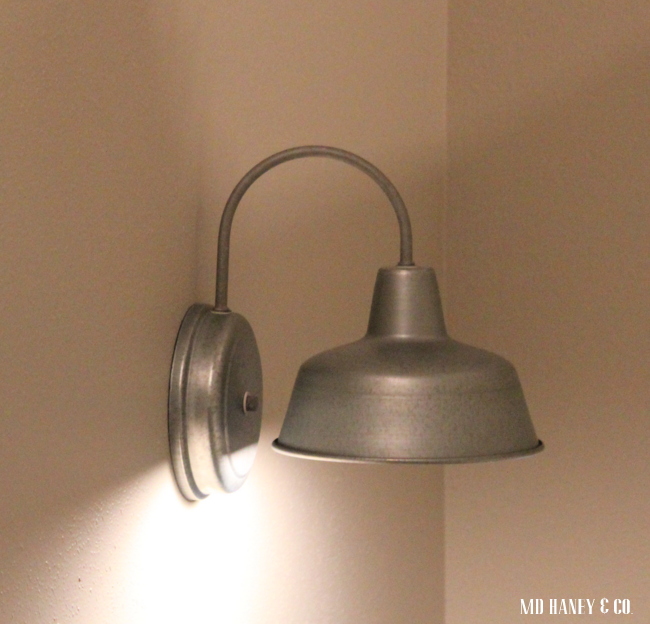
We switched out a few of the lights.  Matt still has to hang a little chandelier in the entry…..always projects ;-)

IMG_4024

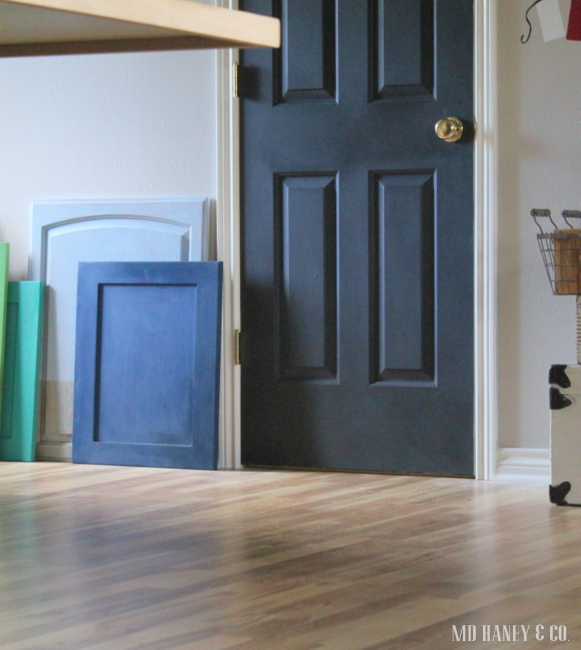
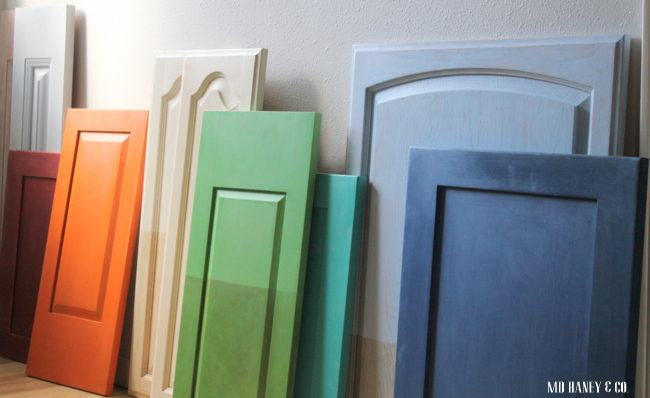
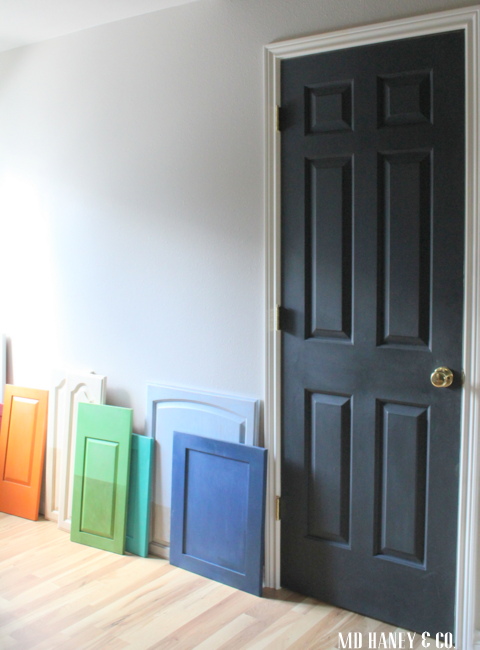
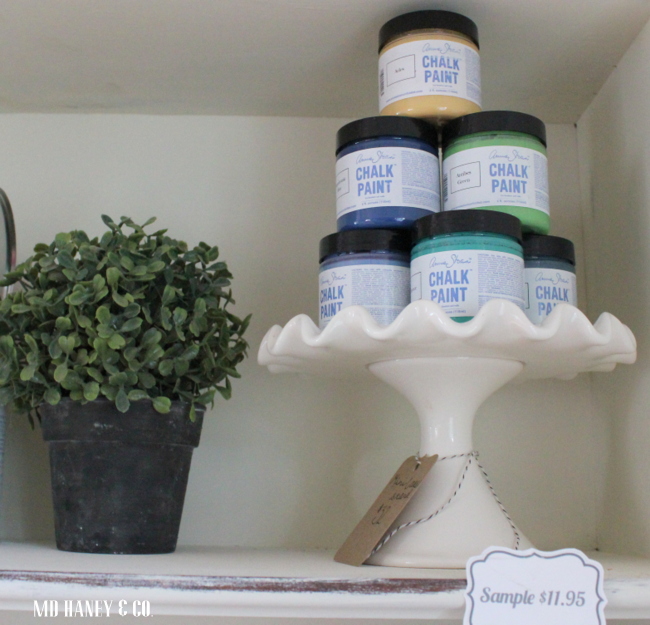
We have a handful of cabinet doors painted in various Chalk Paint® colors.  I still need to paint 15 more doors!

IMG_4025

Not to mention I need to paint another 18 to show all of the MILK PAINT colors!

IMG_4021

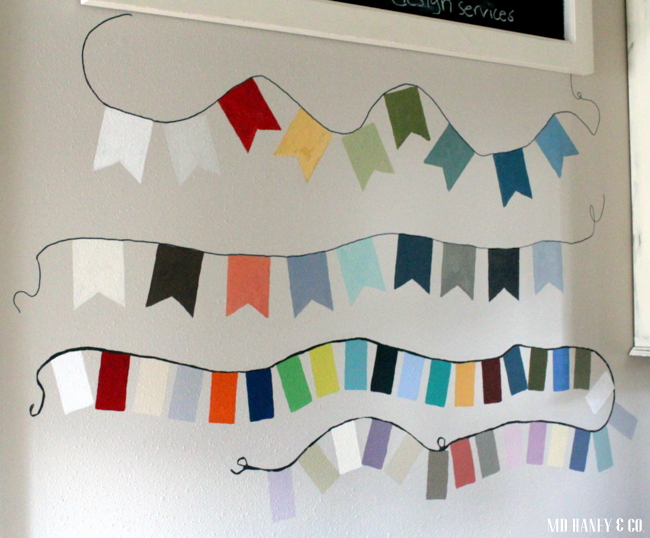
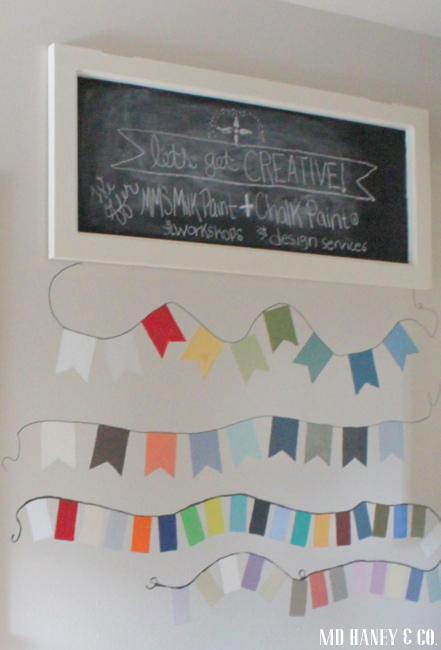
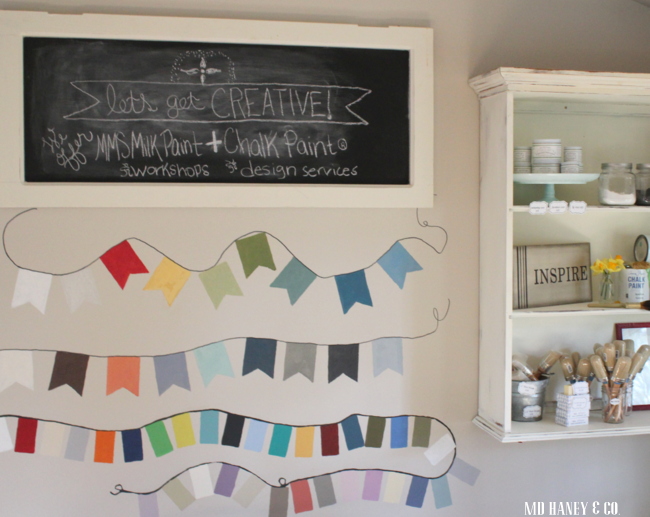
I painted a few banners on the wall showing the different Chalk Paint® and MILK PAINT colors.

IMG_4026

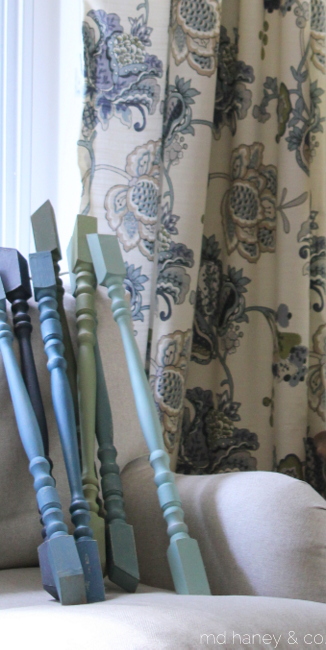
I also have trim pieces painted with each color.  It really helps to see the paint applied in different ways.

IMG_4071

Matt was going to build shelves for the wall.  He mentioned using this old hutch top for a shelf instead!  Perfect!  I din't have a use for it, so, I painted/waxed/distressed and it saved him the time of having to build shelves.

IMG_4029

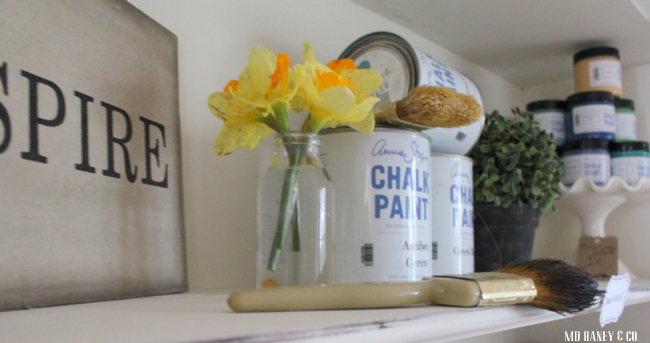
Lots of Spring colors!

IMG_4028

Do you see how dirty those daffodils are?  Do you know how to get the mud off of the petals??  Every time I try I rip the petals!

IMG_4068

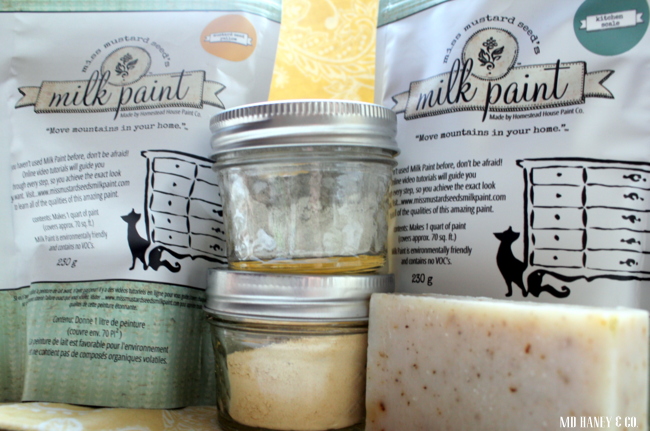
And just for fun I thought I would do a little Miss Mustard Seed Milk Paint giveaway.  Trying saying that 10 times!!

IMG_4066

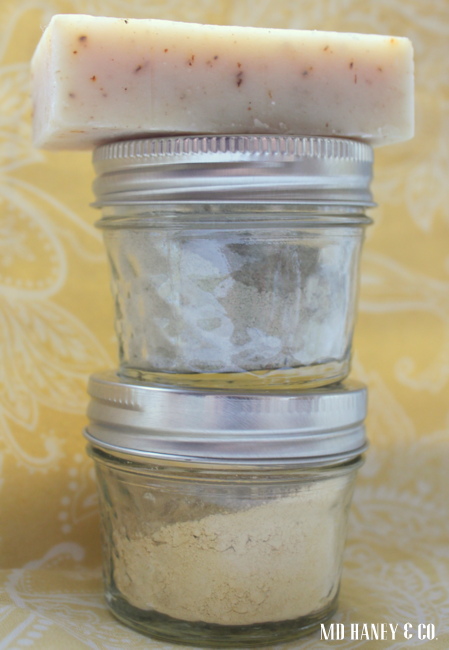
A bar of spearmint and green tea soap to clean your hands and brush when you are done painting.

A sample size of MUSTARD SEED and KITCHEN SCALE Milk Paint.

Fun, right?  I am limiting this giveaway to local gals.  I want to be able to drop it off and give you tips on how to use Milk Paint {if you have never used it}.  Just leave a comment on the blog telling me what you think you will paint with Milk Paint!  I will draw a winner Sunday and deliver next week.

Have a wonderful weekend!!

HOUSE PROGRESS || a quick update

Thank you for all of your sweet  comments, emails and FB messages about Monday's post.  You guys are so great.  I try to keep this space primarily about decorating/design/construction, thank you for the encouragement!

I thought I would update you on the progress of our various house projects!

In between  work {Matt has several smaller jobs going that is taking up all of his time during the day and I have a couple of ongoing design projects}, loving on my family {Savanna is almost 1!!} and just doing my best to keep our home in order, owe don't have a lot of room for working on projects.

IMG_4000

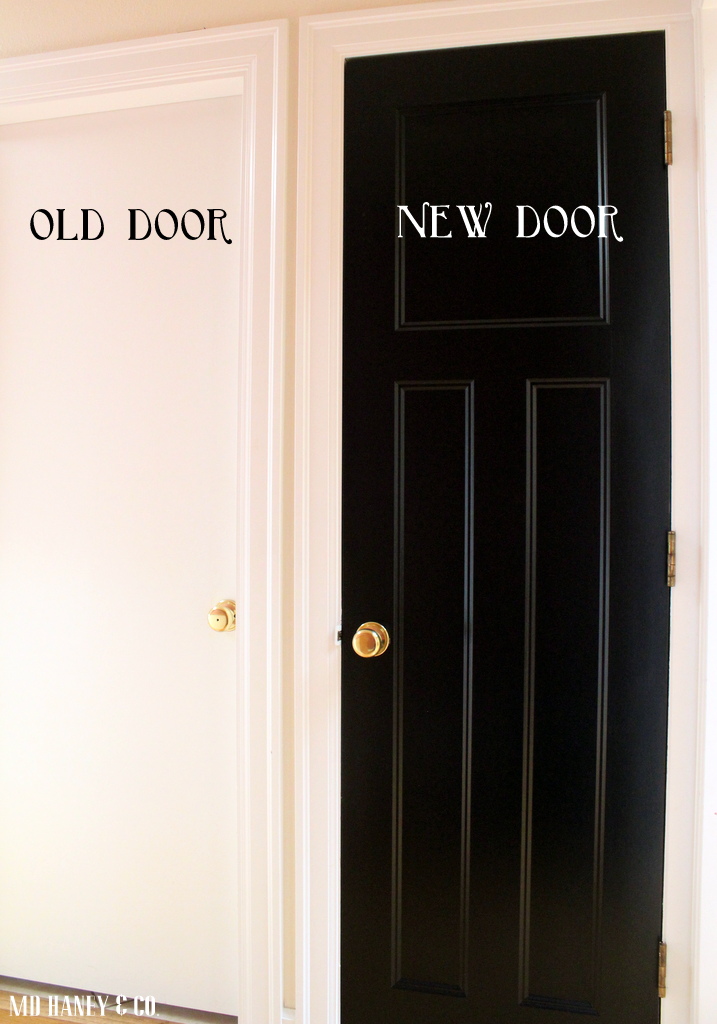
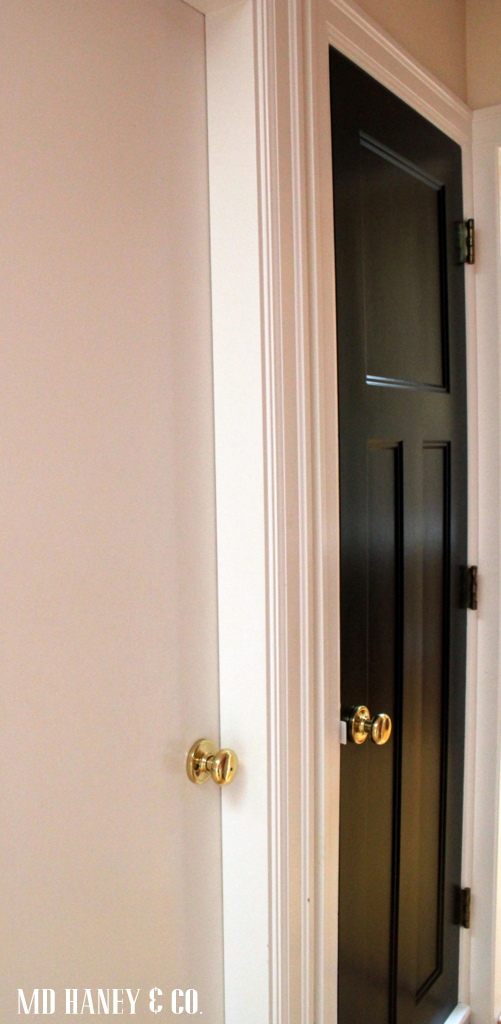
We have replaced one of the doors.  We picked a style that we thought fit the house, painted it black {Matt sprayed it with a true black, semi-gloss} and Matt hung it over the weekend.

IMG_4001

We decided to replace all of the interior doors {upstairs} and paint them black.  We both LOVE them!  You may remember this conversation we had before we moved ;-)

IMG_4008

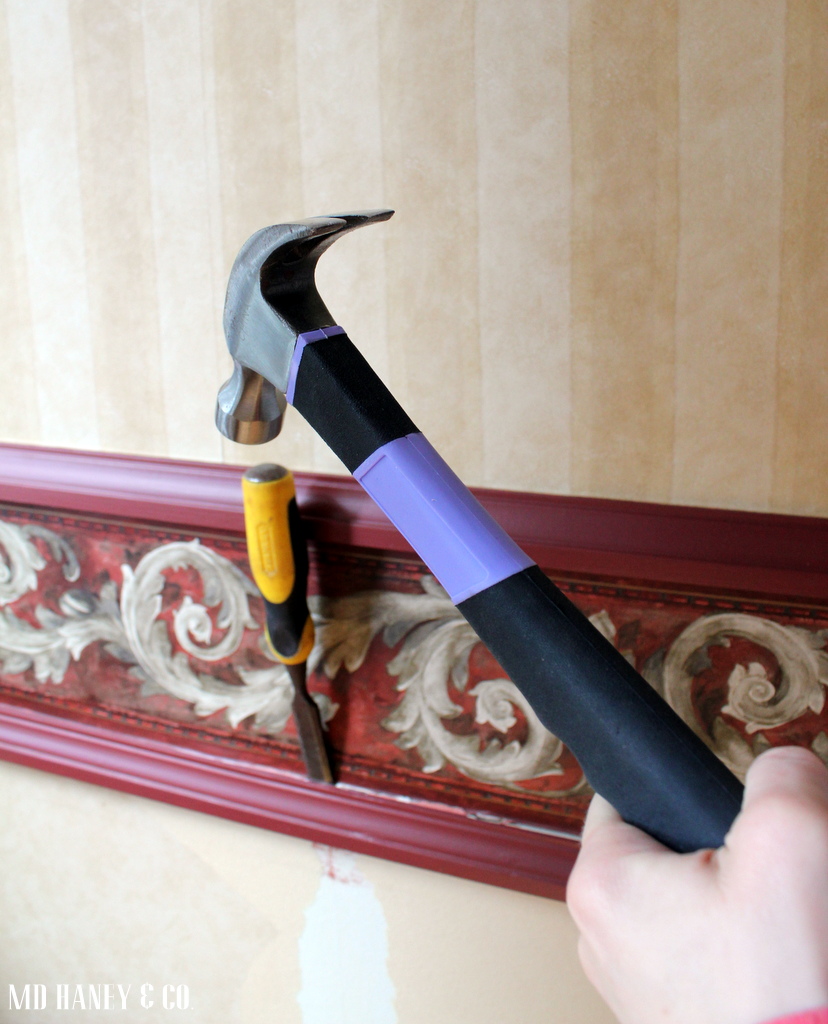
I have started taking down the wall paper in the dining room.  By started,  I mean I have spent a total of 15 minutes.  I take what I can get!

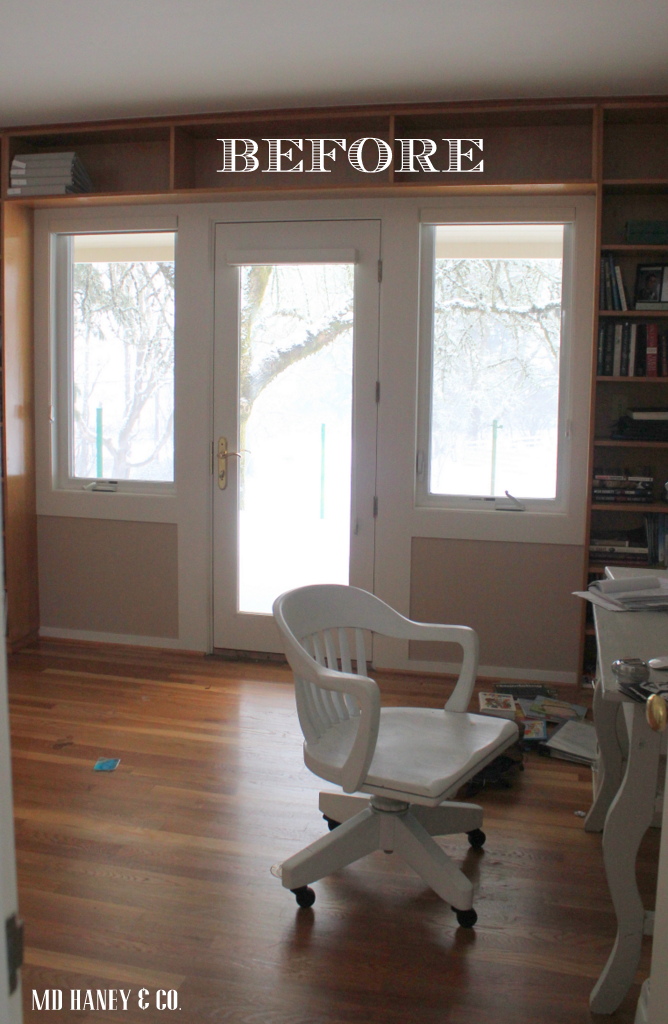
IMG_3841

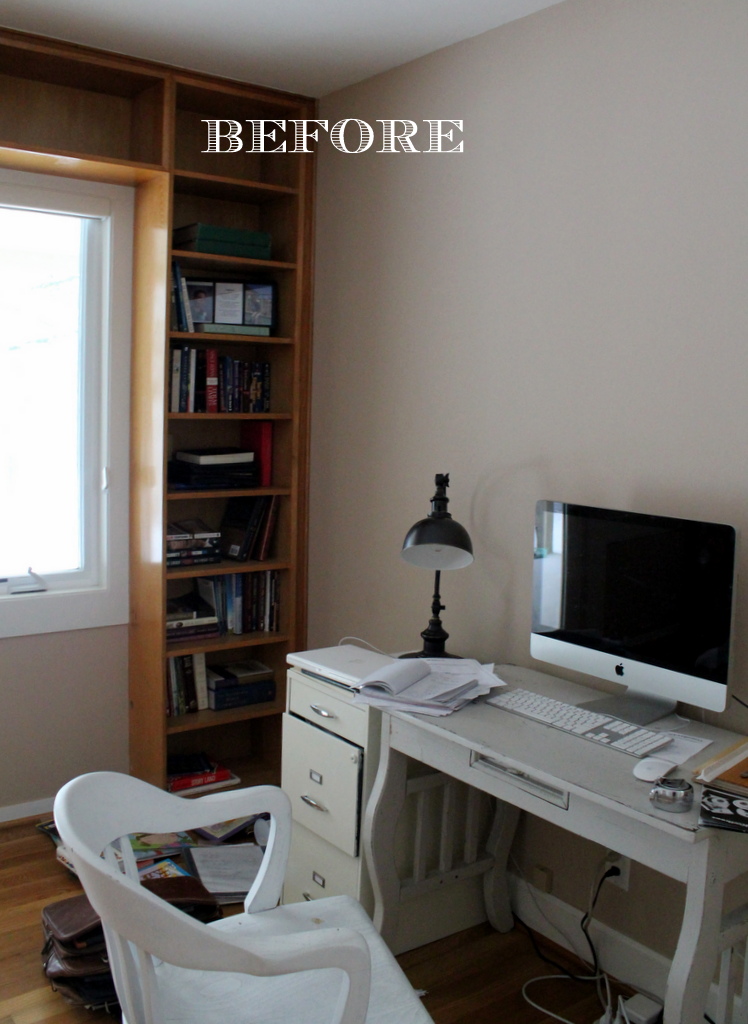
And, Matt's office….

IMG_3842

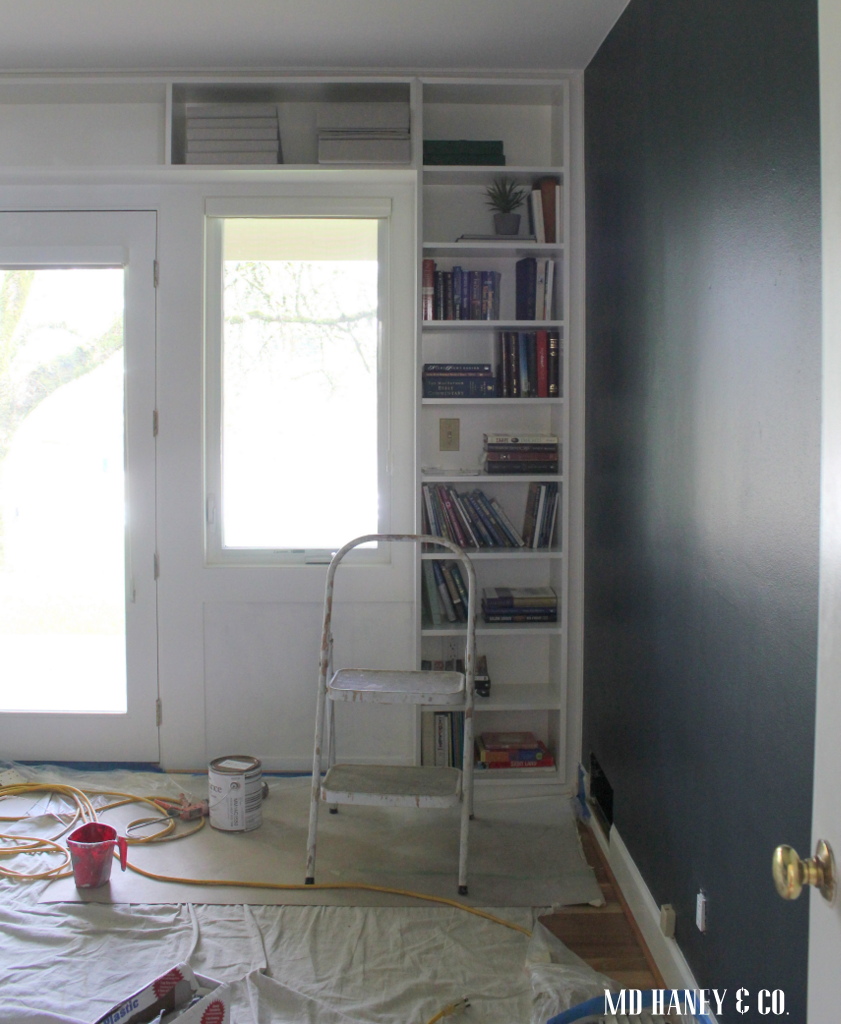
Over the weekend, he sprayed the book shelves white.

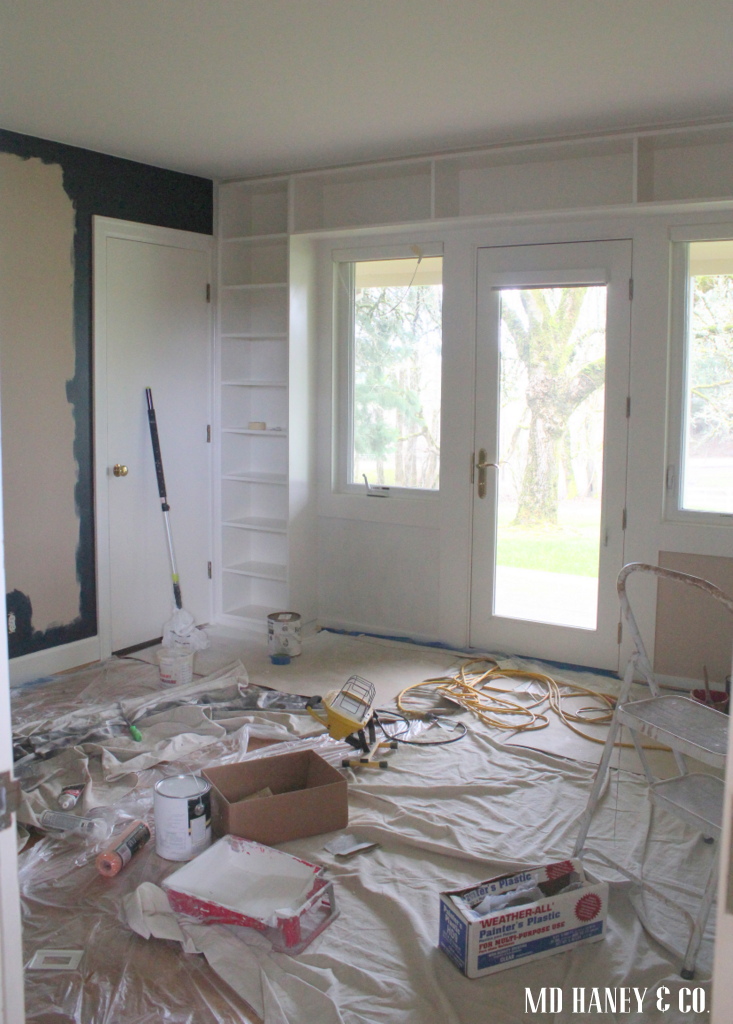
IMG_4003

Ahhhh, the power of paint!  Don't you love how it brightens the room??

IMG_4011

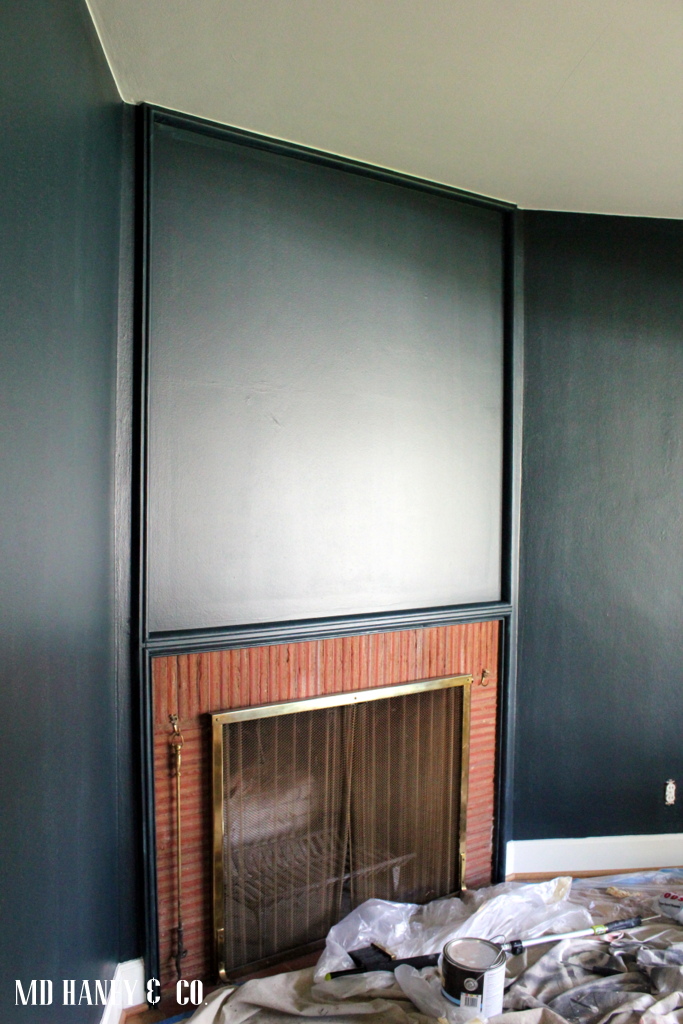
We also got the first coat of the wall color on.

IMG_4010

We have been working in here after the girls go to bed, so it's taking a while!  By 8pm my mind is mush and my body is tired!  I help for about 15 minutes, then go to get ready for our ice cream and tv viewing.  Sad, I know.  Matt is a rock star and has obviously been spending more time painting than I have!!

Well, that's it for now!  I am hoping to have photos of the design studio by Friday.  And possibly a little give away!!

Have a great day!!

A QUICK BED TRANSFORMATION || and my baby turns 3

Good morning friends!!

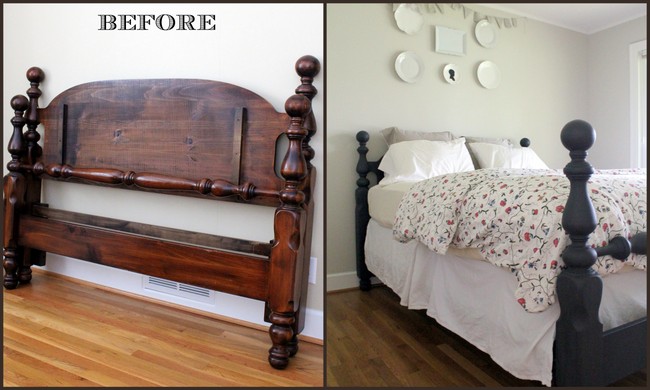
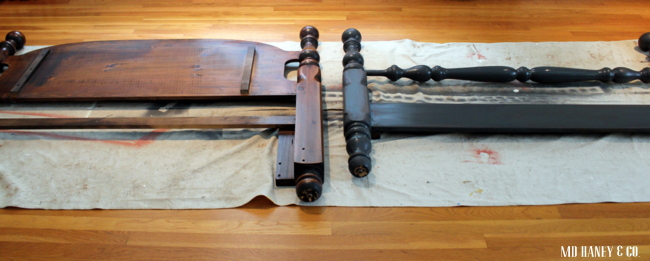
I thought I would show you a quick furniture 'BEFORE + AFTER'.  And a testament to how easy Chalk Paint® is to work with!!

2014-02-112

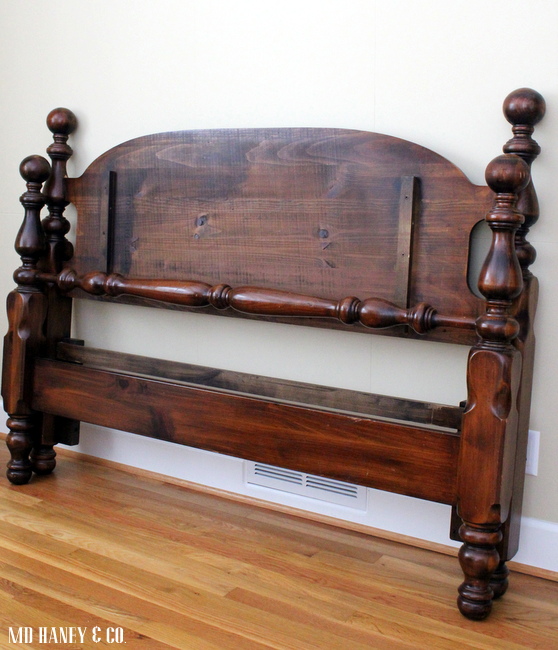
A friend was re-decorating her guest bedroom and asked if we wanted the Queen bed.  Of course I said yes!

IMG_3879

I loved the lines of it.  We wanted a Queen bed for the guest bedroom….it was just made to be :-)

IMG_3880

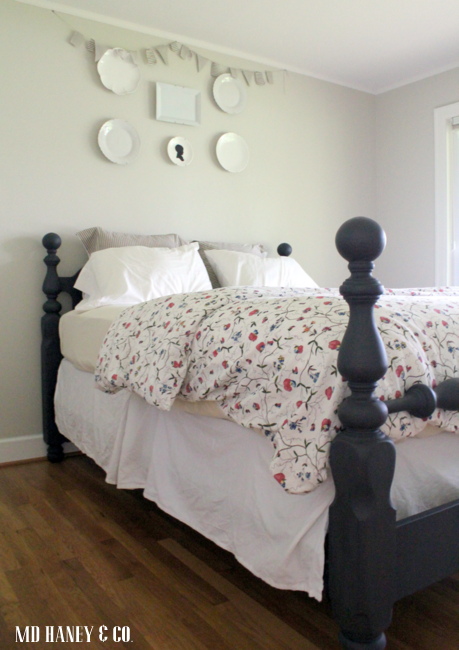
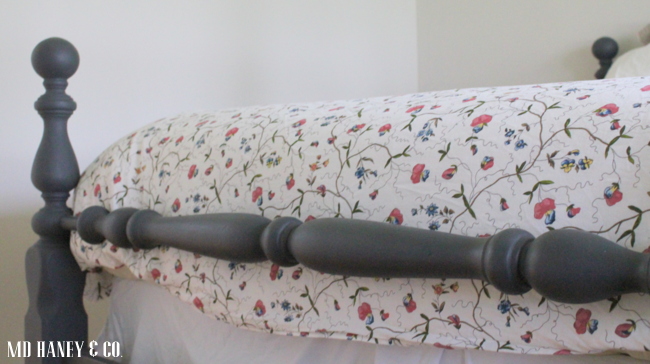
I painted it GRAPHITE.  I didn't sand or prime.  Just wiped it down with a clean cloth and started to paint.  It took two coats to get a really nice finish. I applied 1 coat of CLEAR WAX and it was ready to be set up in the guest bedroom the same day I painted.  Talk about instant gratification!

IMG_3933

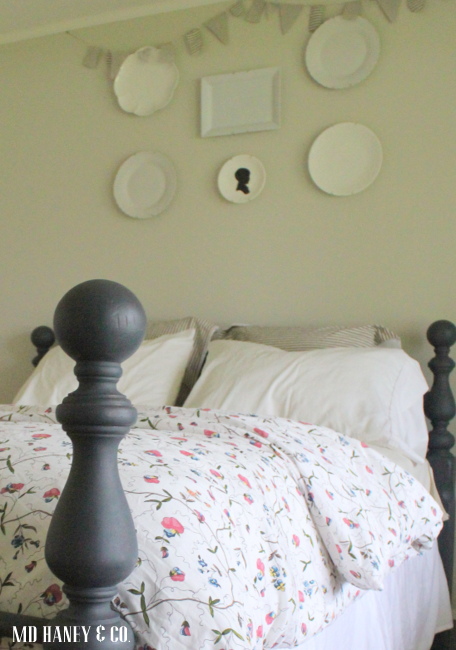
The guest room isn't finished/decorated, but I wanted to show you how the bed turned out.

IMG_3936

I am addicted to this paint.  It makes painting so enjoyable and rewarding!

IMG_3935

Now I need to find a table and lamp.  I am thinking a red table could look really darling in this room…..don't you think?!?

IMG_3924

And, I thought I had some great pictures of my birthday girl.  Turns out, just a lot of videos and phone pictures.  This is a photo of when she crawled out of bed….her room was full of balloons when she woke up.  I got that idea from a friend {fill the bedroom with balloons while they sleep} and she was so excited when she woke up!
We spoiled her with lots of sugar, a new bike, and a trip to see her first movie at the theater.  Did anybody else cry like a baby at the FROZEN movie?  Oh I was a mess!  I think I can thank motherhood for that!

OK, off to {hopefully} finish up my chores at the vacation rental for the week!!

shop update :: adding CHALK PAINT decorative paint soon!

Matt gets back late tonight from a two day training in North Carolina.  Why would a sweet man like my husband fly all the way across the US just days before our new little bundle of joy is due???  Because I encouraged him too...and we are crazy like that!!  {Well, anyone who knows us knows we are not crazy, actually a bit too practical and even boring at times!!;-}  And, it's a really cool product that we want to be able to stock sooner than later!

We are really excited to be offering Chalk Paint decorative paint at the shop.  This product is amazing.  Seriously, I can't wait to share more about it.  If you haven't heard of it, you should check out the website.  

I hope to have the online shop updated {with the Chalk Paint} by the end of the week.  I will keep you posted!!

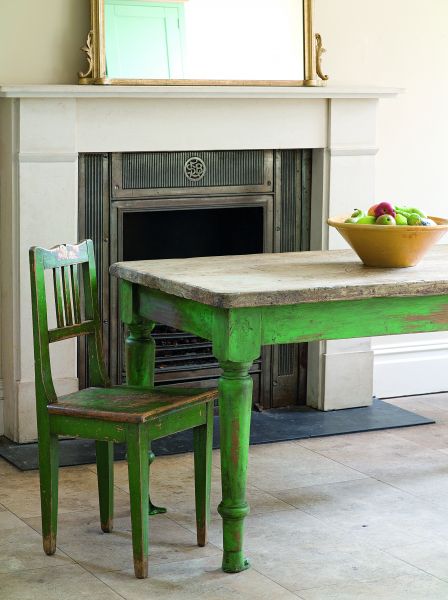
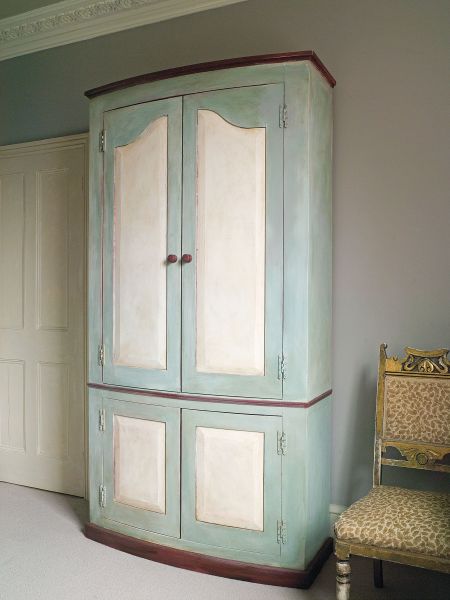
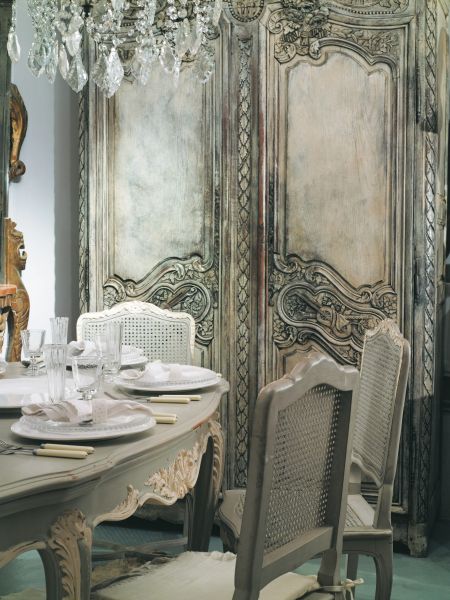
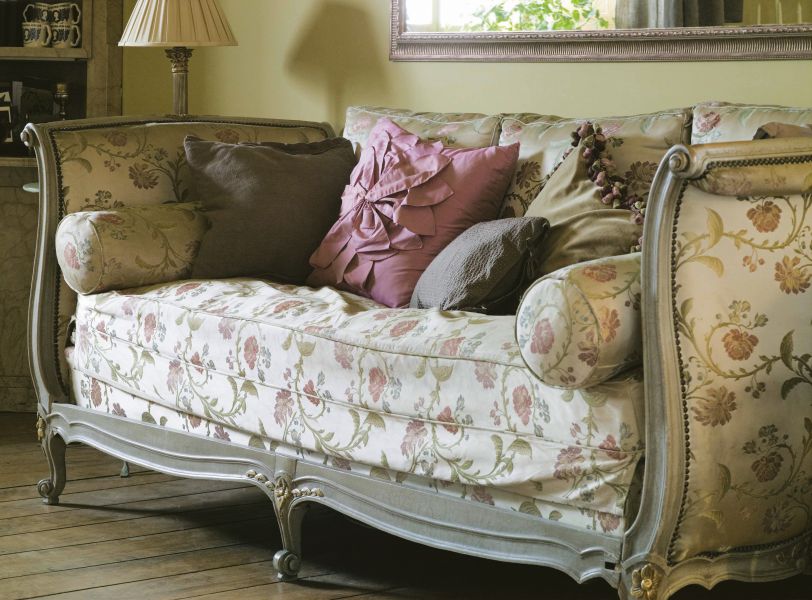
Look at a few of these beautiful furniture pieces done with chalk paint....

020_cb321_sloan5_final_1__gallery_full

100_-cb321_sloan27_final_01__gallery_full

cb234_nettlebed_16__gallery_full

cb234_wotton_17__gallery_full

 All of these beautiful images are from the Annie Sloan website.

Aren't they lovely?  Soon I will post a few pieces that I have refinished and currently have sitting in the shop.  We plan on opening shop next month....I promise to share more details soon!

In the mean time, have a lovely Spring day!