French Country Farmhouse || custom cabinetry

Last year we started to work with the greatest.clients.ever.  Truly, they are exceptional people and it has been an honor to work with them.  They built (actually, it's still under construction) their dream home and Matt was hired to build all of the custom cabinetry.  The clients were working with two sweet and talented designers.  My role was to help with paint colors and technique, as well as paint some of their existing furniture.  It was such a fun and challenging  collaboration! Hopefully we will have a professional photographer into photograph the home when Matt has wrapped up all of the little details.  But, the girls and I went to visit today and I snapped a few pictures.  I couldn't wait to share....
IMG_6695

IMG_6697

IMG_6703

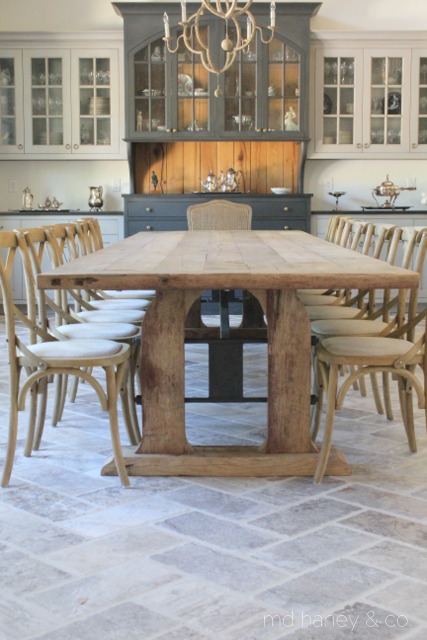
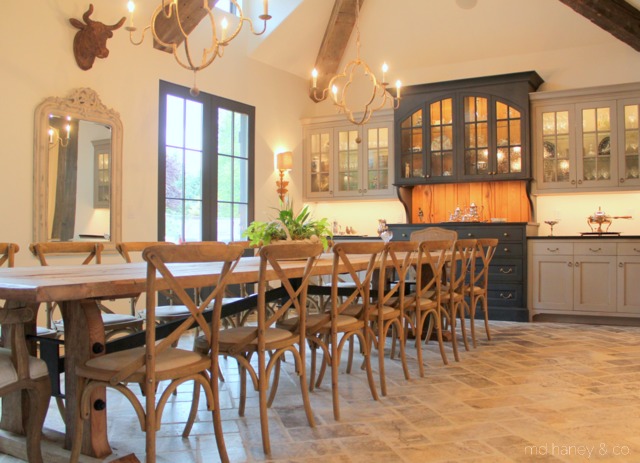
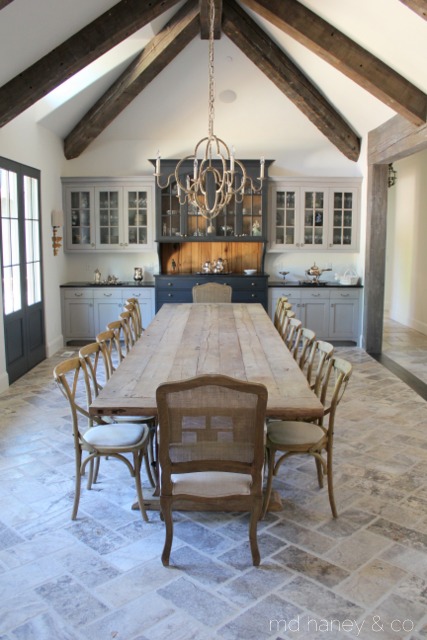
When you walk in the front door, you are greeted by this amazing dining room.  Matt built the cabinetry, as well as the dining room table.  The cabinetry has some custom finishes and is painted with Annie Sloan Chalk Paint®.  The dining room table is made from reclaimed oak.  Can you believe the reclaimed beams in the ceiling?!?  The pictures do not do the space justice!
IMG_6747

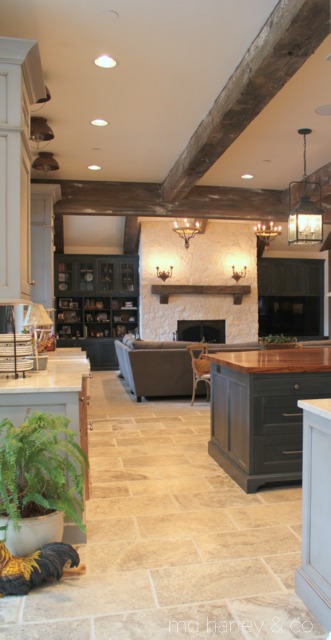
The dining, kitchen and living room are all open with large vaulted ceilings and reclaimed beams.  In this picture, you can barely see the cabinetry in the living room.  The cabinets are painted with Annie Sloan Chalk Paint and have a wash over them.
IMG_6732

IMG_6739

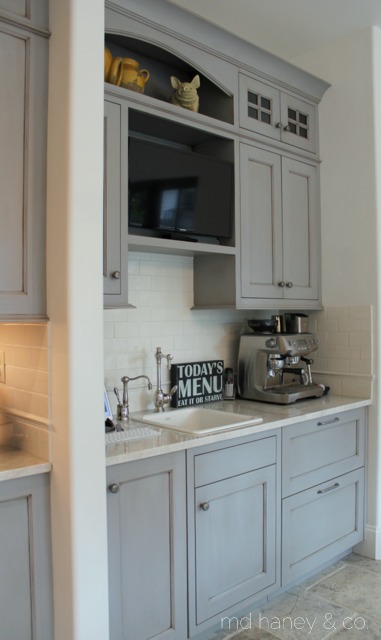
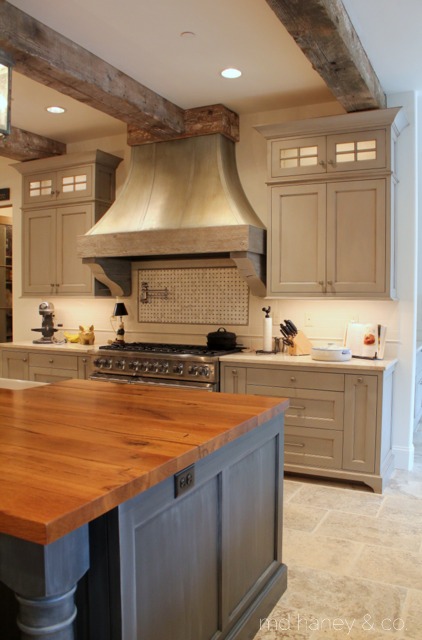
Matt is still working on the built-ins for the refrigerator unit so I didn't snap any photos of the other side of the kitchen.  Can you believe he made that ginormous island countertop in just two pieces?!?  The hood is one of my favorite features.  I could brag on my hubby all day!  He doesn't brag on himself, so somebody needs to ;-)
IMG_6713

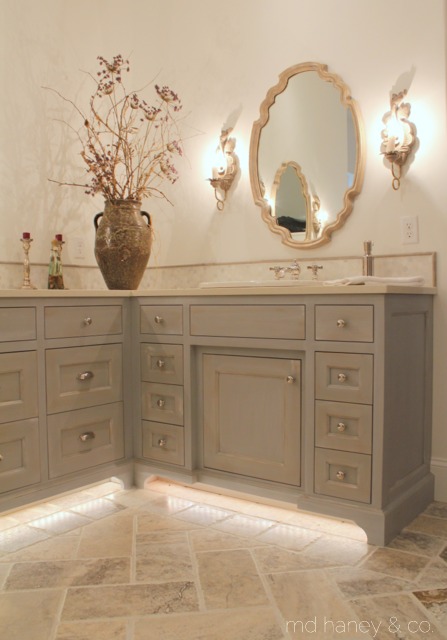
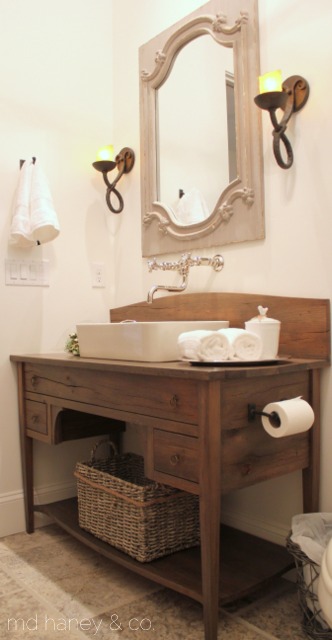
For the powder room vanity, the designers  showed Matt a picture and wanted something similar....didn't this turn out darling?!?
IMG_6719

IMG_6725

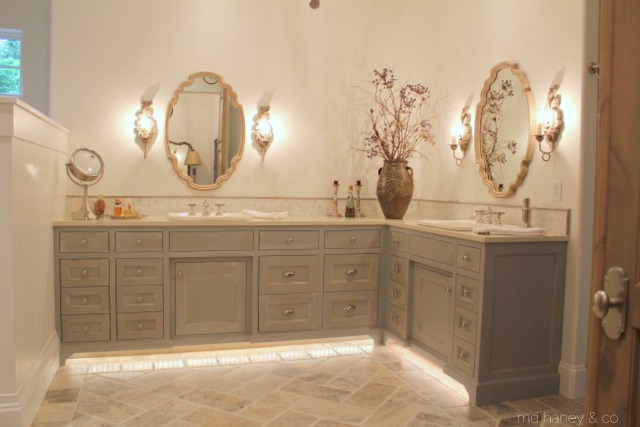
The master bathroom cabinetry is also painted with Annie Sloan Chalk Paint®.  A mix of three different colors with a wash and dry brush technique.

There are more beautiful rooms and more beautiful cabinetry.  I will show more soon, and go into more details on the cabinetry and rooms.

Thanks T & P.....it's been such a dream to work with you!


PAINTING CABINETRY WITH MILK PAINT || Miss Mustard Seed Milk Paint

It's hard to believe, but we have been living in our home for a little over a year now!  Our first 'big' project for the interior of the home has been our basement.  We turned the 'bonus room' area into a play room for the girls.

IMG_4376

BEFORE

IMG_5197

AFTER

And we just finished part of the downstairs living space.  We still have a lot to do, but it's clean and now has furniture!

IMG_4411

BEFORE

IMG_5522

AFTER

When this area is completely finished (we still need to install the fireplace hearth and wire/glass on the cabinet doors) I will post a lot more photos.  However, my sweet hubby has asked that I let him finish the space before posting photos ;-)

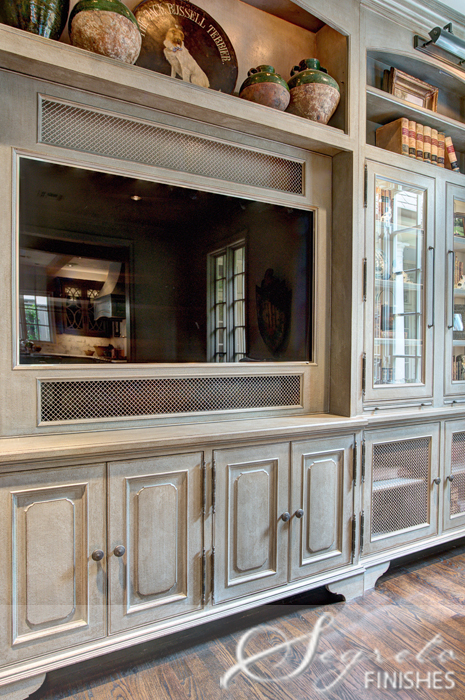
One aspect of this little reno, is the entertainment center.  Since my dear husband was not a super talented, MVP, major league baseball player, we didn't have much of a use for a cool trophy case.  Matt modified the existing cabinetry so that it looked more like an entertainment center, we added some new glass doors, open shelves and a space for the ginormous TV.  Once the modifications were finished, I painted it with Milk Paint (TYPEWRITER) and sealed it with Hemp Oil.  I thought I would share a few tips on painting (previously finished) cabinetry with milk paint.

IMG_5518

IMG_5516

IMG_5514

IMG_5512

1.  Sand the cabinetry.  It doesn't need to be stripped, but you will have better results if you sand it with a course grit sand paper.

2.  Clean the cabinetry with TSP, Krud Kutter or a degreaser cleaner.  You can also use denatured alcohol to clean your cabinetry.  Once you have cleaned the cabinetry, wipe it down with a damp cloth, and then finally wipe it down with a dry cloth.

3.  Mix your Milk Paint well.  It's important to mix your milk paint, and continue to mix it as you paint.  (I applied two coats of TYPEWRITER.)

4.  Hemp Oil can be used as a top coat and it's  best on porous surfaces, so it can penetrate the surface instead of just hanging out on top.  Hemp Oil is your top coat, you don't need to apply anything on top of it.

5.  For this size of project, I used a brush to apply the Hemp Oil.  You can use a rag, but I feel the brush is easier.  I used the hemp oil to "wet sand" this cabinet.  To "wet sand", I brushed on the Oil, and sanded the entire piece with fine grit sand paper.  Once you wipe away the excess Oil with a cloth, you have a super smooth finish.  I wanted a slightly distressed look, so I sanded the edges with a bit more pressure.

6.  For an even finish, you will need to apply 2-3 coats.  The key with Hemp Oil,  is to only apply what the surface will absorb.  If you apply too many coats, the Oil will sit on top.

7.  While the oil is dry to the touch, it needs about 30 days to fully cure.  You can use the piece during this period, but it might feel a little oily to the touch while it’s curing.  I would recommend not setting items on the piece while it's curing.

I hope this inspires you to paint something!


CABINETRY DESIGN || inspiration for custom paint finishes & cabinetry design

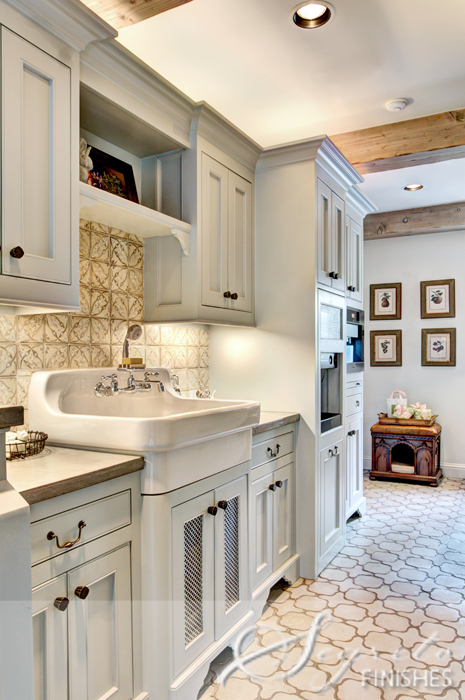
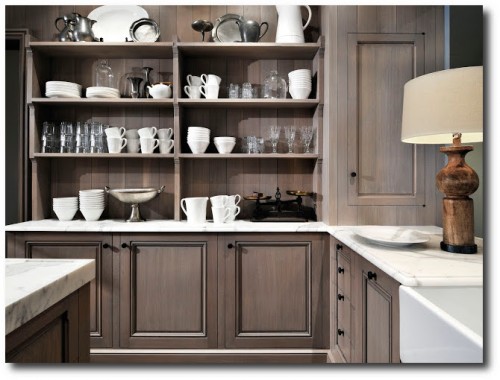
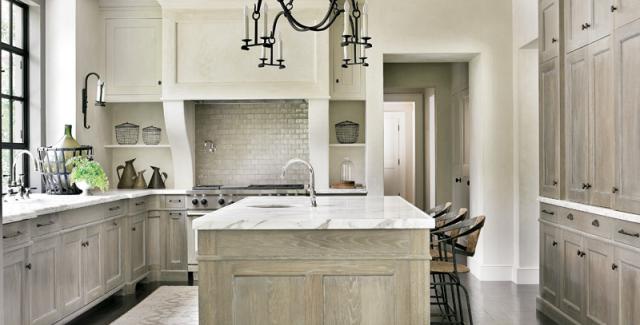
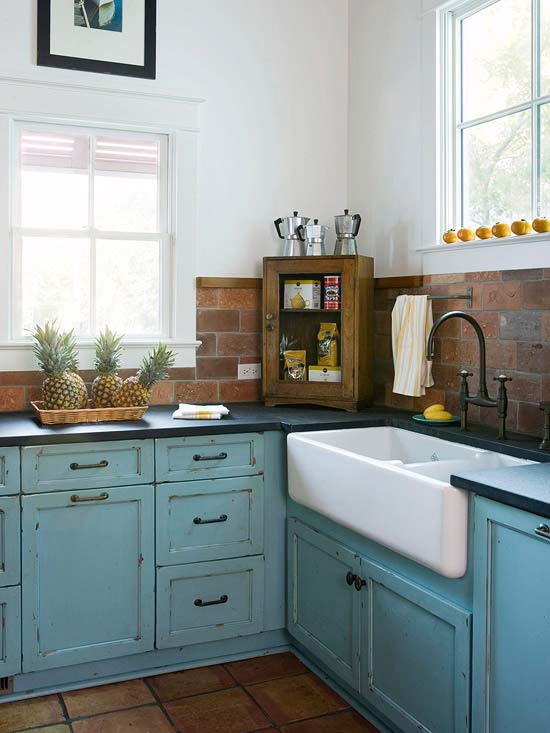
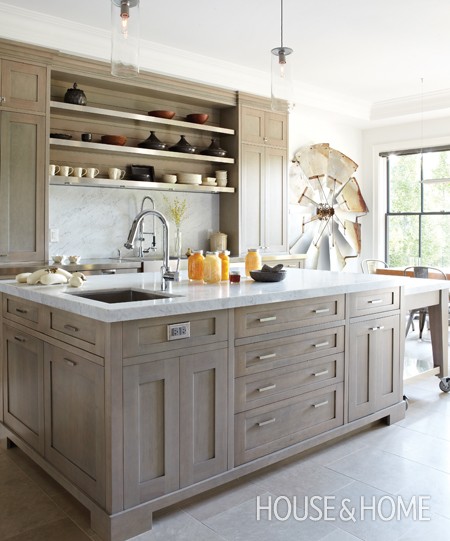
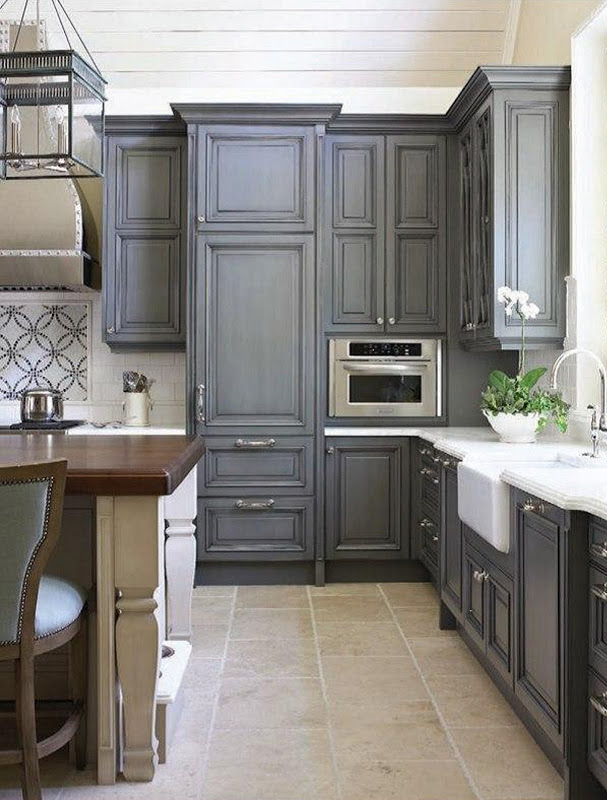
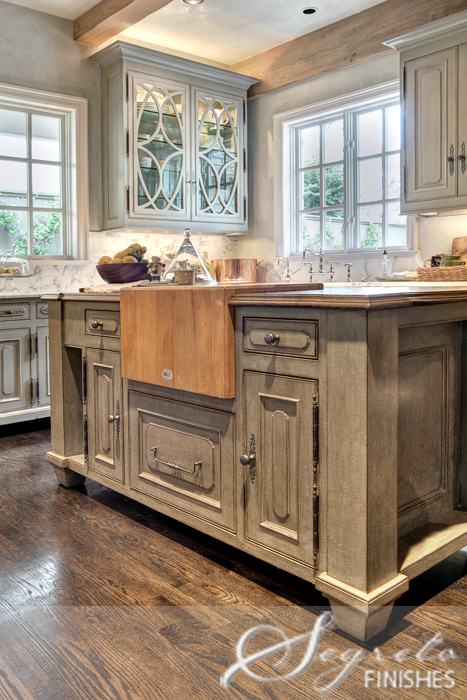
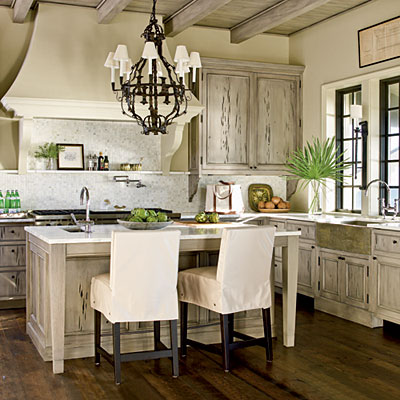
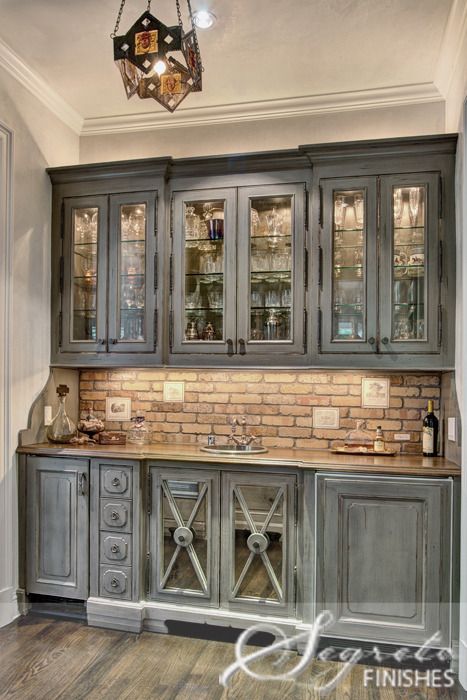
Matt and I are working on a large custom cabinetry project.  The clients are so sweet, the two designers we are working with are equally sweet,  and their new home is going to be beautiful.  Up until now, my time has been spent doing CAD drawings on the computer, and a lot of emails, now we are getting into custom paint finish/wood type/style specifics; the fun stuff!  Work has been busy (not much time for my own projects:-) so I thought I would show a few inspiration photos for the cabinetry paint finish and style.

west oak14w_edit

Gray-Wash-Kitchen-Cabinets-500x380

130617_067_0

101506986.jpg.rendition.largest

west oak6w_edit

Photo-House-Home-VMacdonald-BetsyAziz-ConnieBraemer-JA12-kitchen2

kitchen2

west oak3w_edit

kitchen-l

west oak10w_edit

There will be different paint finishes and cabinetry styles through out the home.  The goal is for the cabinetry to look collected over time, yet flow perfectly.  We are going to be using some reclaimed wood, and at this point our paint samples have all been Miss Mustard Seed Milk Paint samples.  I will be sure to show some of the finishes we came up with for samples!  So fun!!


PAINTING KITCHEN CABINETS || part 1

It has already ben eight months since we moved!  We haven't done any major renovations on our own home, since having children {about four years ago}.  It's not that we forgot how time consuming it is to do a renovation on our own home, it's that we can't find the time to do it…..without little people helping. We thought we would have the basement completely finished before football season started.  Nothing has changed in the basement for two months, and we still have a ways to go!  Anyways, the point is…..we plan on doing a major renovation to our kitchen next winter.  But, I am quickly realizing that it may be a couple of years before we renovate.    Since we moved into this home, I haven't touched the kitchen.  Well, the rain came this week and I decided to start painting the kitchen!  I started with the walls, and yesterday I painted the kitchen island.  I was reminded of how much I love Chalk Paint®!  It truly is an amazing product!  I still have more cabinetry to do, but I thought I would share some tips and tricks for painting kitchen cabinets.

IMG_4813


IMG_4825

Use steel wool or a scotch bright pad to remove gunk, spills and food.

IMG_4827

Wipe down cabinetry with low-odor mineral spirits or a degreaser cleaner.  Finally, wipe cabinets with warm water and a clean rag, let cabinetry dry completely.  Tape any area that need to stay 'clean'.

IMG_4828

IMG_4829

You can see that the first coat can be a bit scary.  The first coat always looks bad!  The dry time is fast.  Once the paint is dry to the touch, you can start with the second coat.  After the second coat is dry, you can distress the edges, if that is the look you are trying to achieve.  I always distress in areas that look like they would naturally get worn and beat up.  If distressing, sand with a high grit sandpaper and wipe down the cabinetry.  You don't want any paint dust on the cabinets when you wax!  Wax with soft wax and you are done!  This island {which is really big} only took me a few hours.  I finished it during the girl's nap time and then finished waxing while I was making dinner….it really is that easy!  I will post more pictures when I finish the other cabinets.  Until then, I have listed a few tips below!

IMG_4834

Helpful tips for painting cabinetry with Chalk Paint®

-The simplest way to paint cabinetry with Chalk Paint®, is to paint them in place.  You may choose to remove the doors and drawer faces for painting.  Make sure to mark each cabinet with a labeled  piece of tape, then you aren't playing a guessing game when it's time to put the doors back on.

-Remove knobs and pulls, place all of the hardware {including screws} into a ziplock bag.

-If you are painting the interiors of the cabinets, remove the shelves and support clips and be sure to mark each shelf accordingly.

Painting over previously finished cabinets:

-Make sure that the surface is clean and free of loose particles.  Use a scotch bright pad or steel wool to lightly scrub the surface.  Next, remove any old, greasy, waxy or oily residue (you can use low-odor mineral spirits, TSP, Crud Cutter or any cleaner that cuts through grease}.  Rinse with clean rag and warm water and let it dry completely.

-Fill any cracks or holes with wood filler or speckling.  Allow to dry and sand smooth with fine grit sandpaper.

-Typically there is no need to sand or prime.  Although in areas that receive a lot of use, it might be wise.

-Tape any areas that need to stay clean {floor, appliances, etc} and begin painting!  It typically will take two coats of paint.  Distress if that is the desired look.  Wax with soft wax.  Cabinets will clean with a mild soap and warm water.