CHRISTMAS WREATH MAKING + SOME CHANGES

December’s wreath making classes were (once again) so fun and festive! What a treat it is for me to host these classes! From cutting all of the fresh evergreens, to planning the refreshments, to decorating the barn, to chatting with all of the ladies, I find so much joy in all the parts of the wreath making classes!

Thank you to each and every one of you who came to the farm and made Christmas wreathes! It really is an honor and joy to spend that time together with you!! I have been hosting these workshops for the past 12 years and I love that it’s become a tradition for some ladies, others make it every few years, and some are first timers. Regardless, we all have such a sweet time and it always marks the beginning of the Christmas season for me!

And in design and construction news, I am changing course a bit. For the past 15 years I have worked side by side with my amazing and talented husband, while working with him I would take on smaller design jobs.  I have been blessed with amazing clients and the ability to do work that I love!  Over the past 3 years, I have been solely working on his projects, there just wasn't extra time I was willing to give up to pursue other projects. Starting this year, I am stepping back from design and spending my extra time teaching my sweet (and every growing) girls, and pursuing our dreams of farm life.  We have some fun things in the works on the farm, and of course Matt is still building!  So much to share, but that's for another time!

Thank you for being a part of our construction business, or farm adventures and our family!  

MOTHER'S DAY FLOWER ARRANGING CLASSES

What a fun time we had Saturday playing with the flowers!

Farm fresh flowers, tasty treats, laughter and the occasional appearance of the sun.....that was our Saturday on the farm!  

Although we do (loosely guided) flower arranging, the real fun is eating, laughing, playing with flowers and just making time to enjoy the special ladies in our lives!

The girls helped me put this charcuterie board together right before the morning class ladies arrived.  It had all of our current favorites from Costco......dark chocolate covered acai berries, dark chocolate covered caramels, brownie brittle, so many cheeses, prosciutto, a variety of crackers, nuts and fruit.  

We replicated it the next day (Mother's Day) for lunch! The gift that keeps giving :)

I hope you had a wonderful Mother's Day weekend!

xoxo-
Darci

CHRISTMAS WREATH MAKING WORKSHOPS || creative classes

What a fun group of ladies we had at each of our wreath making workshops! We laughed, we ate, we listened to Christmas music and we created wreaths….it was the perfect start to the holiday season!

Thank you to everyone who participated! I sure appreciate each and every one of you and I truly love welcoming you to the farm! I am already looking forward to next year! Until then I hope you have a lovely holiday season!

FARM STORE || open every Friday + Saturday in August, 10am-3pm

BD141EFA-C659-4117-A3E1-AB1CBBE606C2.JPG

Things have been busy on the farm, a good busy, but busy! We are rebuilding, and adding on to one of the barns. We planted new pastures and we are getting ready to get the fencing up, we’ve been pulling weeds and tending to flowers and veggies, and of course mixing in a little fun! The girls are at such a fun age…..I just wish I could slow time down!!!

IMG_4342.JPG

We are really excited to open our little farm store for the month of August! Every Friday and Saturday from 10am-3pm we will be open! We will have farm fresh flowers, herbs, veggies, fruit, chicken and duck eggs, potted plants, baked goods and a little home decor sprinkled in for good measure ;)

IMG_4160.JPG

There is just something special about this place! We hear it all of the time from guests, friends and family….once you turn down the driveway you feel the weight of the world lift from your shoulders. We are so excited to share a little bit of this farm with you all! The farm store will be a work in progress, but if I don’t start now, I never will! I have realized I will never be finished with projects here, or have things “just how I want them,” so I might as well share it now, and you all can be part of that journey!
IMG_4366.JPG

I will have more details regarding product availability and such, but for now, we sure look forward to seeing you in August!

O P E N ::

AUG. 6th & 7th, 10am-3pm

AUG. 13th & 14th, 10am-3pm

AUG. 20th & 21st, 10am-3pm

AUG. 27th & 28th, 10am-3pm

9771 HIGHWAY 47,

CARLTON, OR 97111

A FEW TECHNICAL NOTES:

We will have signs to follow for parking….parking is at the barns, not at our home. We LOVE dogs, but we do ask you to keep them at home or in your car. We have animals on the farm and for the safety of your animals and ours, we ask that they stay in the car or at home.

We can’t wait to see you!

XOXO

Darci

MOTHER'S DAY WORKSHOP || flower arranging

I hosted three Mother’s Day workshops at the farm; it was such a fun day!!! Starting the Saturday morning before Mother’s Day, the girls and I welcomed ladies of all ages. It was such a fun time to connect with ladies….what can be better than some fresh country air, friends, family, beautiful flowers, drinks and treats?!? It was a day filled with creativity and laughter….my favorite!

IMG_3655 2.JPG
IMG_3652.JPG

The girls and I picked greens and a few flowers from our gardens, the rest of the beautiful blooms were purchased from my friend (and talented flower farmer) Beth at Crowley House. The peonies were just about to bloom, and the greenhouse smelled delicious!

87E3A84F-2812-4DEF-A7C8-5DD5132B23AE 2.jpg
4E9946EF-310E-4837-8520-C7DC7AB64309.jpg
2E694DFC-FC73-4177-958F-BEA89265B987.jpg
236C11C7-A463-45D5-A309-FD387666B2AD.jpg

And I truly could not have made it though the day without my two trusty side-kicks! I definitely don’t deserved such wonderful little ladies! They worked so hard all day, always had a smile on their sweet little faces and sincerely had so much fun! My best Mother’s Day gift for sure!

IMG_3658.JPG

Thank you SO MUCH to each and every lady who attended! What a treat to host classes and parties and all of the fun things! I love sharing this farm…..I am way more blessed than I deserve!

McMINNVILLE REMODEL + ADDITION || master bedroom and bathroom

Can you tell what a fun project this was to work on?!? We truly enjoyed getting to know these sweet clients, and all of the hard work was totally worth it!

The homeowners wanted to add a master suite to the main floor. The current floorpan had all of the bedrooms and bathrooms upstairs. With the new design, we added the master suite on with the new kitchen and laundry room addition.

Patersonhome-37.jpg
Patersonhome-41.jpg
Patersonhome-44.jpg

The homeowners each wanted their own vanity space, with a divider between the two. I love this design! And look at all of the great storage!

Patersonhome-42.jpg
Patersonhome-38.jpg
Patersonhome-43.jpg

This tile was hard to come by, especially during COVID! The sweet homeowner showed us a picture of what she liked and we went from there. The curb-less walk in shower is my favorite….and no shower door to clean…that’s a huge bonus!

Patersonhome-35.jpg
Patersonhome-36.jpg

The new master bedroom has huge windows to capture the beautiful view, and this lovely accent wall. I can’t say how much I love this addition and remodel. Everything turned out so well, and the only down side is that we don’t get to see Jay and Marsha (the lovely homeowners) as often as we did!

Thanks for following along!

xoxo-Darci

McMINNVILLE REMODEL + ADDITION || laundry + playroom

As I mentioned earlier, this remodel was so fun! The clients are so kind and have such good taste! We added square footage to the home, and remodeled the existing first floor…..

Patersonhome-76.jpg
Patersonhome-77.jpg

We opened up the existing entry, re-moved the carpet and added wood risers to the stairs, we added a lot of millwork and of course new paint, new light fixtures, new door hardware and more!

Patersonhome-67.jpg
Patersonhome-70.jpg

The ‘play room’ area use to be a sunken sunroom. We raised it to floor level, added new (and fewer) windows and custom cabinetry. What little kid wouldn’t want to come play at Grandma’s?!? It’s just the sweetest!

Patersonhome-66.jpg
Patersonhome-62.jpg

We gave them a new laundry room too! A sun-filled space to do the never ending laundry chores! I love the tile accent wall…..on the opposite wall is a built-in bench with hooks. It’s just the sweetest space and quite efficient!

Patersonhome-22.jpg
Patersonhome-23.jpg
Patersonhome-24.jpg

All of the downstairs had new hardwood flooring installed, with the exception of the laundry room and master bathroom. I love this tile! Our first choice fell through because of major delays due to Covid (isn’t that the story of everything?) but I love how this tile turned out!

I can’t wait to show you more! What a joy to work for such gracious and kind people, and to work along side my sweet hubby and all of the great sub-contractors he has!

McMINNVILLE REMODEL + ADDITION

Oh I have just been terrible about updating the blog! Life just keeps moving right along, doesn’t it? Well, in February we finished an extensive remodel and addition for the nicest people! It really is a blessing to work for kind hearted people…..makes all the difference in the world!

Patersonhome-1.jpg

I need to post BEFORE pictures of this space! The homeowner saved magazine pictures, and “pinned” photos on Pinterest, and it really is a treat to see her beautiful new space come to life!

Patersonhome-5.jpg

Matt built beautiful, simple, inset cabinets so that the incredible range could be the star! Isn’t it a beauty? We went with a soft white for the cabinet color, it’s really a perfect white! A little warm, but looks beautiful with cool colors!! And classic white subway tile never goes out of style!

Patersonhome-17.jpg
Patersonhome-18.jpg
Patersonhome-20.jpg
Patersonhome-9.jpg

Can we talk a minute about the beautiful coffered ceiling?!? It really makes this space so cozy and just adds another layer of beauty!! Matt spent a lot of time designing that coffered ceiling and I think it’s just beautiful! The cabinets and all of the millwork are painted the same white, I love how all of the details flow together! All of the cabinet hardware is unlacquered brass, the kitchen facet is a brushed gold and the light fixtures are different types of brass. It’s all very collected and classy, in my humble opinion ;)

Patersonhome-14.jpg

I plan to share more photos of the rest of the spaces we remodeled, but today I will leave you with the kitchen! It’s such a beautiful space and it was an honor to work on this project! From magazine clippings to reality….and during COVID…..I’m just so proud of my hubby and his crazy good design AND building talents!

Patersonhome-3.jpg
Patersonhome-7.jpg

More pictures soon, I promise!

xoxo-Darci

FLOURLESS BROWNIES WITH MARSHMALLOW + PB TOPPING

Here we are the week before Thanksgiving! Can you believe it?!? Work has kept us busy, and add homeschooling and farm animals and chores…..I love it all but still wonder how the time flies so quickly?!? Thanksgiving will look so different for us all this year! But that doesn’t stop us from baking and loving on those around us! I have to share this delicious brownie recipe I found…..the perfect compliment to all of the traditional Thanksgiving desserts!

brownie1.jpg

B R O W N I ES:

  • 2 cups white sugar

  • 3/4 cup vegetable oil

  • 4 large eggs

  • 2 teaspoons vanilla

  • 1 1/2 cup dark cocoa powder

  • 1/4 teaspoon salt

  • 1/2 cup chocolate chips or chopped chocolate


  • T O P P I N G

  • 1 bag mini marshmallows (10.5 oz. or 5.5 cups)
    2 cups chocolate chips (or chopped chocolate)
    1 1/4 cups peanut butter
    5 tablespoons butter
    3 cups Rice Krispies

    D I R E C T I O N S


    Preheat the oven to 350°F. Lightly grease a 9x13 inch baking pan.

  • Combine the sugars and oil and beat until well combined. Add in the eggs and vanilla and whisk together. Beat for about two minutes.

  • Add the cocoa powder and salt to the batter and blend until smooth. Fold in the chocolate chips. Pour into prepared pan.

  • Bake the brownies for about 17 minutes and then top with the marshmallows. Continue baking 8 more minutes (if using a different recipe for the brownies, just make sure you add the marshmallows during the last 8 minutes of bake time). Allow to cool while you prepare the topping.
    For the topping, combine the chocolate chips, peanut butter, and butter in a microwave safe dish. Microwave thirty seconds at a time, stirring at each interval, until smooth and melted. Fold in the Rice Krispies. Lightly spread warm topping mixture on warm (but cooling) brownies. Allow brownies/topping to completely cool before cutting!


brownie3.jpg

I found this recipe a while back from Yammie’s Noshery and every time I make them they are delicious! It’s a tried and true recipe….I promise you will love them!!!

Wishing you all a wonderful and blessed Thanksgiving!!

FLOWERS + TREATS || 5 week csa/subscription

pieandflowers.jpg

As you know, we were planning to open our farm store in May. Obviously, things are upside down right now with COVID! We have decided the best way to slowly open our farm store is to offer a late summer (5 week) CSA/subscription. We are so excited to offer our farm fresh flowers, delicious hand baked treats made with farm fresh ingredients (apple pie, pear pie, apple butter, cookies, etc.) and other farm fresh treats (produce, herbs, locally hand poured candles, etc.).

applepie.jpg

Each week, the baked goods will vary. The first week part of your subscription will be an apple pie with apples straight from our apple trees! As for other baked goods, we also have our favorite chocolate chip cookies on the list, our giant, soft peanut butter cookies, our delicious banana muffins and a salted caramel pear pie!

flowers2.jpg

Each week we will select our best of the best from our field and cut fresh the morning of your pick-up. Your bouquet will vary in color every week, but it will be beautiful and full of our favorite blooms!

flwoers.jpg

We are offering a contactless pick up, Wednesdays 2pm-6pm and Saturdays 9am-3pm. If those days/times don’t work for you, we are happy to set your basket out the morning of a day that does work for you! During pick up times, we are happy to open up our farm to you! Bring a picnic and feel free to enjoy the lawn in our carriage house/greenhouse area, shop our greenhouse or visit the animals.

We are excited to offer this late summer subscription for 5 weeks, August 15th - September 12th. Detailed instructions for pick up will be emailed after your subscription is purchased. To purchase your subscription, click HERE.

Here is our schedule for the 5 week subscription:

WEEK #1 - farm fresh apple pie, flower bouquet and locally poured soy candle

WEEK #2 - 1/2 dozen giant chocolate chip cookies, flower bouquet and farm fresh fruit

WEEK #3 - farm fresh pear pie, flower bouquet and farm fresh herbs

WEEK #4 - 1/2 dozen giant peanut butter cookies, flower bouquet, farm fresh veggies + herbs

WEEK #5 - 1/2 dozen bakery style banana muffins, flower bouquet, farm fresh fruit + herbs

We are so excited to share our farm with you!

MINT CHOCOLATE CHIP ICE CREAM || a classic summer treat

Summer time means home made ice cream time at our home! I’ve gotten pretty lazy with my vanilla recipe….milk, cream, vanilla beans and sugar, mix together and pour into the ice cream maker. But sometimes I like kicking things up a notch ;)

addi2.jpg

Note that if you do not have fresh mint, you can make this mint chocolate chip ice cream recipe with peppermint extract. Skip steps 1 and 2, instead heating 1 cup of milk with 1 cup of cream and the sugar and salt until steaming. Continue with step 3. Add 2 teaspoons of peppermint extract in with the chilled custard mixture in step 6.

INGREDIENTS

  • 3 cups of fresh spearmint leaves, rinsed, drained, packed

  • 1 cup milk

  • 2 cups heavy cream

  • 2/3 cup sugar

  • A pinch of salt

  • 6 egg yolks

  • 6 ounces semisweet chocolate or dark chocolate, chopped fine, keep in the freezer until used

mint.jpg

Put the mint leaves in a heavy saucepan with the 1 cup of milk and 1 cup of the cream. Heat until just steaming, don’t let it boil, remove from heat, cover, and let stand for 30-45 minutes. Meanwhile, keep the other 1 cup of cream in the refrigerator.

Strain the milk cream mixture into a separate bowl, pressing against the mint leaves to get the most liquid out of them. Return the milk cream mixture to the saucepan. Add sugar and salt to the mixture. Heat until just steaming again, stirring until sugar has dissolved. Remove from heat.

Whisk the egg yolks in a medium sized bowl. Slowly pour the heated milk cream mixture into the egg yolks, whisking constantly so that the egg yolks are tempered by the warm mixture, but not cooked by it. Scrape the warmed egg yolks back into the saucepan.

Return the saucepan to the stove, stirring the mixture constantly over medium heat with a wooden spoon, scraping the bottom as you stir, until the mixture thickens and coats the spoon. This can take about 10 minutes.

Pour the custard through the strainer (used for the mint leaves) and stir into the cold cream (that has been in the refrigerator) to stop the cooking.

 Chill the mixture thoroughly in the refrigerator (at least a couple of hours) or stir the mixture in the bowl placed over the ice bath until thoroughly chilled (20 minutes or so).

Once the ice cream has been made in the ice cream maker it should be pretty soft. Gently fold in the finely chopped chocolate. Put in an airtight container and place in the freezer for at least an hour, preferably several hours. If it has been frozen for more than a day, you may need to let it sit at room temperature for a few minutes to soften it before serving.

addi.jpg

This ice cream is so good! I will say that it tastes even better sandwiched in between two chocolate chip cookies! If you are making ice cream sandwiches, just make sure the ice cream is soft enough to spread and spread it between two cookies! Wrap the cookies in parchment paper or Saran Wrap and pop them in the freezer for at least 30 minutes. Enjoy!!!!

STRAWBERRY PIZZA || a perfect summertime dessert

Strawberry season signals the beginning of summer for me!  There is nothing like fresh strawberries straight from the garden!  Last night I had a friend over for dessert, she brought the wine and I made a strawberry pizza.  We stayed up chatting until it was dark and I realized this recipe is so easy and too tasty to not share!

sberries.jpg

r e c i p e :

c r u s t -
1/2 cup butter, room temperature
1 cup all purpose flour
1/4 cup powdered sugar
2 TBSP of cold water
f i l l i n g -
4 oz. cream cheese, chilled
1/2 tsp. lemon juice
1 cup heavy whipping cream, chilled
1/2 cup powdered sugar
2 cups sliced strawberries

Pre-heat oven to 375.
In a mixing bowl, combine flour, powdered sugar and butter. Mix until it's blended, add 1-2 TBSP of cold water, just enough to form a ball with hands.  Press or roll into a circle or rectangle on an ungreased cookie sheet or pizza pan.  Bake at 375 for 15 minutes, cool completely. 

Once your crust is cool, place your mixing bowl in the refrigerator or freezer for 10 minutes.  In the cooled mixing bowl, beat the cream cheese for 2-3 minutes on medium/high speed until all of the clumps are gone, scrape the bowl occasionally.  Slowly drizzle in the whipping cream until it resembles a liquid mixture.  Beat on medium/high speed until soft peaks form.  Add powdered sugar and lemon juice.

Spread on the cooled crust.  Slice strawberries and cover the top of the cheese filling with sliced strawberries.  Refrigerate until ready to enjoy!
 

finished.jpg

ICED COFFEE RECIPE || my new favorite iced coffee treat

What strange times these have been! How are you doing? Our day-to-day doesn’t look much different……we decided to homeschool the girls at the beginning of this school year, we are naturally homebodies and we always have a million unfinished outside projects to keep us busy. We’ve just been hunkering down doing our best to look on the bright side and trust completely that this is no surprise to God.

While we have had extra time at home, I have been experimenting with different recipes. Have you seen the new recipe floating around social medial that includes whipped instant coffee? It’s my new favorite! Here is what you will need:

5 minutes

2 tsp. instant coffee

1/2 tsp. granulated sugar (or to taste)

3 tsp. hot water

caramel sauce

milk + ice

icedcoffee.jpg

In a bowl, wisk together the instant coffee, hot water and sugar. Wisk for 3-5 minutes, until the coffee becomes foamy.

Assemble your drink - drizzle caramel sauce around the inside edge of your glass, I squeeze about 2 TBSP of caramel sauce. Fill your 3/4 of the way full with ice, pour in milk, leaving about 1 inch of room from the top. Pour in the whipped instant coffee. Mix everything together and ENJOY!!!

iced coffee.jpg

MOTHER'S DAY || celebrating at the farm

flowerclass1.jpg

What’s more fun than an excuse to get together with girlfriends and family? Well, I guess there are some things…..but I sure love the excuse! Last year I hosted a Mother’s Day flower arranging + breakfast/lunch workshop and we had SO MUCH FUN!

flowerclass4.jpg

Want to join in on the fun? We are going to eat, take a tour of the gardens and greenhouse, and then create a unique and beautiful flower arrangement for you to take home and enjoy! Not only will you go home with a full belly and the flower arrangement that YOU created, you will go home with a gift bag full of treats! Oh, and did I mention early bird shopping in the greenhouses? Yep!! That evening we are opening up the greenhouses for nibbles, drinks and shopping, but class attendees get first dibs:)

It’s going to be a fun and inspiring way to kick off Mother’s Day weekend!

D E T A I L S:

Both classes are on Saturday, May 9th, 2020.

9:00am-11:00am

AND

12:30pm-2:30pm

The class includes breakfast or lunch, drinks, and all of the supplies necessary to create your own flower basket. The class also includes exclusive shopping and a SWAG bag full of goodies!

Class is limited to 20.

$100 per person. Class is non-refundable.

Sign up here

FALL BAKING || cinnamon-pear tart

Goodness, it’s been a while! Life sure twists and turns and flies by! My last post with the end of March….and here we are with the leaves changing color and the days getting shorter.

My mom passed away suddenly and unexpectedly just 7 weeks ago. She was young (just 62), healthy and such a huge part of my life. I miss her like crazy, and have a hole in my heart that God is slowly healing. I haven’t had much motivation to be creative, I’m sure it will eventually come back. But, I have enjoyed spending extra time in the kitchen with my sweet peas!!

We have apples and pears coming out of our ears! We have been eating them fresh, giving them away and making too much apple/pear-sauce :) The girls love helping me in the kitchen and I have found that a “rustic tart” is the easy and scrumptious way to use up that extra fruit!

pear tart.jpg

The beautiful thing about a “rustic tart” is that is easy and super forgiving! You can easily swap out apples for the pears, or use both. This is a very forgiving recipe, so have fun and experiment!

recip.png
pg2recipe.png

Let me know if you bake this tart….or another one!! Happy Fall!!

LAUNDRY ROOM || our new laundry room

For Christmas, Matt gifted me with a new laundry room! He just finished it a couple of weeks ago! It may have taken a few months, but there are no complaints here because I absolutely love this little, hardworking room!

IMG_8893.jpg
IMG_8904.jpg

Our little laundry room is also our pantry. When we moved things out of our retail shop, we had the beautiful white oak display shelves that Matt had built. Well, we decided to use a couple of them in the laundry room! They serve as my pantry shelves. They are white oak and sealed with Miss Mustard Seed Hemp Oil. Matt welded the metal and just left the metal raw, I just love them!

IMG_8883.jpg

I used baskets and jars to organize the pantry. They were all items I had left over from the shop! I love that the jars allow me to see how much I have of a certain item, and I love that the baskets can be full of bags and boxes of chips and crackers and I can’t see the chaos :)

IMG_8884.jpg
IMG_8900.jpg

Matt built these beautiful countertops and cabinets with the same white oak that matches the shelves on the pantry side. He painted the cabinets a dark navy blue, the same blue we used on one of the bathroom vanities in the modern farm house/new construction. It’s such a pretty blue, I kind of want to paint everything this color! The countertops are sealed with 3 coats of Miss Mustard Seed Hemp Oil. I love using the oil for wood countertops! They just need to be lightly sanded and re-coated to keep them looking good. It’s much easier than having the finish peel and chip where it gets wet!

IMG_8907.jpg

This seems to be the only “before” picture I can find! It’s not a true “before” since Matt had already removed the existing shelves and utility sink out of the room!

before of laundry.jpg

Thanks for following along! We are sure loving our new/old home! Room by room we are adding our little touches and making it feel like home!

Mother's Day EVENT || food, flowers, shopping and lots of fun

momday3 (1).jpg

We have been working behind the scenes like busy little bees and I am so excited to share our Mother’s Day event with you!! This is going to be such a fun event, and our first “welcome” to the new farm!!

momsday (1).jpg

Grab your mom, daughter and girlfriends!! Join us in the greenhouses! Enjoy a delicious breakfast or lunch, a tour of the gardens and then let your creativity run wild as we build our own flower basket!

We are going to eat, take a tour of the gardens and greenhouse, and then create a unique and beautiful flower arrangement for you to take home and enjoy for weeks! Not only will you go home with a full belly and the flower arrangement that YOU created, you will go home with a gift bag full of treats! Oh, and did I mention early bird shopping in the greenhouses? Yep!! That evening we are opening up the greenhouses for nibbles, drinks and shopping, but class attendees get first dibs:)

It’s going to be a fun and inspiring way to kick off Mother’s Day weekend!

D E T A I L S:

The class is on Saturday, May 11th, 2019. 9am-11am

The class includes breakfast, drinks, and all of the supplies necessary to create your own flower basket. The class also includes exclusive shopping and a SWAG bag full of goodies!

Class is limited to 20.

$95 per person. Class is non-refundable.

S I G N U P H E R E

MODERN FARMHOUSE || new construction

Last year we had the pleasure of working for some pretty incredible people! One of the projects we started (and finished :) was a new construction. The owners purchased 80 acres outside of Yamhill and we worked together to design a “modern farmhouse”, it will serve as their vacation home and short term rental. We had so much fun working on this project, and the owners have become such good friends, they are pretty much family now!

IMG_8879.jpg
IMG_8876.jpg
IMG_8871.jpg
IMG_8870.jpg

I will get more exterior photos after the landscaping is finished! But, I just had to show you the front of the house! The garage is my favorite….those dark garage doors, the black goose neck lights, the false dormers and even the gutters! We went with a larger gutter and round downspouts, it’s all of the little details that add up, you know?!?

IMG_8783.jpg
IMG_8785.jpg
IMG_8792.jpg
IMG_8802.jpg
IMG_8804.jpg
IMG_8819.jpg

They wanted an open concept lay out. The dining room, kitchen and living room are all open and have large windows to capture the beautiful view out the back. Of course I have a thing for the cabinet maker….he’s cute and he really builds some beautiful cabinets! When we design a kitchen, we work through EVERY detail. Where will the knives go? What about the mixer? Silverware? We strive to have it so dialed in that nothing is left out! That way the clients know exactly how their new kitchen will function best for THEM…..happy clients = happy life :)

IMG_8813.jpg
IMG_8832.jpg
IMG_8834.jpg

The living room opens to the back deck and is really made for entertaining! Matt built cabinetry to surround the fireplace, it makes it feel cozy and clean. He also mimicked the kitchen hood and installed tongue and groove paneling above the fireplace. The mantel is reclaimed oak and the fireplace surround is plaster, painted the same color as the paneling. Simple and classy!

IMG_8836.jpg
IMG_8841.jpg
IMG_8847.jpg

This house was designed and built as a vacation home. Each bedroom has it’s own bathroom, lucky guests! Each bathroom is a little different; different tile and vanity colors, but they still tie together! They are so fun and fresh, I just love how they turned out!

IMG_8851.jpg
IMG_8852.jpg
IMG_8866.jpg

There are so many fun details in this house! One of my favorites is that the drywall texture on the walls mimics plaster, I absolutely love it! The laundry room is super cute too! There is a powder room off of the laundry room, and they converted the garage into a game room. It’s really such a charming and sweet home and every detail was thought out!

Can I just say how blessed we are to work with such incredible people? Truly. We built this home for 2 couples, that tells you right there how great they are! That these four people can work together so well, build a home together, make selection choices together, and still be dear fiends that travel together!! They have become wonderful friends, and we are so excited to be working on another project for them! I will post pictures on that project soon!

In the mean time, thanks for following along!

xoxo-Darci

LEMONS || tree care and home made lemon curd

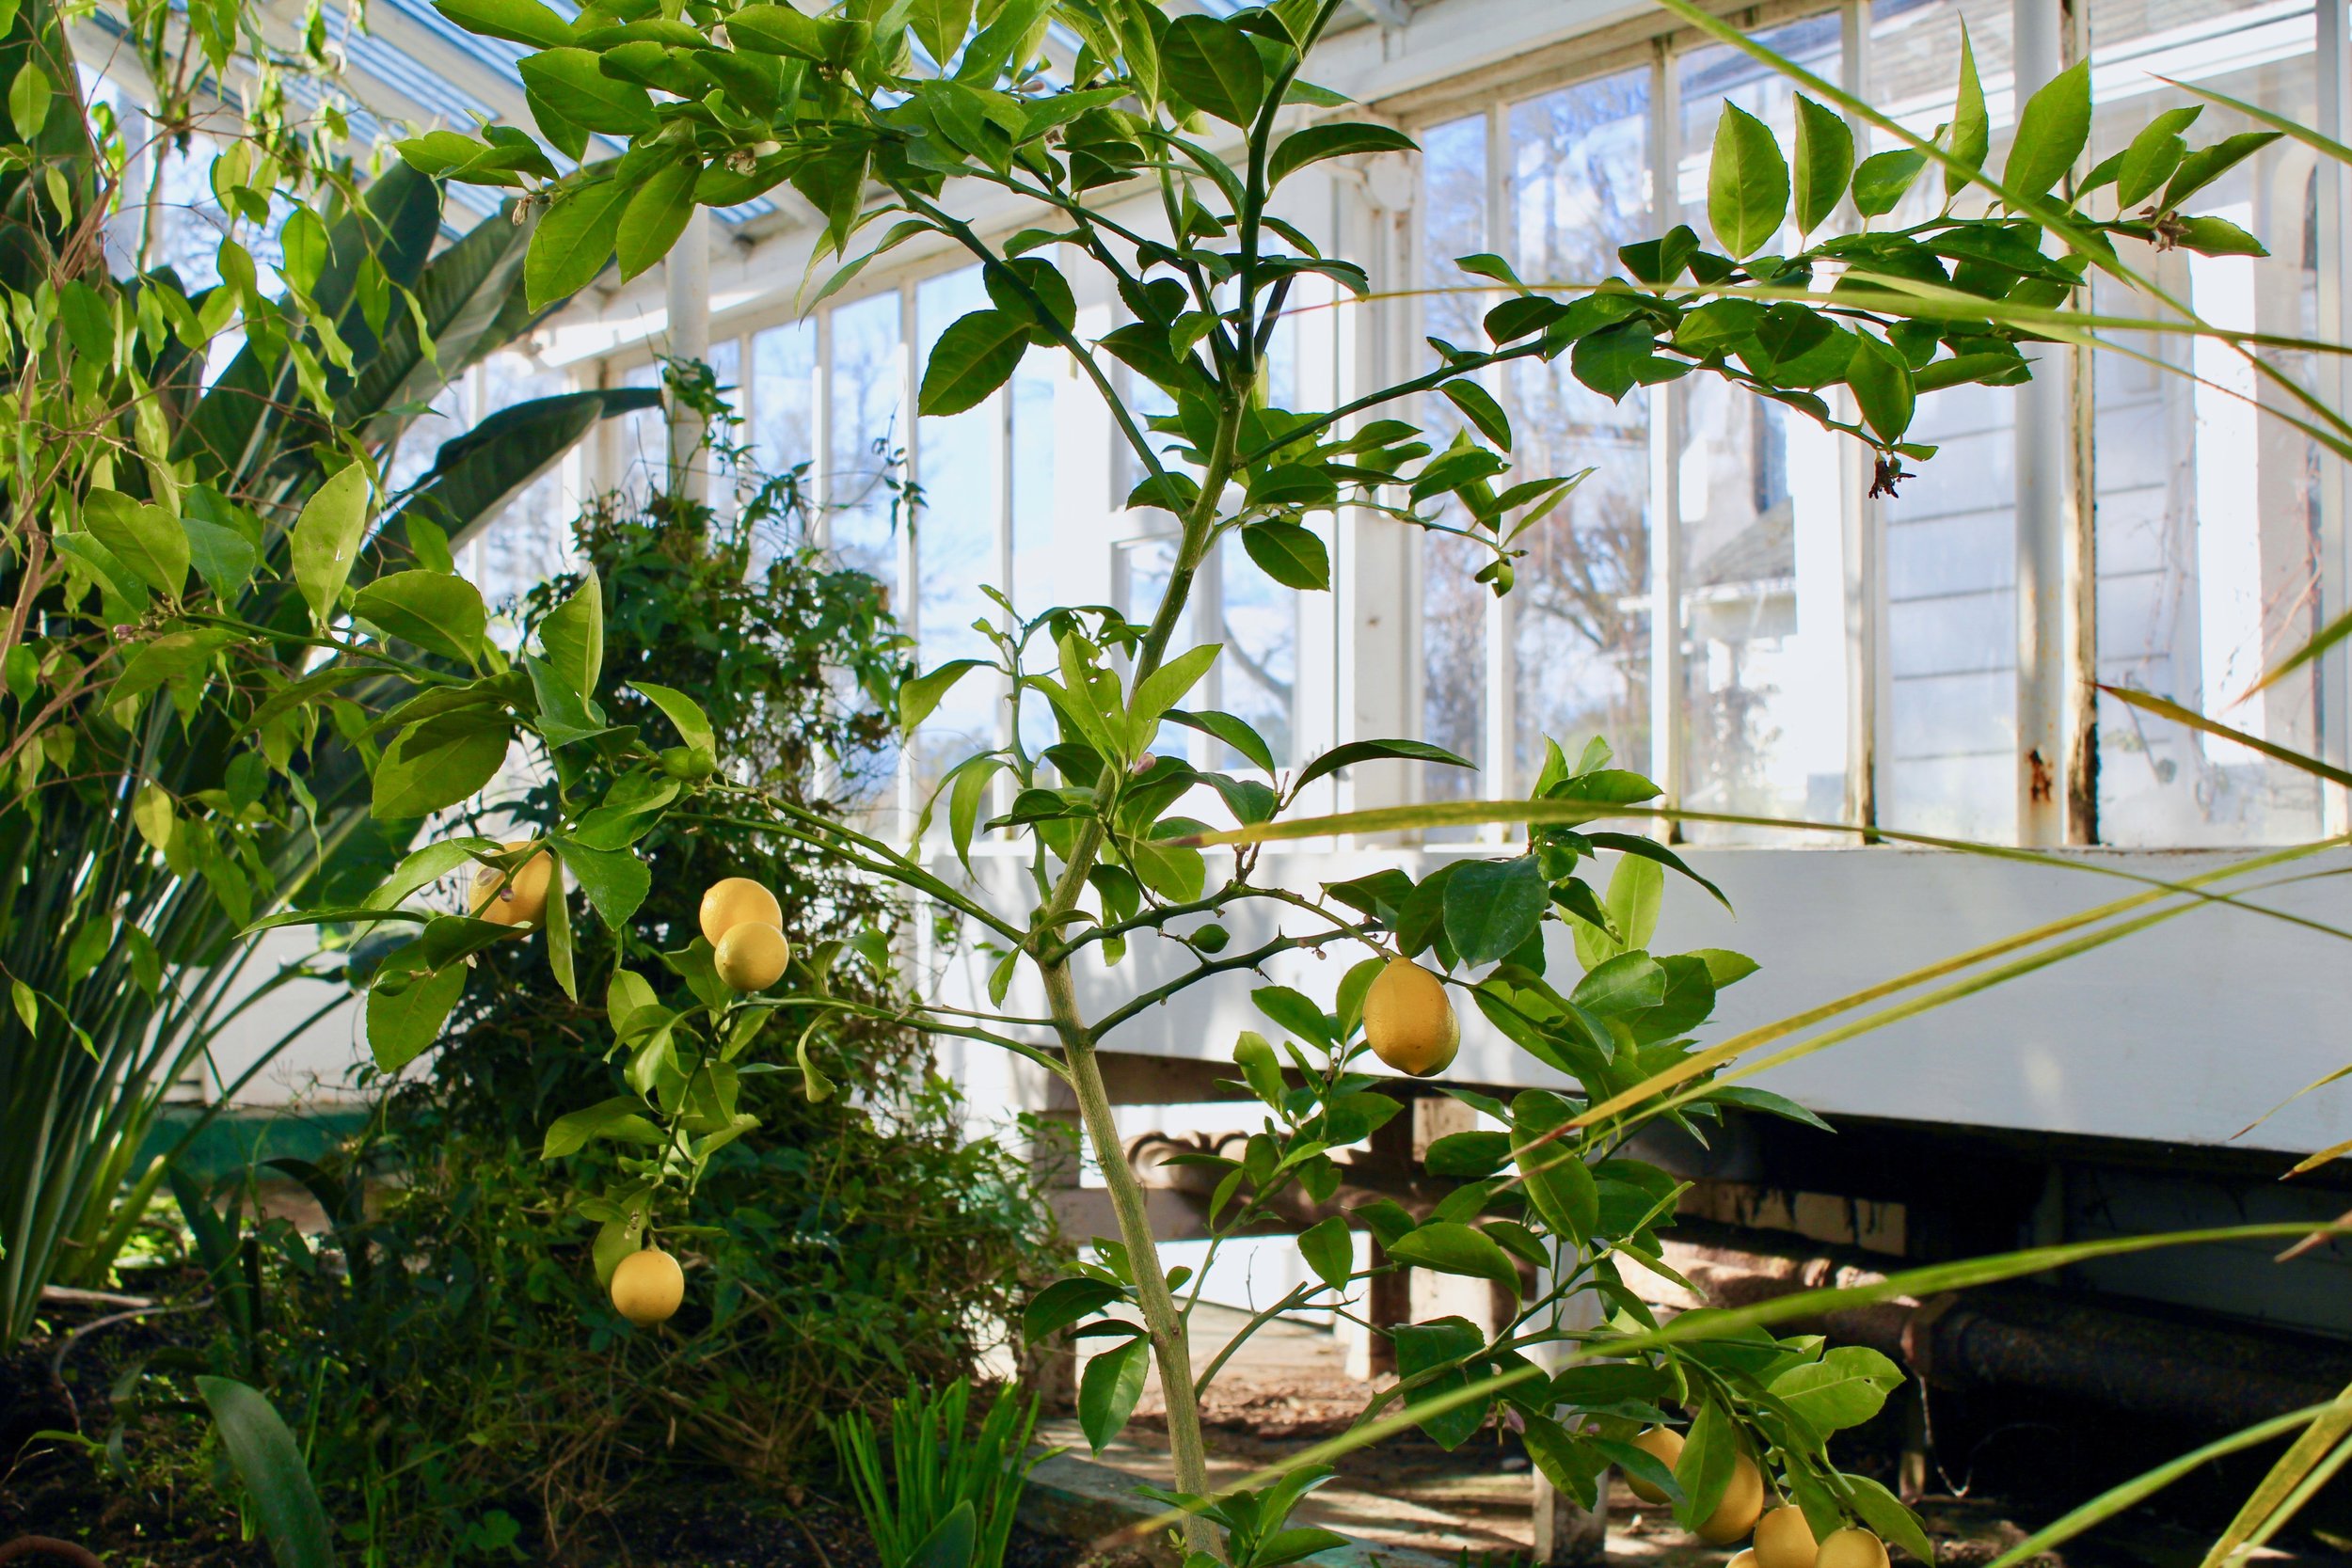
I’ve tried growing Meyer Lemon Trees in the past and killed them shortly after they came to live with me! When we moved to the farm, one of the things I was most excited about was the green houses. So, last Fall I bought another Meyer Lemon Tree and was determined to keep it alive! It’s been so happy living here, it really made me realize how important sunshine is for these delicious trees.

IMG_8743.jpg

Here is what I have learned ( mostly the hard way) about what Meyer Lemon Trees need to thrive.

  • These beautiful citrus trees need at least 6 hours of sunlight per day. If your’s is inside, just turn it every 3 weeks so that all of the leaves get sunshine.

  • They like just the right amount of water! The soil should be slightly dry in between waterings, but never completely dry.

  • They are happy with a little fertilizer boost. Citrus fertilizer does just the job…..space out your fertilizing about every 4-6 weeks.

  • These beauties also like warmer temperatures. They can withstand temperatures down to about 20 degrees, so if your area gets colder than that in the winter, you will want to bring them inside.

IMG_8740.jpg

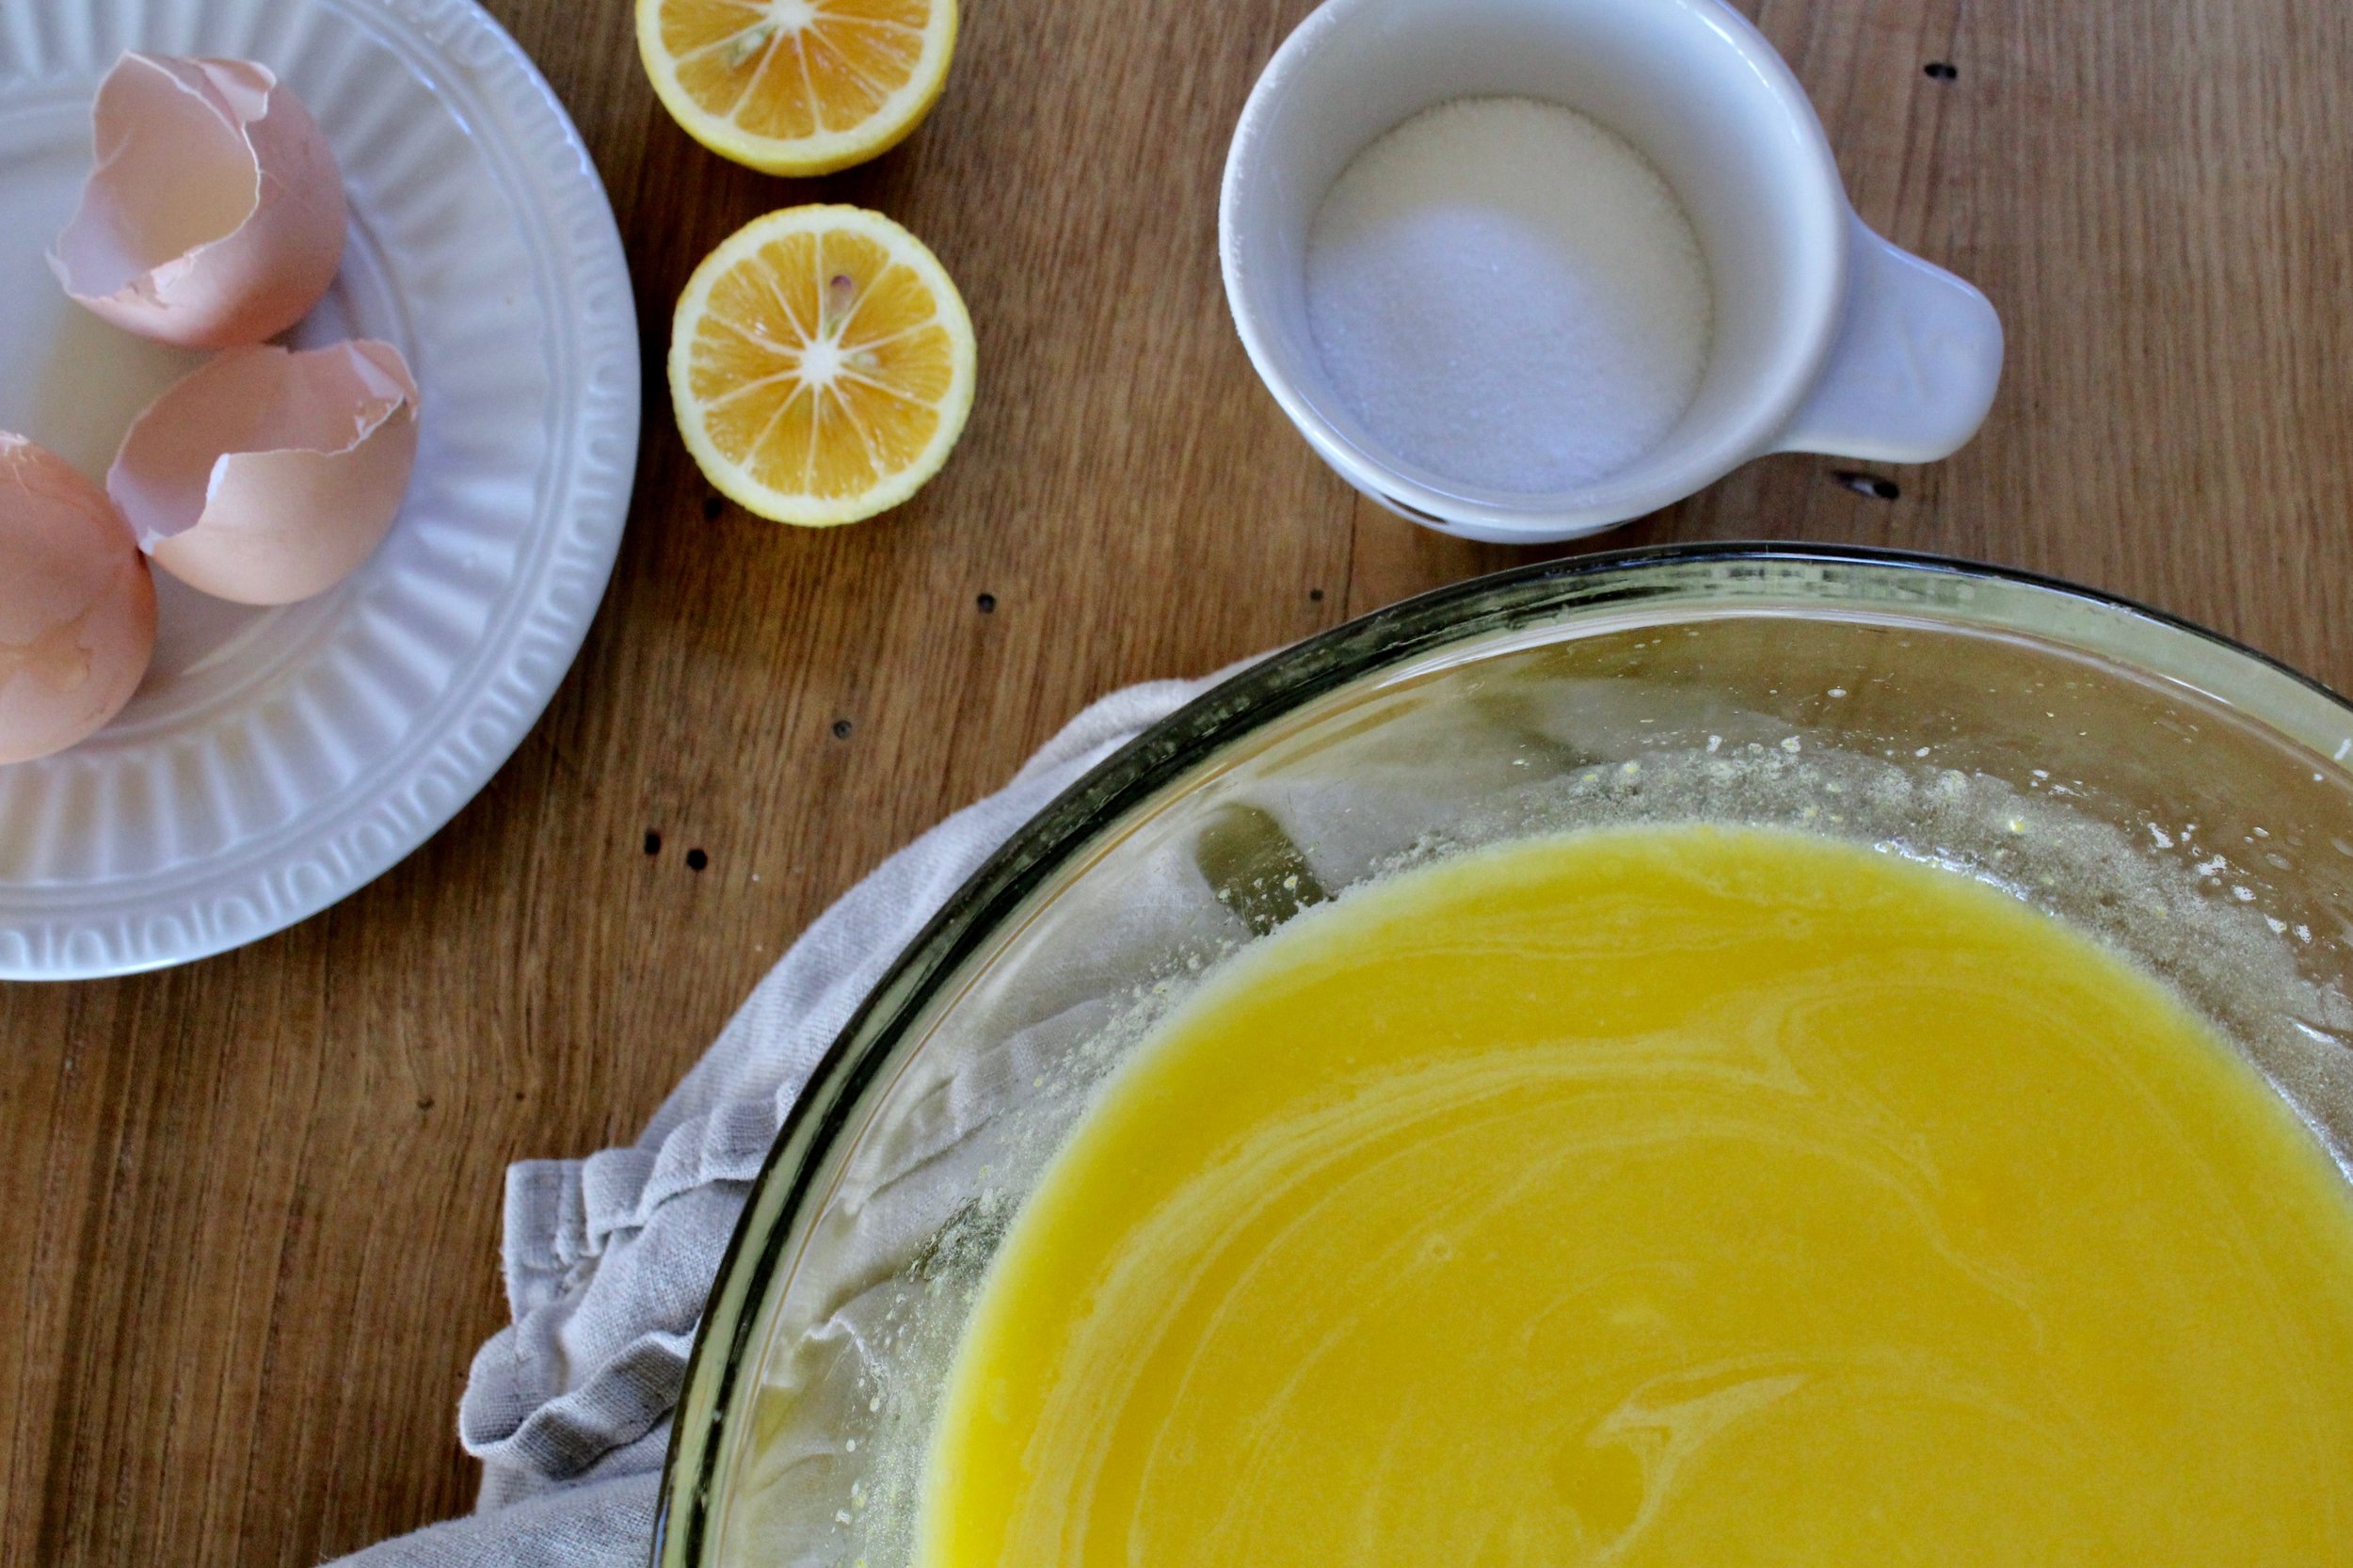
Our little lemon tree is so happy and I have been having fun making lemon treats with our fresh lemons! My latest obsession is Lemon Curd! Have you tried it?? It’s so good!!! I love spreading it on biscuits, toast, swirling it into plain yogurt and vanilla ice cream……the list goes on!!

IMG_8746.jpg

One of the easiest recipes I have found for Lemon Curd is this microwave recipe from momontimeout.com. It’s so easy, you will probably never be without it :)

Ingredients

  • 1/2 cup unsalted butter

  • 1 1/4 cups granulated sugar

  • 3 eggs

  • 1 egg yolk

  • 1 cup fresh lemon juice

  • lemon zest from 3 lemons

Instructions

  • Melt butter in microwave, set aside to cool slightly.

  • Whisk together sugar and eggs in a medium-sized microwave-safe bowl.

  • Whisk in lemon juice and zest.

  • Finally whisk in the butter.

  • Microwave on 50% power for one minute. Stir.

  • Continue microwaving at 100% power in one minute intervals, stirring after each interval until the mixture is thick enough to coat the back of a spoon. (The curd will thicken as it cools.)

  • Strain curd through a fine-mesh sieve to remove zest.

  • Pour curd into sterile jars and store for up to three weeks in the refrigerator.

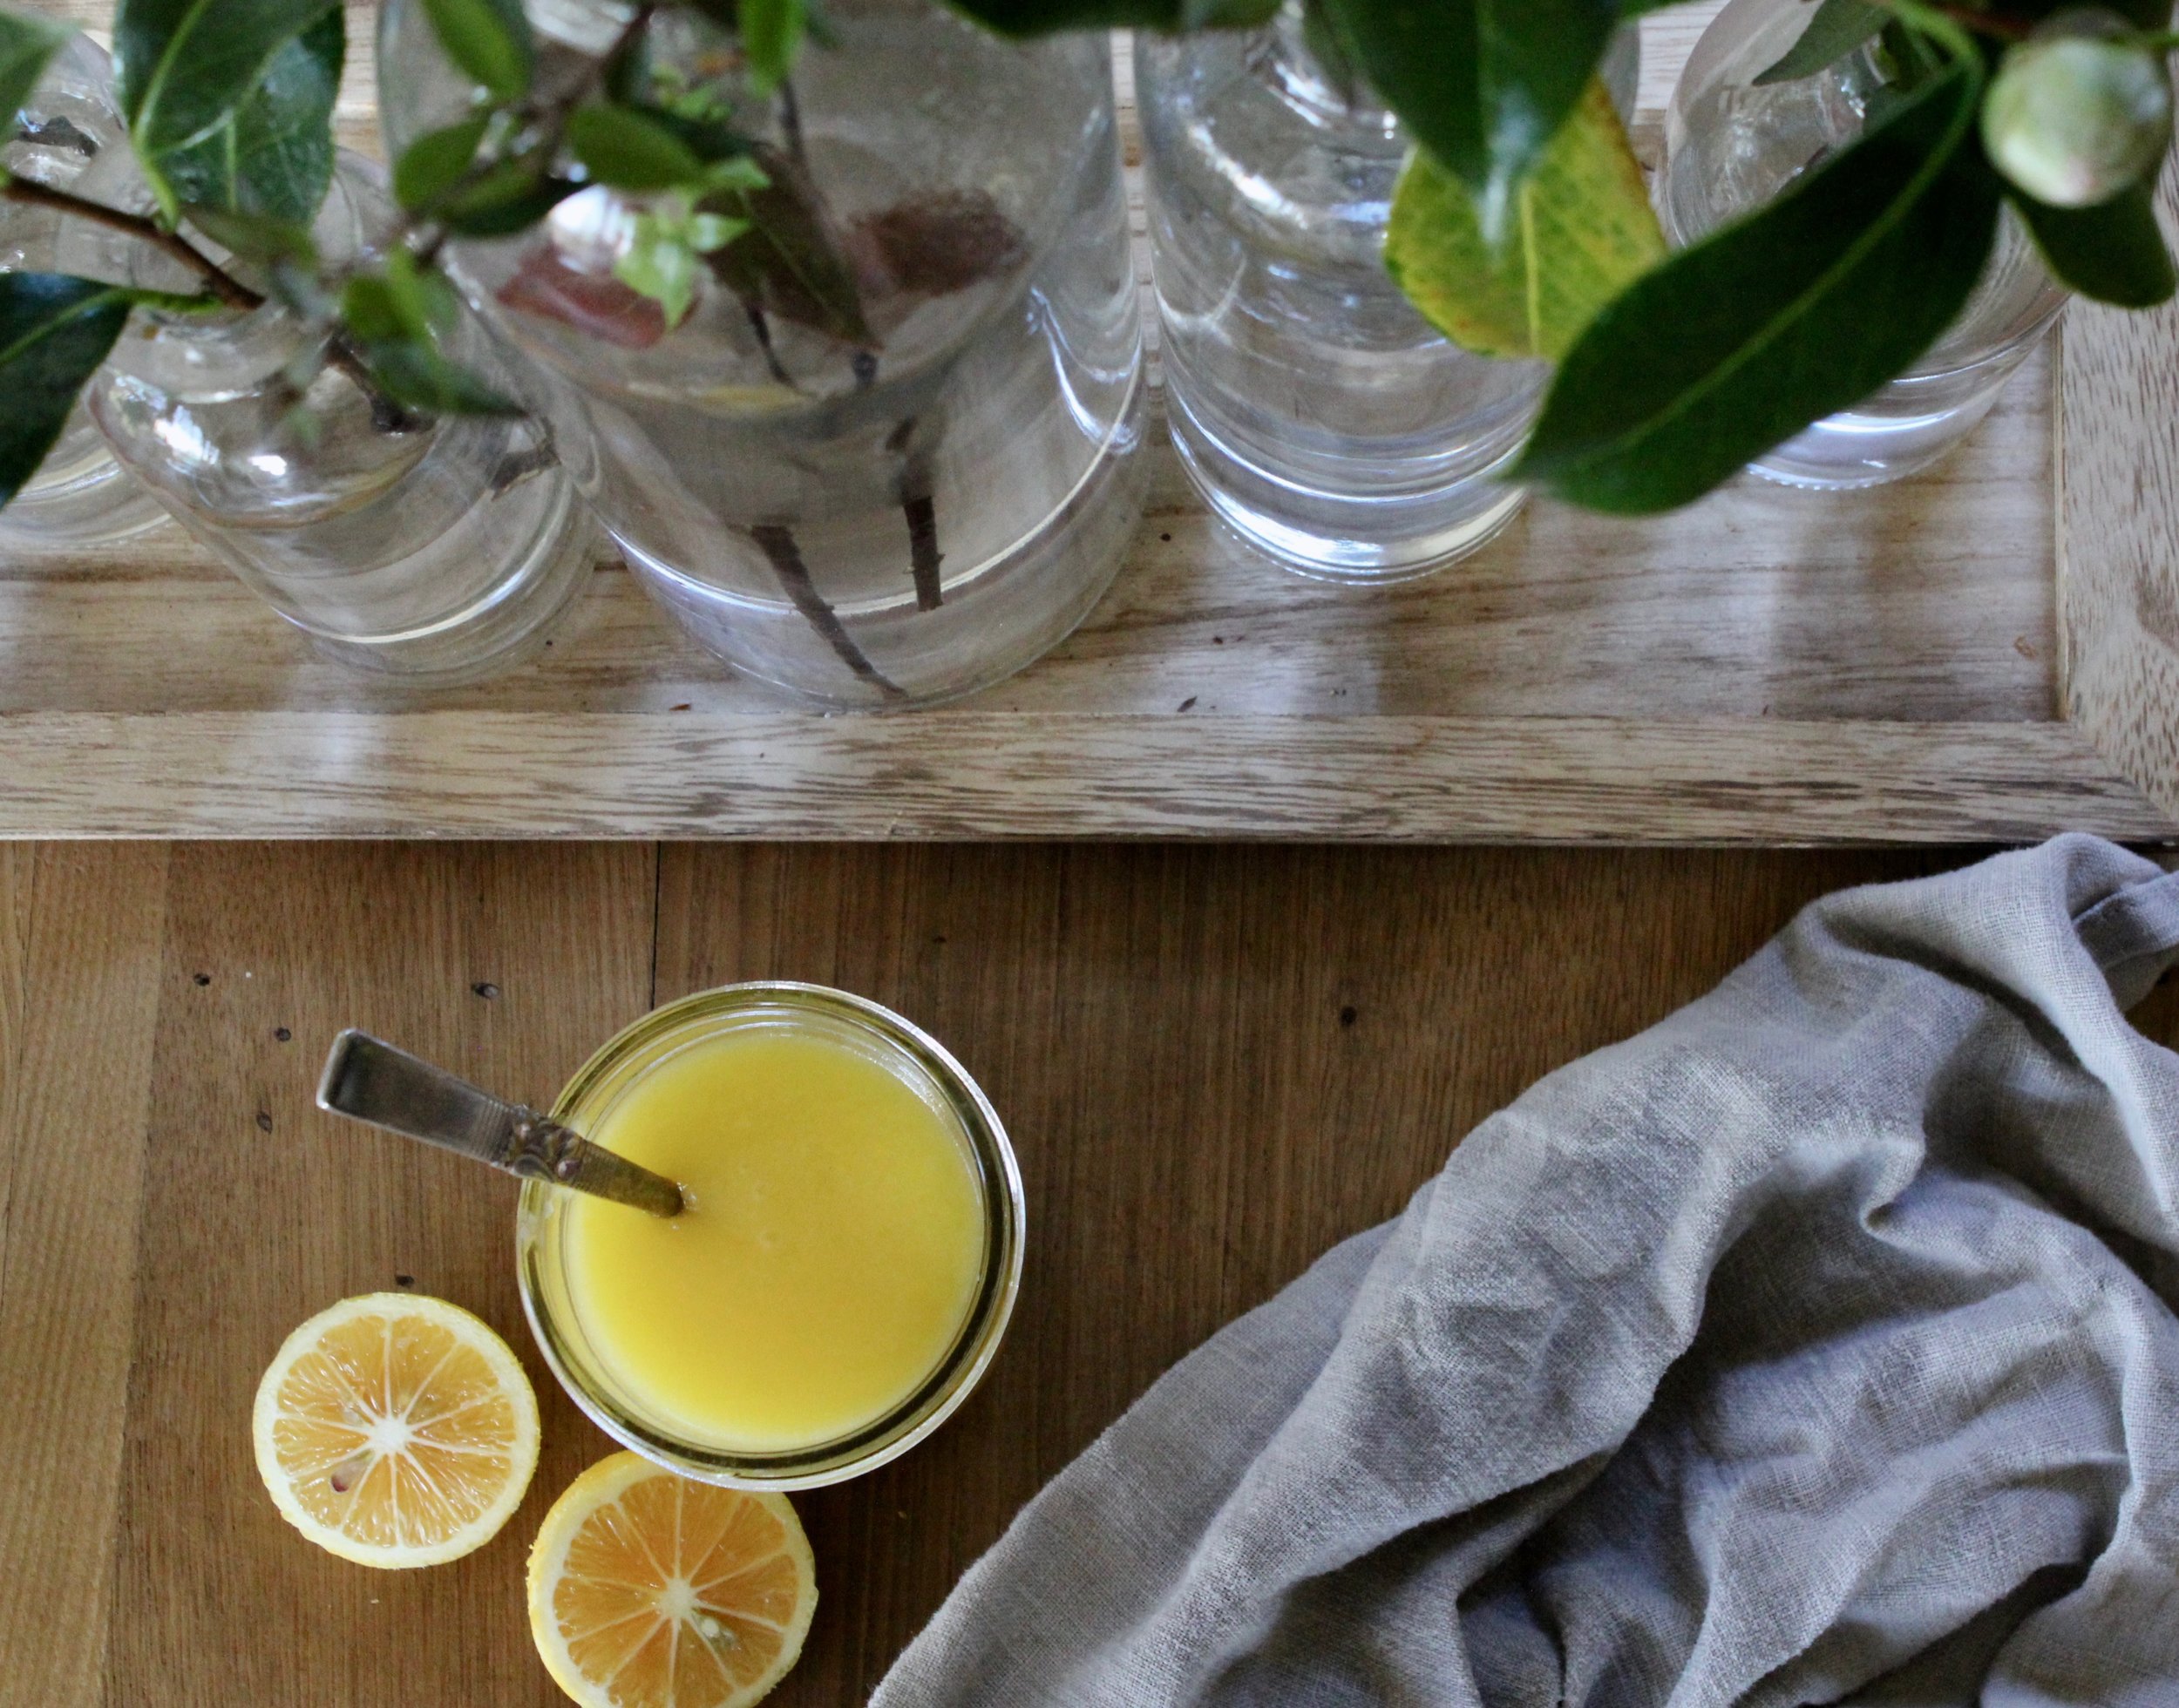
IMG_8768.jpg

I pour my lemon curd into little mason jars. They store perfectly in the refrigerator, look darling, and are also always ready to give to a friend. Let me know if you make this lemon curd! I would love to hear what you think!!

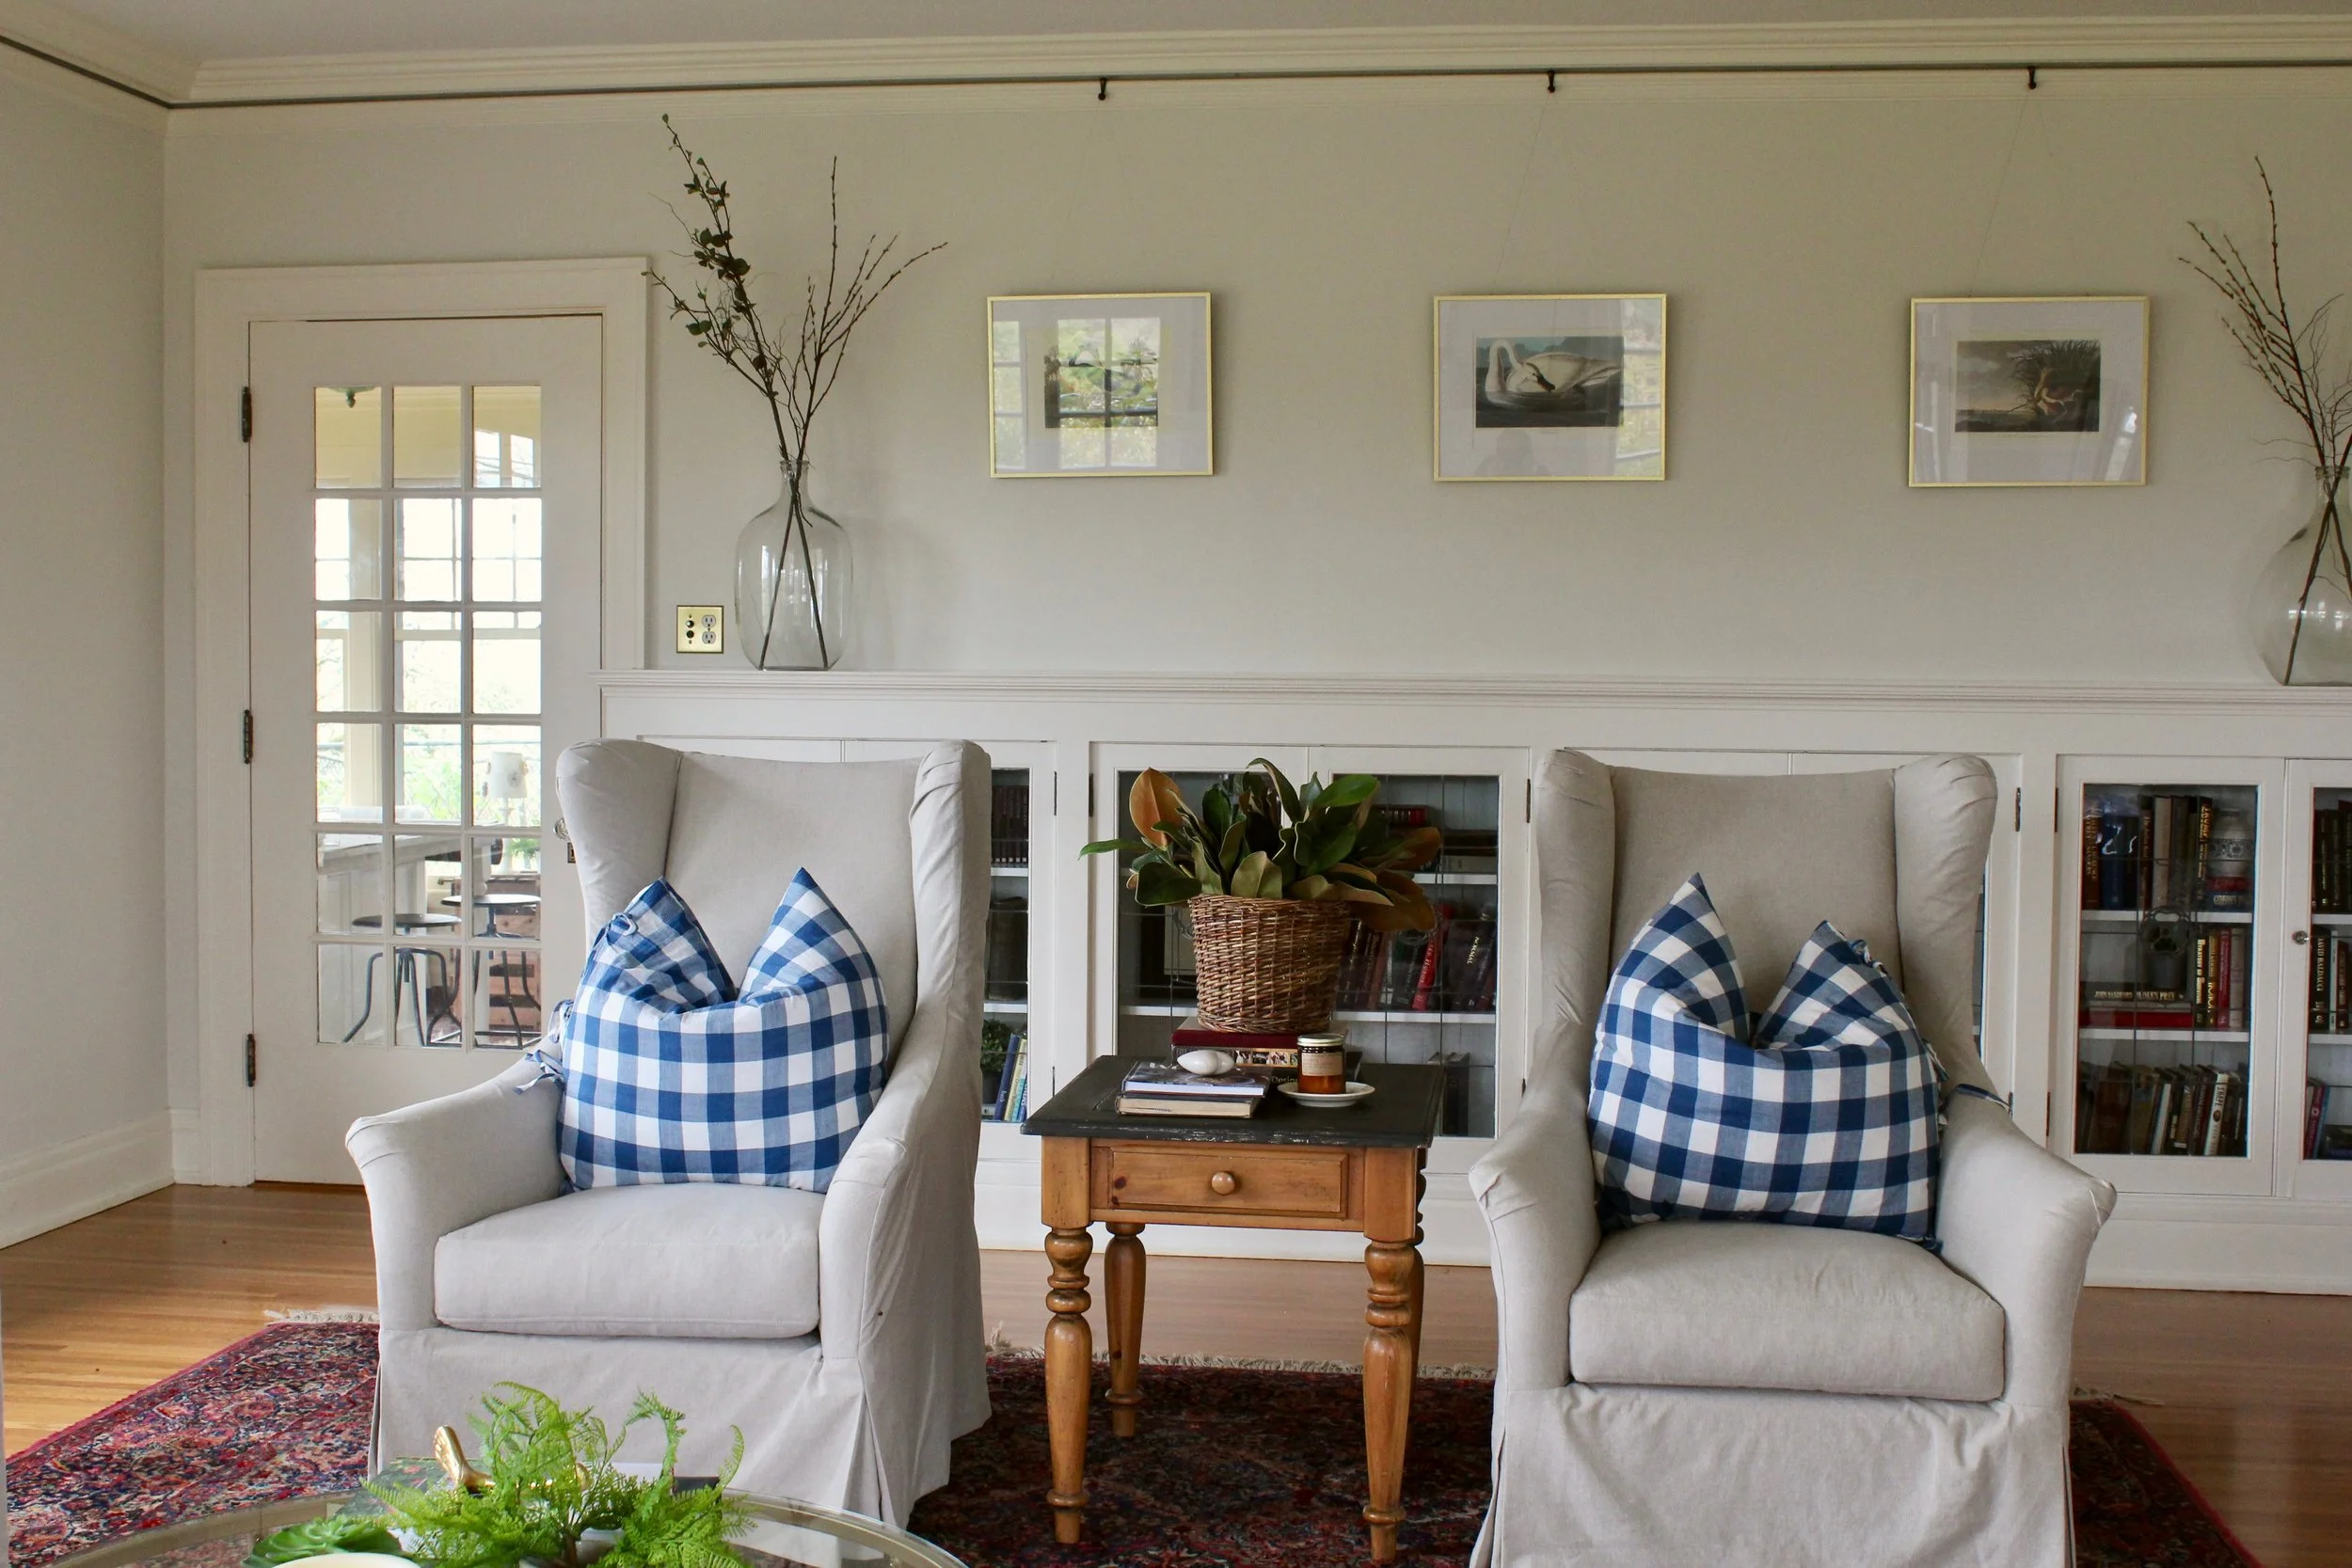
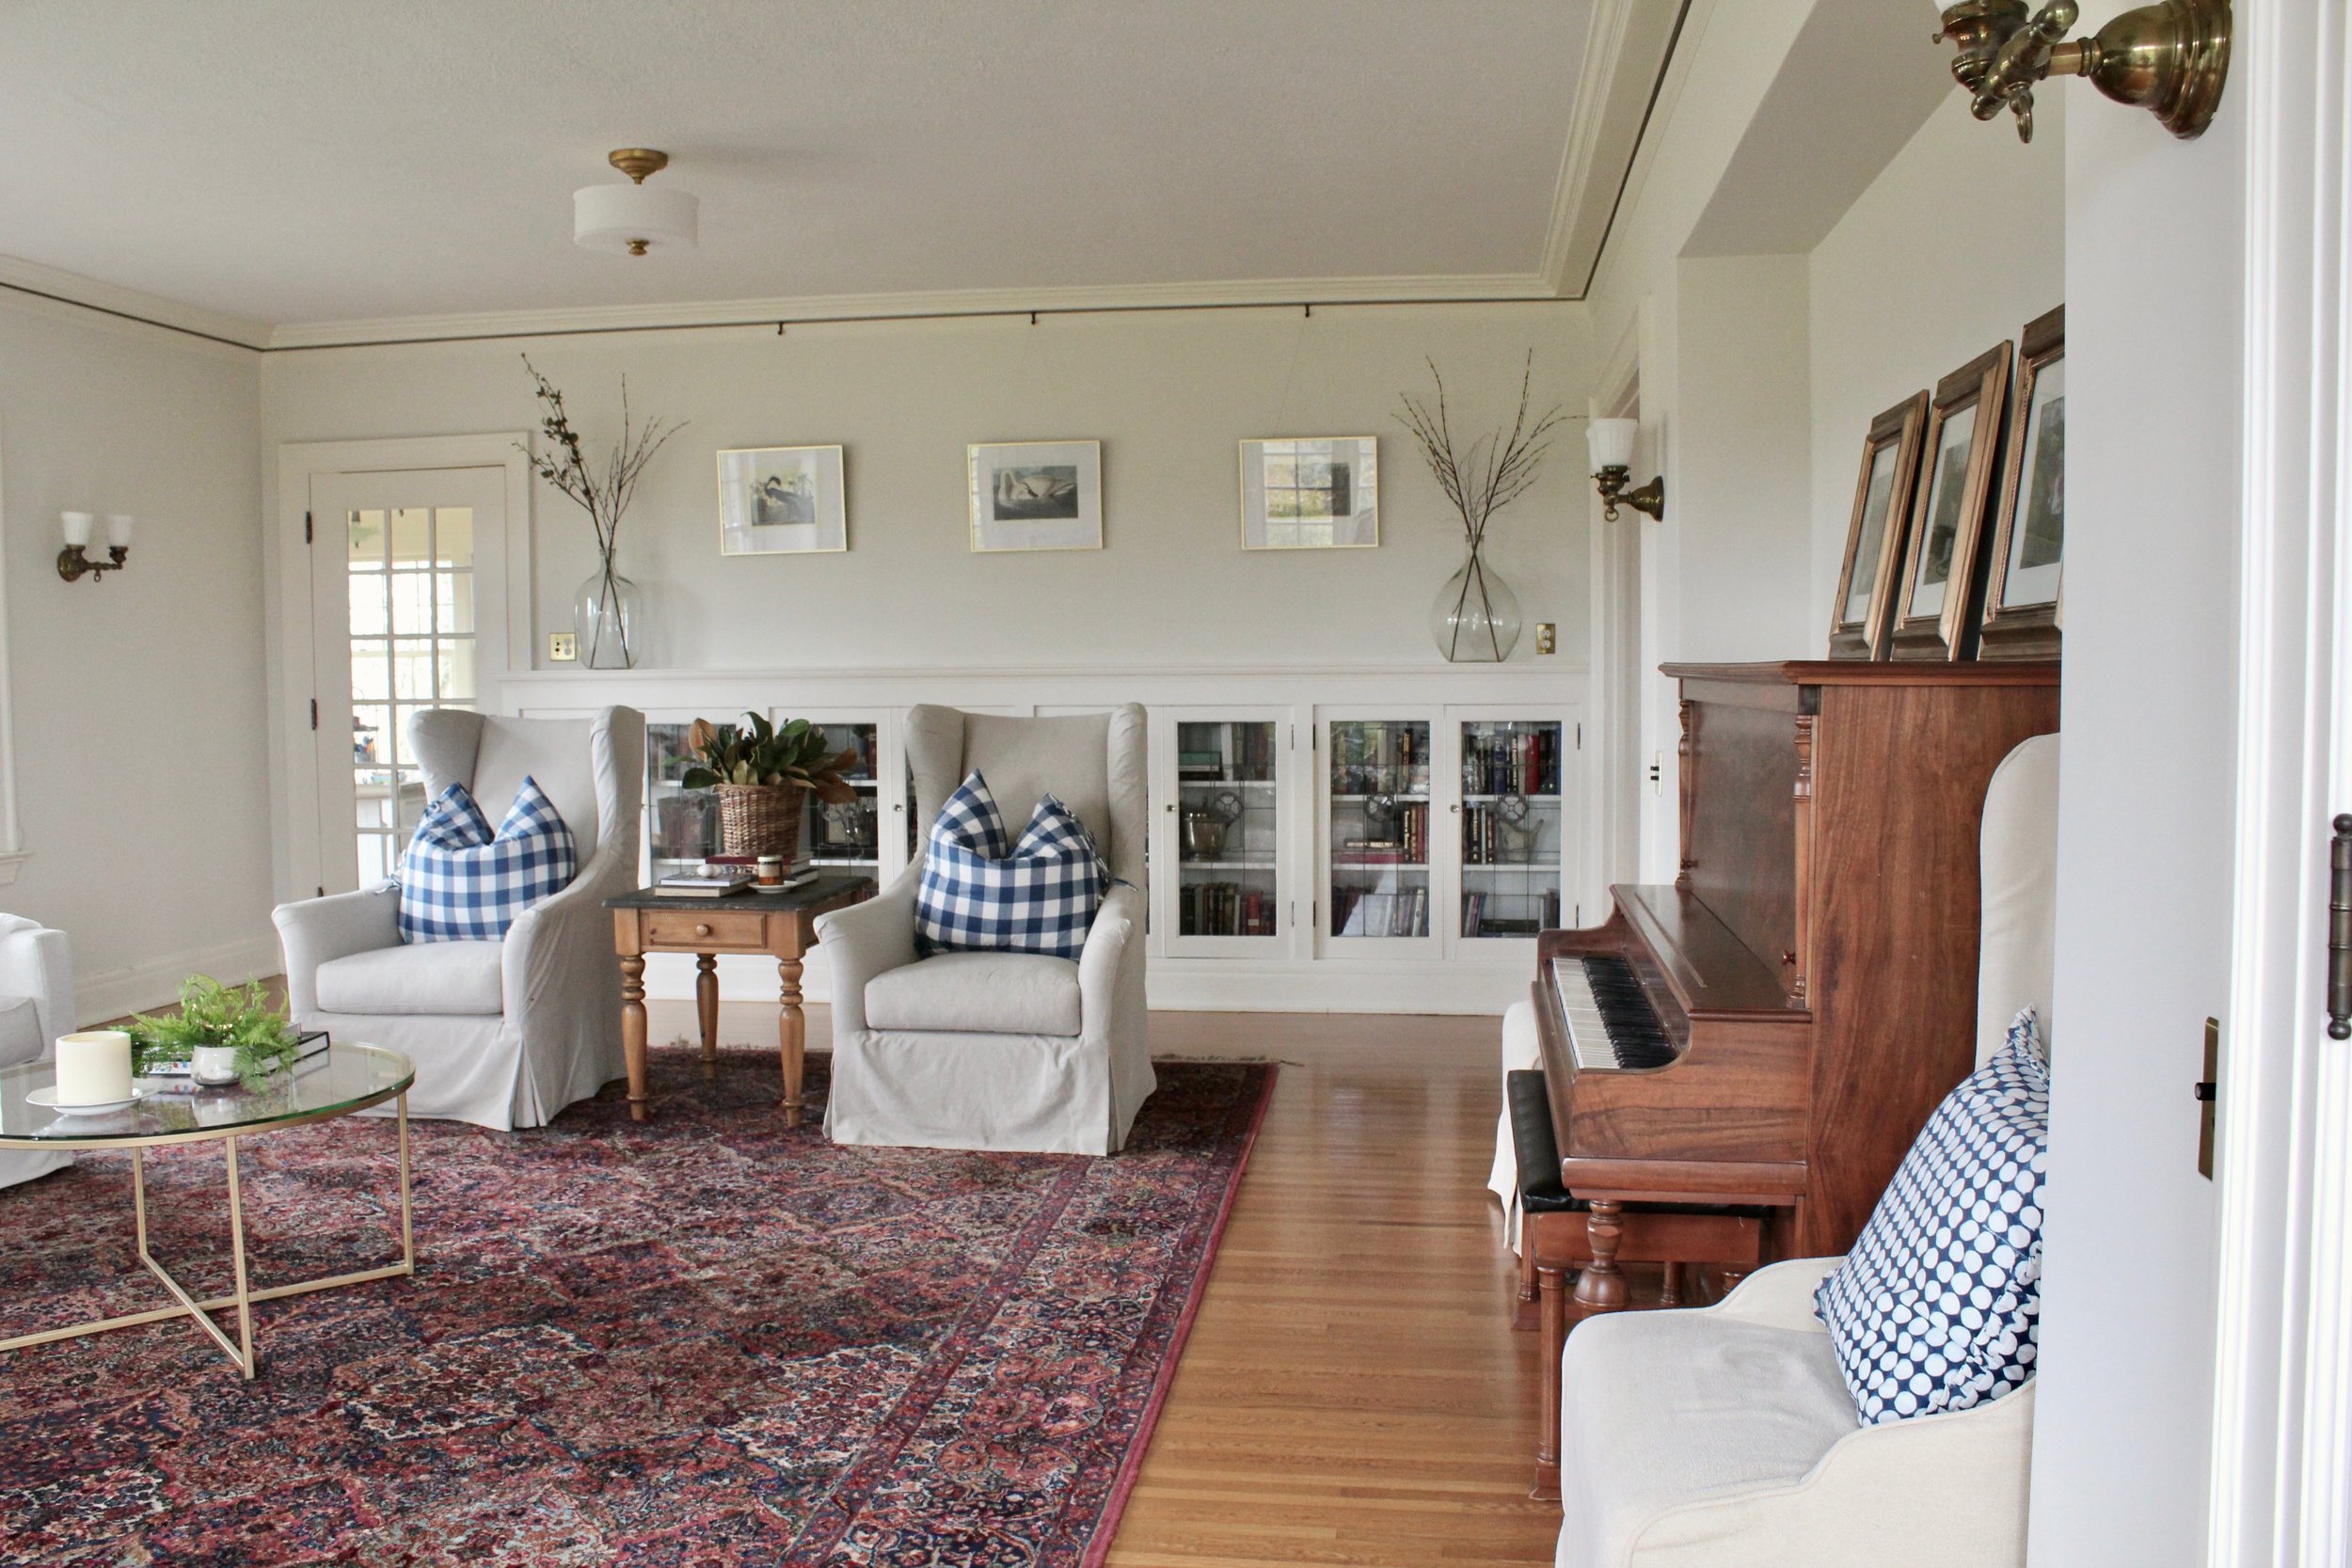
LIVING ROOM || our new living room

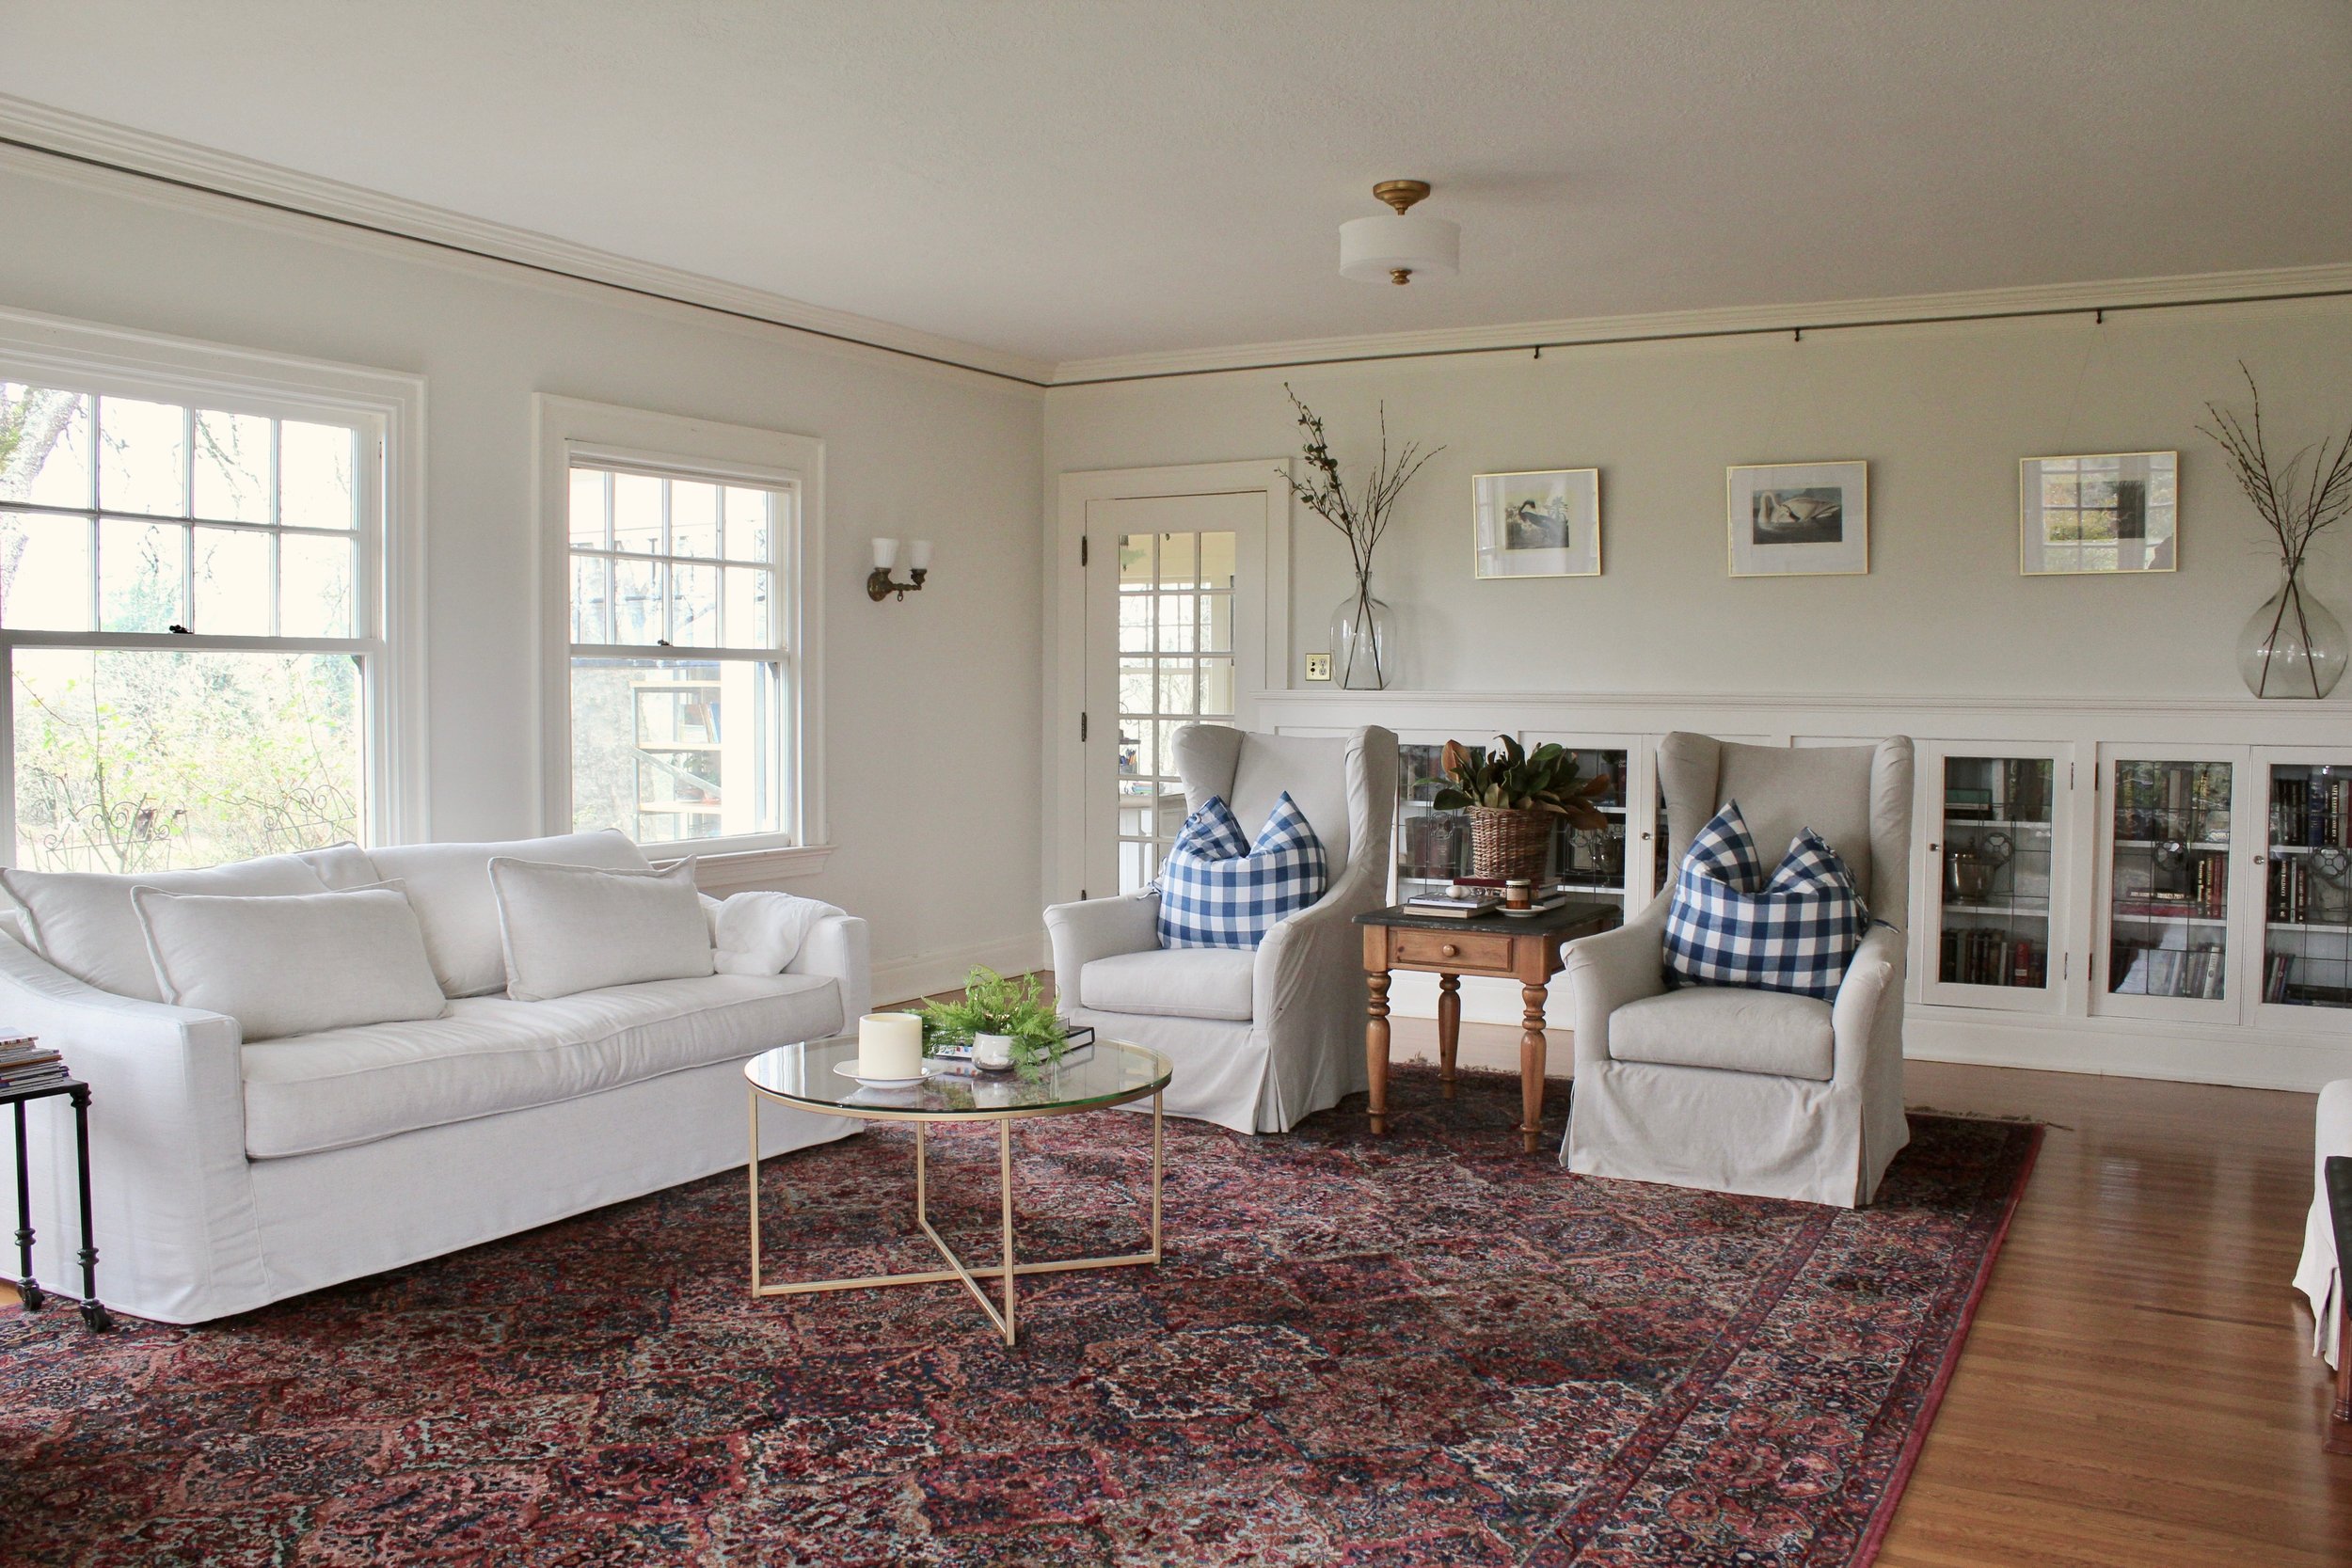
One of my favorite rooms in our new home is the formal living room. It’s huge! Not to mention it has ginormous windows with amazing natural light, and all of the charm you would expect in a 100 year old home!

livroom

The previous owners left this amazing and beautiful vintage rug! I get so many people asking where I got it! It really is a beauty, and we didn’t even have to move it in!!

livrm2
livrm3

The only things we did in this room, was paint the walls and ceilings, paint the mantle, and replace the ceiling light fixtures. The ceiling light fixtures were not original, and I wanted something somewhat stately, but not too fancy. I found these simple, classy, brass semi-flush light fixtures at Globe Lighting and I love that they just blend in!

livrm4

I painted the ceilings “Snowdrift” from Rodda, and the walls are a Sherwin Williams color, “Soft Chamois”. The walls were originally green and the ceiling was pink. Painting the walls and ceiling completely lighted this space!

livrm5
livrm6
livrm6

My beloved Moss Studio furniture from the shop moved right in! I am obsessed with how comfortable and well made the furniture is! I will admit, the dog is not allowed in this room :) He manages to drool everywhere and mama puts her foot down with drool and linen slipcovers :)

livrm7

Below is the room before we painted it. It’s such a beautiful room, I honestly don’t know that it could look bad!! I mean, look at the picture railing and base molding!! B E F O R E v v

WLlivrm.jpg

Thank you so much for following along as we make this little farm ours, one project at a time!