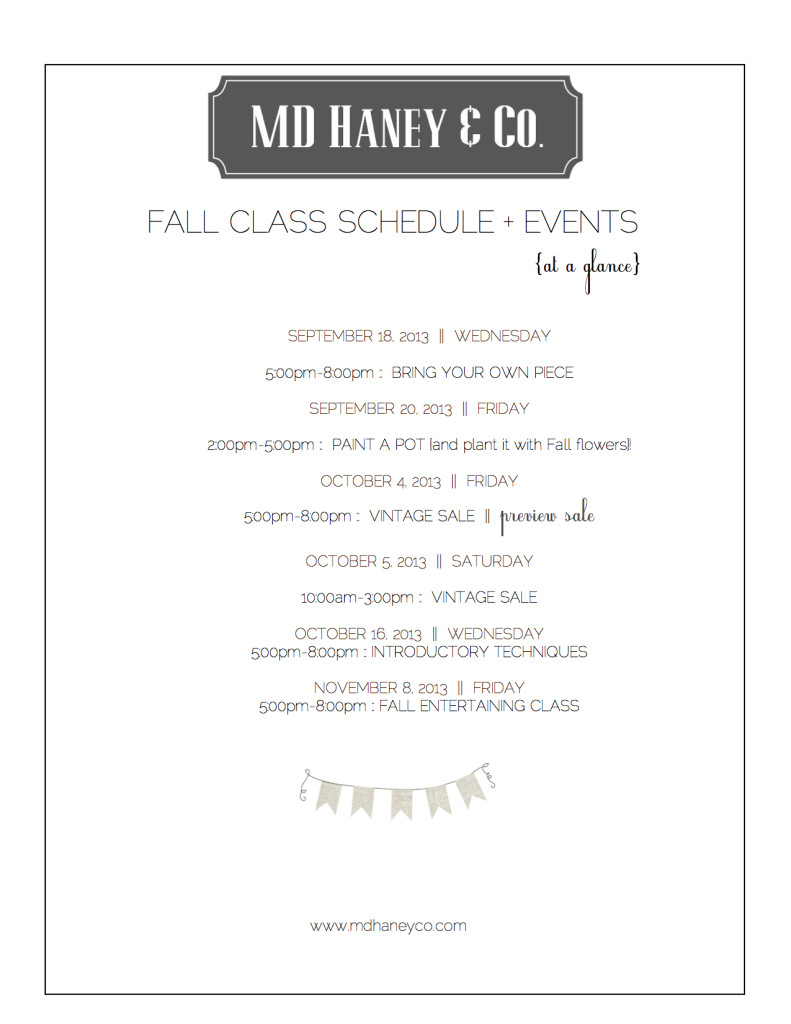
FALL EVENTS & CLASSES :: at a glance

IMG_3117.jpg

Hello and happy Saturday!

I am just popping in to let you know that I updated the FALL SCHEDULE.  I will be sure to showcase each event as the time gets closer.  I am really excited for the Vintage Sale October 4th and 5th.  I am teaming up with some super talented ladies and we are going to have ourselves a fun, Fall inspired Vintage Sale.  And of course I LOVE hosting the entertaining classes, it's going to be a fun Fall for sure!  More details to come!!

Have a lovely weekend!

Fall event schedule


OUR HOME :: my home office

Good morning!

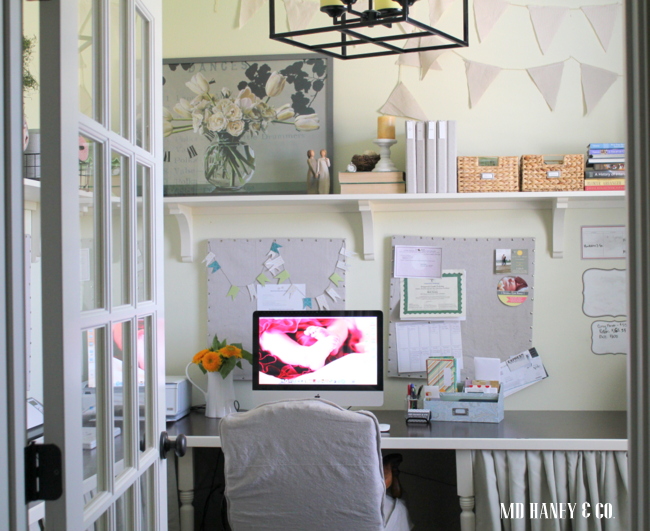
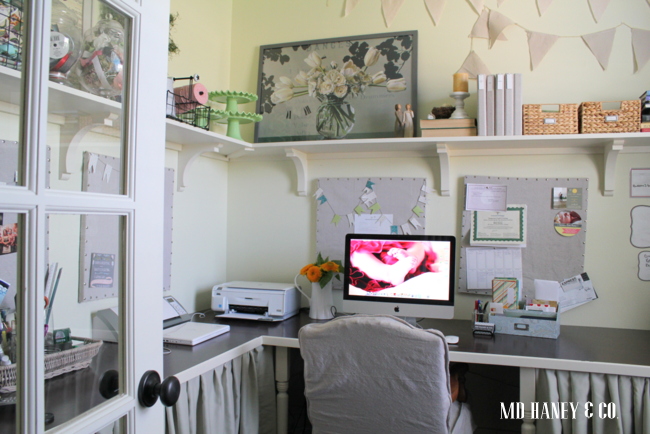
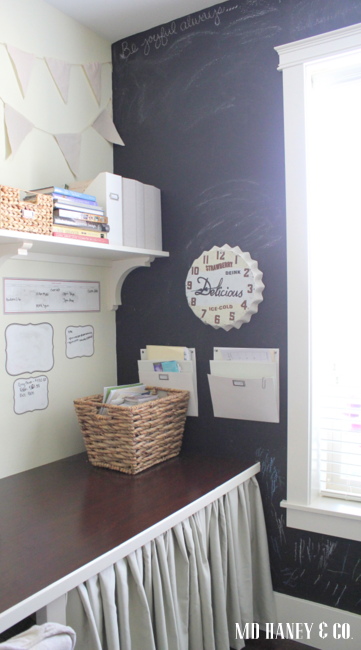
Well, as I mentioned last week, I am trying to be better about snapping photos of our home and projects I am working on.  Today I thought I would show you a few photos of my little home office.  It's a hard working little room with a lot of bright light.... and a squeaky old wood floor....and I love it!

office view

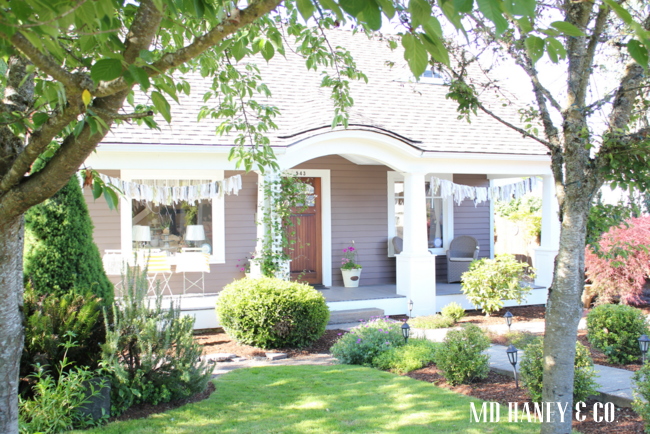
Our home office is just at the front of the house, only a few steps from the front door.

office door

When we remodeled our home, we thought having the home office near the front door would be great in case we ever met clients there.  We never meet clients here, but I still love where it's located ;-)

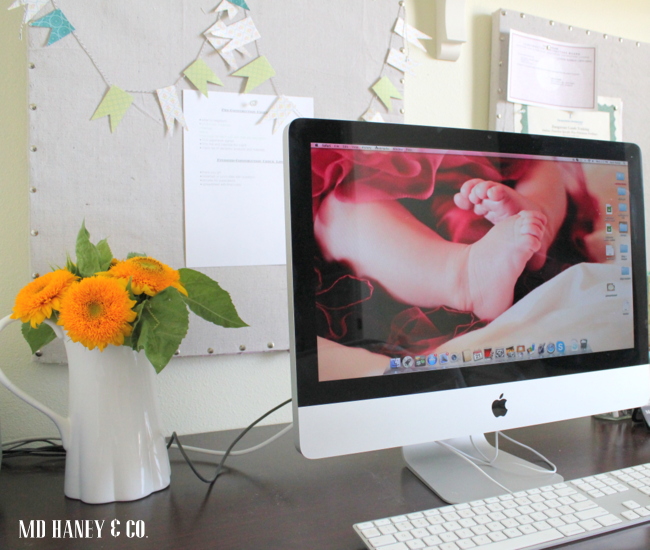
computer

This is usually where I spend  at least 2 hours every afternoon while the girlies are napping.

IMG_3138

We get fabulous lighting in this room.  A major bonus when you are attempting to get work done!  I found some great organizing pieces at Staples, Martha Stewart has a fun line of office products.  I just noticed Staples has 40% off of Miss Martha's line of products, but this week only!  I might have to make a late night run because I can never be too organized!!

calendar

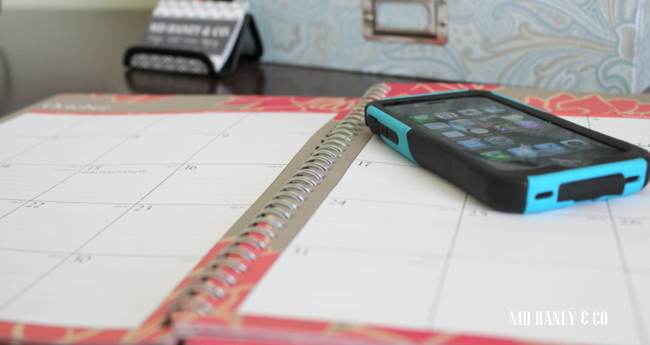
Speaking of organization, I am old school and still like to write things in my calendar.  I am sure some day I will know how to enter dates into my phone....

IMG_3140

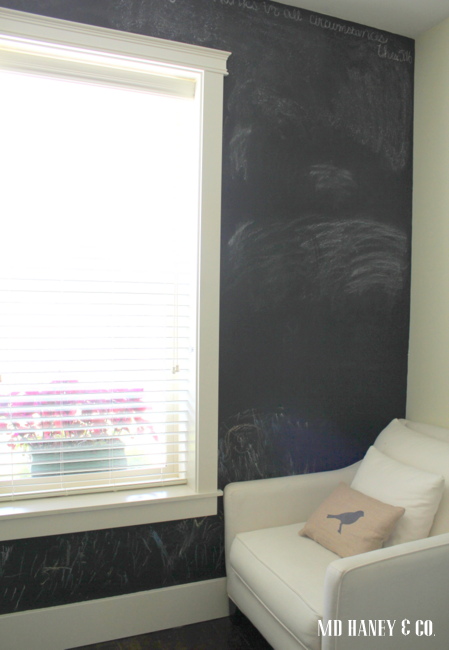
One wall of the office is painted in Chalkboard paint.  It provides a lot of entertainment for little hands!

cozy chair

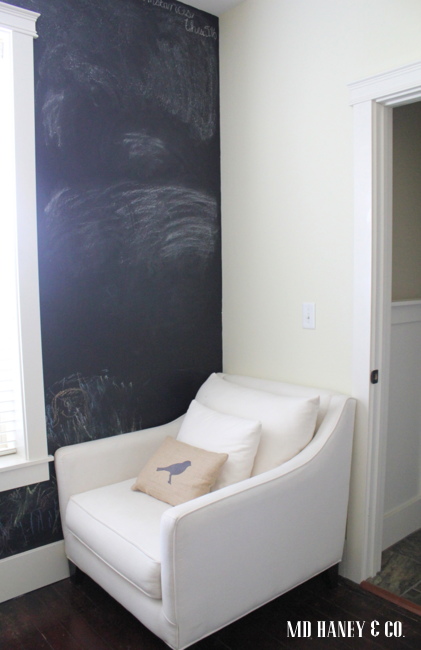
I also have a cozy reading chair.  It was never intended for the office, but when we moved back into this home, we didn't have any other place for it!

sewing machine

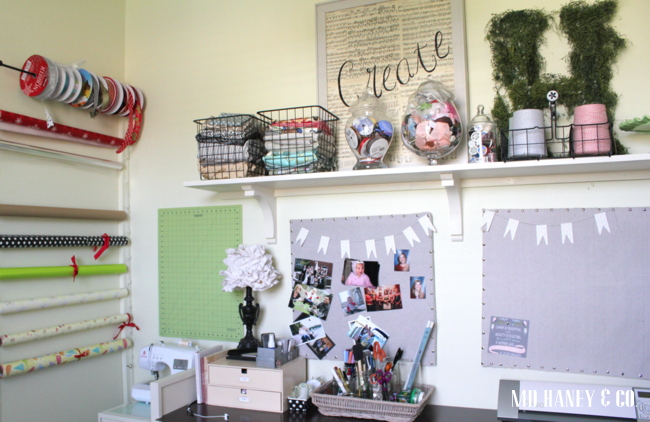
Matt built me some fun shelves that flank two of the four walls.  They provide a lot of extra storage without making the tiny room feel even smaller.

IMG_3136

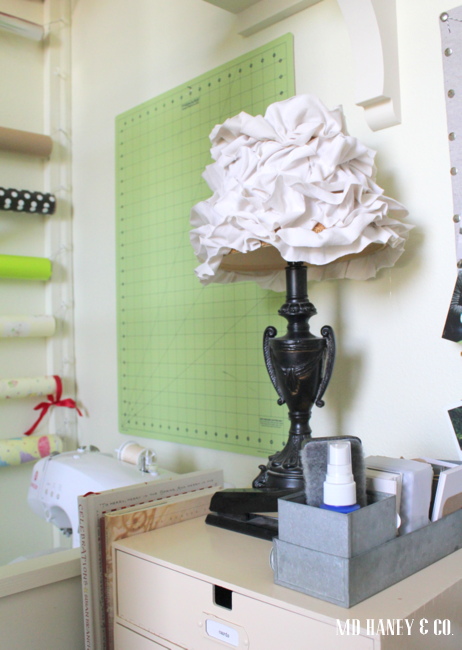
I have random cubbies and trays for all types of little trinkets!

IMG_3135

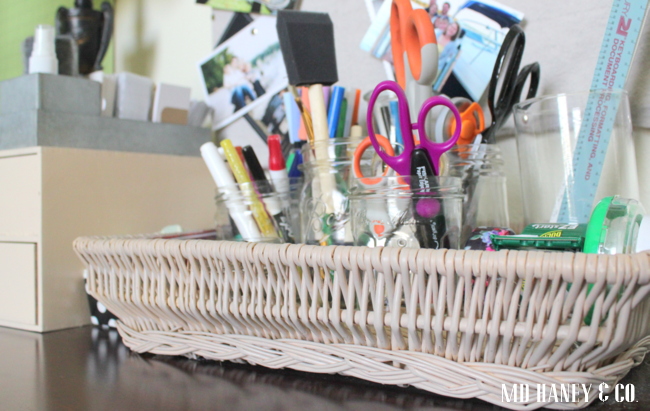
And a basket filled with little 'tools'.

wrapping station

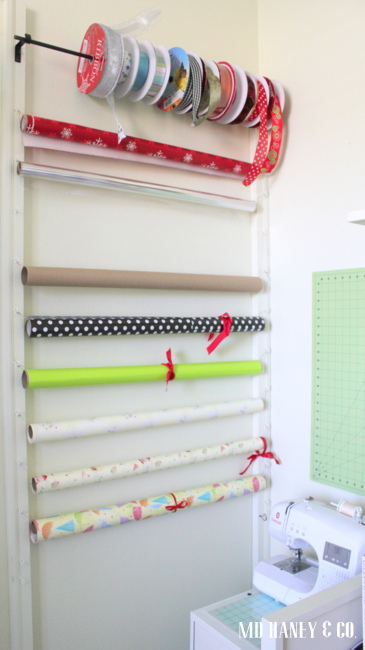
I threw this little 'wrapping station' together one morning when I was wrapping birthday gifts for Matt.  It's a bit rinky-dink, but it keeps my wrapping paper from getting wrinkled!

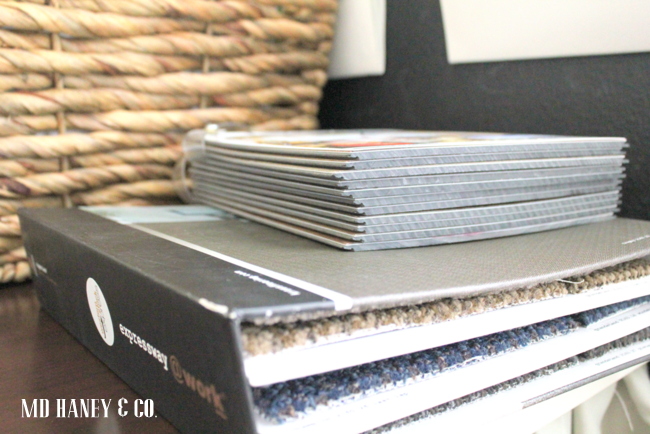
flooring samples

I usually have piles of flooring/wall covering/fabric samples all over.  I typically just have 1-2 design jobs going at a time, but I sure seem to clutter up my limited counter space in no time!

Speaking of clutter, I better get to work!  Thanks for taking a look-sie at my little home office.

xoxo~Darci

A WALK IN THE PARK :: a few photos

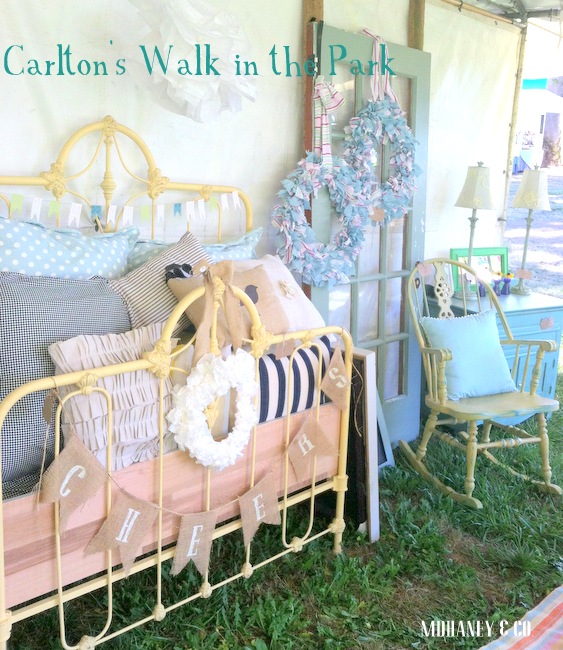
This was my first year participating as a vendor in Carlton's a Walk in the Park.  I have volunteered and attended in the past, but never participated.  It was a blast!  There is no way I could have done it, or enjoyed it so much, if it wasn't for my dear husband.  He is most definitely a keeper!!

booth1

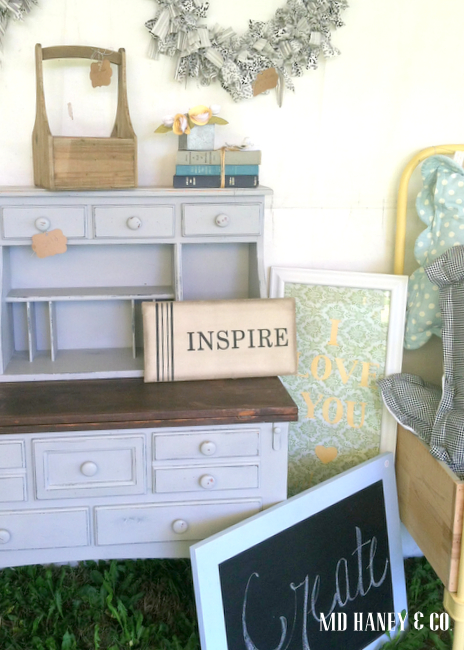
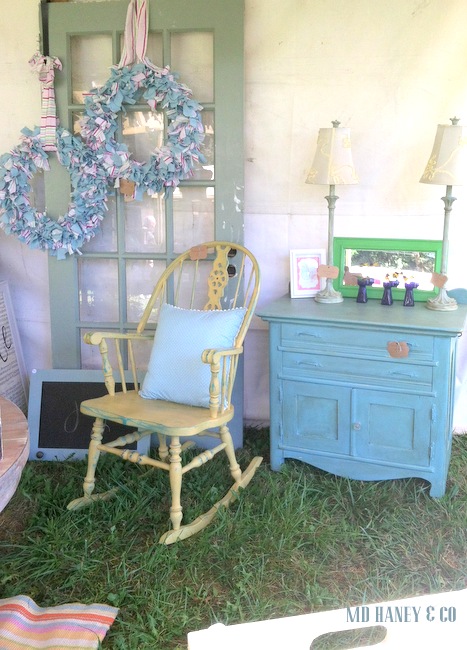
Of course I forgot to snap any photos after I set up, or after the first day.  I snapped a few photos on Sunday {the second day of the event} but I had already sold half of my pieces so the tent was looking a bit sparse!

booth2

It was such a fun time and I have to say it exceeded my expectations.

booth3

What a blessing to live in such a great community!!

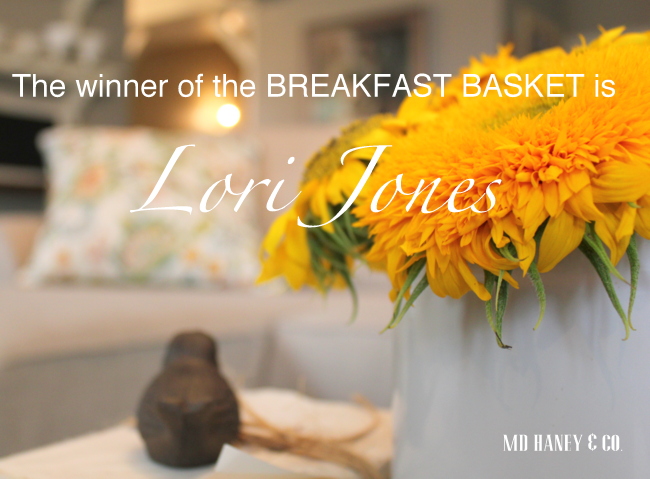
And, on a second note....we randomly picked the winner of the Breakfast Basket!  I am not very technical, I wrote all of the names {there were 78.....thank you!!!} on old business cards and Addilyn drew them out of a basket!

IMG_3117

I will contact you Miss Lori Jones!

Have a lovely day!!  The girls and I are off to go re-organize the design studio....it looks like a tornado blew through there!!

~Darci


OUR HOME :: living room + kitchen

Hello and happy Tuesday!

I hope you had a great weekend!  Last week Matt and I had a fun interview.  The interviewer asked if I had photos of our home on the blog.....oops.....I realized I don't have many photos of our home!  Soooo, I thought I would post a few over the next couple of weeks.  It's a great incentive for me to tidy up and finish a few projects!

We renovated our home almost 9 years ago. but I will share those photos and details on another post.

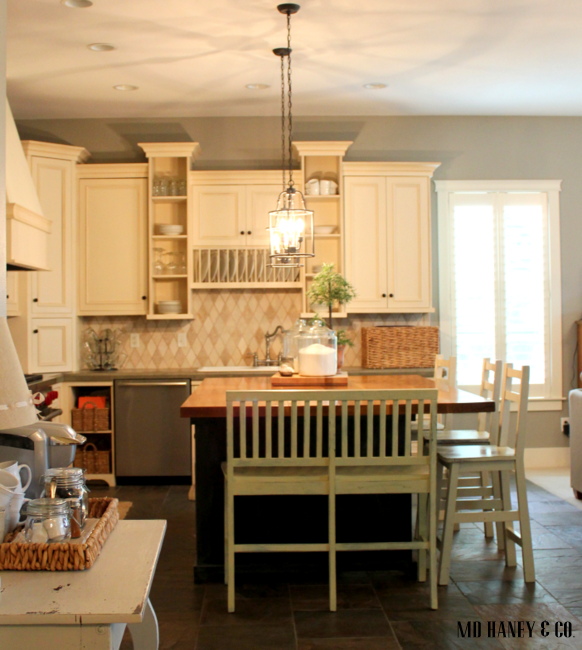
Today, I thought I would share our living room and kitchen.
IMG_3086

We have a long hallway/entryway.  When you 'round the corner', the space opens up to our living room and kitchen.
IMG_3101

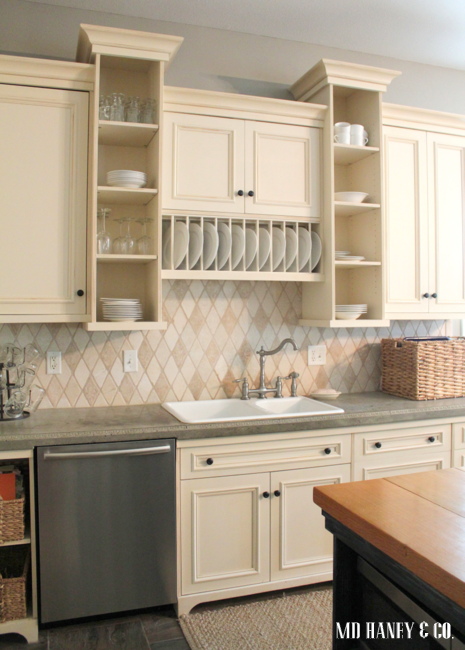
My oh-so-talented hubby built the cabinets.  They have held up really well to all of the abuse I give them.  But, we do plan on repainting them this winter...
IMG_3102

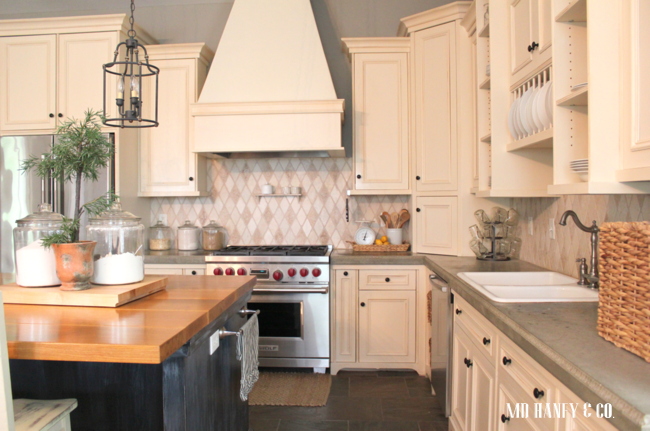
When we remodeled this home, we were young newlyweds with a small budget.

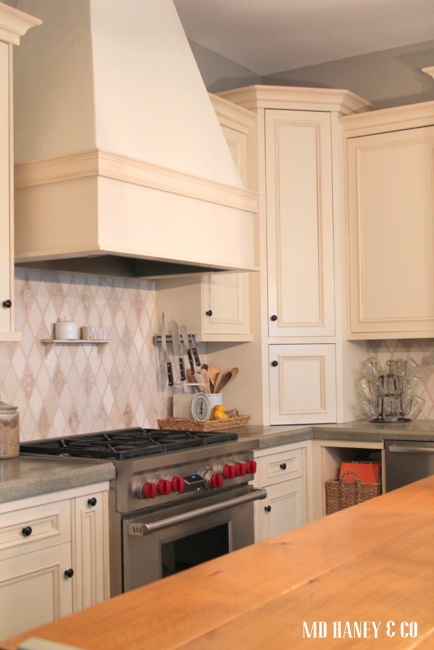
I would have done things a little differently if our budget had allowed.  Our one splurge in the kitchen, was the 36" dual-fuel WOLF oven.  I use that baby everyday and I am so glad we scraped our pennies for her!
IMG_3095

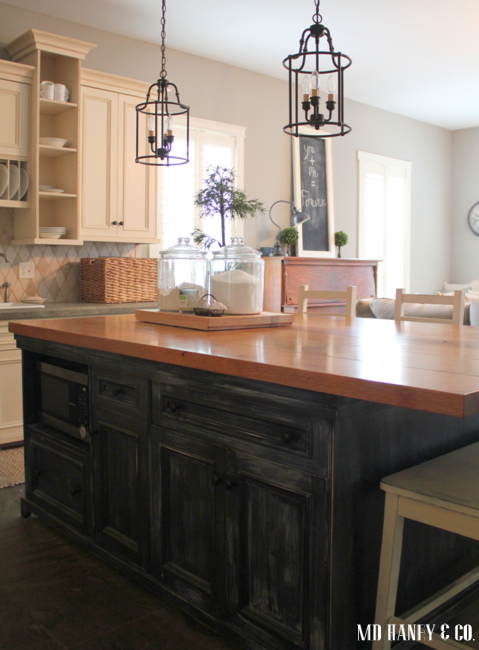
I LOVE my island!  Matt milled down quarter-sawn white oak to make a countertop that can comfortably seat six.
IMG_3097

This is a hard working island!

If I am not using it for cooking, we are eating at it, doing crafts on it, or some other ridiculously, crazy project.
IMG_3099

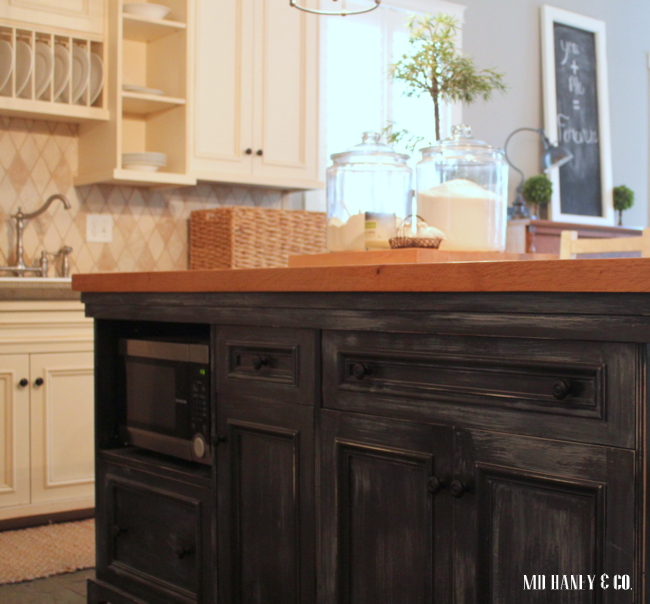
You can see the microwave is tucked into the island.  I love that it is out of eye sight, but still easy to use.
IMG_3098

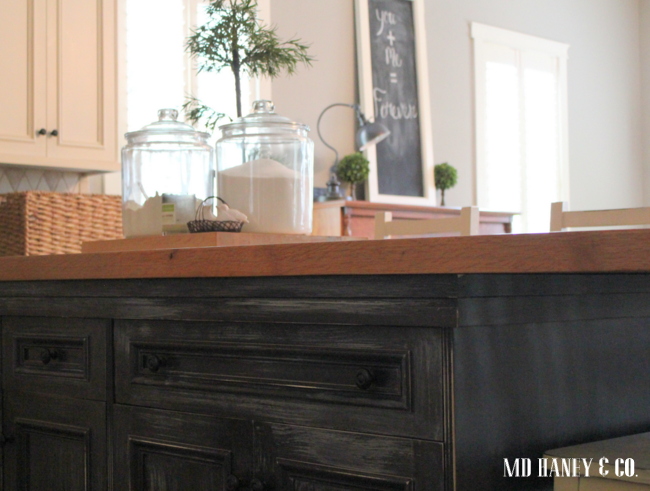
When we repaint the cabinetry this winter, I am thinking of painting the island a lighter color.  What do you think?  Stay dark, or lighten it up a bit?
IMG_3104

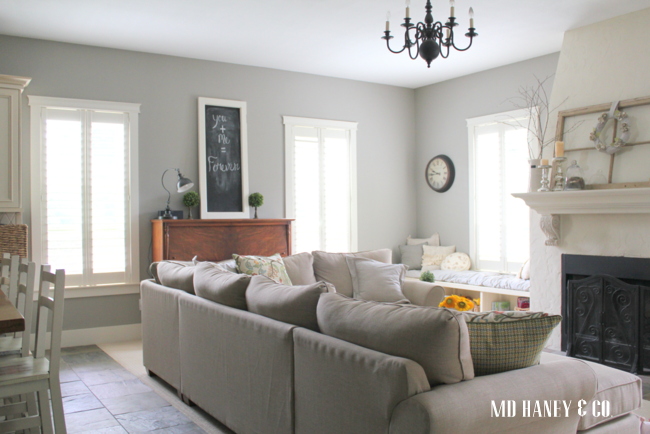
The kitchen opens right up to the living room.  This space truly is the heart of our home!
IMG_3107

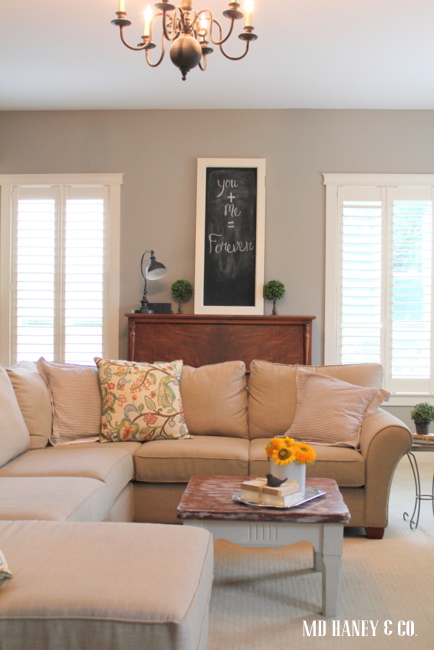
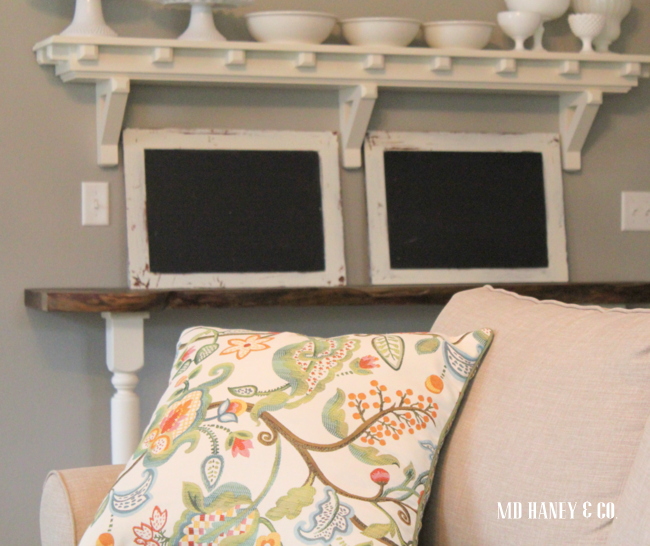
I am always changing out the pillows.  I have a ridiculous stash!
IMG_3115

I usually sew my own pillow covers.  It's less expensive than always buying new, and I can pick the perfect fabric for the look I want.  I found these pillows at Pier 1 and I had to snag them!  Sometimes a girl just wants to buy a pillow and not have to sew:-)
IMG_3117

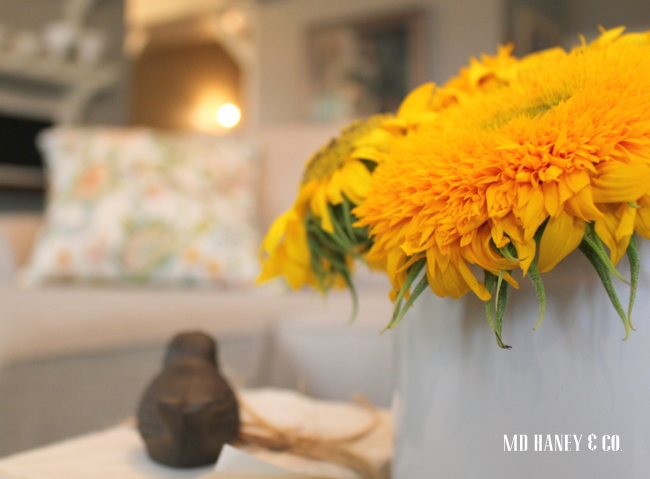
Love fresh flowers in the house, especially sunflowers!
IMG_3121

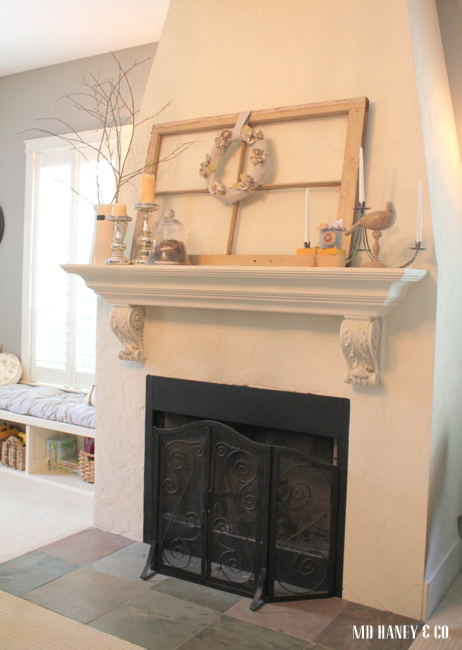
I am always changing out the decorations on the mantel.  As soon as Autumn arrives, I will change everything up again!
IMG_3110

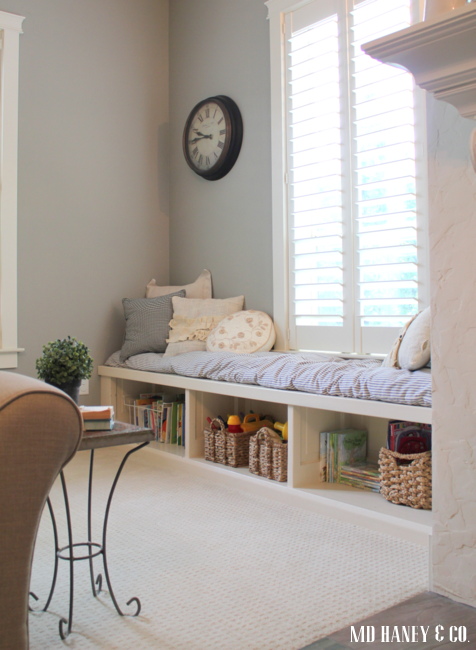
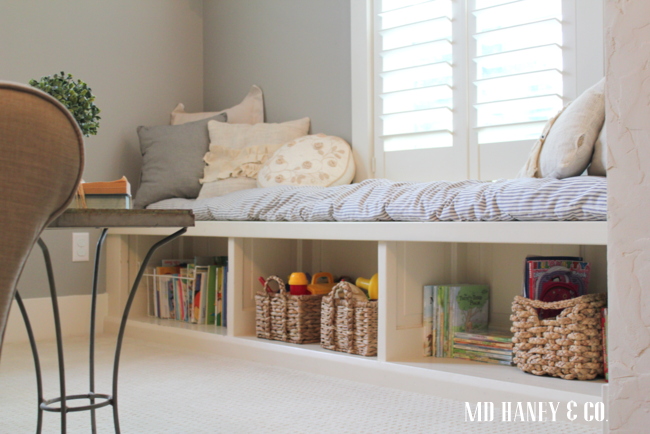
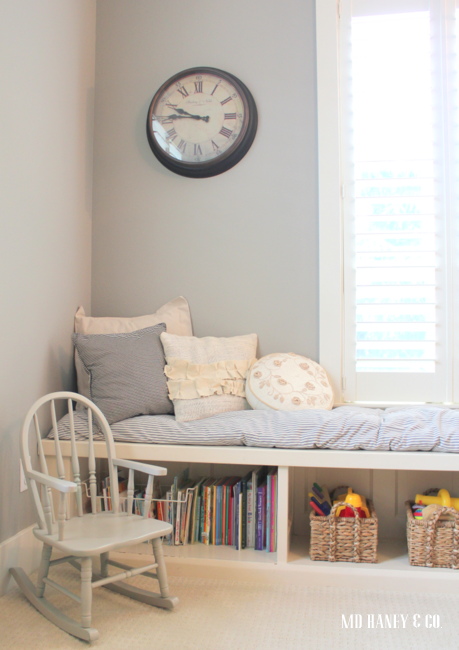
This window seat is Addilyn's favorite area.
IMG_3109

We keep toys and books in the open cubbies.  Kids can easily get to the toys, and I can easily throw them back in the baskets at the end of the day.
IMG_3112

It's a great little 'kids' corner that is tucked to the side of the living room.  It can get messy, but it's out of the main walking path, so it's not a big deal to have books and toys scattered about.
IMG_3113

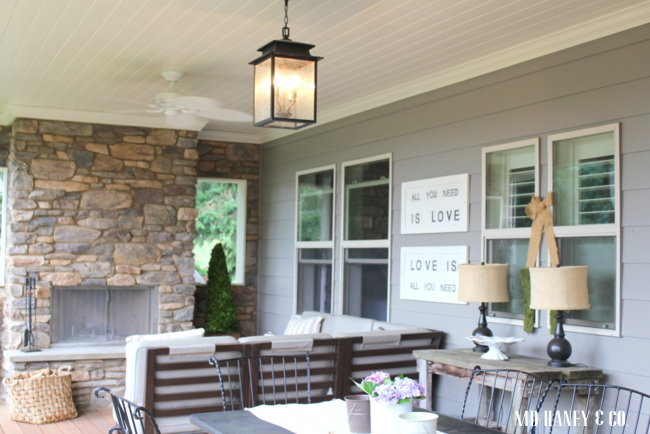
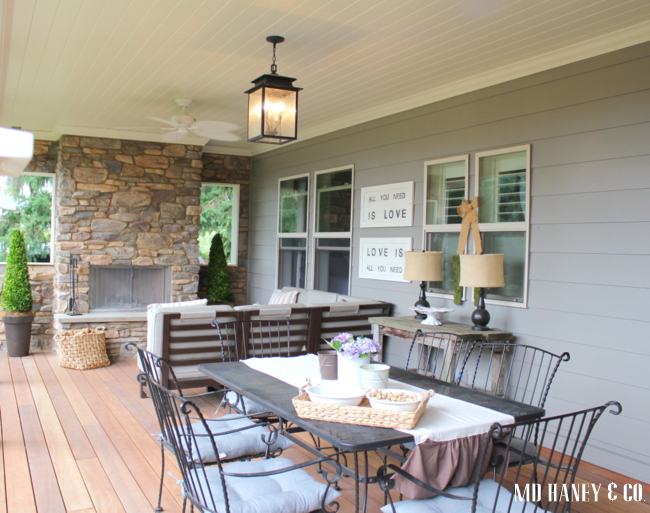
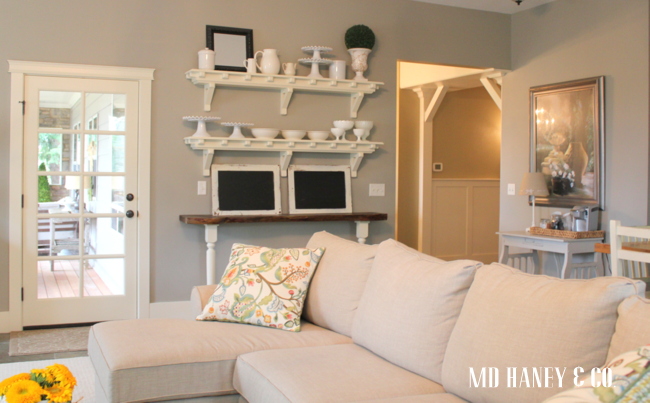
The living room leads to our new covered deck.  I love that the covered deck almost doubled our living space!
IMG_3118

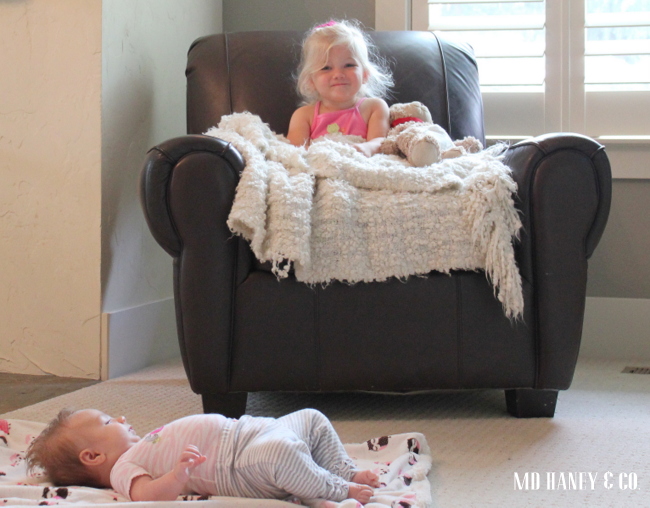
And, just in case you thought I was neglecting my sweet-peas during my little photo session, they were right there in the middle of it ;-)
IMG_3120

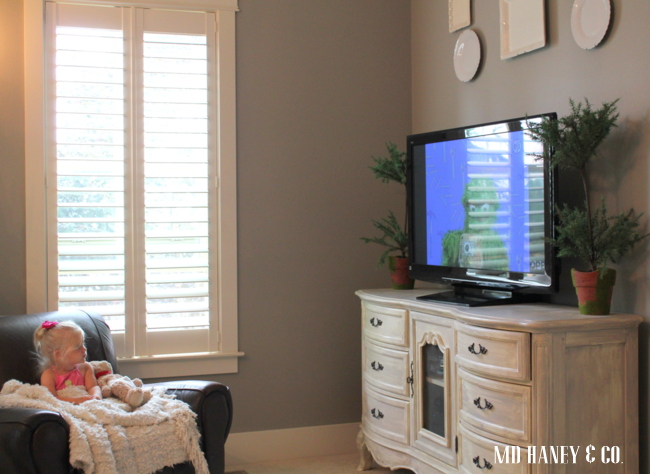
We love us some Sesame Street at our house.  Addilyn gets to watch TV for an hour, and I get some work done...it's a win-win for both of us!

Thanks for taking a peek into our little home.  Come back next week for more photos!  Until then, have a lovely day!

~Darci

A COUPLE OF GIVE AWAYS :: to celebrate Carlton's Walk in the Park

IMG_2939.jpg

Hello friends,

We are super excited to be participating in Carlton's a Walk in the Park this year!  We have volunteered and attended almost every year, but never participated.  In all honesty, I feel completely overwhelmed at trying to get a booth together, but I know it will all work out.....it always does!  Matt is going to help me at the booth all weekend, and we always have fun together, so I am looking forward to spending some time with my man!!

IMG_4312

 We will have some special incentives, gifts and give-aways for you guys, it's going to be great!

IMG_3044

Sign up {via the blog} to receive blog posts directly to your inbox, and 'like' us on FACE BOOK, and you will be entered for a chance to win a breakfast picnic basket.

The basket will be full of great breakfast items.....coffee, baked goods, jam, honey and more....a $75 value.

**If you already receive our blog via email, and have "liked" us on FACEBOOK, just leave a comment and I will enter your name in the drawing.**

bannerlinen

color_swatch_new

1011807_10151499549638511_889108044_n

Come visit us as Carlton's a Walk in the Park.

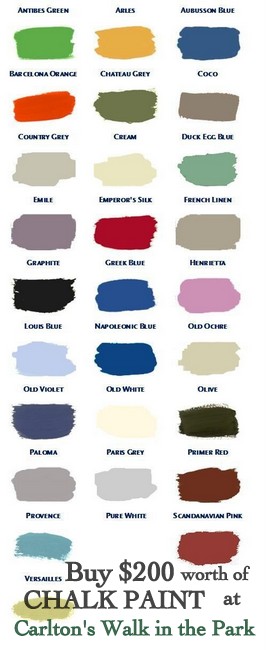
Purchase $200 work of Chalk Paint supplies, and receive a free FARM BELLE  jam, honey creame or marion berry syrup.

Farm Belle products are locally made and they are sooooo tasty!

bannerlinen

We will also have Chalk Paint demonstrations, custom painted furniture {for sale} and all sorts of fun things!  Looking forward to seeing you next weekend!

Oh, and the design studio will not be open next Friday, August 16th.

We will be setting up our booth.  If you need supplies, just call or email and I can meet you at the design studio and get you stocked and ready to paint!

xoxo~Darci


DIY WOOD SIGN :: made from a cabinet door

IMG_3056.jpg

 Hello and happy Monday!

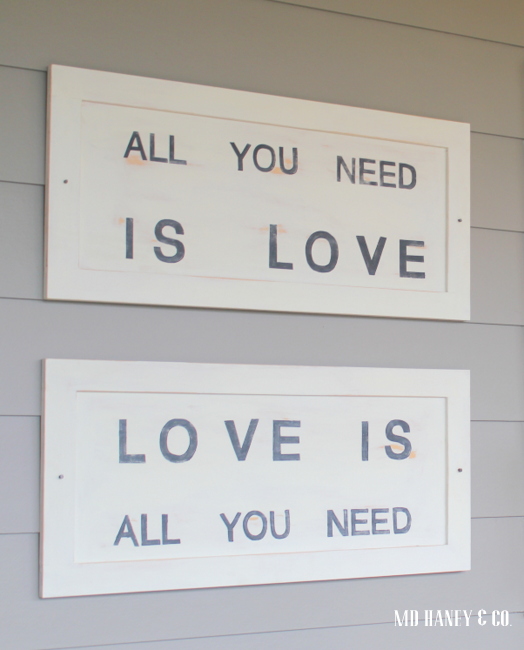
I didn't take any photos to document how I made the wood signs for our covered deck {big surprise...wink}.  I am just awful at documenting things!  However, it was really simple, so I thought I would share a few tips.

IMG_3056

Being that my sweet hubby is a {very talented} cabinet maker, we usually have new cabinet doors laying around the shop.  Doors that didn't fit or work for a job, for whatever reason.  You could use any cabinet door really.  But, the shaker style work best.  It already has a 'frame', no modifications need to be done!

IMG_3055

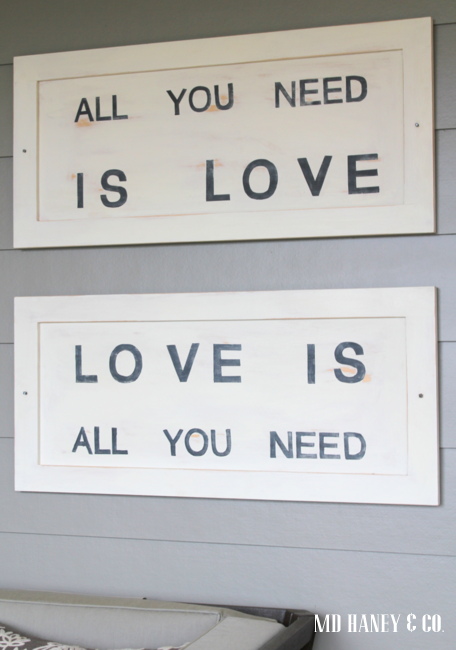
  • I took two matching cabinet doors and painted two coats of OLD WHITE Chalk Paint®.  The paint covered the laquer finished, maple cabinet wood perfectly.
  • Next, type your phrase onto a blank document.  I used the HELVETICA font, and the font size I chose for my sign was 200.

Screen Shot 2013-08-05 at 2.07.42 PM

  • With a pair of scissors, cut each word.  If the word didn't fit onto the printed  page, roughly cut the letter to be able to make the word.
  • Tape any letters together that need to be taped, and lay the entire word onto the painted cabinet door.
  • Move the words around until you like the spacing.
  • Once the words are right where you want them, tape them to the cabinet door.

IMG_3057

  • Once the words are taped, with a pencil, trace the outline of each letter.  Press hard!  You want the letter to be outlined on the wood door.
  • Once your words are traced, fill in the letters with a paint pen {I use these} or an artist brush and paint.
  • At this point, you may be done!  Wasn't that easy?
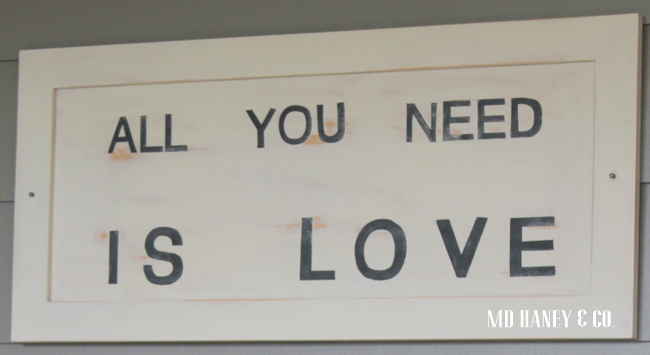
  • I took a fine grit sand paper and distressed my sign.  I wanted the words to look a little 'worn and tired'.  Then, I coated the entire sign with clear wax, asked my hubby to hang the signs and we were good to go!  Matt had some really neat old nails, we found them when we remodeled our home {a 1908 foursquare}.  My guess is that they are original to the house!  Anyways, he centered the signs and attached them with the old nails.....

I love them!

Do you have a different way of making a wood sign?  I would love to hear!!

xoxo~Darci

BEFORE & AFTER :: the back deck

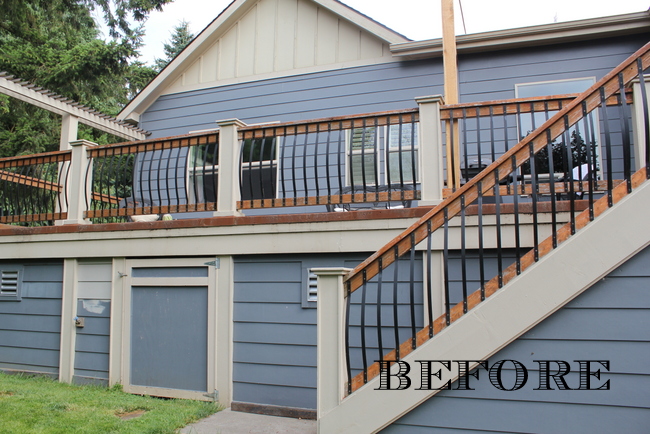
As you may remember, I showed a few photos of our recently finished back deck.  Matt still had some details to finish, but I was excited to post some photos.  Well, yesterday he finished the back deck!

IMG_2214

See how tall the deck is off of the ground?  Well, for months now, this area has just been open {and ugly}.

IMG_3043

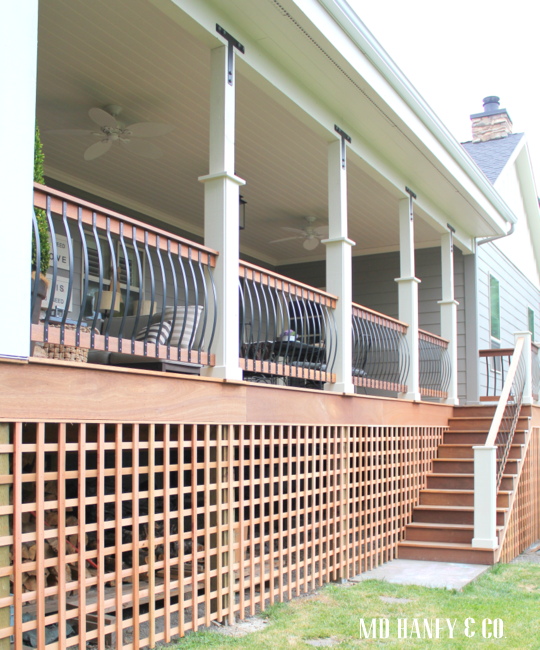
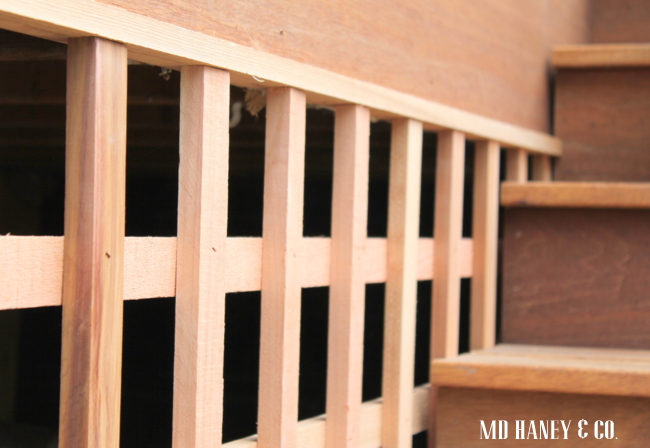
We couldn't put siding back up because it would trap the moisture and just be a big, yucky problem down the road.  We still wanted to be able to use the space for firewood storage, so we needed something accessible, yet pretty to look at.

IMG_3047

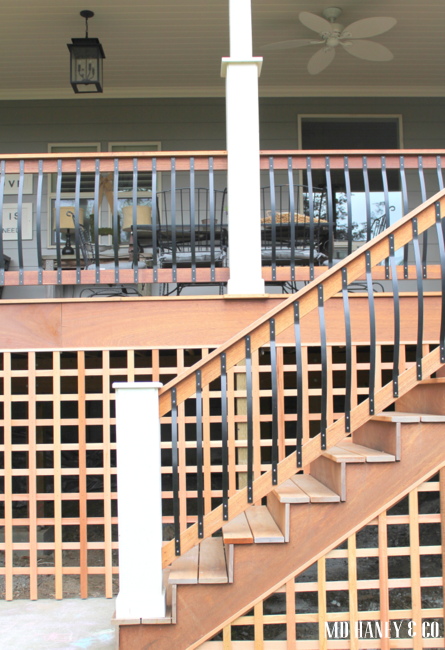
Matt built this trellis our of cedar.  It will turn a soft gray as it weathers.  He is going to spread bark dust under the deck, so when you do peek through, you see a nice clean layer of bark.

IMG_3050

When I watch Matt work, he makes everything look so effortless.  This would look awful if I attempted to try it!

IMG_3054

It truly is one of my favorite spots to sit and relax.

IMG_3053

We eat dinner out here almost every night!

IMG_3060

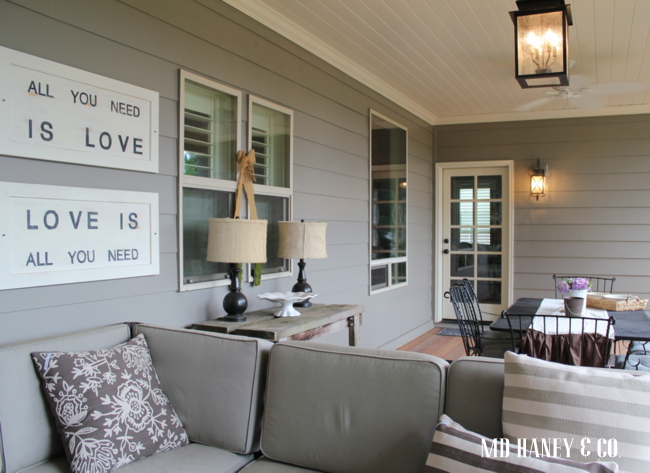
I needed something between the windows so I made these two signs from cabinet doors {we have a few extras laying around}!  Next week I will do a 'non-tutorial' on how I made the signs, they were super easy!

IMG_3062

The garden is growing like crazy!

IMG_3044

And I can't forget to share a photo of my little assistant!

xoxo~Darci

SAVANNA LYNN :: a few photos

untitled-25

 About a month ago, we had some photos taken of our sweet little Savanna Lynn.

untitled-10

Addilyn affectionately calls her 'baby Vanna.'

untitled-7

I never thought motherhood would be so amazing.

It's hard, fun, messy and rewarding...all at the same time.

untitled-5

This little one has captured my heart.

untitled

Everyone was right, you have room in your heart to love more than one child.

feet

Some days are harder than others, but I wouldn't change it for the world!

What a privilege and blessing to be able to raise two little ladies.

Oh....and in other news,  Matt just bought a dirt bike....I think it's a coping mechanism for being the only guy in the house :-)

xoxo~Darci

'HOMEMADE' CINNAMON ROLLS :: a sweet {breakfast} treat

IMG_3032  

Every Friday morning, I bake a batch of 'homemade' cinnamon rolls.

I make a big pan for our breakfast, and a mini pan for guests staying at the LOFT.  The guests are always asking for the recipe so I thought I would share it.  You won't believe how easy these are!!

CINNAMON ROLLS

2 loaves of frozen bread dough, thawed (I use RHODES, they come 5 to a bag) 6 tablespoons of butter, softened 1 cup of brown sugar 4 tablespoons of cinnamon 1/3 cup of sugar butter icing glaze (recipe below)

Thaw two loaves of frozen bread dough in the refrigerator or on the counter - I just follow the directions on the bag.  Allow the thawed dough to rise for 1-2 hours in a warm area covered with a damp cloth.  Roll the dough out into a rectangle onto a floured surface.  Spread softened butter on the rolled out dough.  Sprinkle sugar, brown sugar and cinnamon over the dough.  Roll up the dough into a log.  Slice into 2-inch thick rolls.  Place into a buttered pan.  Cover with a warm damp towel and allow to rise 2-4 hours (or overnight) in a warm area.  When the rolls have doubled in size, bake them at 350 degrees for 15-18 minutes until they begin to brown.  Top with Butter Icing Glaze.

BUTTER ICING GLAZE

 tablespoons of butter
2 tablespoons of milk
powdered sugar
Melt butter with milk in the microwave for 30 seconds.  Add powdered sugar until the glaze is the right consistancy - it just be perfectly smooth - no lumps.
Enjoy!!
PS ~ I found the recipe here


BATHROOM INSPIRATION

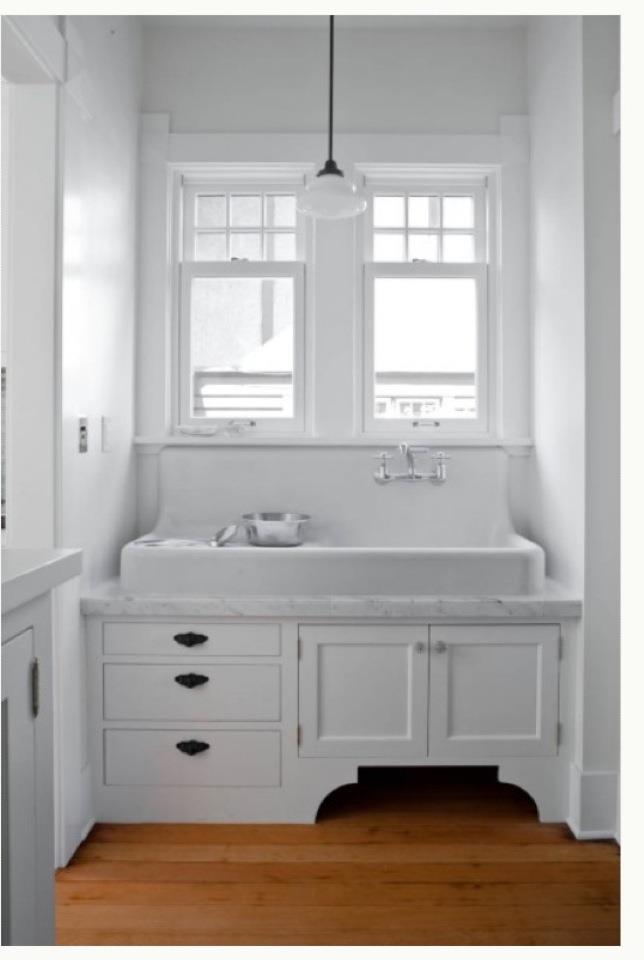
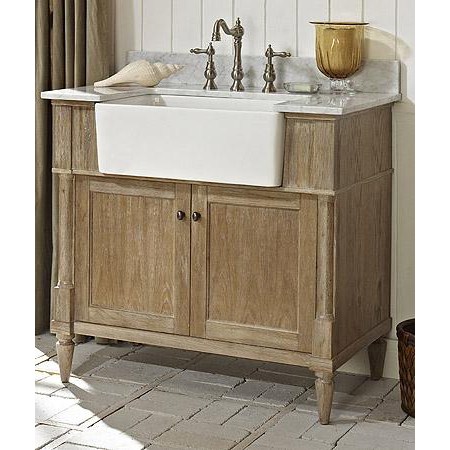
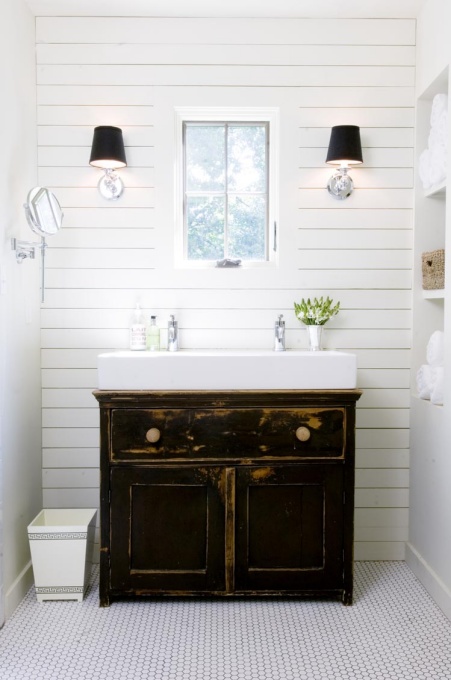
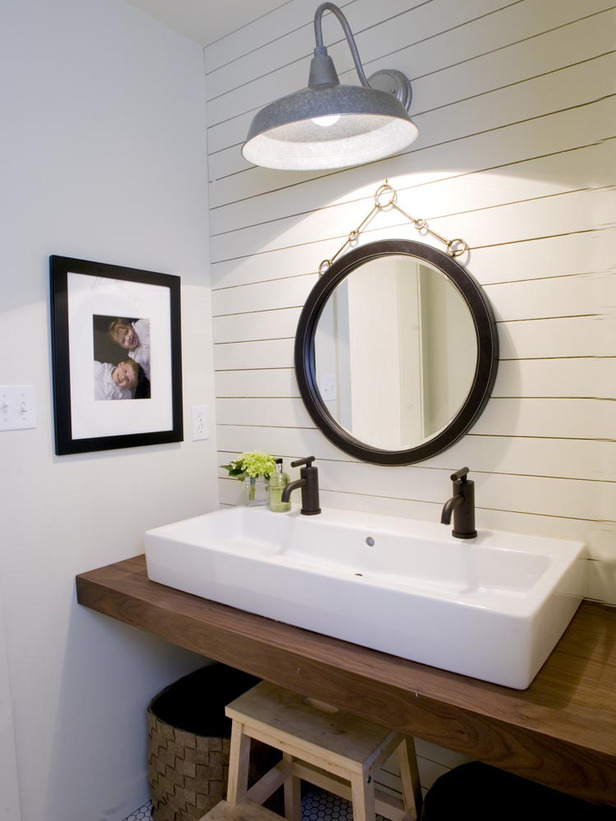
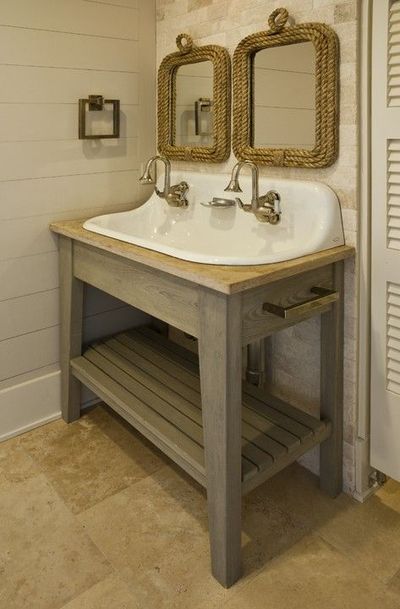
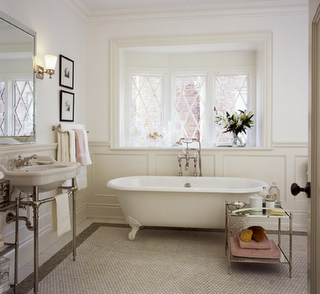
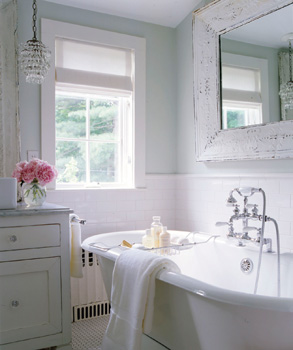
I am working on a floor plan for some local clients.  They are a sweet couple with two equally sweet children, and they live in a darling old house, just a few blocks from us.  They are looking to remodel one of their bathrooms, and I thought I would share some of the photos I used for inspiration.

402332_3013396331224_1152010050_3219958_1323057844_n

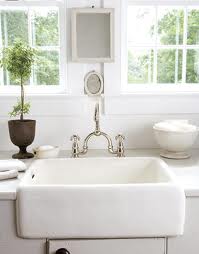
The house is an old Craftsman.  The owner loved the idea of an apron/farm style sink.

D08AFF3B2D7C0ECA0002FFC4CD6E270CC3B993DF

Photo_Video_75841144_medium

RMS-dwanderson_modern-farmhouse-bathroom_s3x4_lg

l_1d1a0970-ba4d-11e1-a0b2-1f1238400006

images

I don't blame her, I love the idea as well!

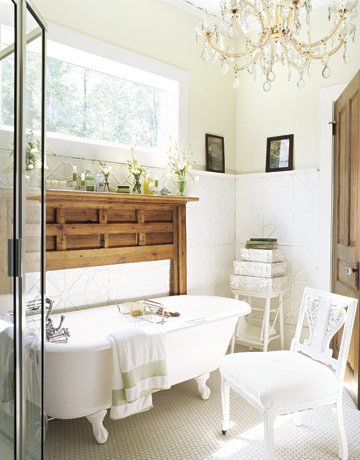
We also decided to go with a clawfoot tub/shower combo instead of a walk-in tiled shower.

clawfoot-countryliving

bathroom_jenniferworts

086570735525

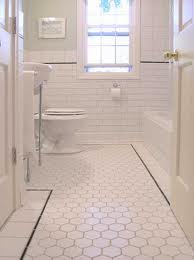
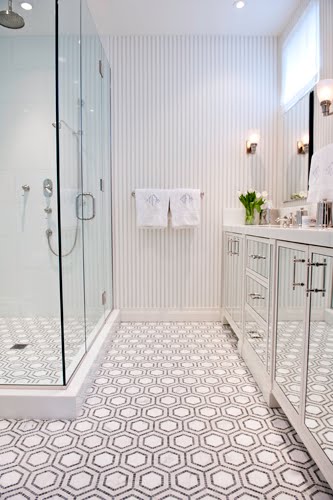
Flooring and wall covering will most likely be determined by the budget.

Unknown

bathroom hexagon penny round tiles

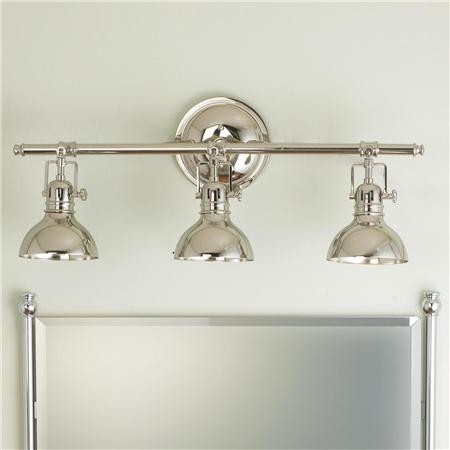
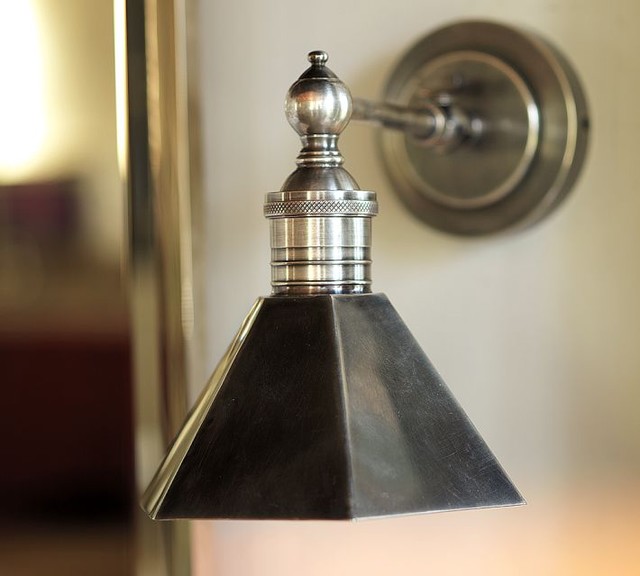
And we can't forget light fixtures!

modern-bathroom-lighting-and-vanity-lighting

contemporary-bathroom-lighting-and-vanity-lighting

I love my job!

RUFFLED APRONS :: a non-tutorial

I am really bad about taking photos of my projects.  I am usually rushing to get through the project and I just go on  and forget!

I have been trying to work on Walk in the Park projects "here and there".   There is not a lot of "here and there" time with a 2 year old and a 2 month old, but I love to have little projects going.

IMG_1937

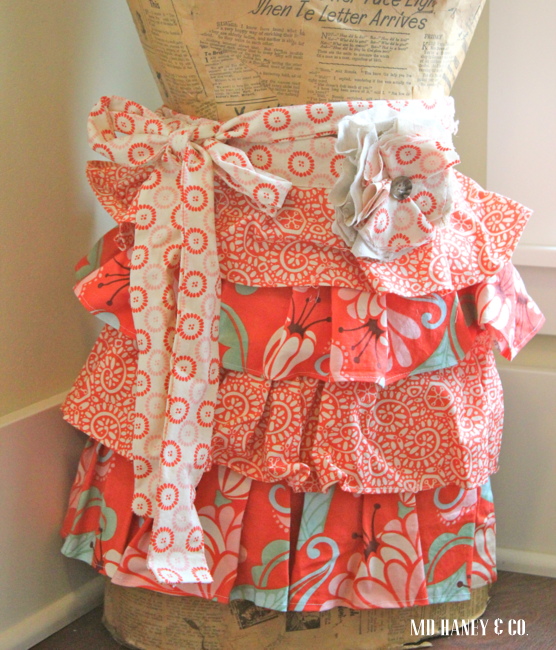
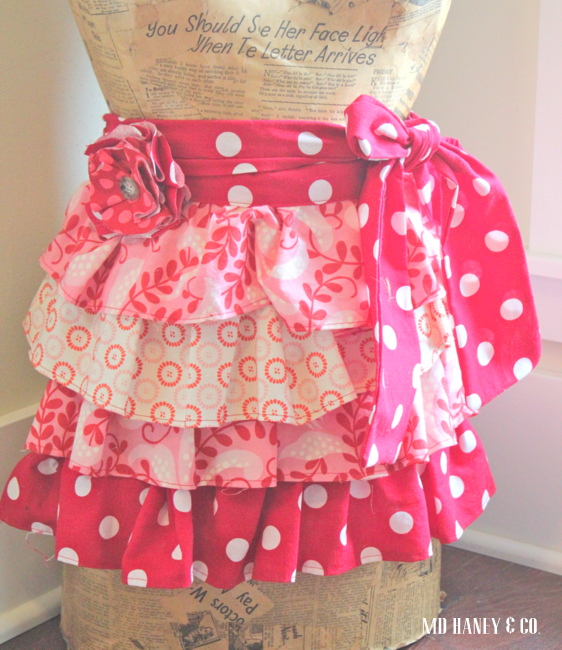
I thought I would sew a few aprons for our booth.

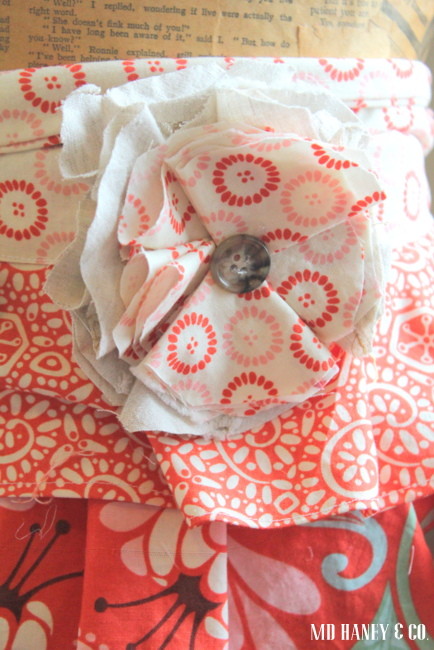
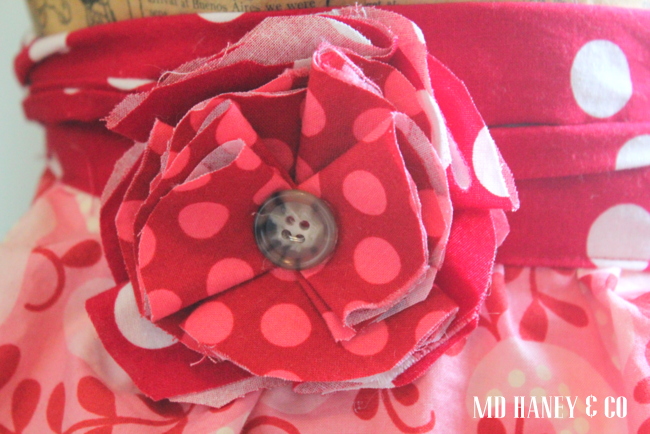
I have a thing for ruffles.

I am not necessarily good at sewing them, but I sure love having them on curtains, pillows, and aprons!

IMG_1938

Since one of my many faults is not being able to follow a sewing pattern, I just started sewing these aprons.  I wish I had detailed step-by-step instructions for you!

IMG_1933

They aren't perfect, but I think they make cooking and kitchen chores a bit more fun!

IMG_1934

xoxo~ Darci

JULY 24th :: BRING YOUR OWN PIECE WORKSHOP

Unknown.jpeg

Good Monday to ya!

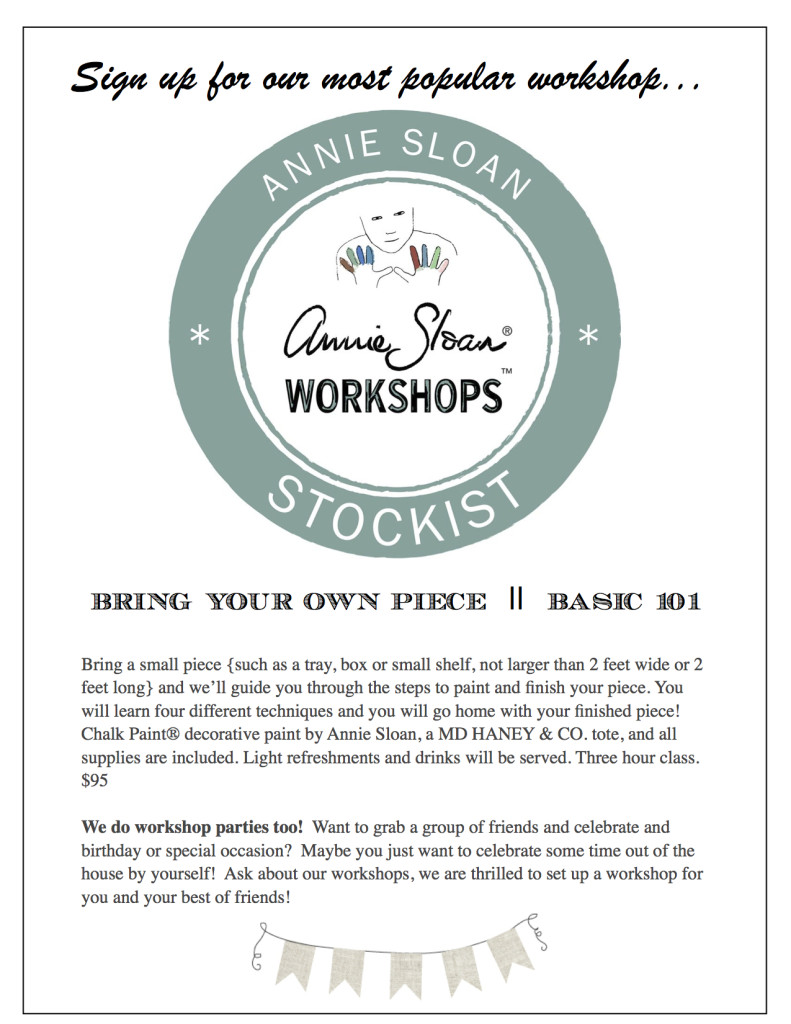
Just a quick note to say we added a Wednesday night 'BRING YOUR OWN PIECE' Chalk Paint® workshop in the month of July.  This is such a fun class!!!  We teach four techniques, you get to use our paint and supplies, you get a super cute canvas MD HANEY & CO. tote, and you take home your beautifully painted piece!!  Here are the details....

byop

CANON BEACH :: a 4th of July tradition

Have you been to Canon Beach?

It is one of my favorite beach towns {in Oregon}!  The shops, the food, the houses, the ocean, I love everything about it!

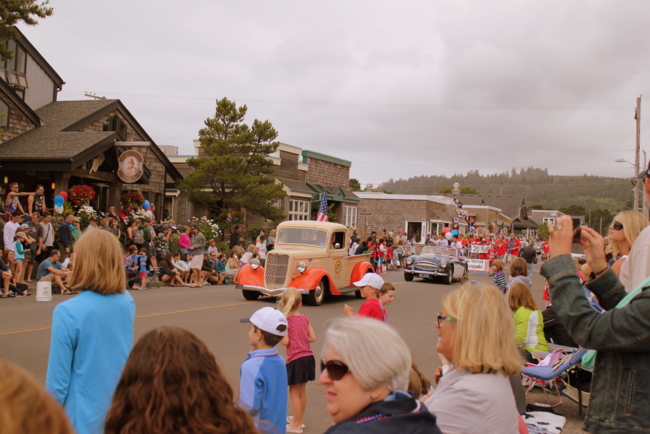
Three years ago, a friend told us that the entire city celebrates the 4th of July.  That they have a darling parade and great fireworks.  She was so right!

IMG_3016

It has now become a tradition.....starting with breakfast at the Canon Beach Bakery....

IMG_3020

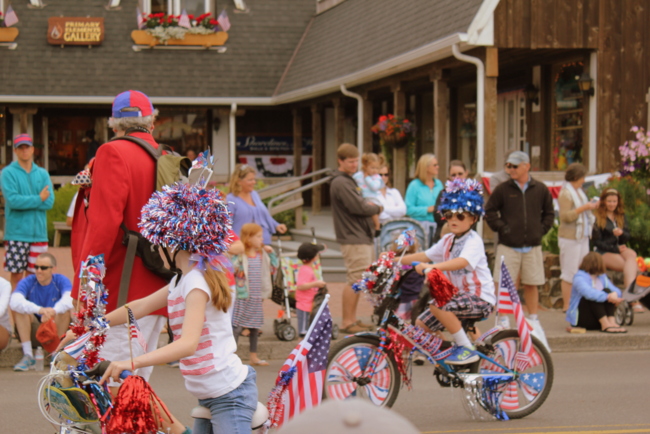
Cheering on the participants in the parade.....

IMG_3017

Packing a picnic for the beach.....

IMG_3019

The past two years, we also did a lot of shopping.  Funny thing; a 2 year old and 2 month old aren't really into shopping....

IMG_3013

So, this year we didn't check out any of the darling little shops, looks like we will just have to make another trip later this month ;-)

IMG_3024

Hope you and your family had a lovely 4th....we are so very blessed to live in a free country!!

xoxo~Darci
BEFORE + AFTER :: our dining room furniture

 Happy Tuesday friends!

I thought I would show you a few photos of our dining room furniture.  I am in the middle of re-decorating {or really just shopping the house and re-arranging} our dining room.

Confession ::  I would love to buy a long, rustic dining room table.  Pair it with linen slip covered chairs and I would be a happy girl.  But,  it's hard to justify that when we have a dining room set that works just great!

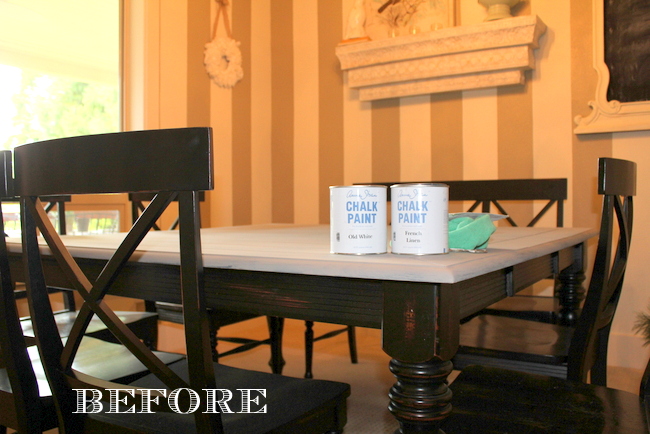
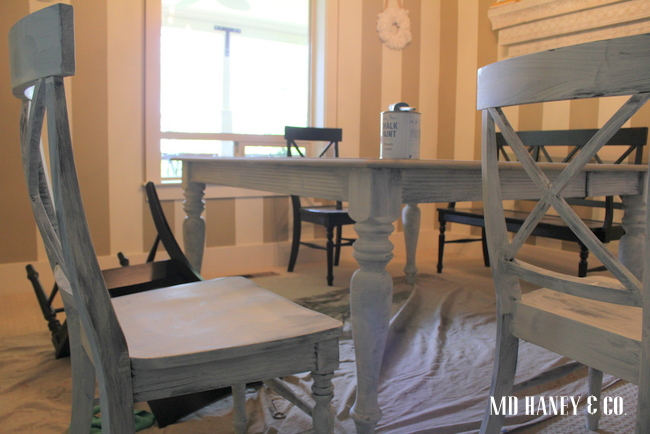
I thought I would try painting our furniture to see if I would like it a little better.  If I hadn't been introduced to Chalk Paint®, I would have never dreamed of tackling our dining room furniture!  What a pain!  Sanding, priming, several coats of painting, yucky fumes.....just doesn't sound appealing.  However, with the ease and beauty of Chalk Paint®, I was willing to give it a try.

IMG_2960

I tried a coat of 'French Linen' on the table top.  I was curious to see how well it would cover.

IMG_2973

Two coats of paint on the top, and I was convinced it was worth it to paint it!

IMG_2974

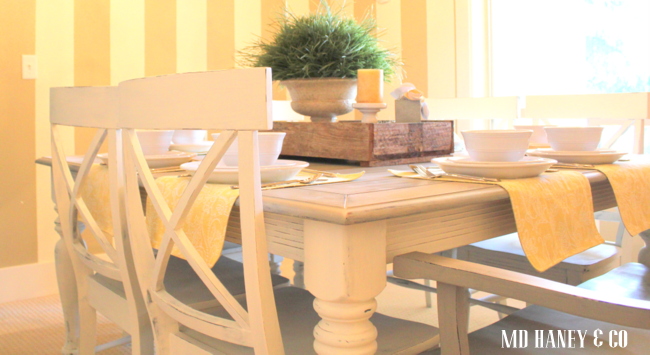
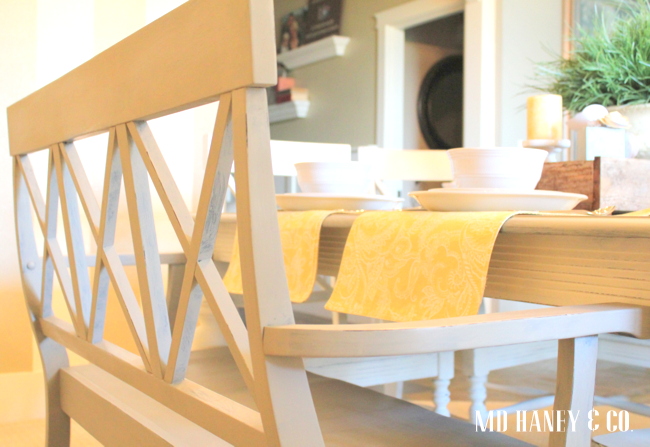
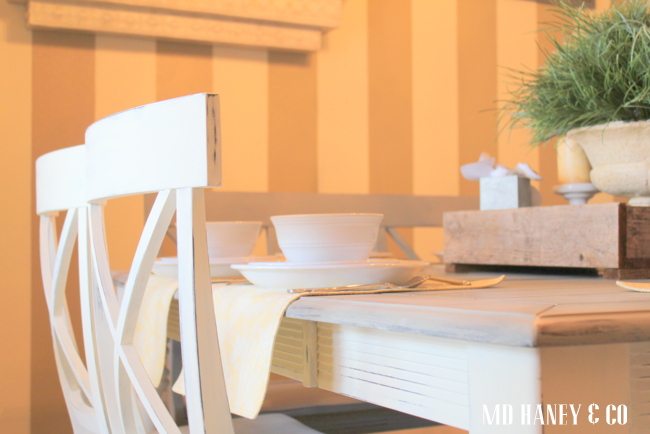
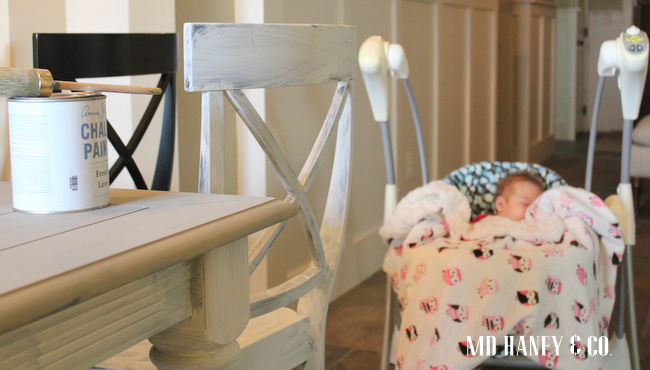
I painted the table top and bench a gray...."French Linen".  The chairs and base of the table are painted a soft white..."Old White".

IMG_2975

Sweet little Pea was quite the helper.

She happily slept in the swing and gave me a solid two hours of painting time!

IMG_2992

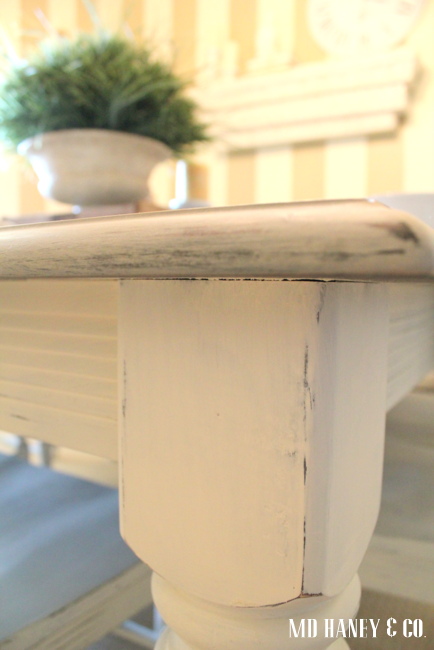
I distressed the edges and table top.  I wanted the original black to show through,  but just a little bit.

IMG_3001

I applied a coat of Clear Wax, and called it good!

IMG_2997

The table, bench and six chairs, took about eight hours to complete.

Start to finish.

And, I was able to do the entire project right in the dining room!  I am so lazy when it comes to painting.....yet another reason I love this paint!

IMG_2995

I still have a ways to go until I get the dining room put back together, but at least the furniture is painted...

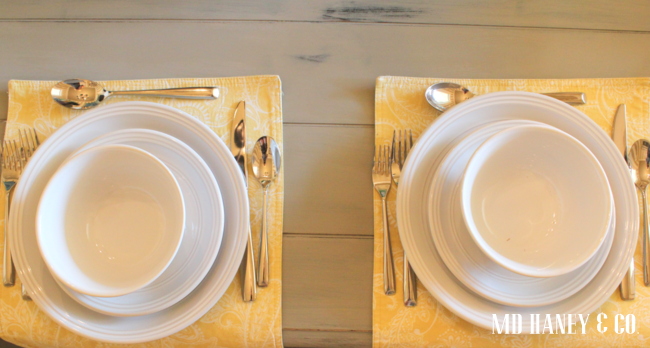
IMG_2998

 and the table is set!

Now all I need to do is prepare dinner!

xoxo~Darci
FREE PRINTABLES :: a cute way to celebrate every day

It's a fact,  I function best when I am organized.

I have become a lot more relaxed after having kiddos, but I still like my "to-do" list.

You may already know about The TomKat Studio.  But, if not, you should check out her website.  She has inspiring party ideas, and some fabulous tutorials.

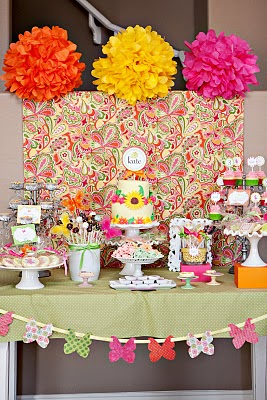
dessert table

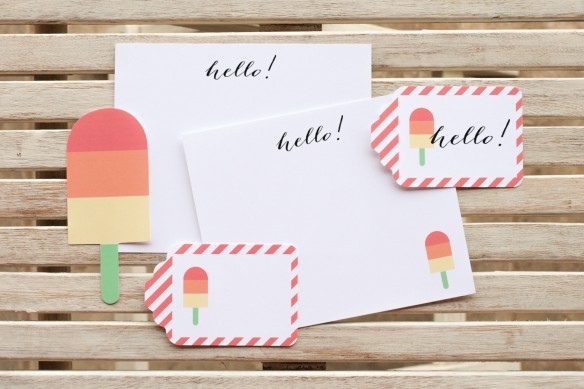
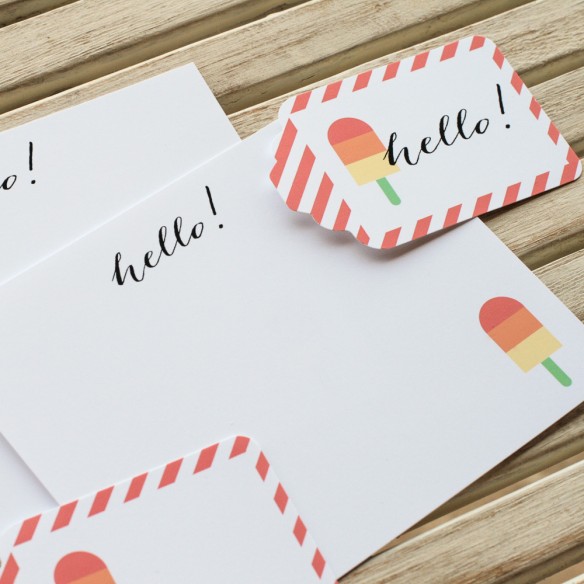
One of my favorite sections of the website is the 'Free Printables'.

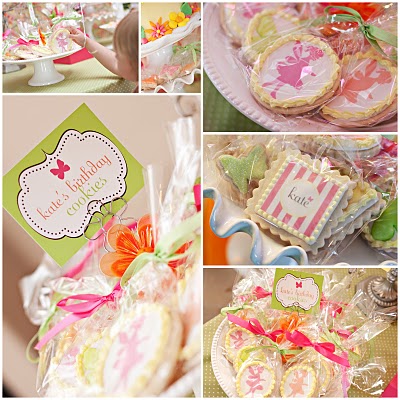
cookies

I just wanted to share this fun resource with you girls.  I know you will love, love, love the ideas, inspiration and adorable printables!

Happy Creating!!

CARLTON'S WALK IN THE PARK :: August 17th & 18th

One of the many things I love about our darling little town, is the annual Walk in the Park festival.

CWIPF4cLg

The food is always a treat, the wine is flowing, the live entertainment is super fun and the art vendors are extremely talented.

10

For the past 8 or nine years, I have volunteered.  It's always a fun excuse to see neighbors and a great way to support our sweet little town.

301822_422261774481308_255401351_n

This year, I will be attending as a vendor.  Not quite sure how it all happened, but I will be there {with bells on of course}!  I have started compiling a list of the different items I want to make to sell.  I am super excited to be a part of this wonderful event.

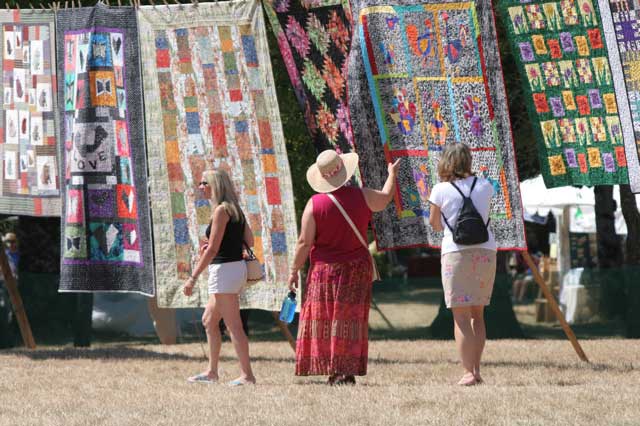
quilt480

Hopefully you will stop by and say hello!!

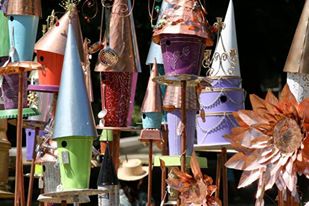
**all of these fun photos are from the Walk in the Park website**

TV CABINET :: to build or not to build

IMG_2966

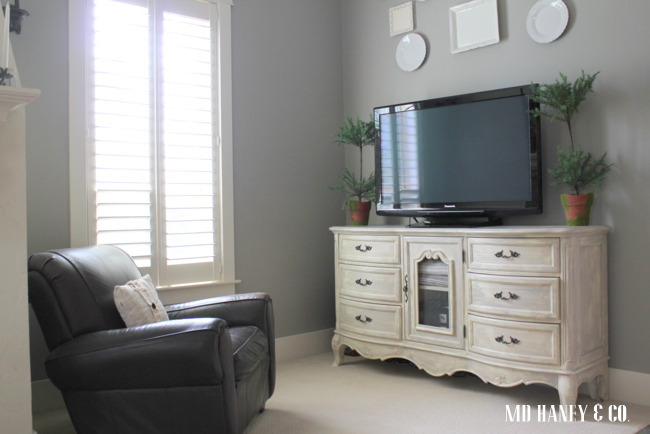
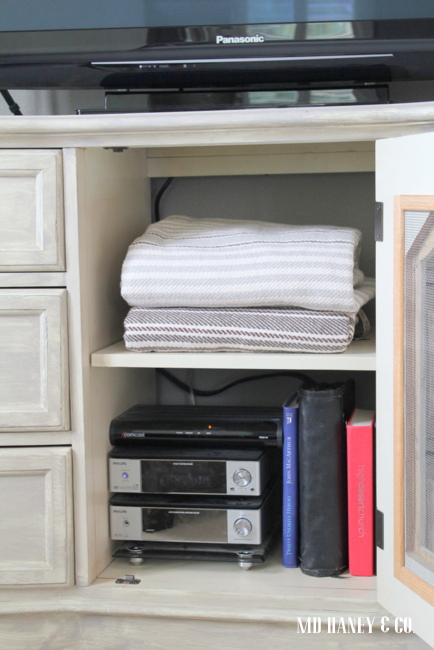
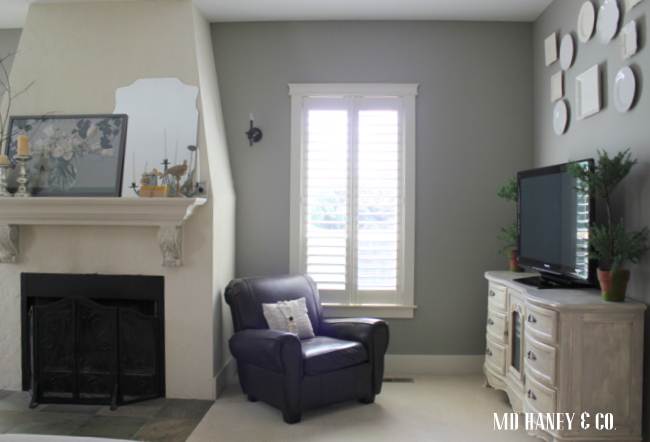
Matt has designed and built numerous TV cabinets for different clients.  As you all know, custom built-ins can make such a difference in a living space!  When we remodeled our home, we talked about doing an entire wall of cabinetry in the living room.  But, life happens and living room cabinetry falls to the bottom of the priority list. IMG_2967 So, we use this cabinet.

It has served it's purpose well.  It's nothing fancy or custom.

IMG_2970

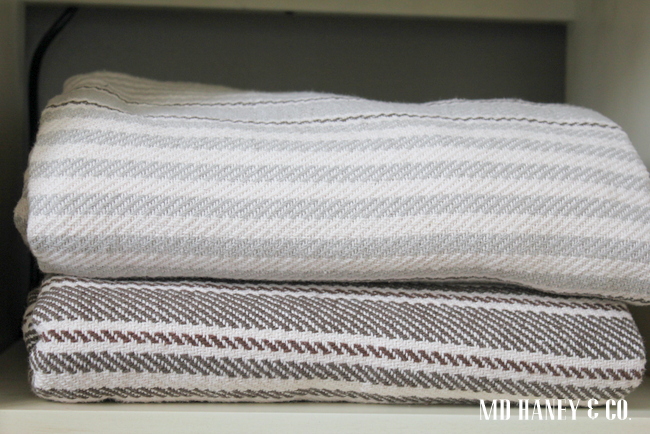
It holds cozy blankets, electronics, bibles and books that we are currently reading.

IMG_2968

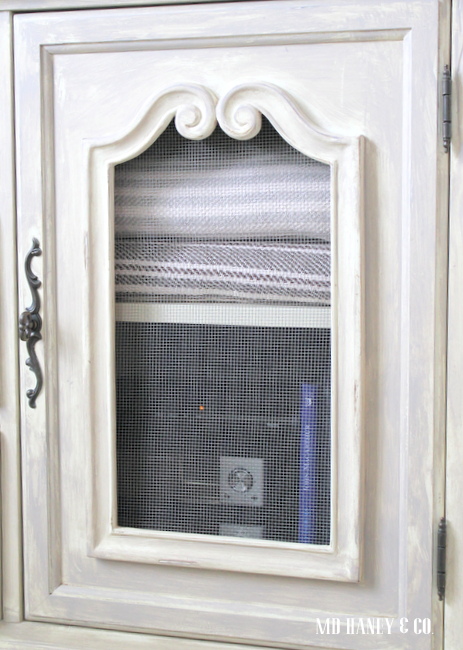
Matt modified the door {with wire mesh} so that the remote can still register with the electronics.

IMG_2972

It works just great.

I vote that we save our money, time and energy for a summer vacation.

But talk to me this winter and my answer may be different {wink}!

SWEET TREAT :: home made ice cream sandwiches

We love ice cream at the Haney house.

We also love home made cookies.

The highlight of my day is {usually} snuggling on the couch with my handsome hubby and eating a big bowl of ice cream and a cookie {or two}.  I know it's not a healthy habit, but it sure is one of my favorite habits!

IMG_2955

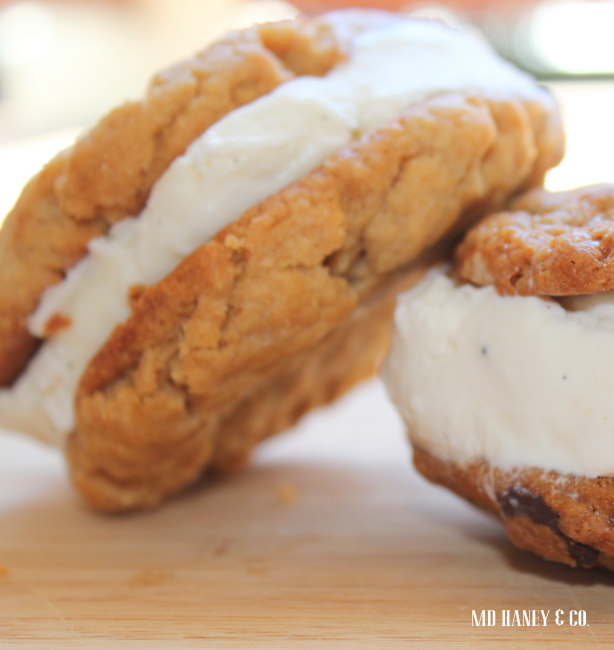
This weekend, I combined two of  my {many} loves and made

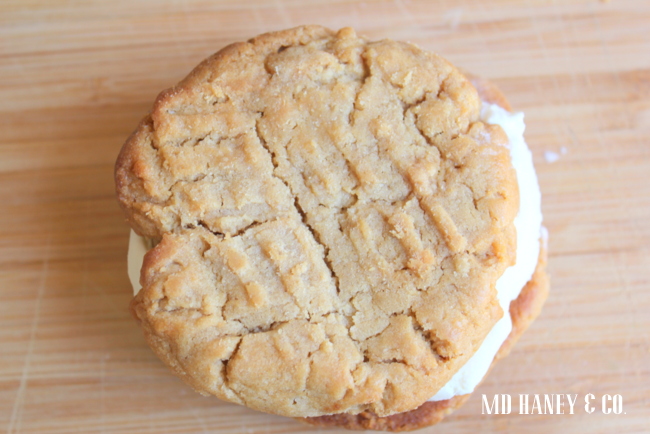
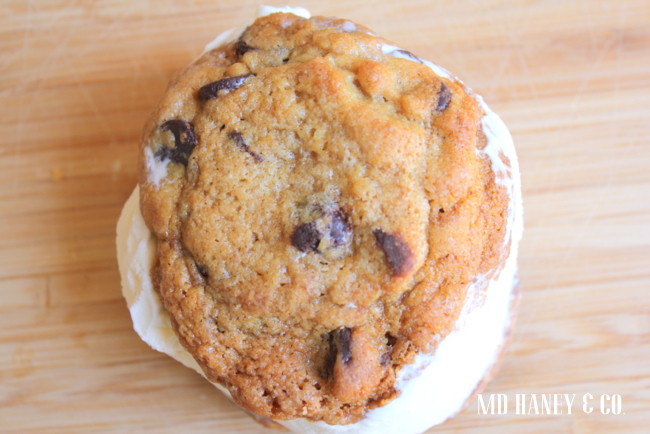
peanut butter and chocolate chip ice cream sandwiches.

I used this peanut butter cookie recipe, but I left out the chocolate chips.

IMG_2952

I usually have my frozen chocolate chip cookie dough on hand, so I thought we would make chocolate chip ice cream sandwiches too.  You know, so we can compare which cookie/ice cream combo we prefer ;-)

IMG_2953

I made a fresh batch of my honey vanilla ice cream.

It's seriously the easiest ice cream to make....and it always tastes so good!

When you are making ice cream sandwiches, it's easiest to let the ice cream soften a bit, then scoop it into a baking dish.  I wanted my ice cream centers about 1/2" thick, so I spread the ice cream about 1/2" thick over the entire dish.  Toss it back in the freezer.  When you are ready to assemble your sandwiches, cut the ice cream into the same shape/size of your cookie.  Layer them up, then pop them back into the freezer until you are ready to indulge!

IMG_2958

This summer, we will experiment with different cookie and ice cream flavors.  Until then, I am quite happy with the simple, but classic flavors of vanilla, peanut butter and chocolate chip!

Do you have a favorite ice cream sandwich combination??

THE DESIGN STUDIO :: things are always changing

IMG_2913.jpg

I am having so much fun at the Design Studio on Fridays!  It has been such a treat to meet so many sweet and creative ladies.  Part of the fun, is that I am always changing things up and adding to the space.  These pictures are from a few weeks ago and they are already so dated!!

IMG_2919

I have already changed the front porch since I took this picture, but I will have a long ways to go until I get it 'right where I want it'.  

IMG_2913

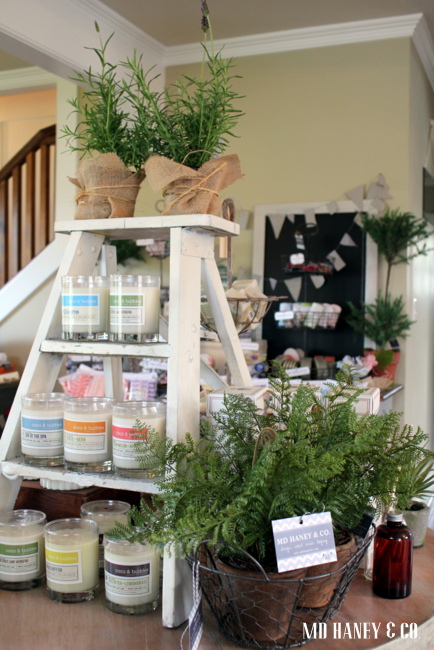
I have an order of candles due to arrive any day.  These COCO & BUBBLES candles have been so popular....and for good reason!  They burn clean, smell fabulous and at $18.50 each, they are a great buy!

IMG_2912

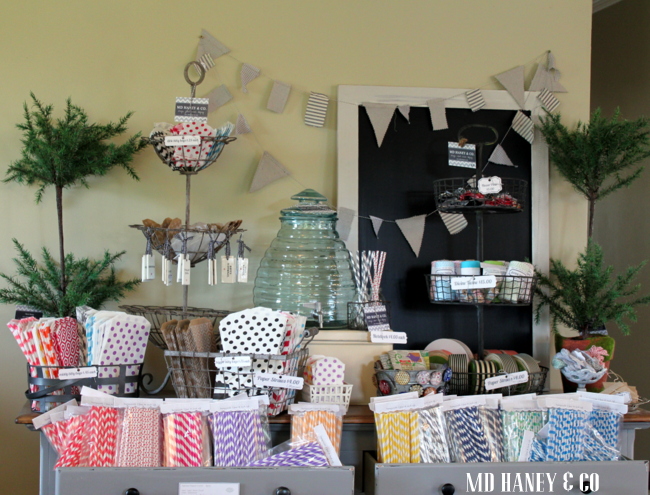
I am really excited about the party supplies!

I love to throw a party, and it is especially fun when you have cute products!!  I have some really great new items due to arrive in the studio over the next few weeks.  I will be sure to keep you posted!

IMG_2914

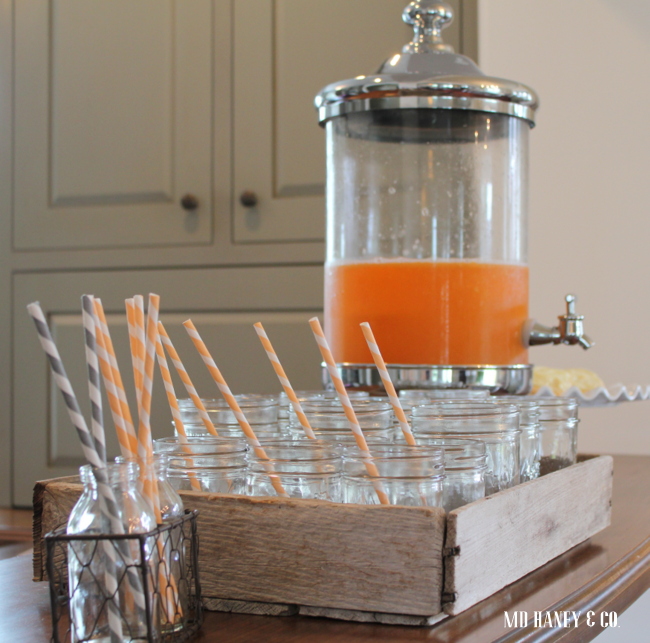
Once we get past the 'newborn stage' with baby Savanna, I plan on having fun drinks and treats each Friday.

 **side note** I have absolutely no desire to rush through the 'newborn stage'!!  I love cuddling with my sweet little girl and am trying to savor every moment of her sweetness!  So sweet friends, it may be a while until I have the drinks and treats on Friday because I just don't want my little one to grow up!

OK friends...that's all for now!  Go and have a wonderful weekend!!